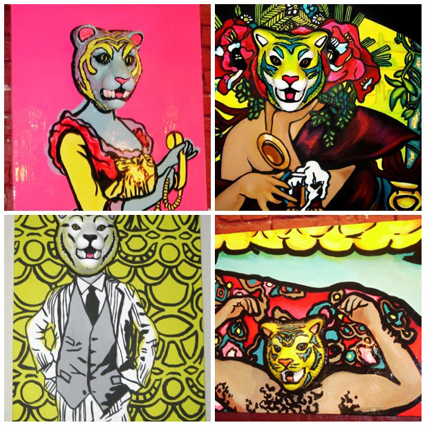
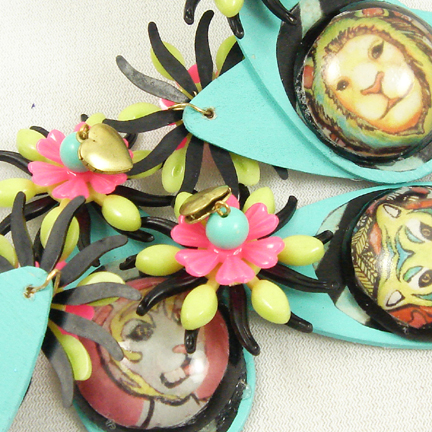
Lord knows I love a good theme. I'm one of those people that is likely to read
Memoirs of a Geisha, while eating sushi and wear a kimono while doing it. Tonight my amazingly talented sister Hope Perkins (check out her
I Love to Create interview about
glitter) is having an art opening and you bet your bottom dollar I am working a theme with my outfit. You can look at the walls or my neck to see the art.
 SUPPLIES
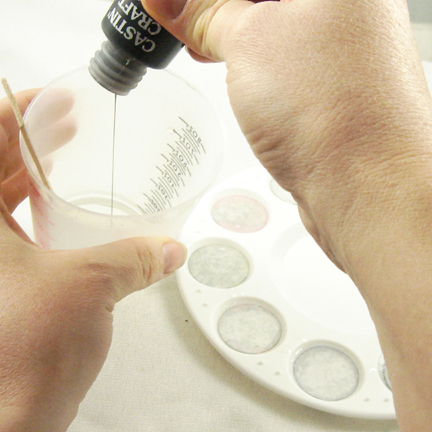
Cast resin cabochons of paintings
Wooden drops
Dremel
Crafty Chica Little Chica Paint PackSponge Brush
Head Pins
Decorative Paper
Collage Pauge Instant Decoupage Plastic Flower Petals
Jewelry Wire
Pliers
Beads
Crimp Beads
Liquid Fusion Glue Casting Resin
I won't go into all the details of how to cast resin, you can get all the info in my book
The Naughty Secretary Club: The Working Girls Guide to Handmade Jewelry and all the supplies from
ETI. In a nut shell choose the pictures you want to use, print out on photo paper and cast images in resin using a plastic painters palette as your mold.
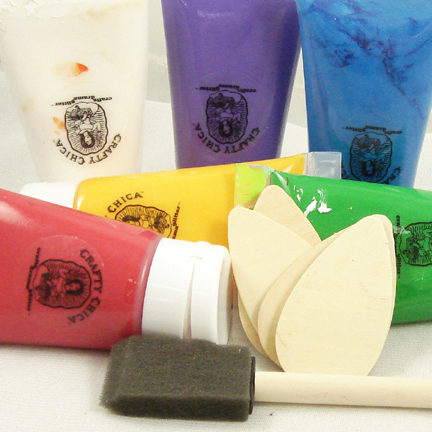
 Paint
PaintThe raw wood aisle at the craft store is always one of my faves. I found these rain drop shaped wooden discs that work perfectly for necklaces. Mix Crafty Chica Paint to get desired shade and use a sponge brush to apply two coats. Allow to dry completely.
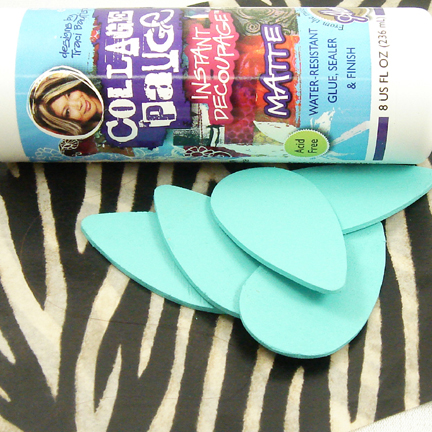
 Collage
Once your paint has dried add decorative papers to the wood to add interest. I used Collage Pauge and zebra print
Decopatch paper. Allow to dry.
 Glue
GlueOnce my custom resin cabochons had set up and been sanded I used Liquid Fusion Glue to attach them to my wooden rain drops.
 Drill
DrillUsing a
Dremel I drilled holes at the tops of all my wooden drops. Next using an eye pin, plastic flower petals, small heart shaped lockets and beads I did some wire wrapping. The wrapping not only adorned my pendants with funky flowers it also gave them loops at the top for hanging.
 String
Using jewelry wire and beads string your necklace into desired pattern. Finish the ends with crimp beads and clasp.
If you can't make it out to the
Austin Art Garage tonight, never fear the art will be up all month long. If you don't live in Austin check out art by
Hope Perkins and
Cory Ryan online!