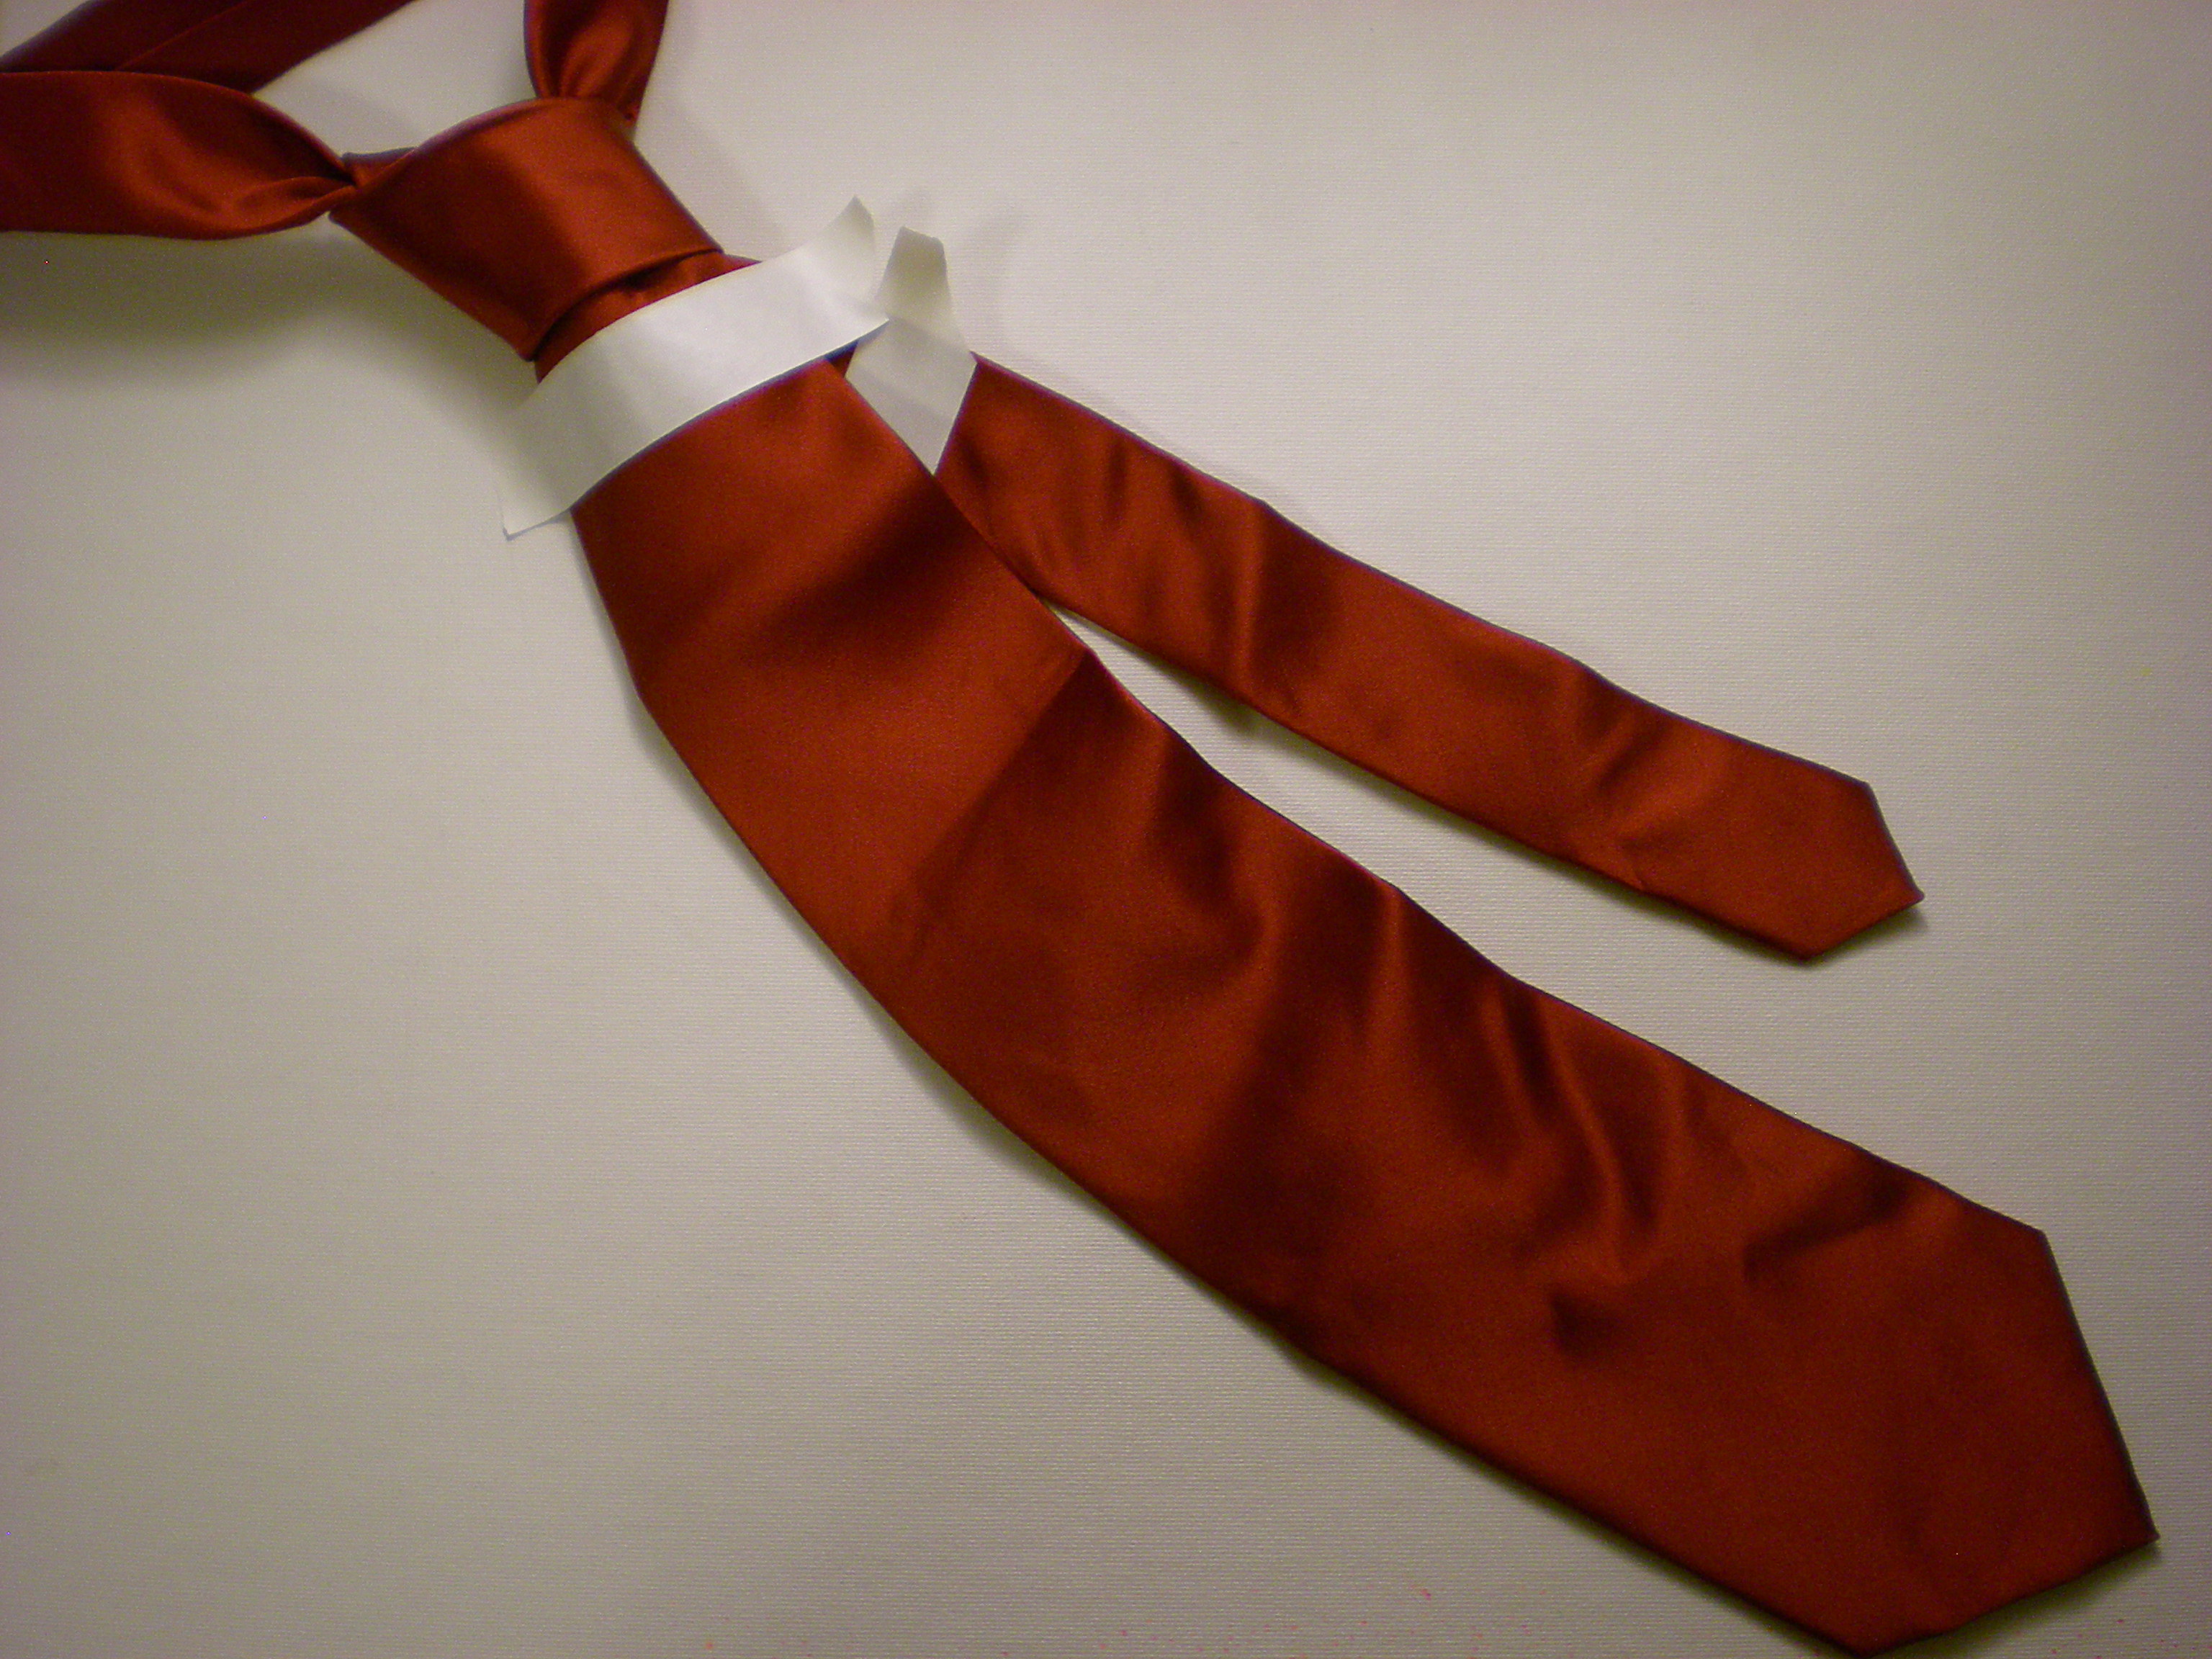
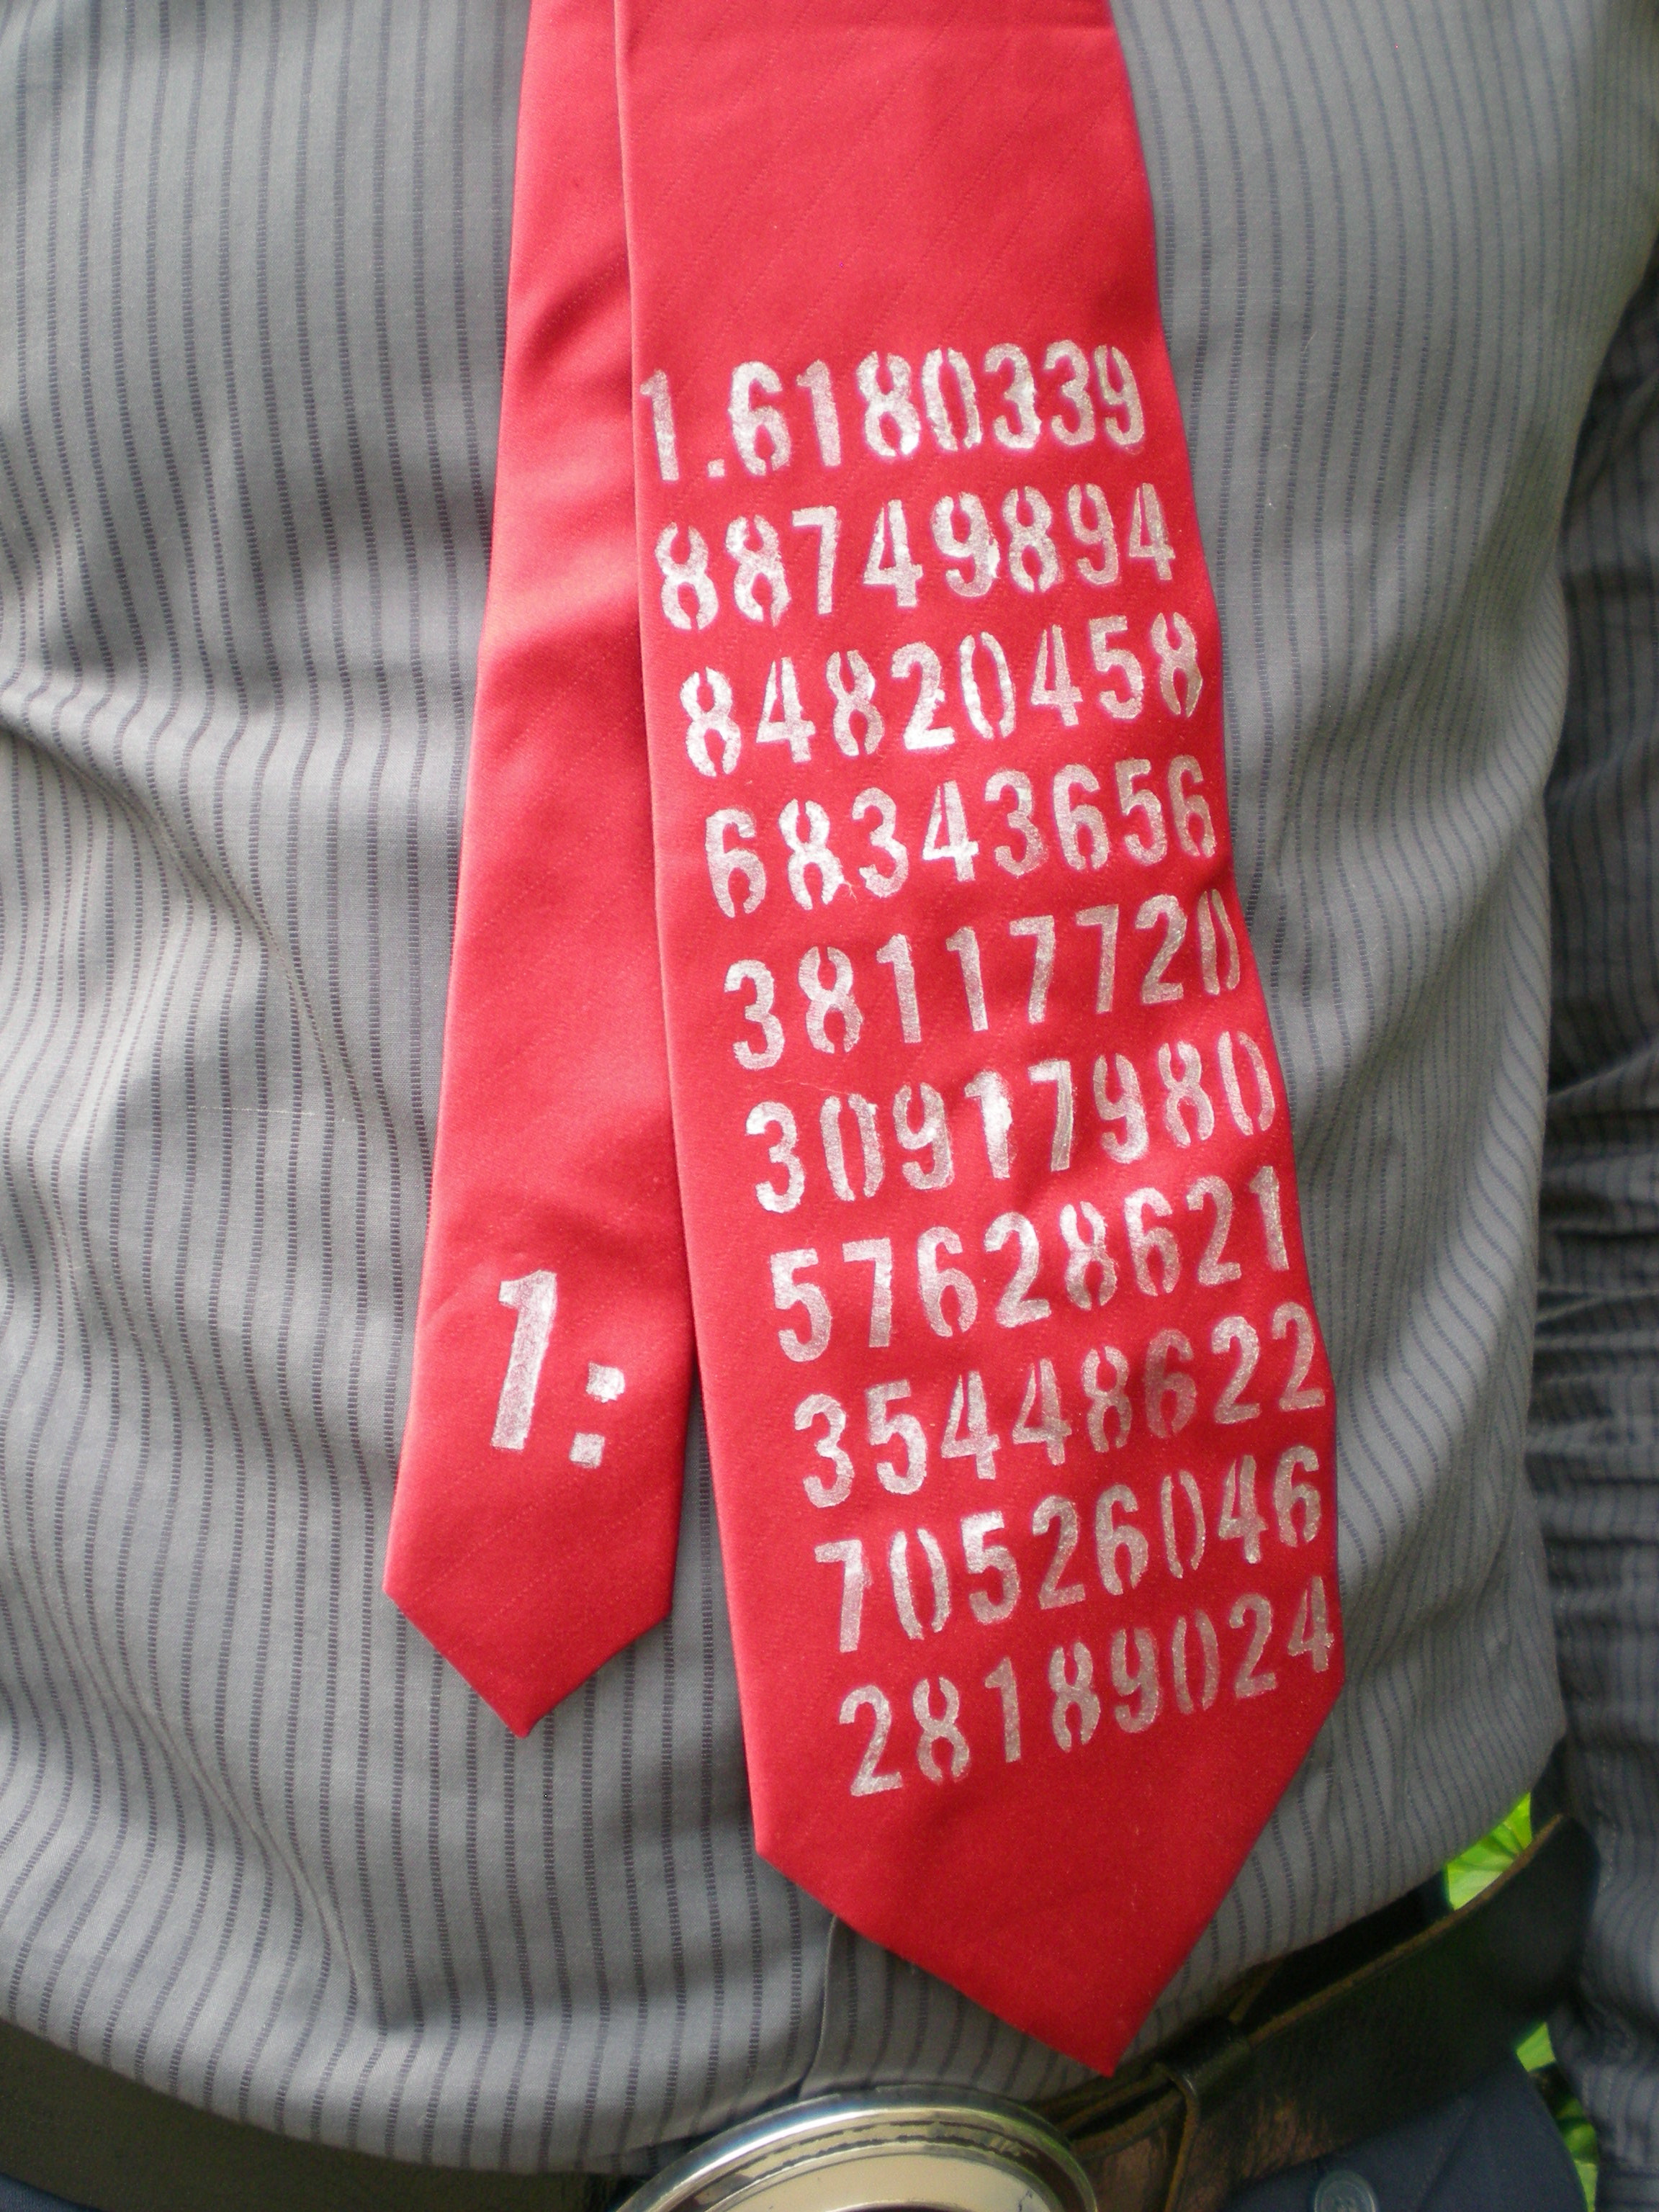
I know, I know -- a tie can be the ultimate in clichéd gifts for dad. But hear me out: The problem isn't with ties themselves, it's boring ties. Below is a technique for making a one-of-a-kind tie for that one-of-a-kind guy. Note: Lest there be any confusion, the photo below is not my dear ol' dad, but my charming husband, who's always a good sport when it comes to modeling my projects!
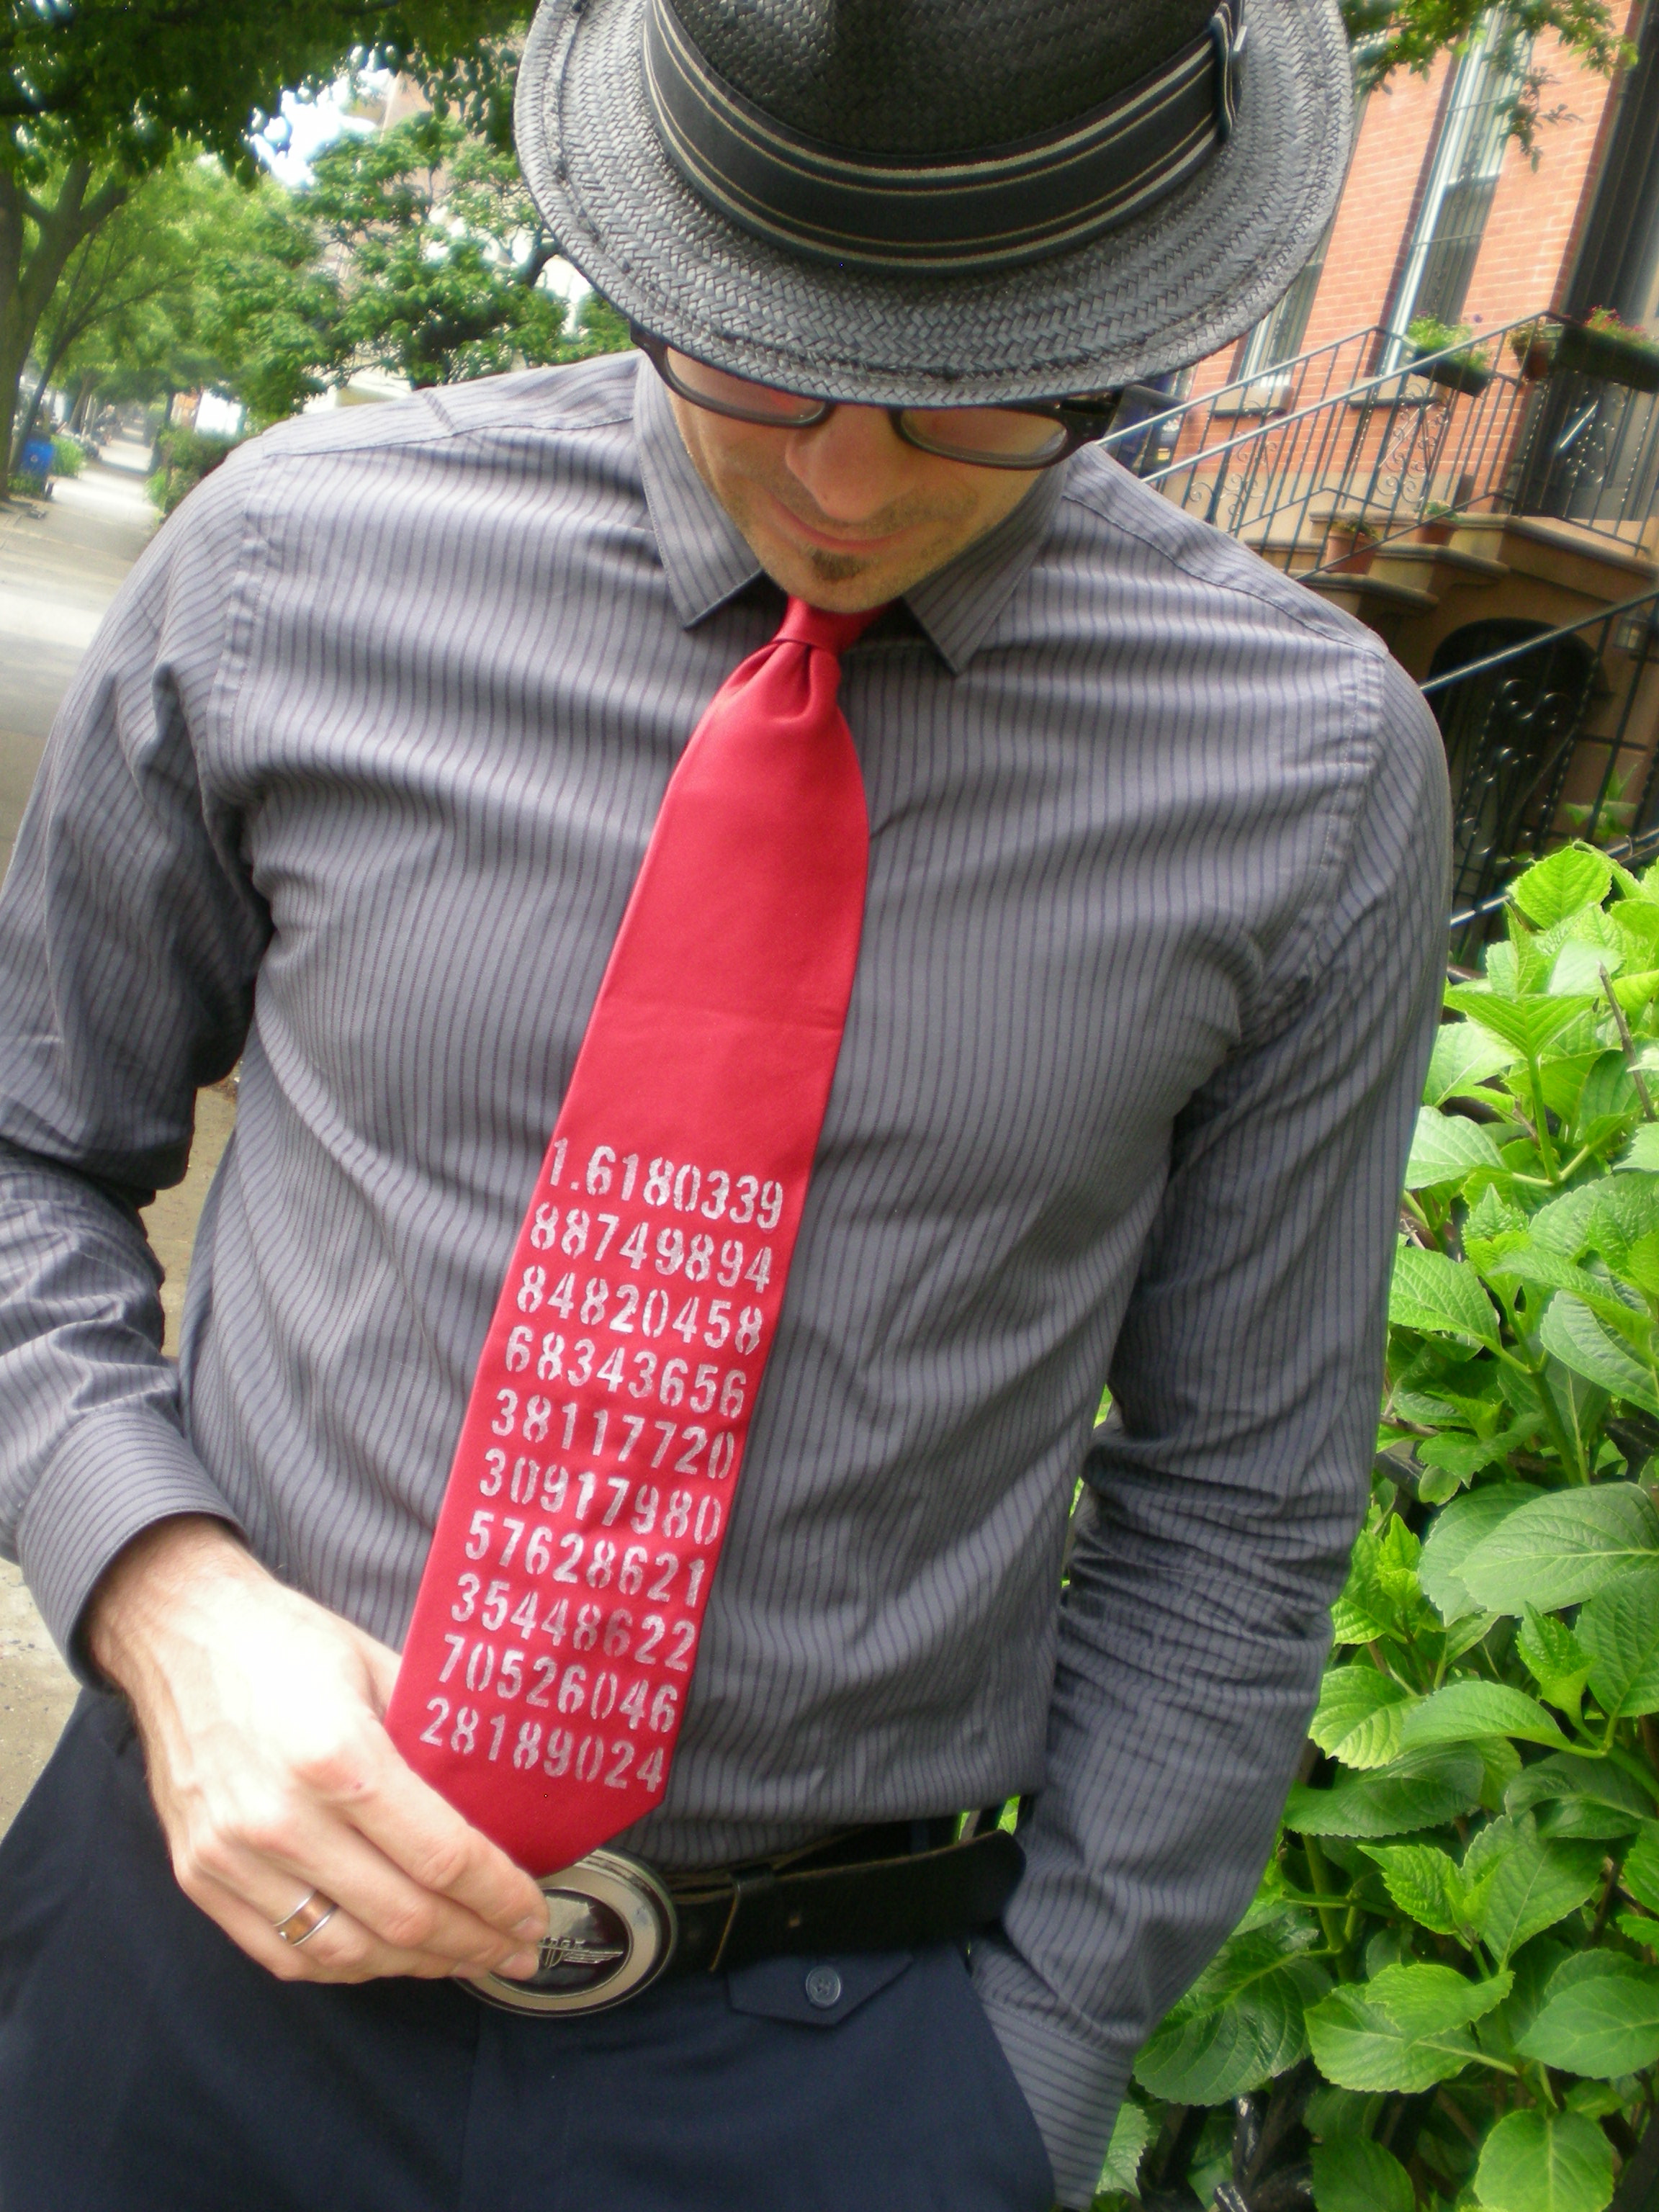
I have a history of making ties for my dad -- not because he's necessarily a tie-wearing kind of guy, but the school where he teaches has a dress code. And it states that all the guys have to wear a tie. It seems a little silly, given that he's an art teacher and a tie dangling in a tray of photo developer or getting splattered with clay in the ceramics room is far from ideal, but he's always embraced the tie with a great bit of humor and creativity.
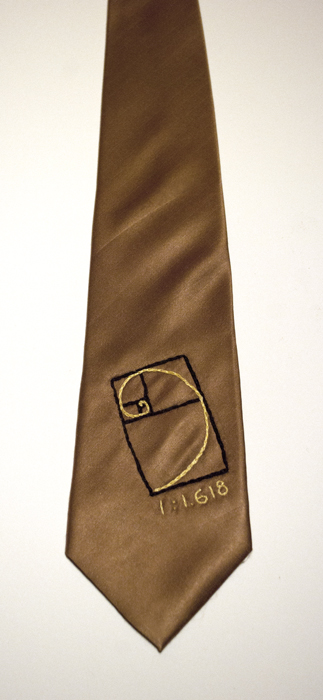
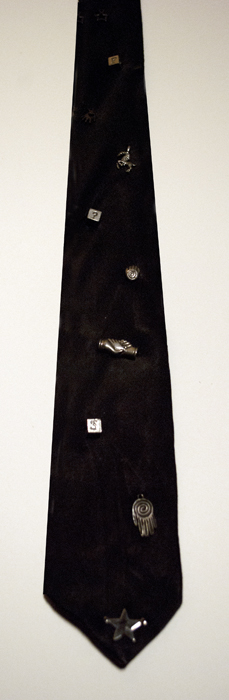
Though we couldn't dredge up the handmade tie I gifted him when I was 7 (suffice it to say, I must have cut out the tie myself, too, because it was about 6" wide and at least 6" too short), I decorated it with felt pieces arranged into the shape of a smiley face. In high school, I was obsessed with trips to the bead store, so I stitched some metal charms onto a black silk tie (above left). More recently, I embroidered the golden spiral inside a golden rectangle on the end of a tie (above right). But for my dad's next tie, I'm using fabric paint. Here's a project that a kid of any age can get into, and any dad will appreciate.
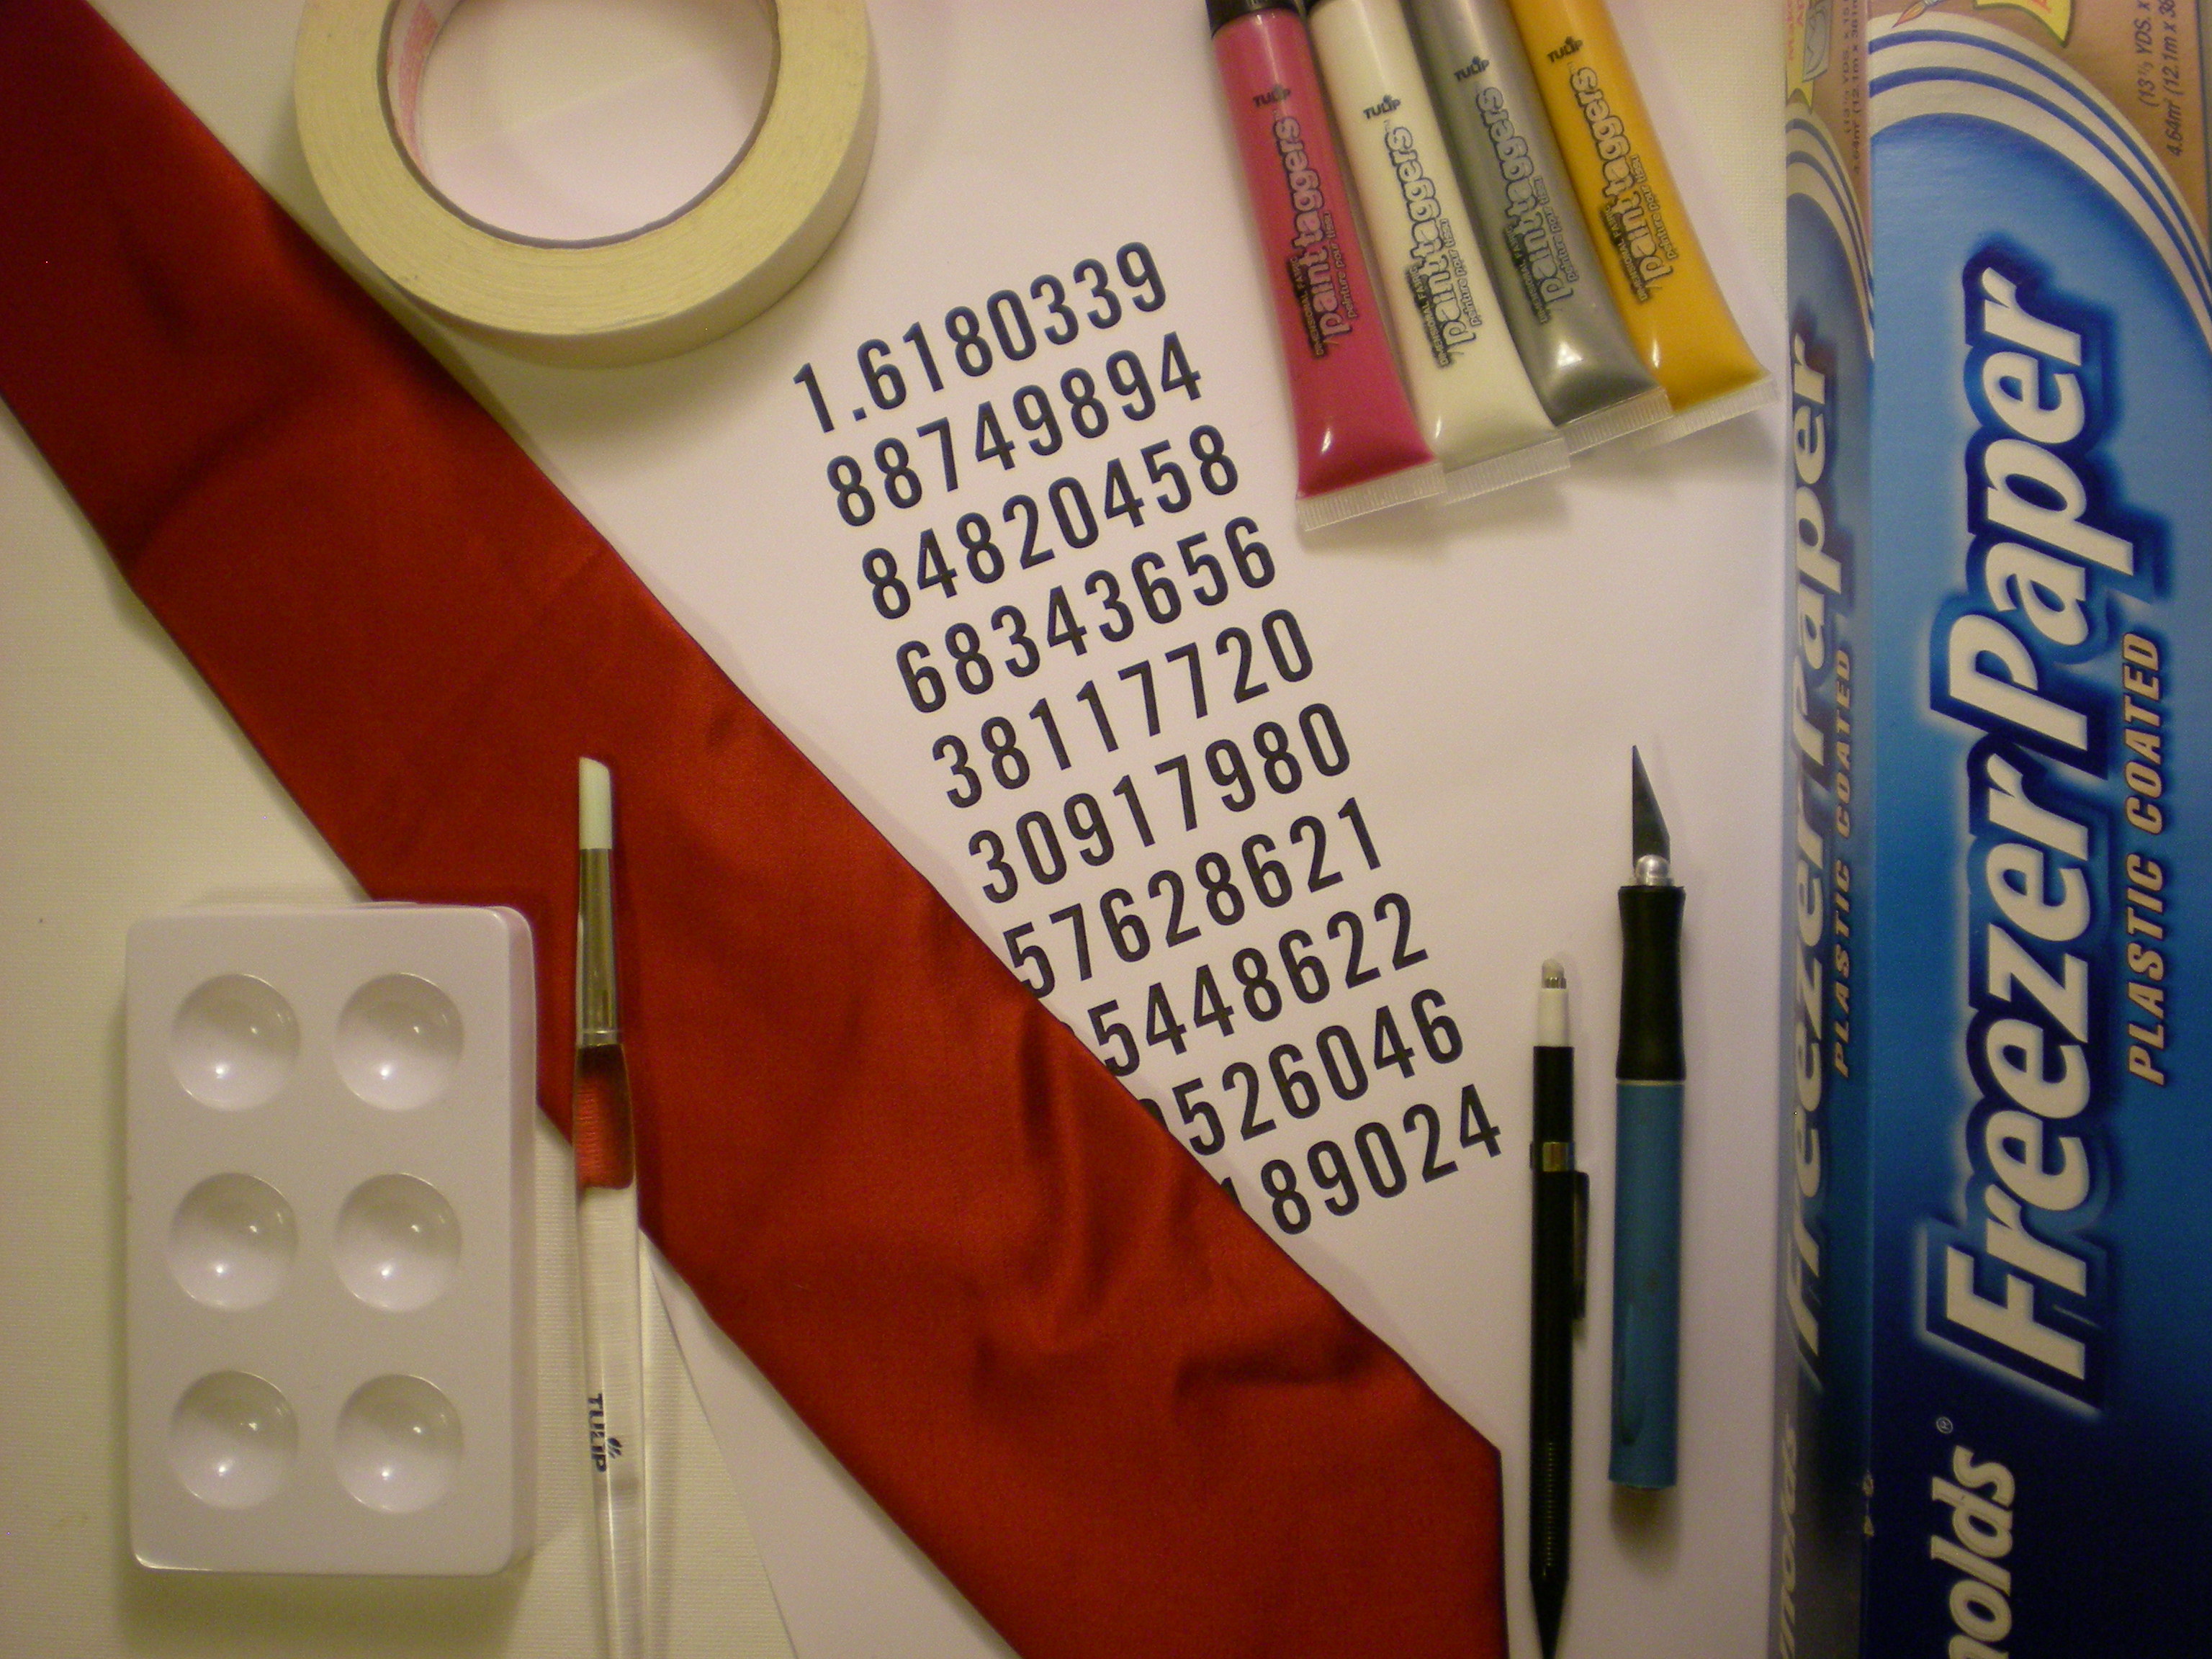
Materials:
-Plain necktie
-Image or pattern to turn into a stencil
-Freezer paper
-Pen or pencil
-Craft knife and cutting mat
-Artist's tape
-Tulip Fashion Graffiti Paint Taggers fabric paint
-Round paintbrush (for stenciling)
Make it:
1. If you have the option, first tie the tie properly and mark the areas of fabric that will be most visible (it would be a shame to spend time on some delicate design only to have it hidden in the middle of the knot or under the collar). Otherwise, it's wise to keep the design down on the widest part of the tie. (I marked my tie, but then decided to keep the design near the ends.)
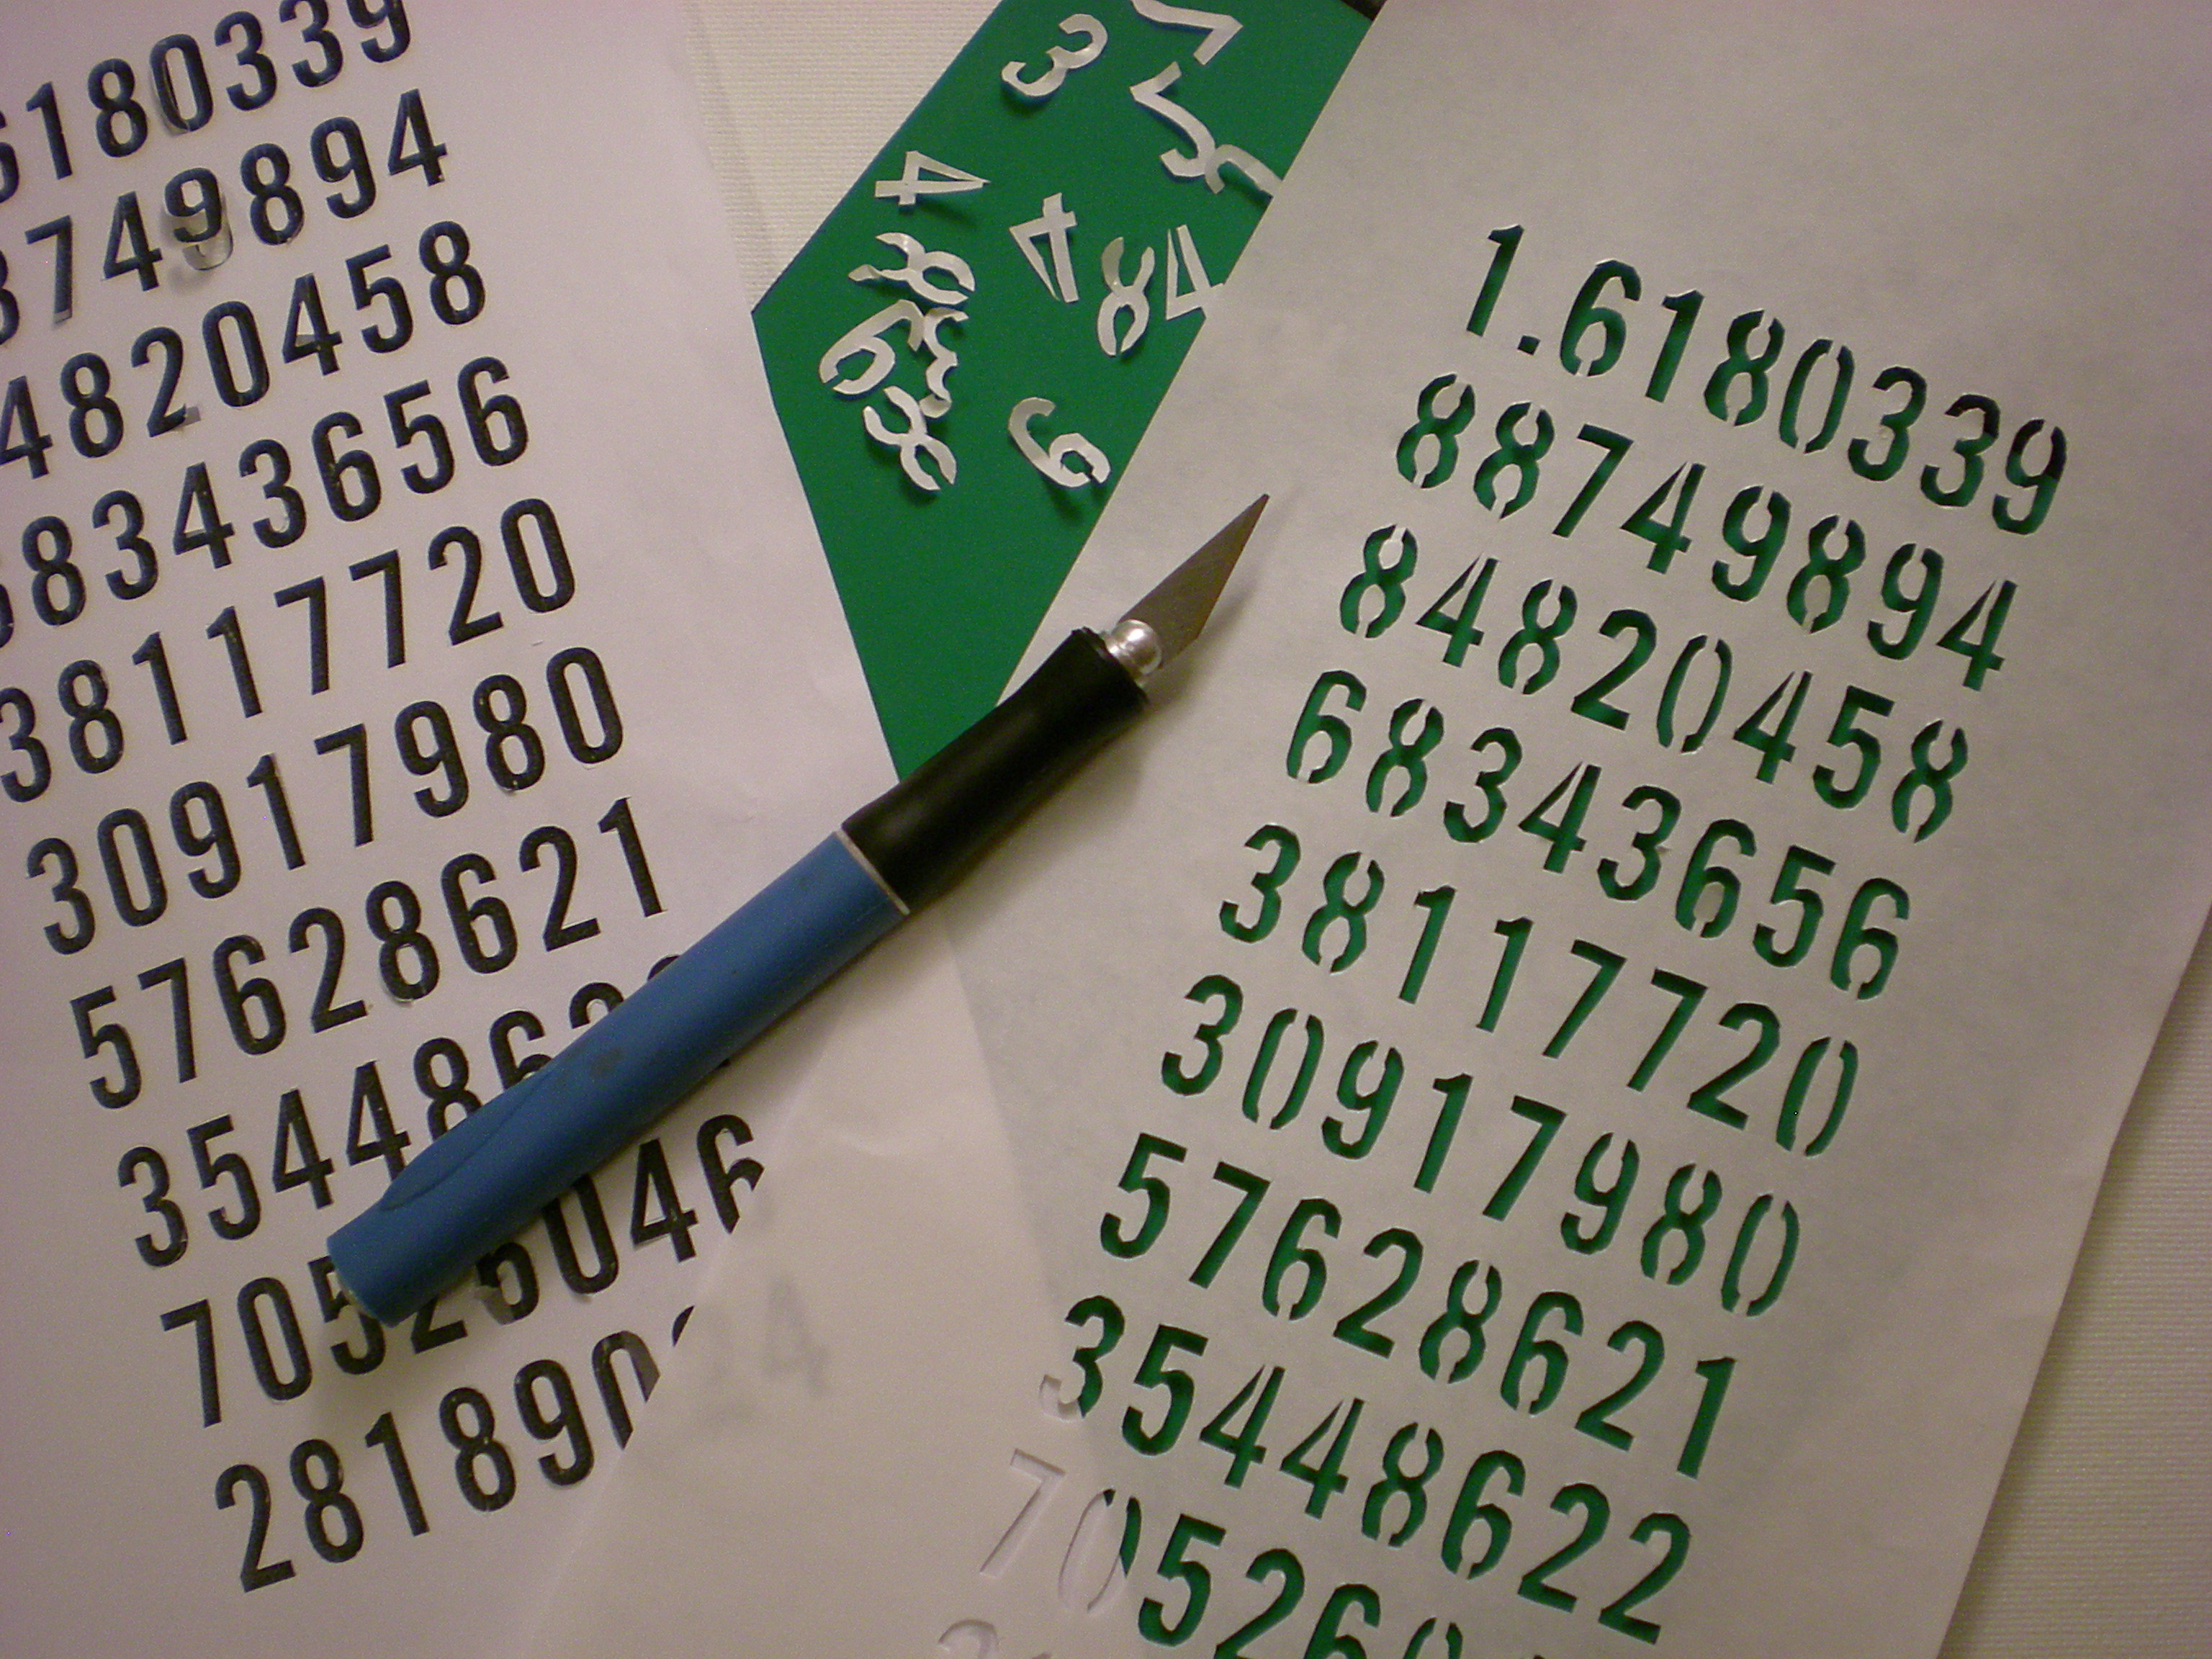
2. Choose your design and print it out. My dad has always been fascinated by the golden mean, a naturally existing ratio of approximately 1 to 1. 618 (see the embroidered tie above) that is used to describe the relationship of many living things found on earth (it's in the pattern of the seeds in a sunflower, the architecture of the spiral chambers in a shell, the growth of leaves on a plant stem, the ratio of hand to elbow and head to torso, and so on...). My dad even designed the house I grew up in using this ratio as the model. Then layer a piece of freezer paper over the printout and trace it. If you use letters or numbers (like I did), make sure you add the appropriate vertical lines to the type treatment so that when it comes to cutting and painting, you don't end up with an "O" or a zero that's missing its center. Use the craft knife to carefully cut out the stencil. Note: At this point, yes, I fully recognize that "#1 Dad" would have been far easier, but hey, it's all about personalization, and he happens to be my "#1 to 1.618033988749894848204586343656 Dad."
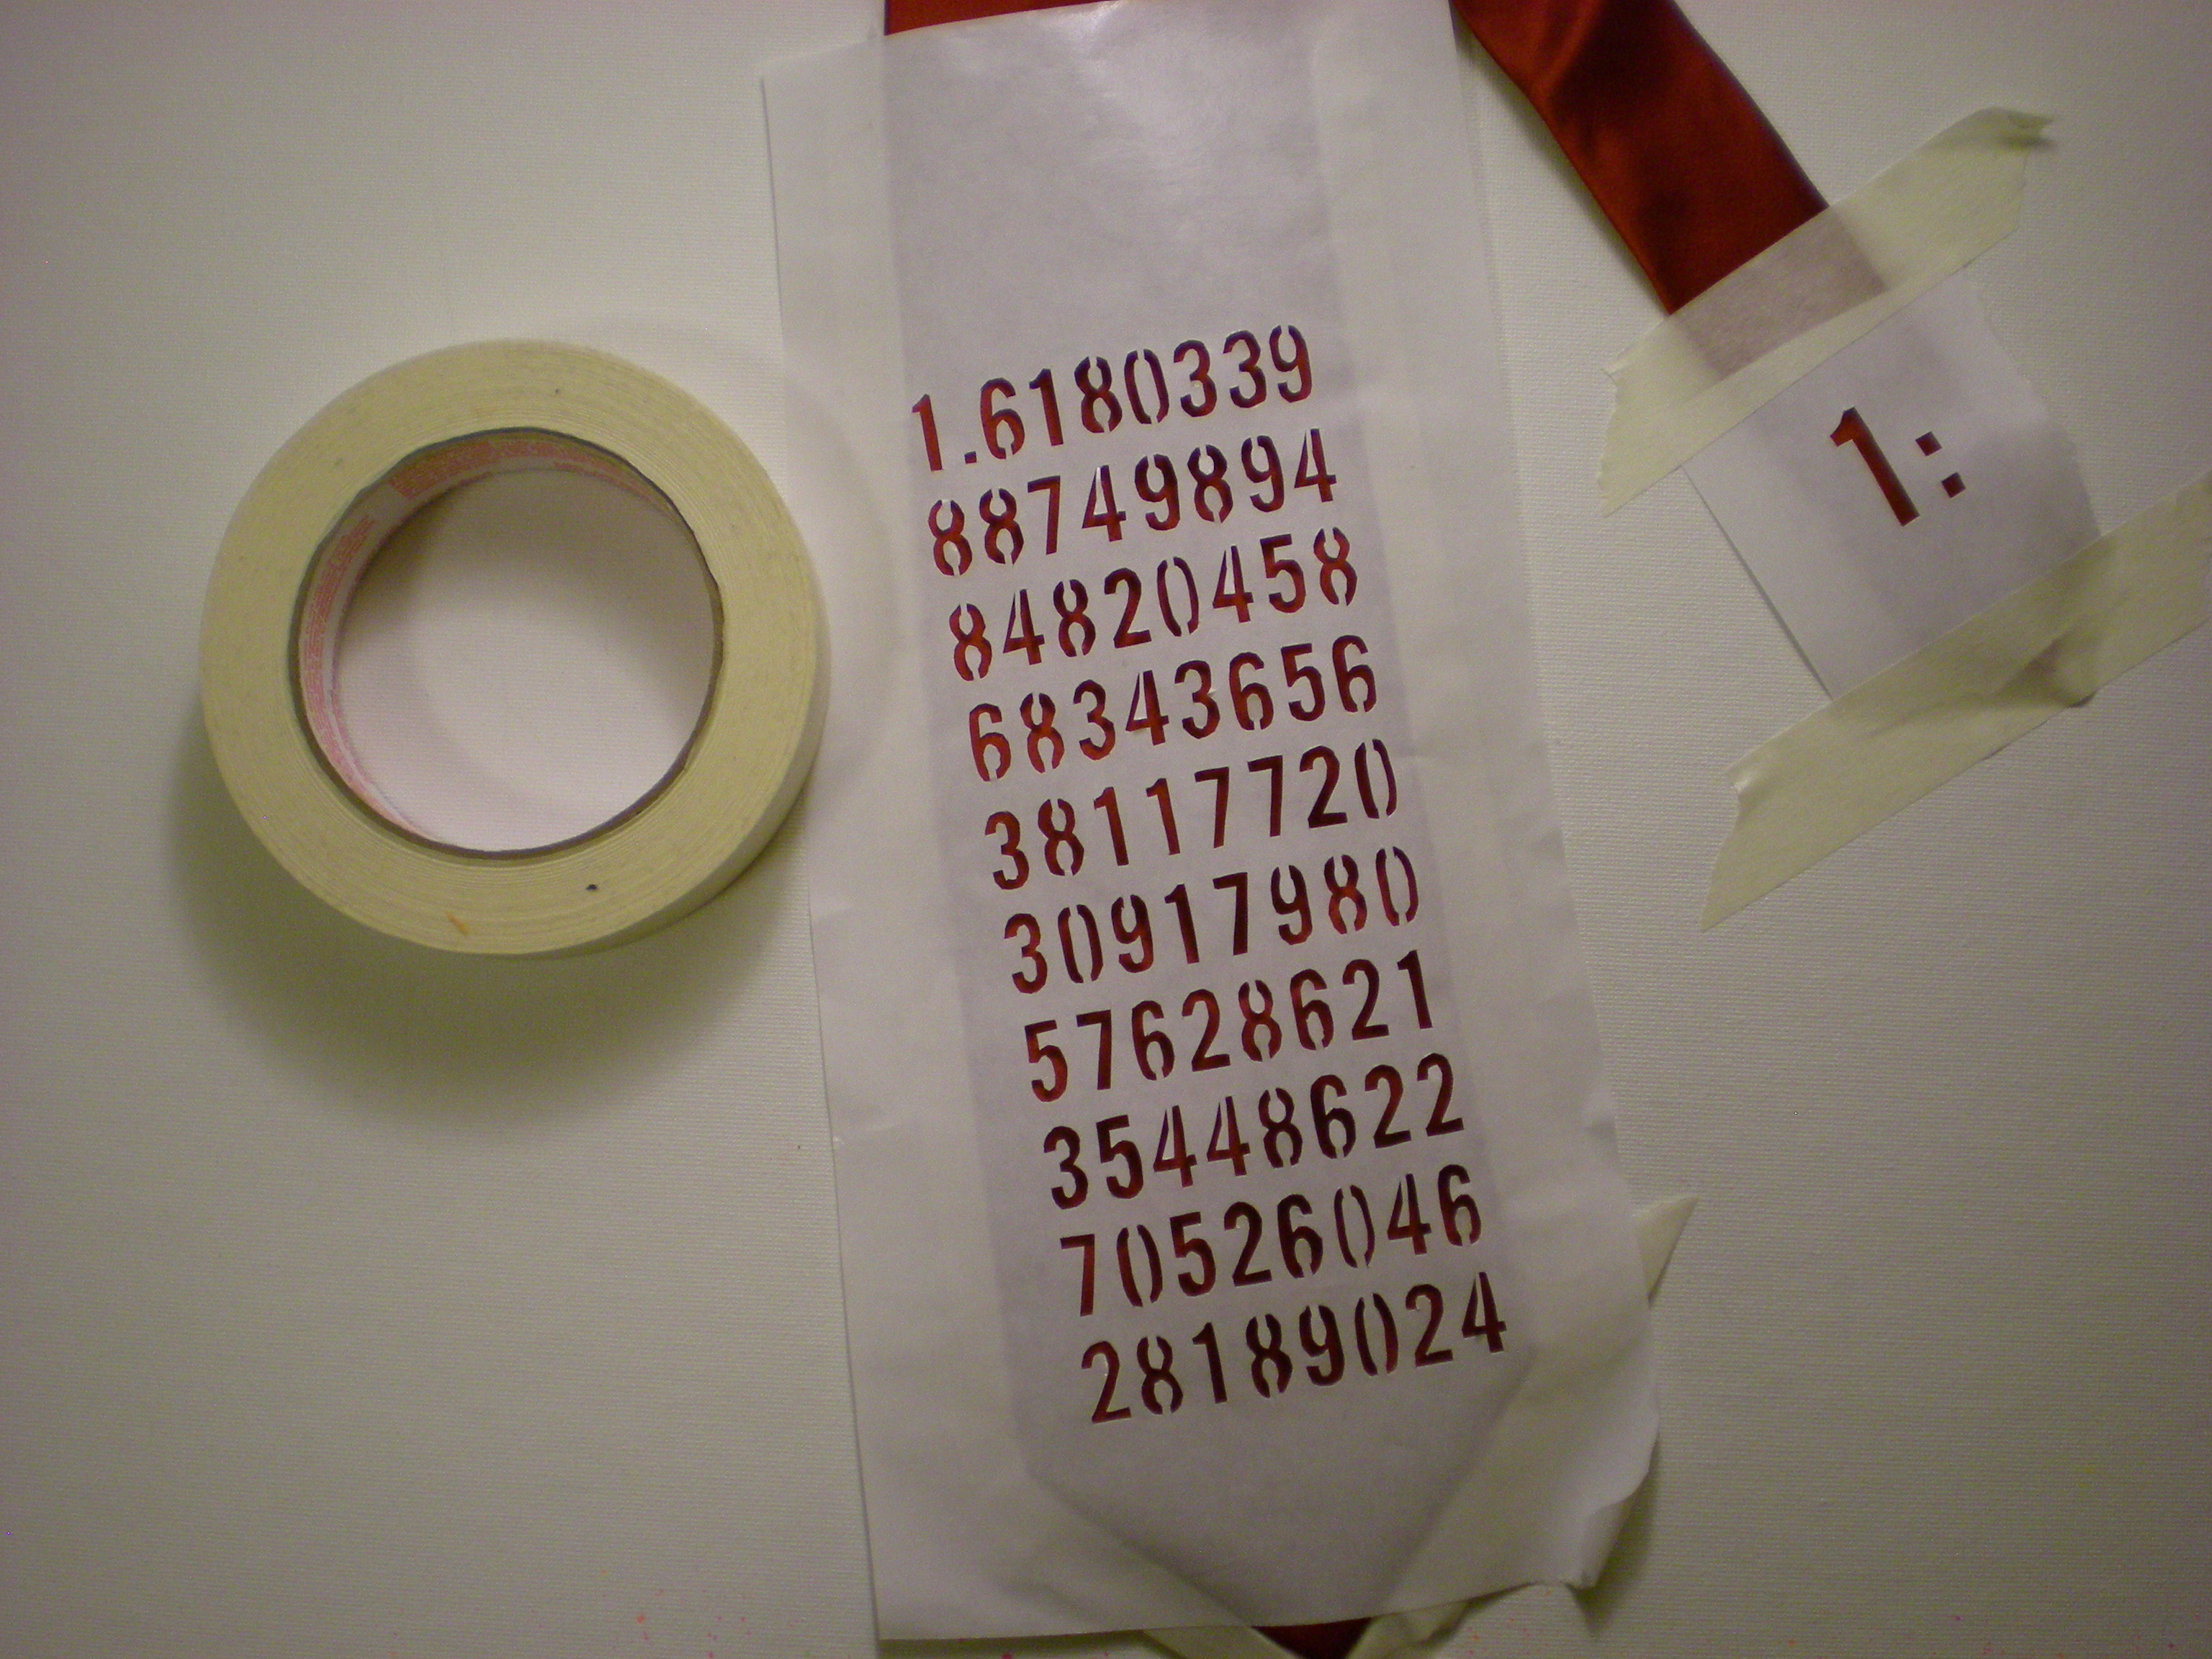
4. Arrange the stencil over the tie and tape it in place to prevent shifting. (I taped the front and back to make sure it was secure.) Note: Artist's tape should peel off well, but test a piece on the back of the tie to make sure it won't damage the fabric.
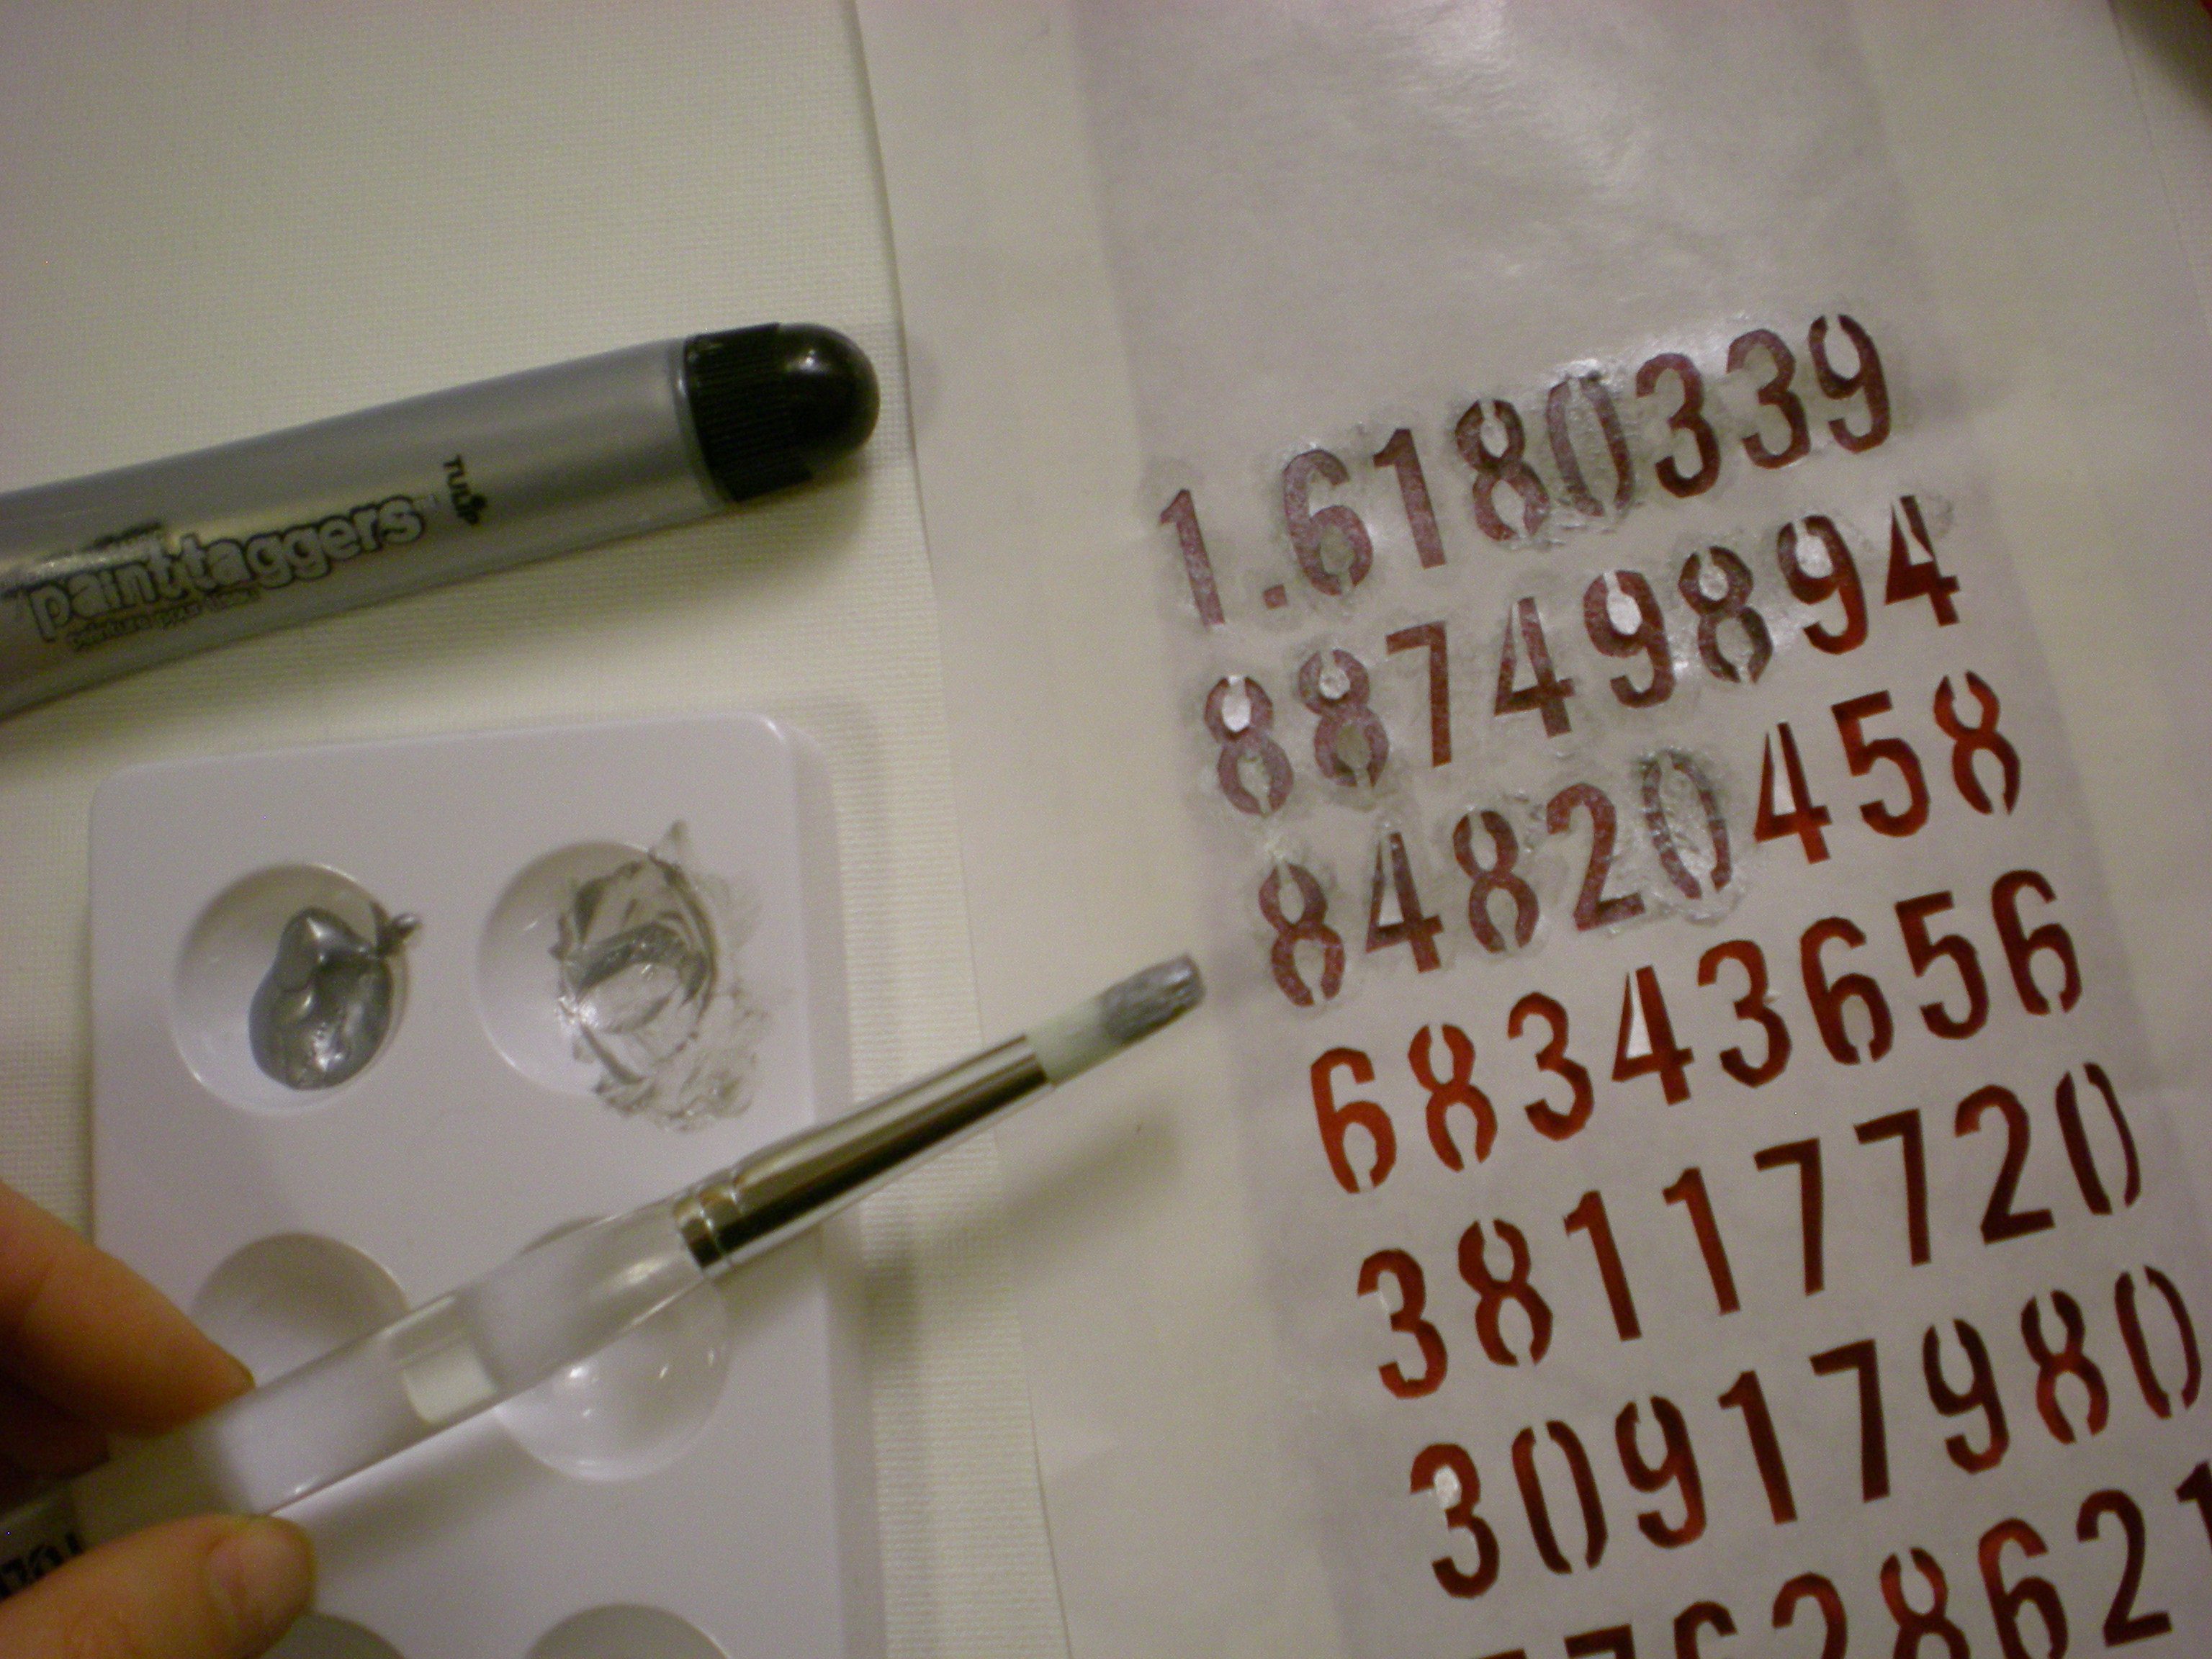
5. Adding very little paint at a time, dab the brush over the stencil. I picked a metallic silver paint, because I like the sheen and my dad can handle a little flair. To keep the paint from spreading underneath the edges of the stencil, hold the brush vertically so the bristles are perpendicular to the paint surface, and use a blotting motion.
6. When you finish painting (don't forget the short end of the tie -- I decided to incorporate the first part of the golden ratio there, but you could also hide any semi-secret message there), let it dry.
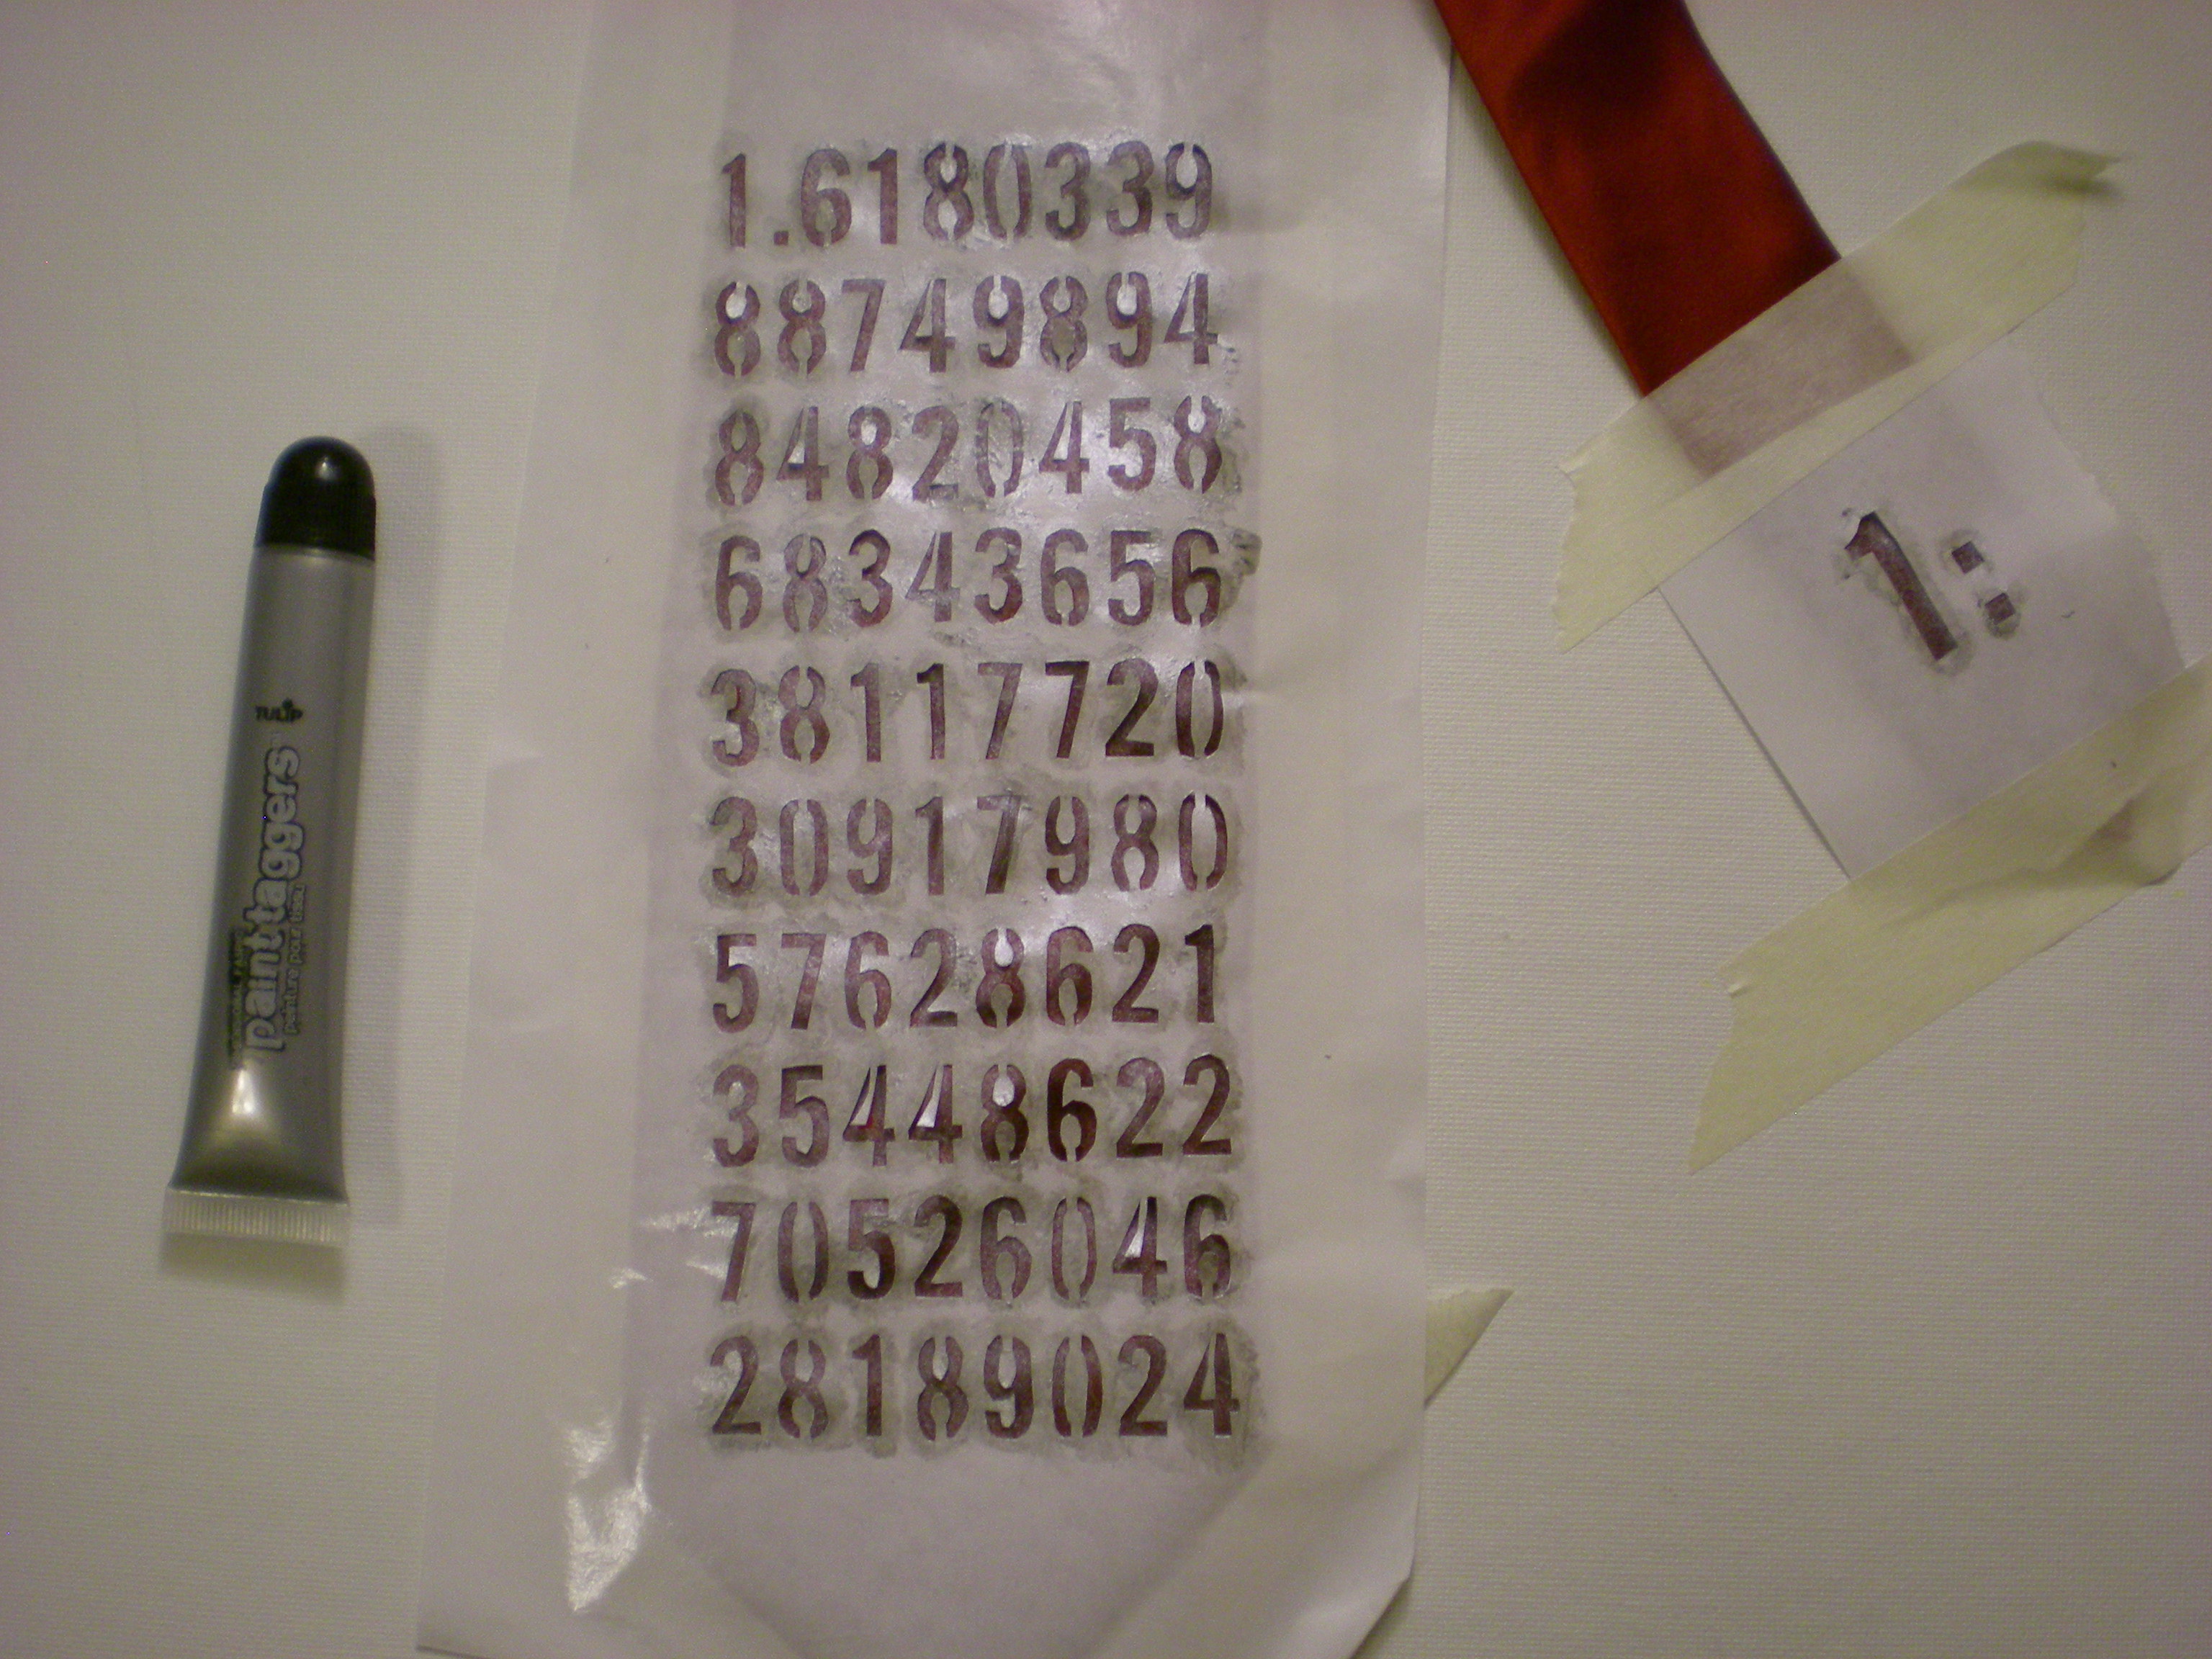
7. When the paint has dried completely, carefully remove the tape and peel the stencil off the tie.
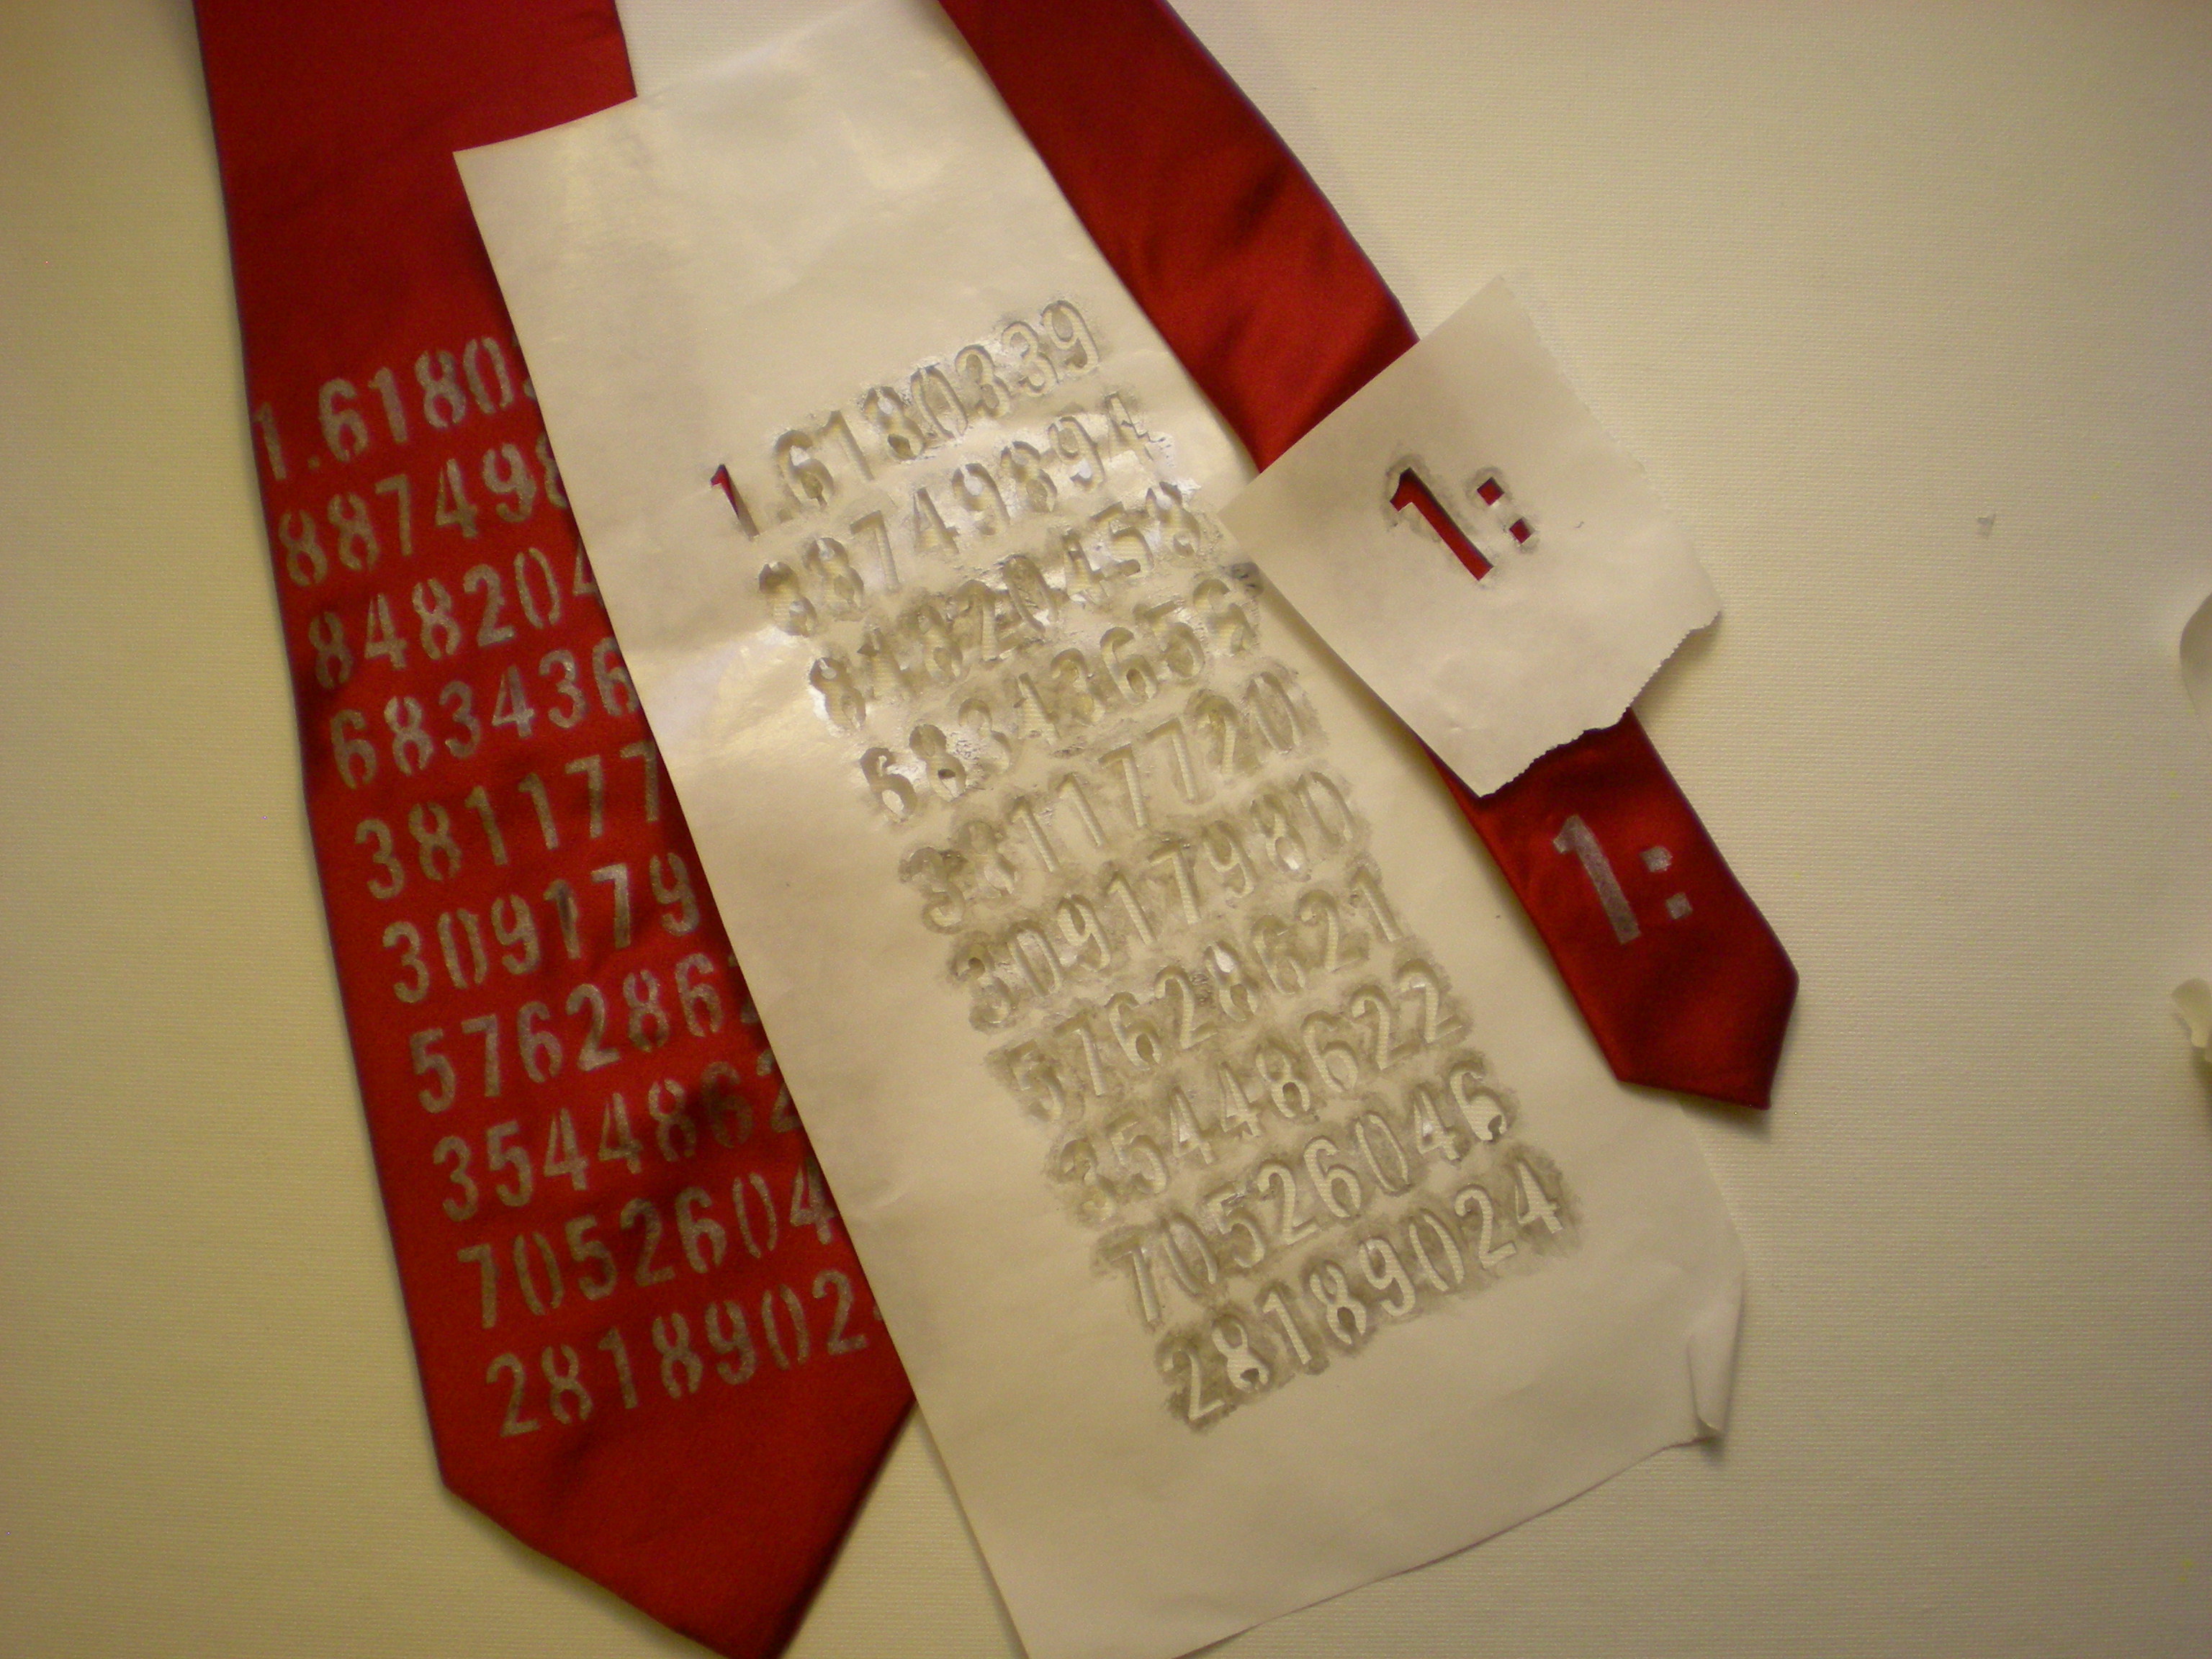
7. Now it's time to gift it. (Or convince your husband that he has to try it on this morning before he goes to work so you can photograph it before you pack it up and ship it off in time for Father's Day on June 19!)
Variations:
-For different pattern ideas, try any of the paint or sticker techniques in my 4 Ways to Spray post.
-Forget the stencils altogether and freehand a design with fabric paint.
-Forget the paints altogether and glue on felt appliqués!
-Bonus points if you make the tie out of T-shirts!

Visit us on Facebook!
Craft on!Click here for today's daily giveaway!


