Showing posts with label aleene's no-sew fabric glue. Show all posts

Easy, Breezy Heat Wave Tee

Tuesday, July 24, 2012
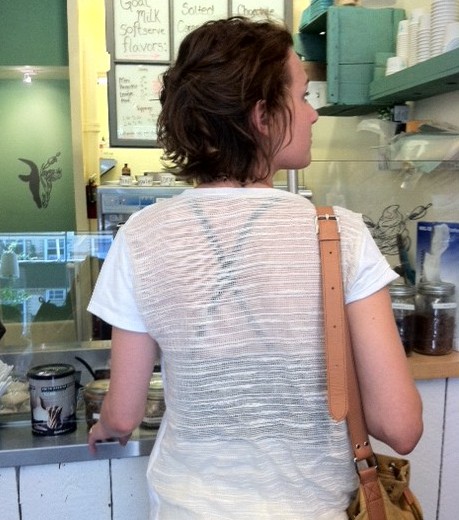
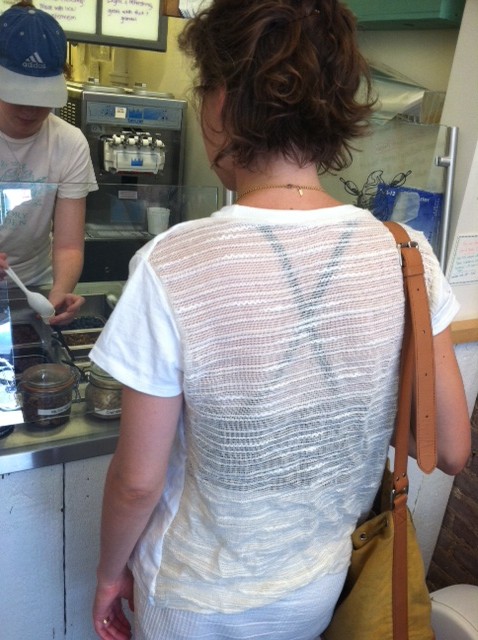
This design falls into the category of fashion as necessity: When temperatures push 90 and 100 degrees, there's little else you want to wear besides a T-shirt. But even a tee can seem stifling when you add humidity to the mix. Here's a T-shirt hack that's meant to keep the air circulating--it features a cut-out back and a looser fit. (Of course, a trip to the local ice cream haunt doesn't hurt the cooling plan either!)


I encourage you to dig into your fabric stash to find an unlikely contender for the fabric insert on this one. The fabric I used was originally purchased by my brother from a discount bin to use as a bed skirt. I inherited it when he moved, and my mom and I made curtains to filter the light in my apartment. Now the remnants have been reincarnated as part of this heat-beating T-shirt. What a life cycle! Tip: Check the give of your fabric--you shouldn't have to worry too much about working on the bias (the diagonal of the fabric) since the rest of the T-shirt will have plenty of stretch, but consider your layout before you cut!

Materials:
-regular fit T-shirt
-fabric scissors
-disappearing ink pen
-ruler
-straight pins (optional)
-Aleene's OK Wash-It fabric adhesive (or a sewing machine and thread to match your fabric)
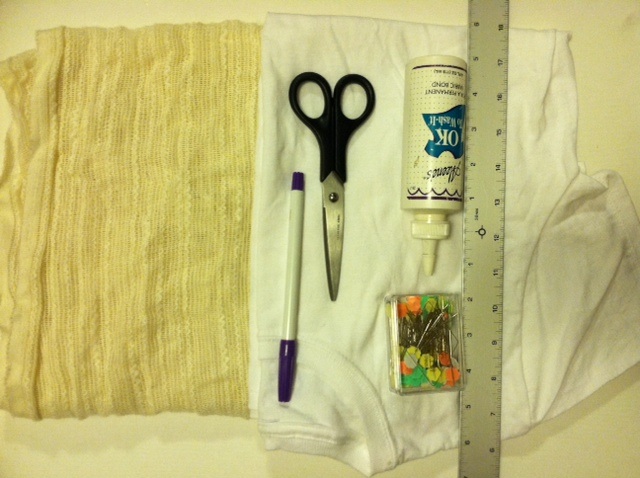


Make it:
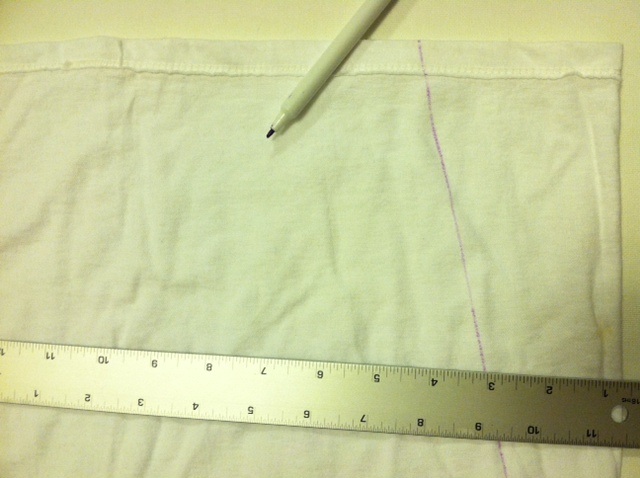
1. Turn the T-shirt inside out and lay it face down. Measure and mark about 3 1/2" to 4" in from either edge along the hem. Then draw a straight line from each mark to its adjacent sleeve (at the armpit).

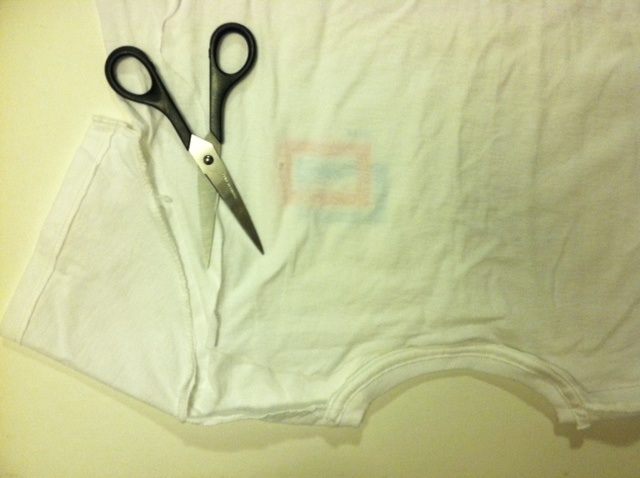
2. Cut along that line through only the back layer. Continue cutting around the sleeve, just inside the seam (again, through only the back layer), along the top shoulder seam, and along the back of the neckband. Continue cutting until the back panel of the shirt can be removed. Set the front of the shirt aside momentarily.

3. Lining up the bottom edges of the fabric pieces, lay the back panel of the T-shirt over the backing fabric and trace the panel, extending the shape on either side to accommodate for the 3 1/2" to 4" wedge that was cut away. (The extra fabric will help create the flare.) Cut out the shape from the backing fabric.
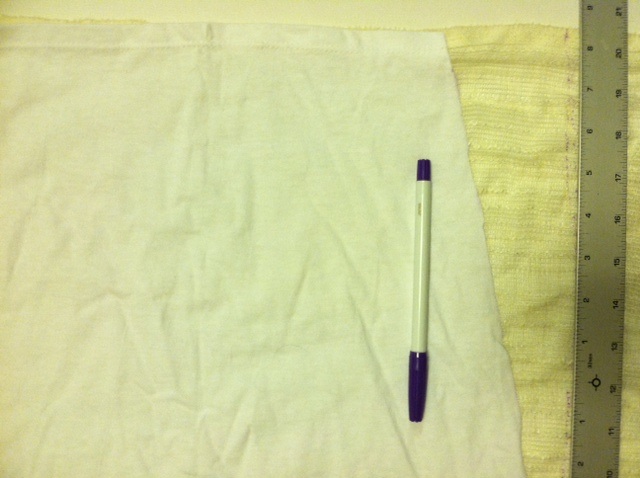

4. Lay the fabric against the front piece of the T-shirt so that the edges of the two pieces line up, right sides together. Use the permanent fabric adhesive to glue the inside edges together. Optional: Use straight pins to hold the fabric edges in place before you glue.)
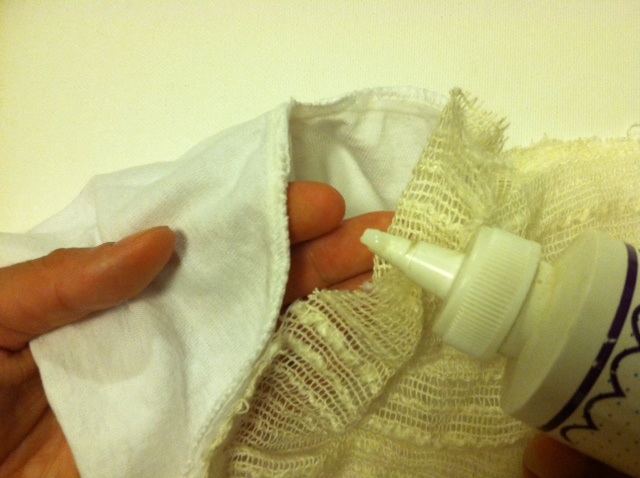

5. Ease the edges together, pinching and pressing them in place. Then let dry completely.
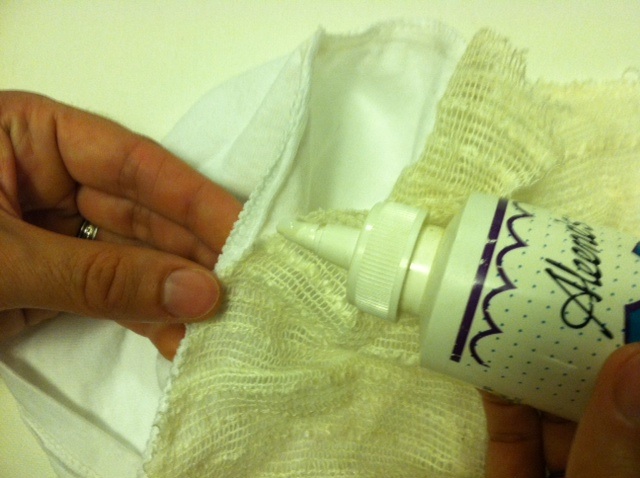

6. Turn the tee right side out and touch up any gaps along the seams.
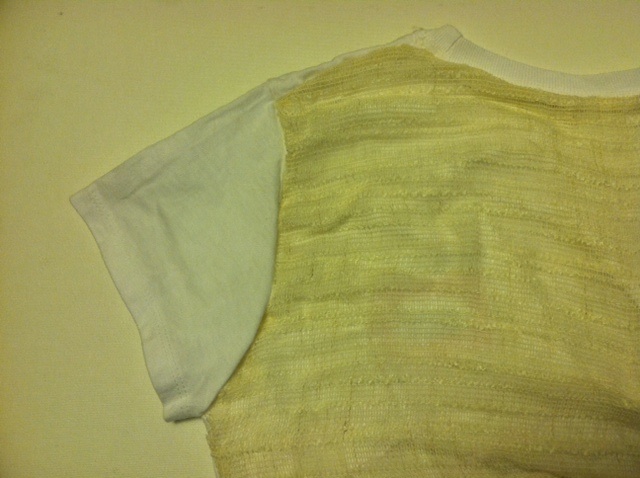

7. Layer the tee over a thin tank top if you're feeling demure, or be bold by wearing a colorful, barely there undergarment (the point is to limit the layers of fabric on the skin after all!).

Variations:
-Replace a panel along the top of the sleeve as well.
-Replace a smaller panel in the back of the T-shirt with a cotton crocheted doily.
-Make the flare more exaggerated and fluttery.
-Experiment with different fabrics (silk scarf, old mesh sports jersey, a linen table cloth).


Next up? Though I quite like the subtle contrast in whites (the stark cream with the more ivory gauze), I'm going to experiment with dye the next time I make this design!

How to: Sparkle Kitty Ear Barrettes!

Tuesday, June 28, 2011

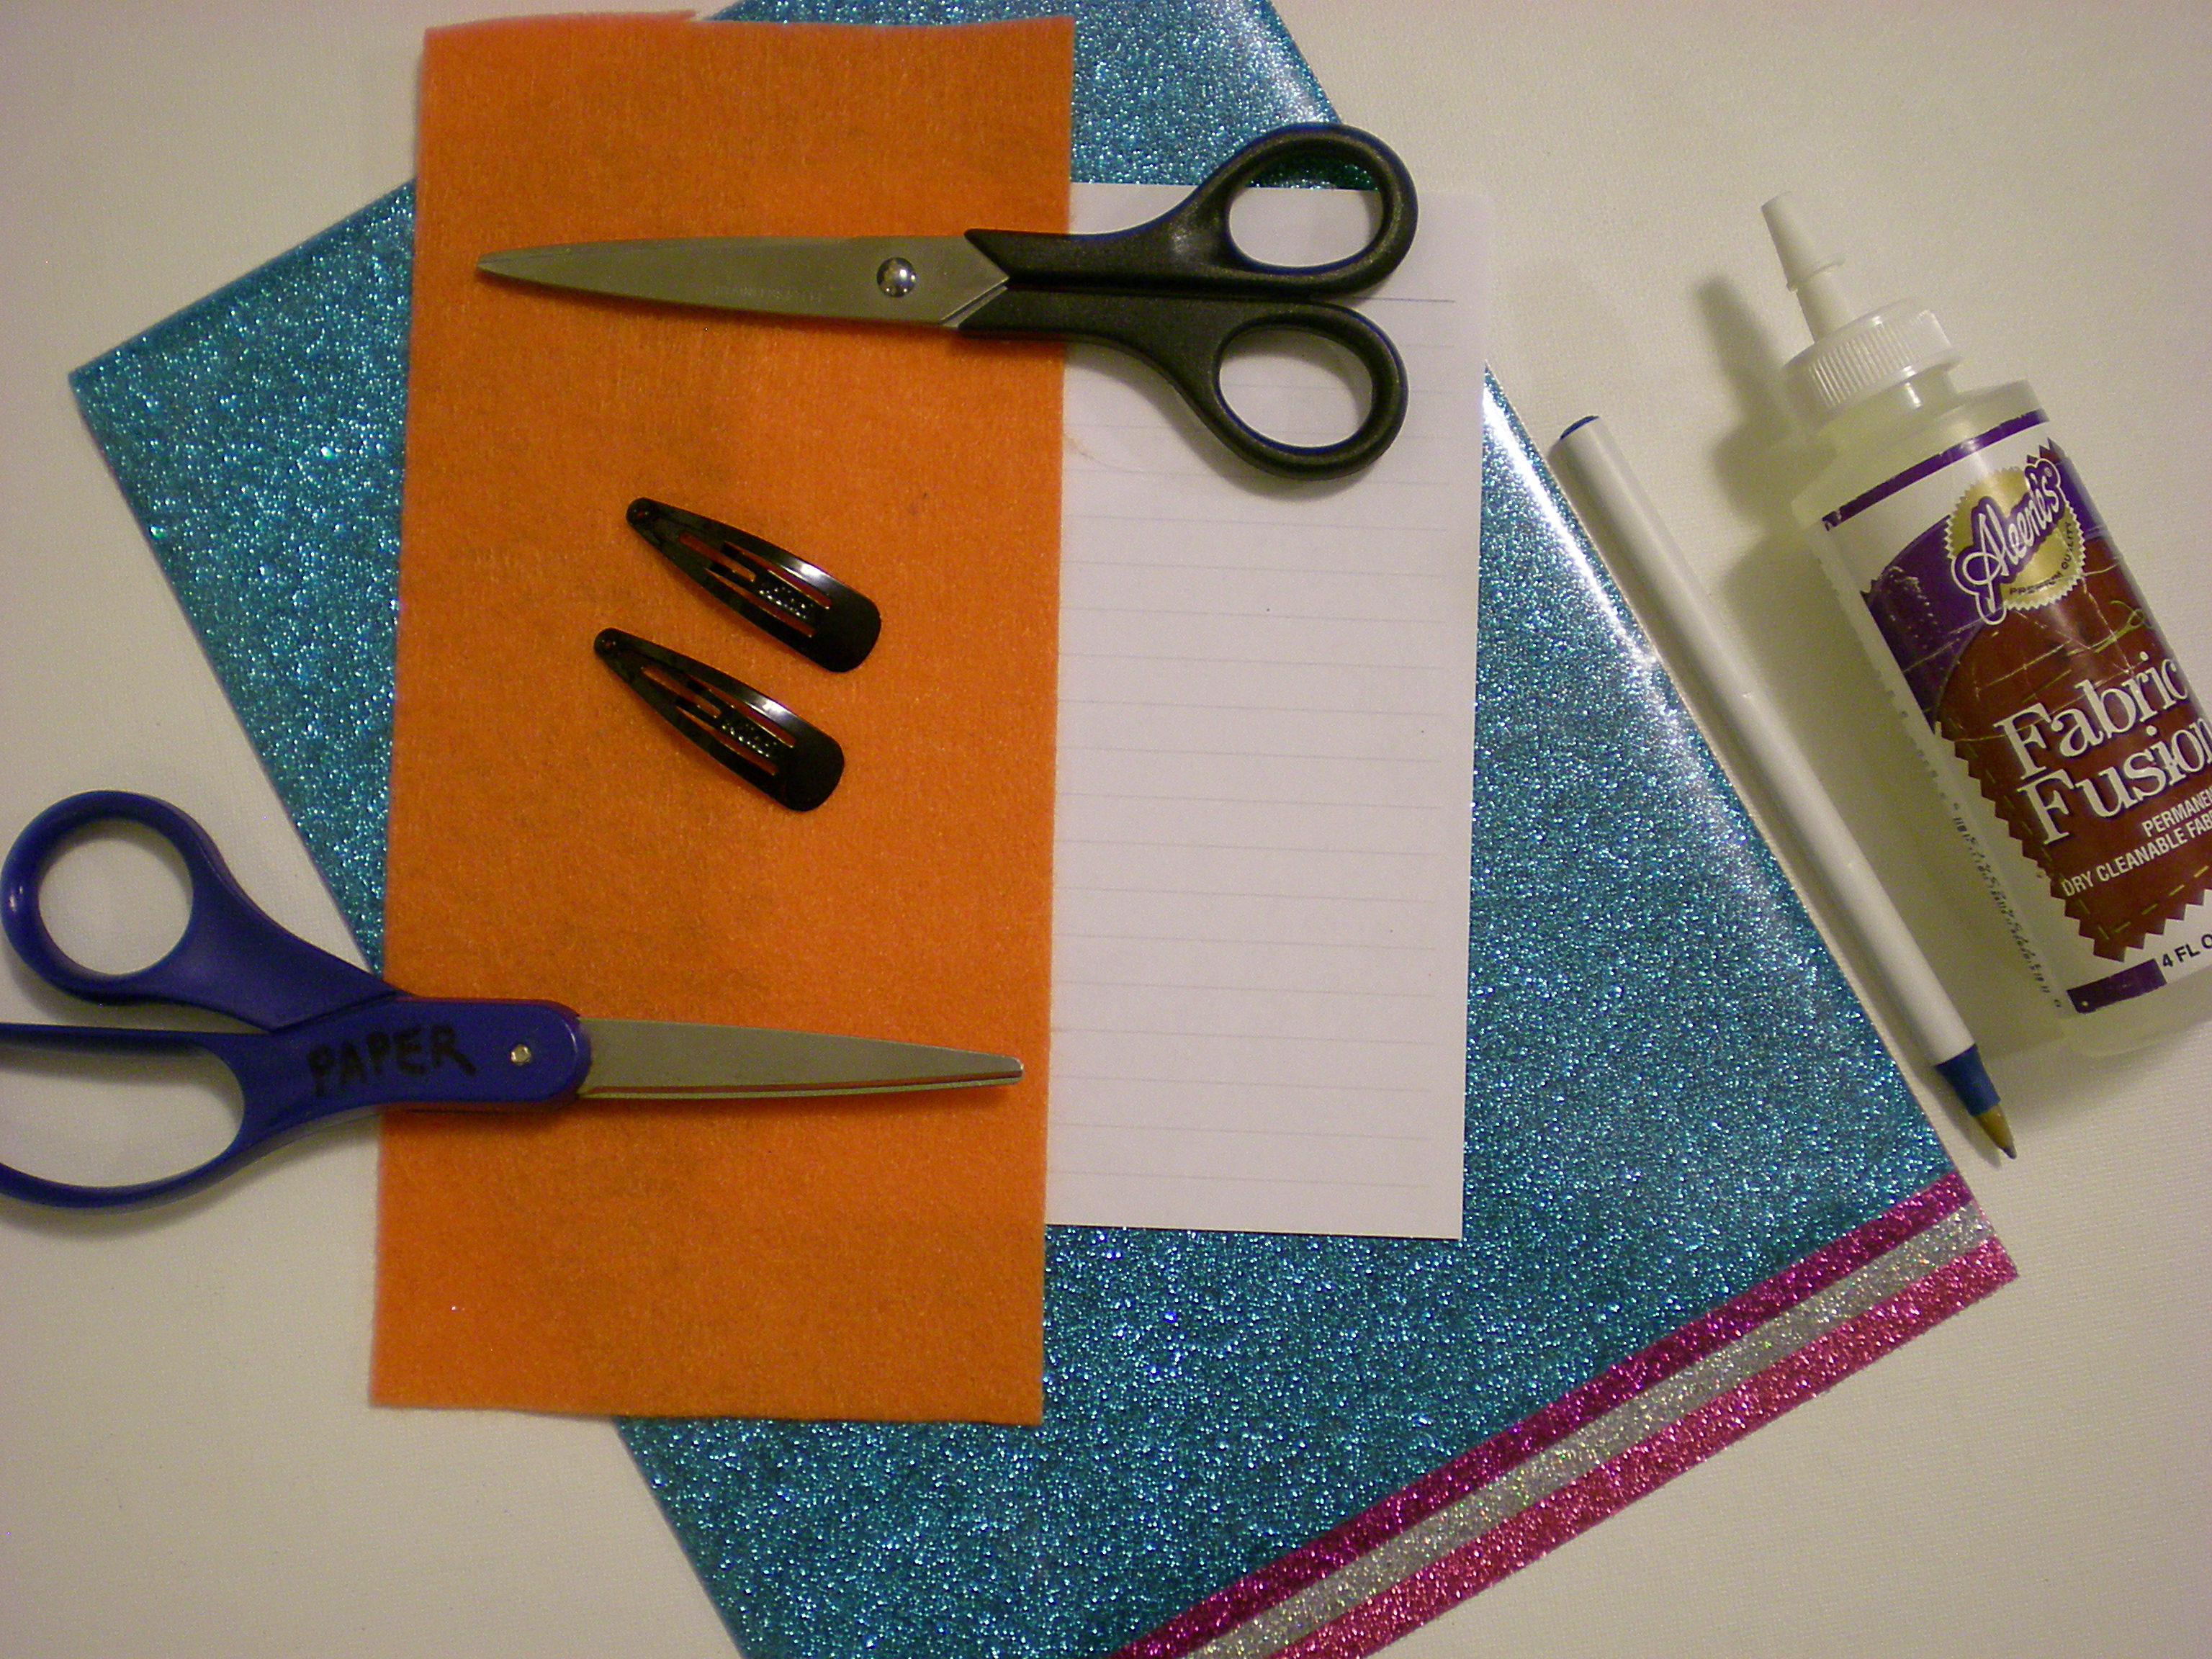
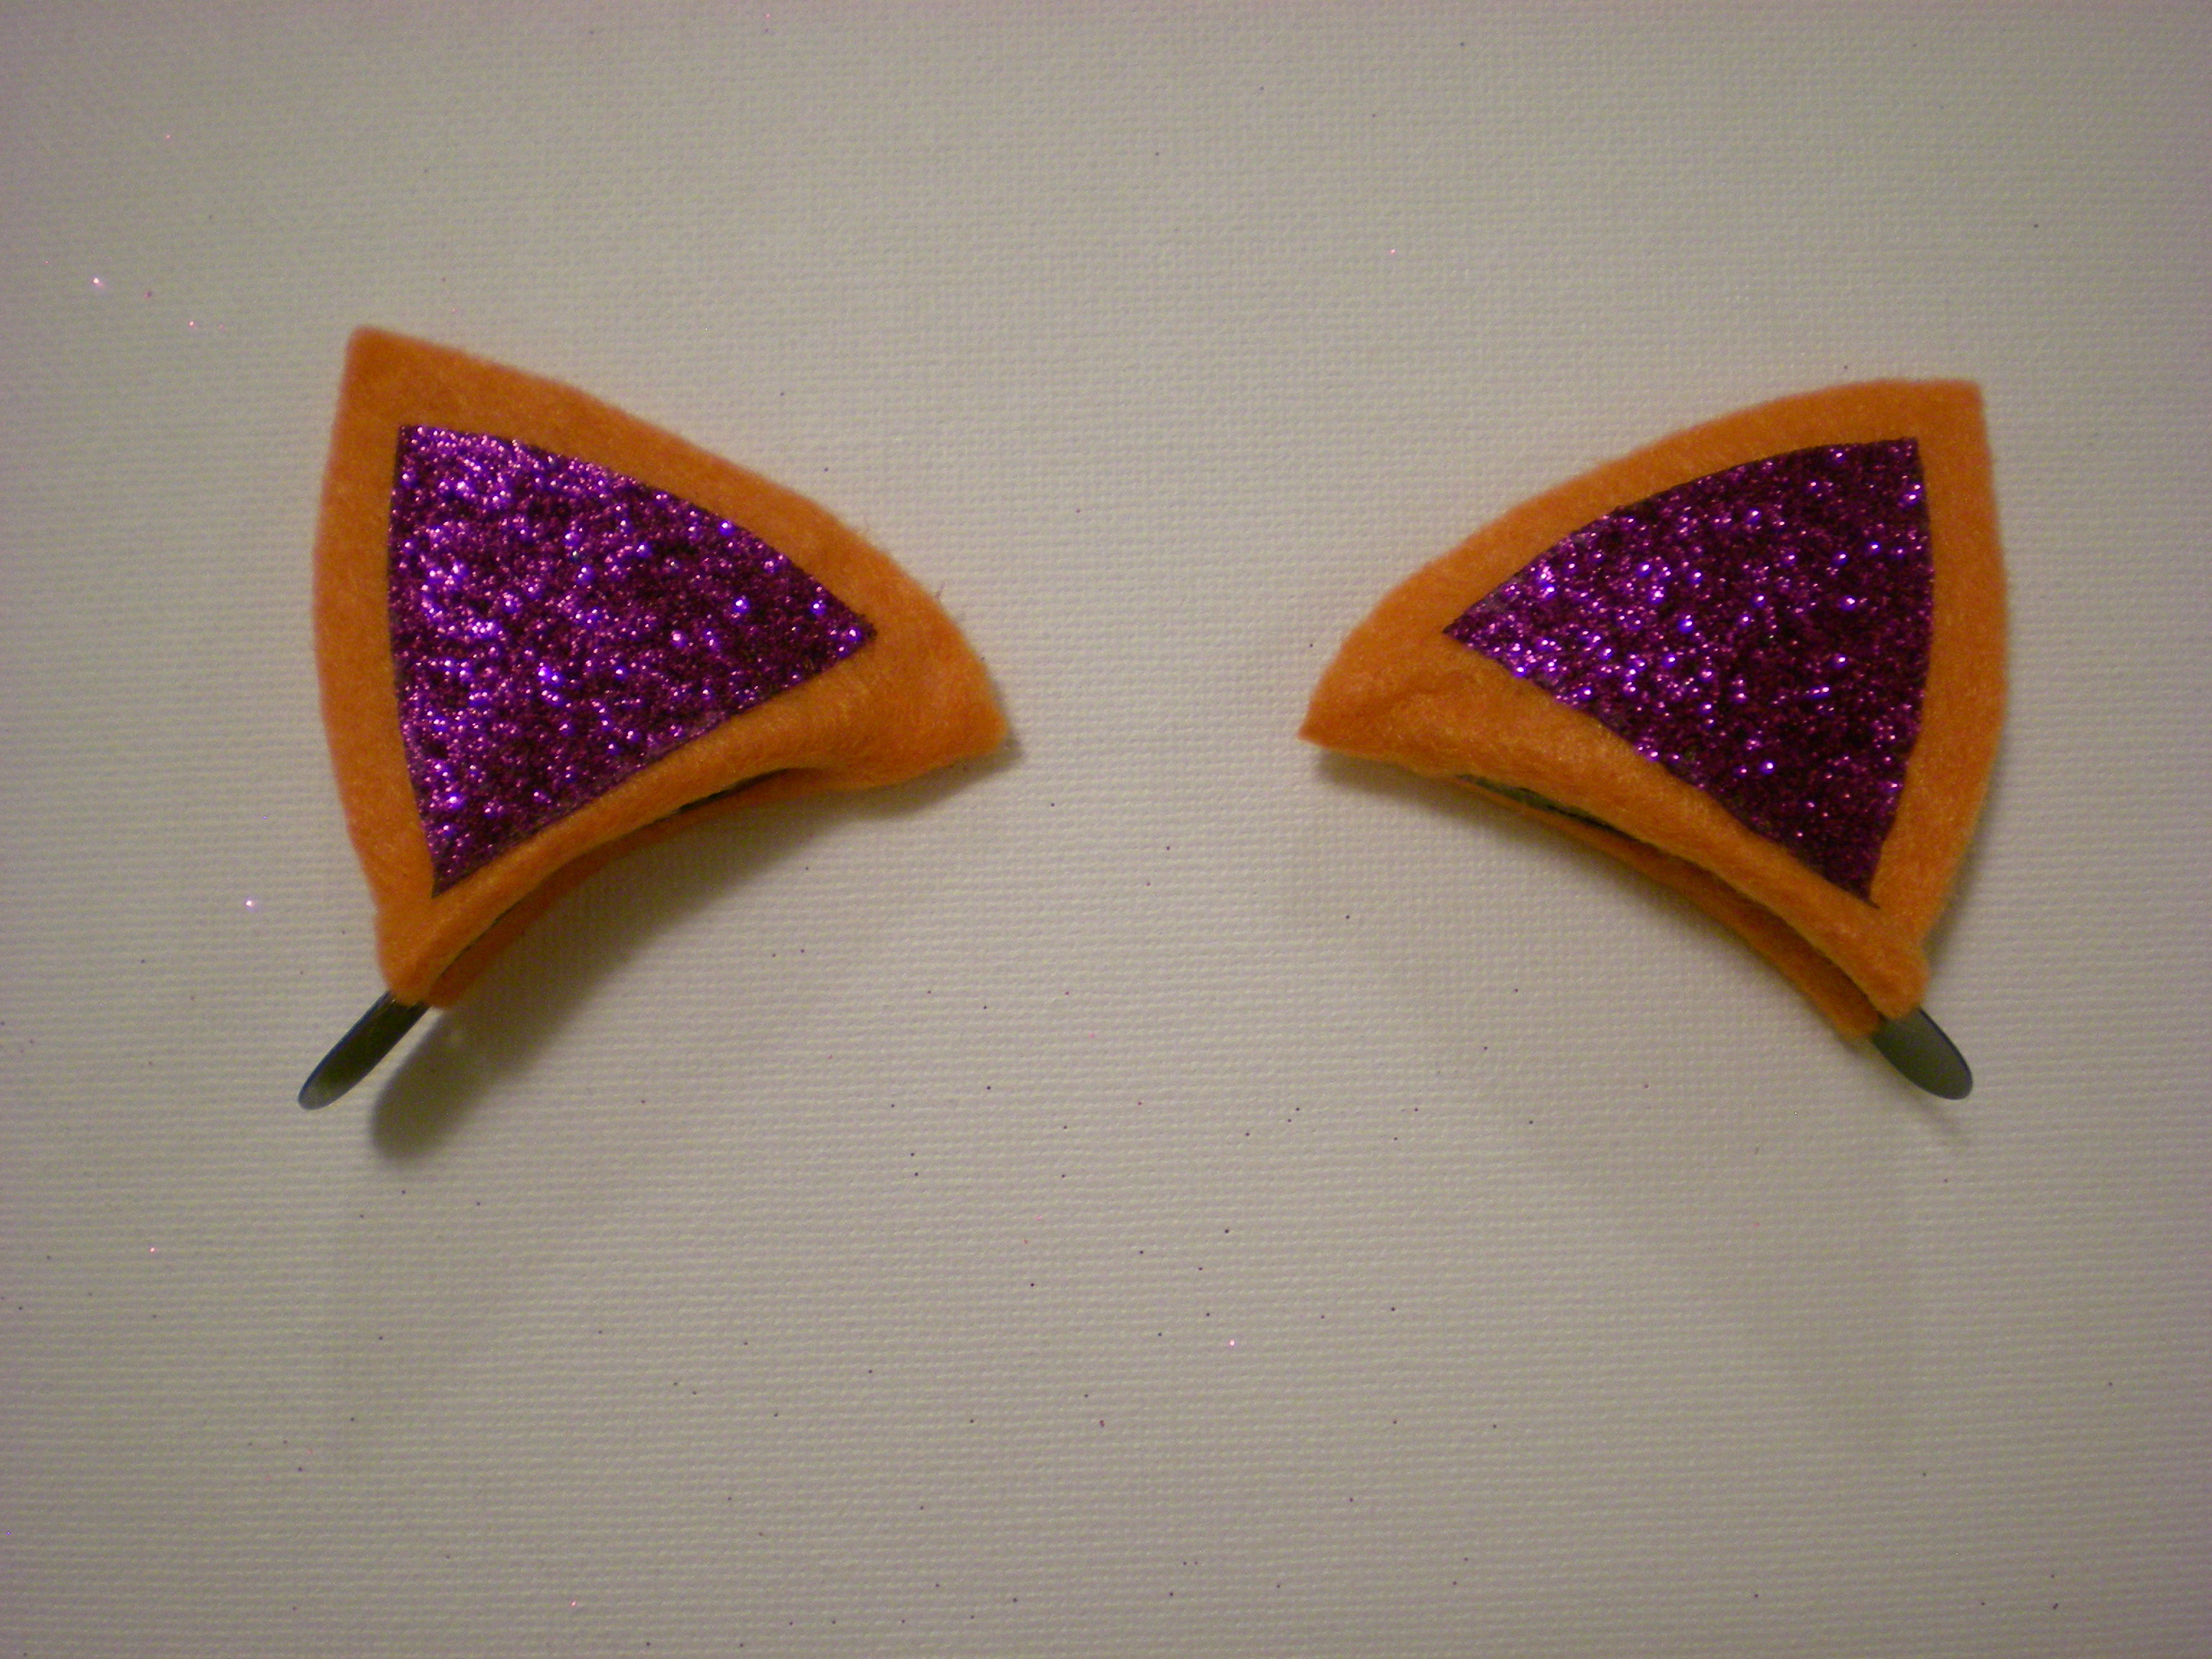
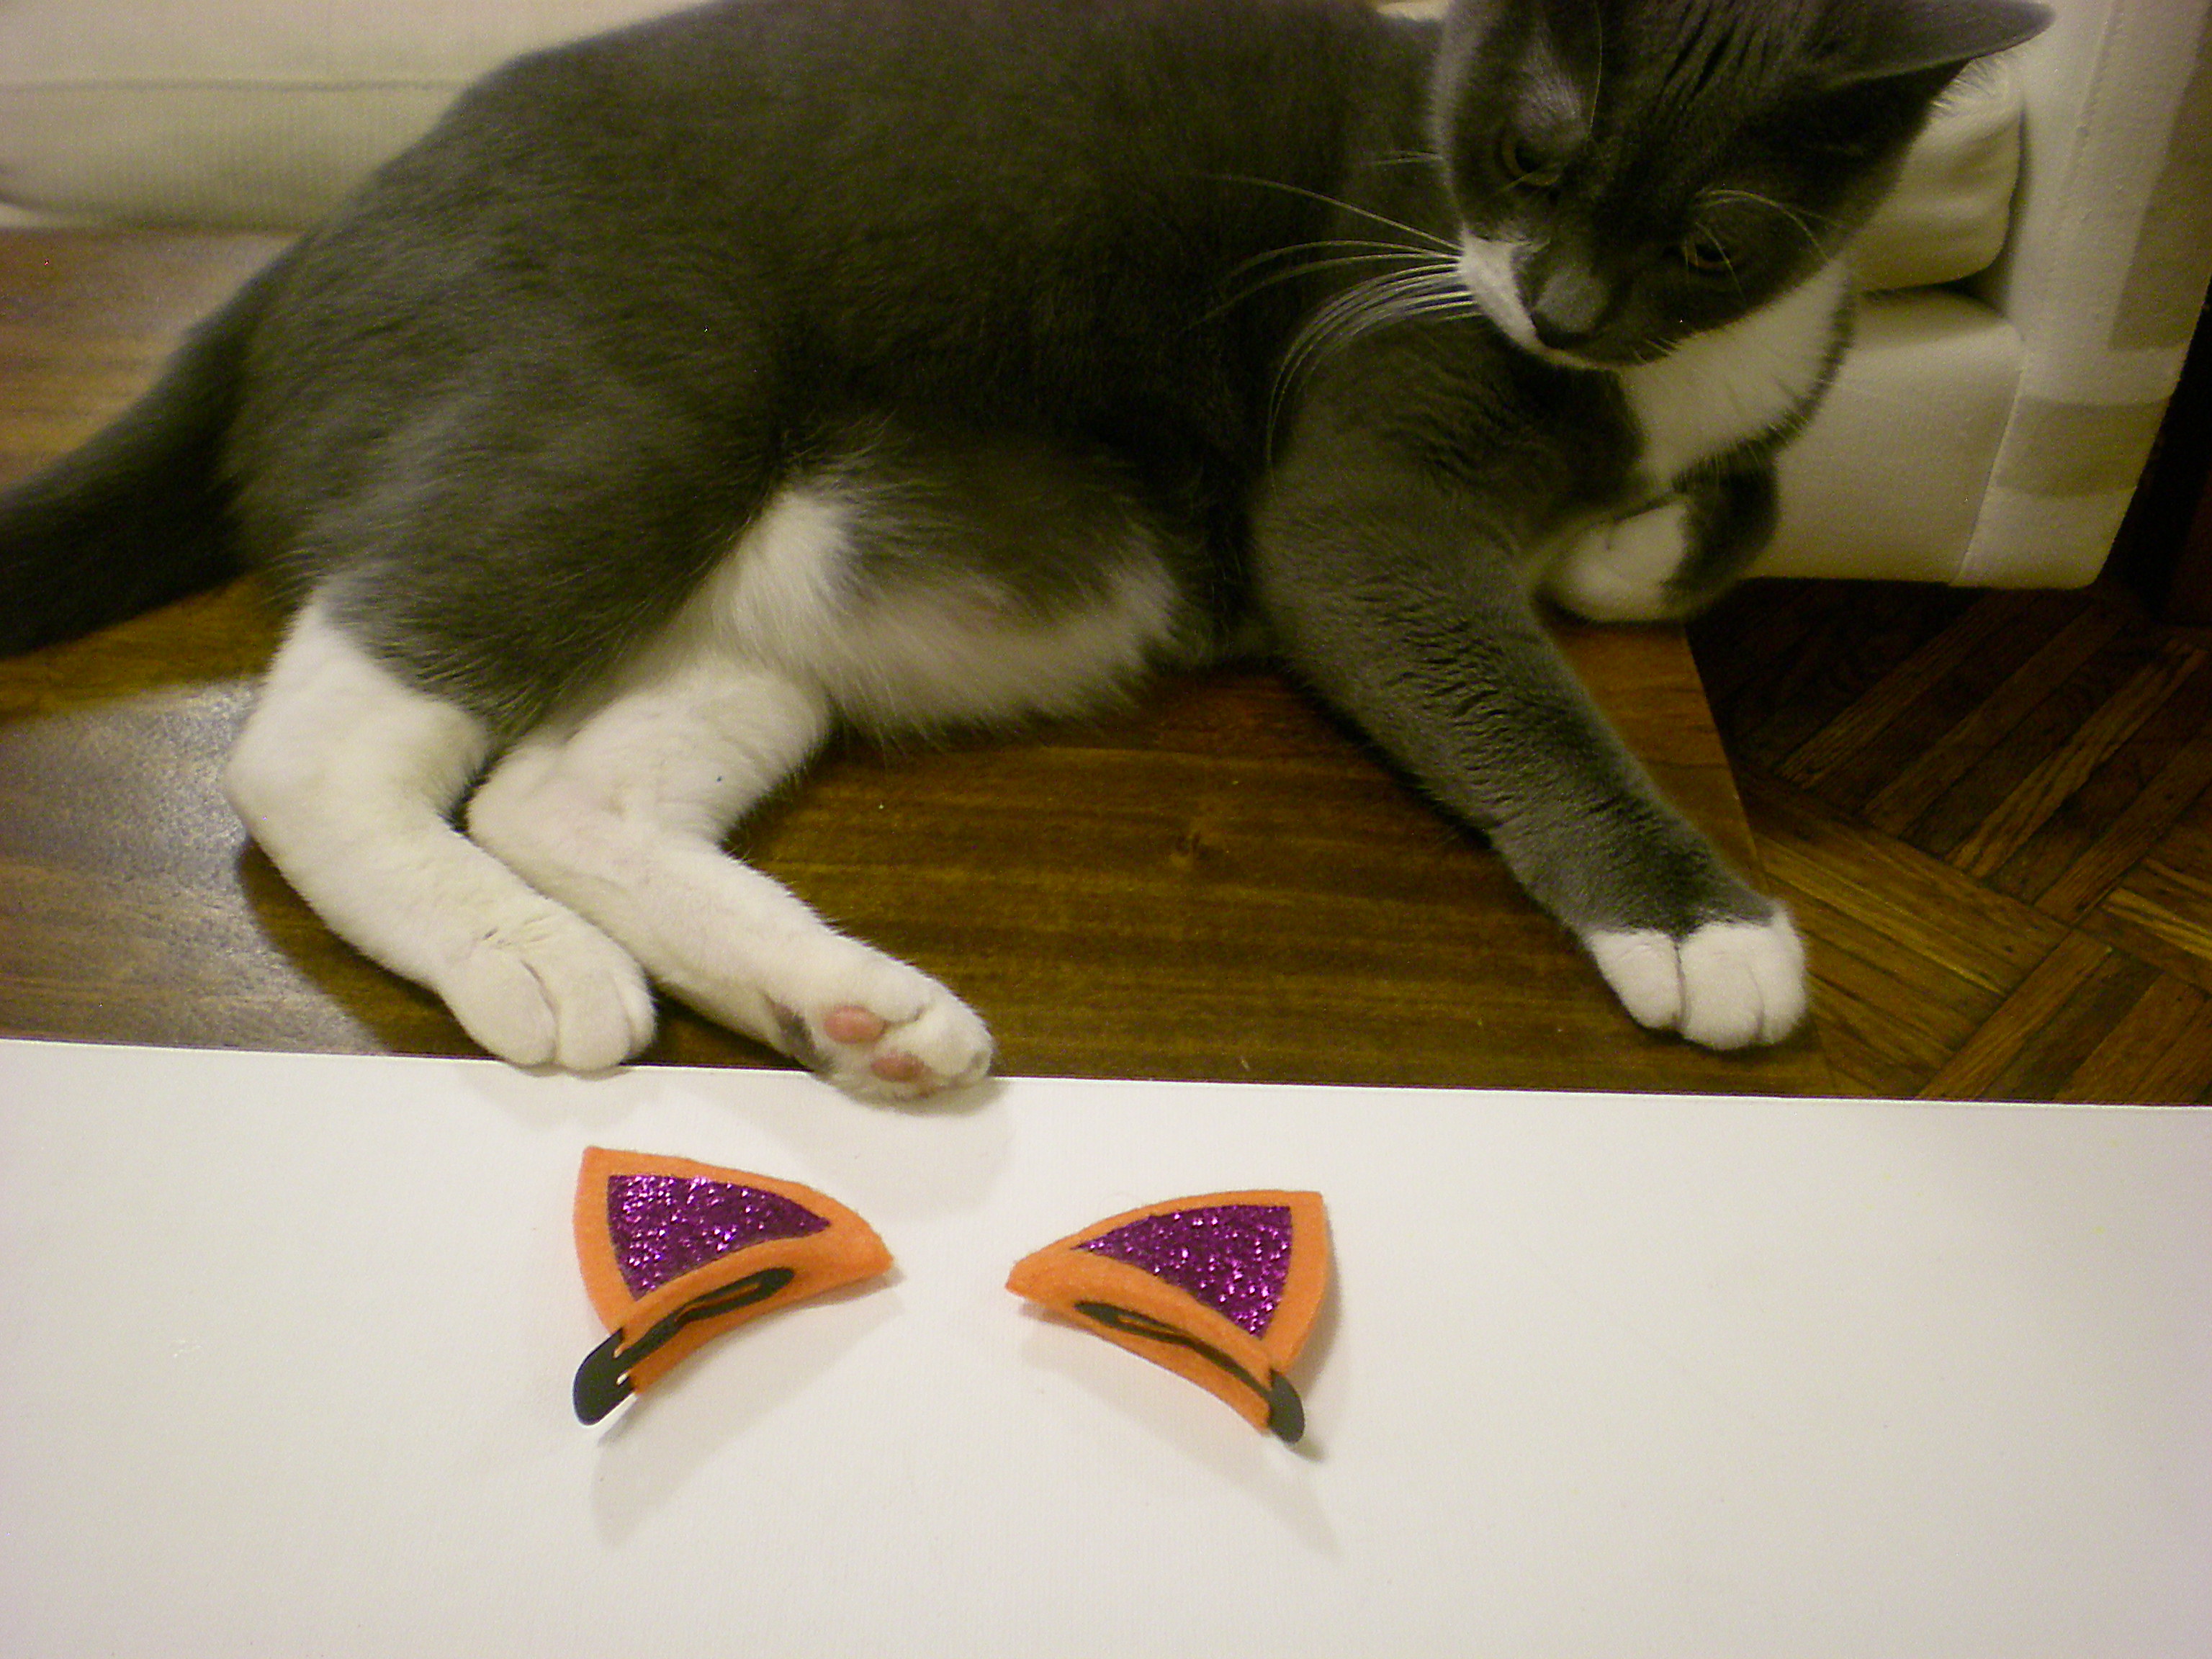
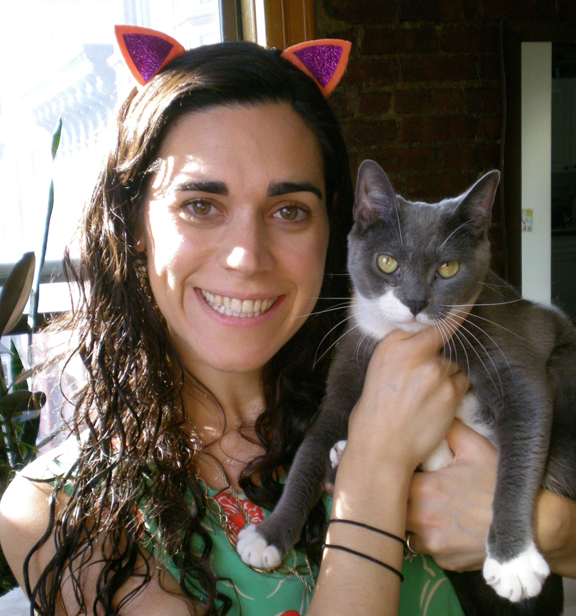
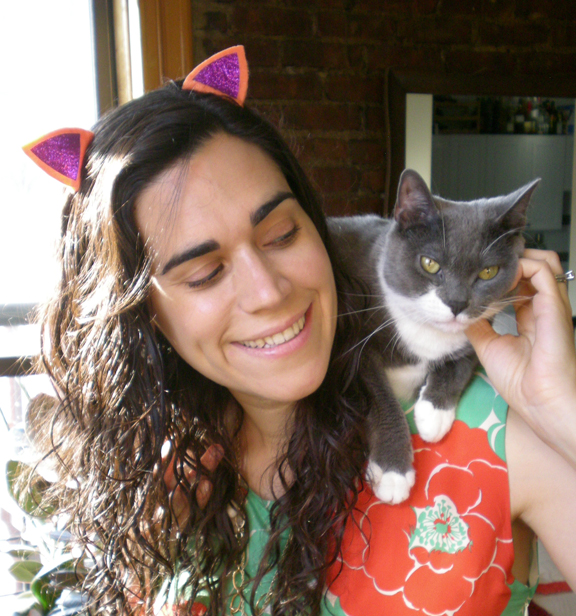
Today, it's clip-on cat ears for when you're feeling a little bit feline! The occasion? Well, to be perfectly honest, I set out making these for my niece's 5th birthday (she happens to love cats--her cat, Mo, in particular), but I didn't finish them in time (yes, despite the fact that they only take about 10-15 minutes to complete!). It turns out, though, that there was a higher power (called glitter) at work and the delay was well worth it: I recently got a delivery of Tulip's new iron-on glitter sheets and I realized that the delay was meant to be (because what would these ears be without the sparkle?--I know the Crafty Chica would be proud.)


Save these for Halloween if you want, but why wait? I wholly believe in wearing fun accessories whenever the mood strikes--because, hey, some days you just feel like a cat and here's the perfect accessory to let you indulge. And talk about fun in the sun--these ears sure do sparkle!

Materials:
-Pen or pencil
-Scrap of paper
-Colorful felt
-All-purpose scissors
-Fabric scissors
-Metal snap barrettes
-Aleene's Fabric Fusion fabric glue
-Tulip Fashion Glitter Shimmer Transfer Sheets
-Pressing cloth
-Iron


Make it:
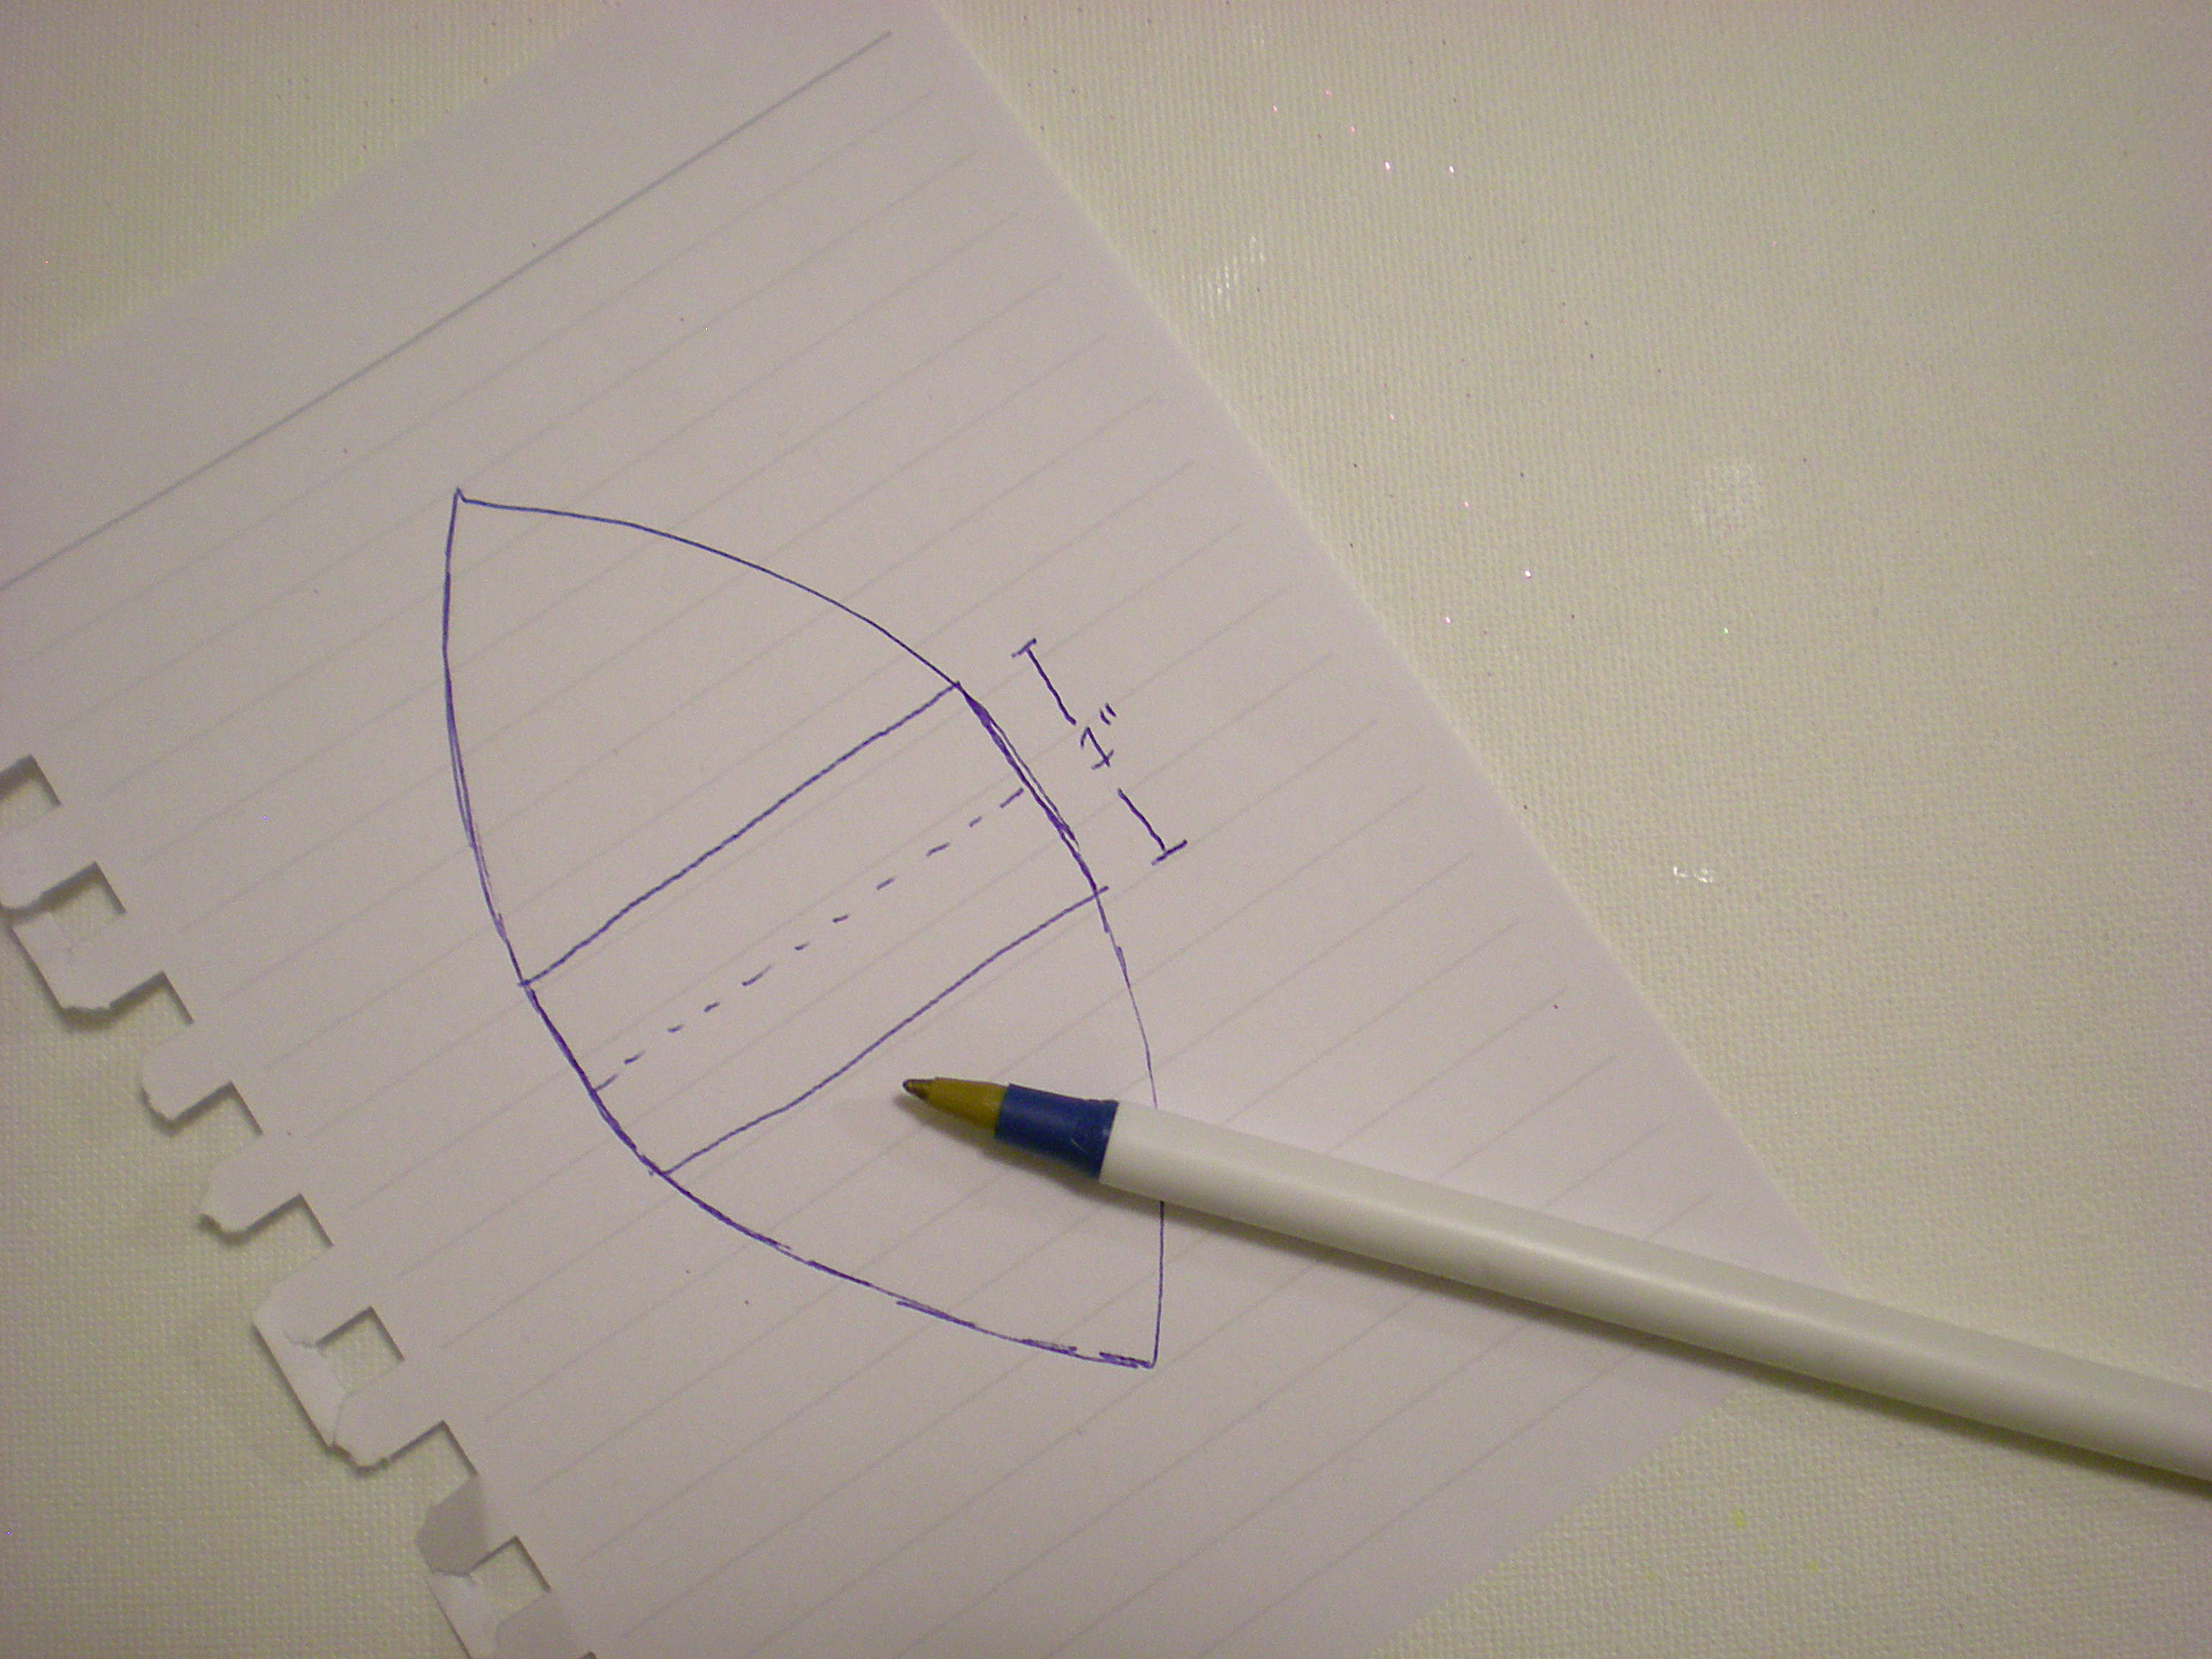
1. Use the pen and paper to sketch out a slightly rounded triangle, about 2" high. Add 1/2" at the base of the triangle and then mirror the shape below it to create the template. Cut it out with the all-purpose scissors. (You can also fold the paper at the base after you've drawn the top triangle and the extended base, and cut around the shape through both layers.)


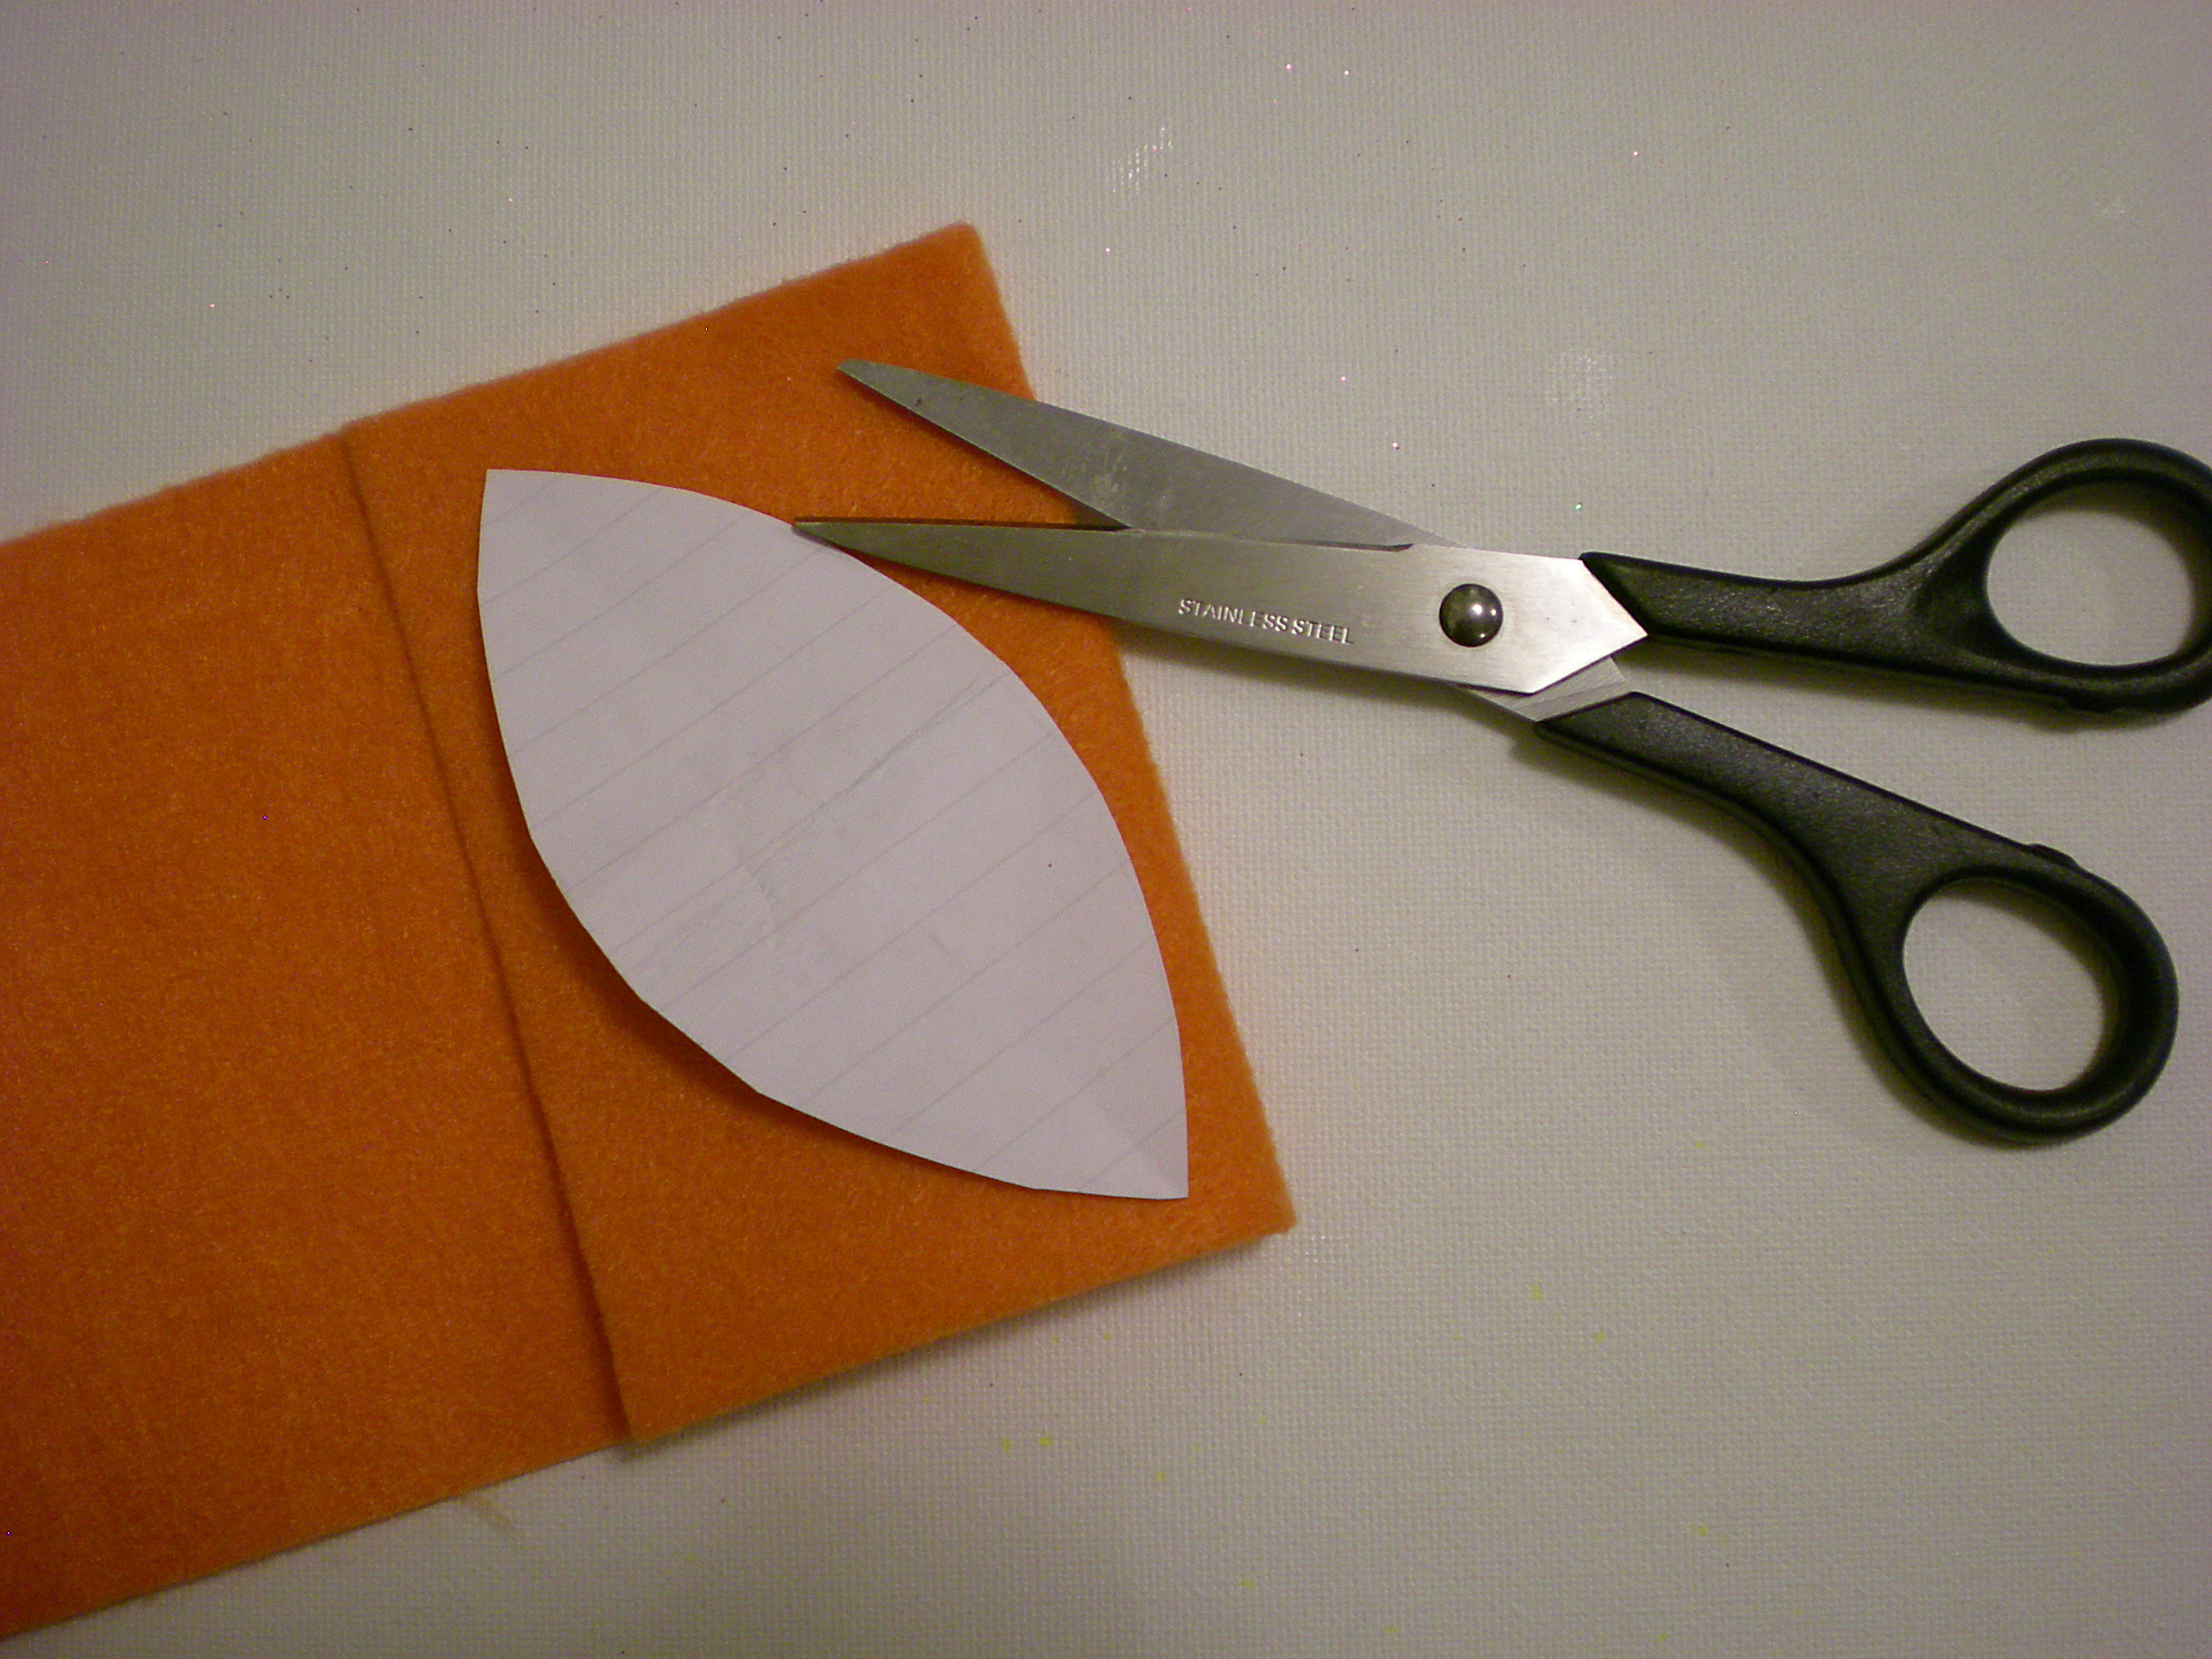
2. Fold over the felt and lay the template on top of the folded section. Use the fabric scissors to cut around the template, through both layers.


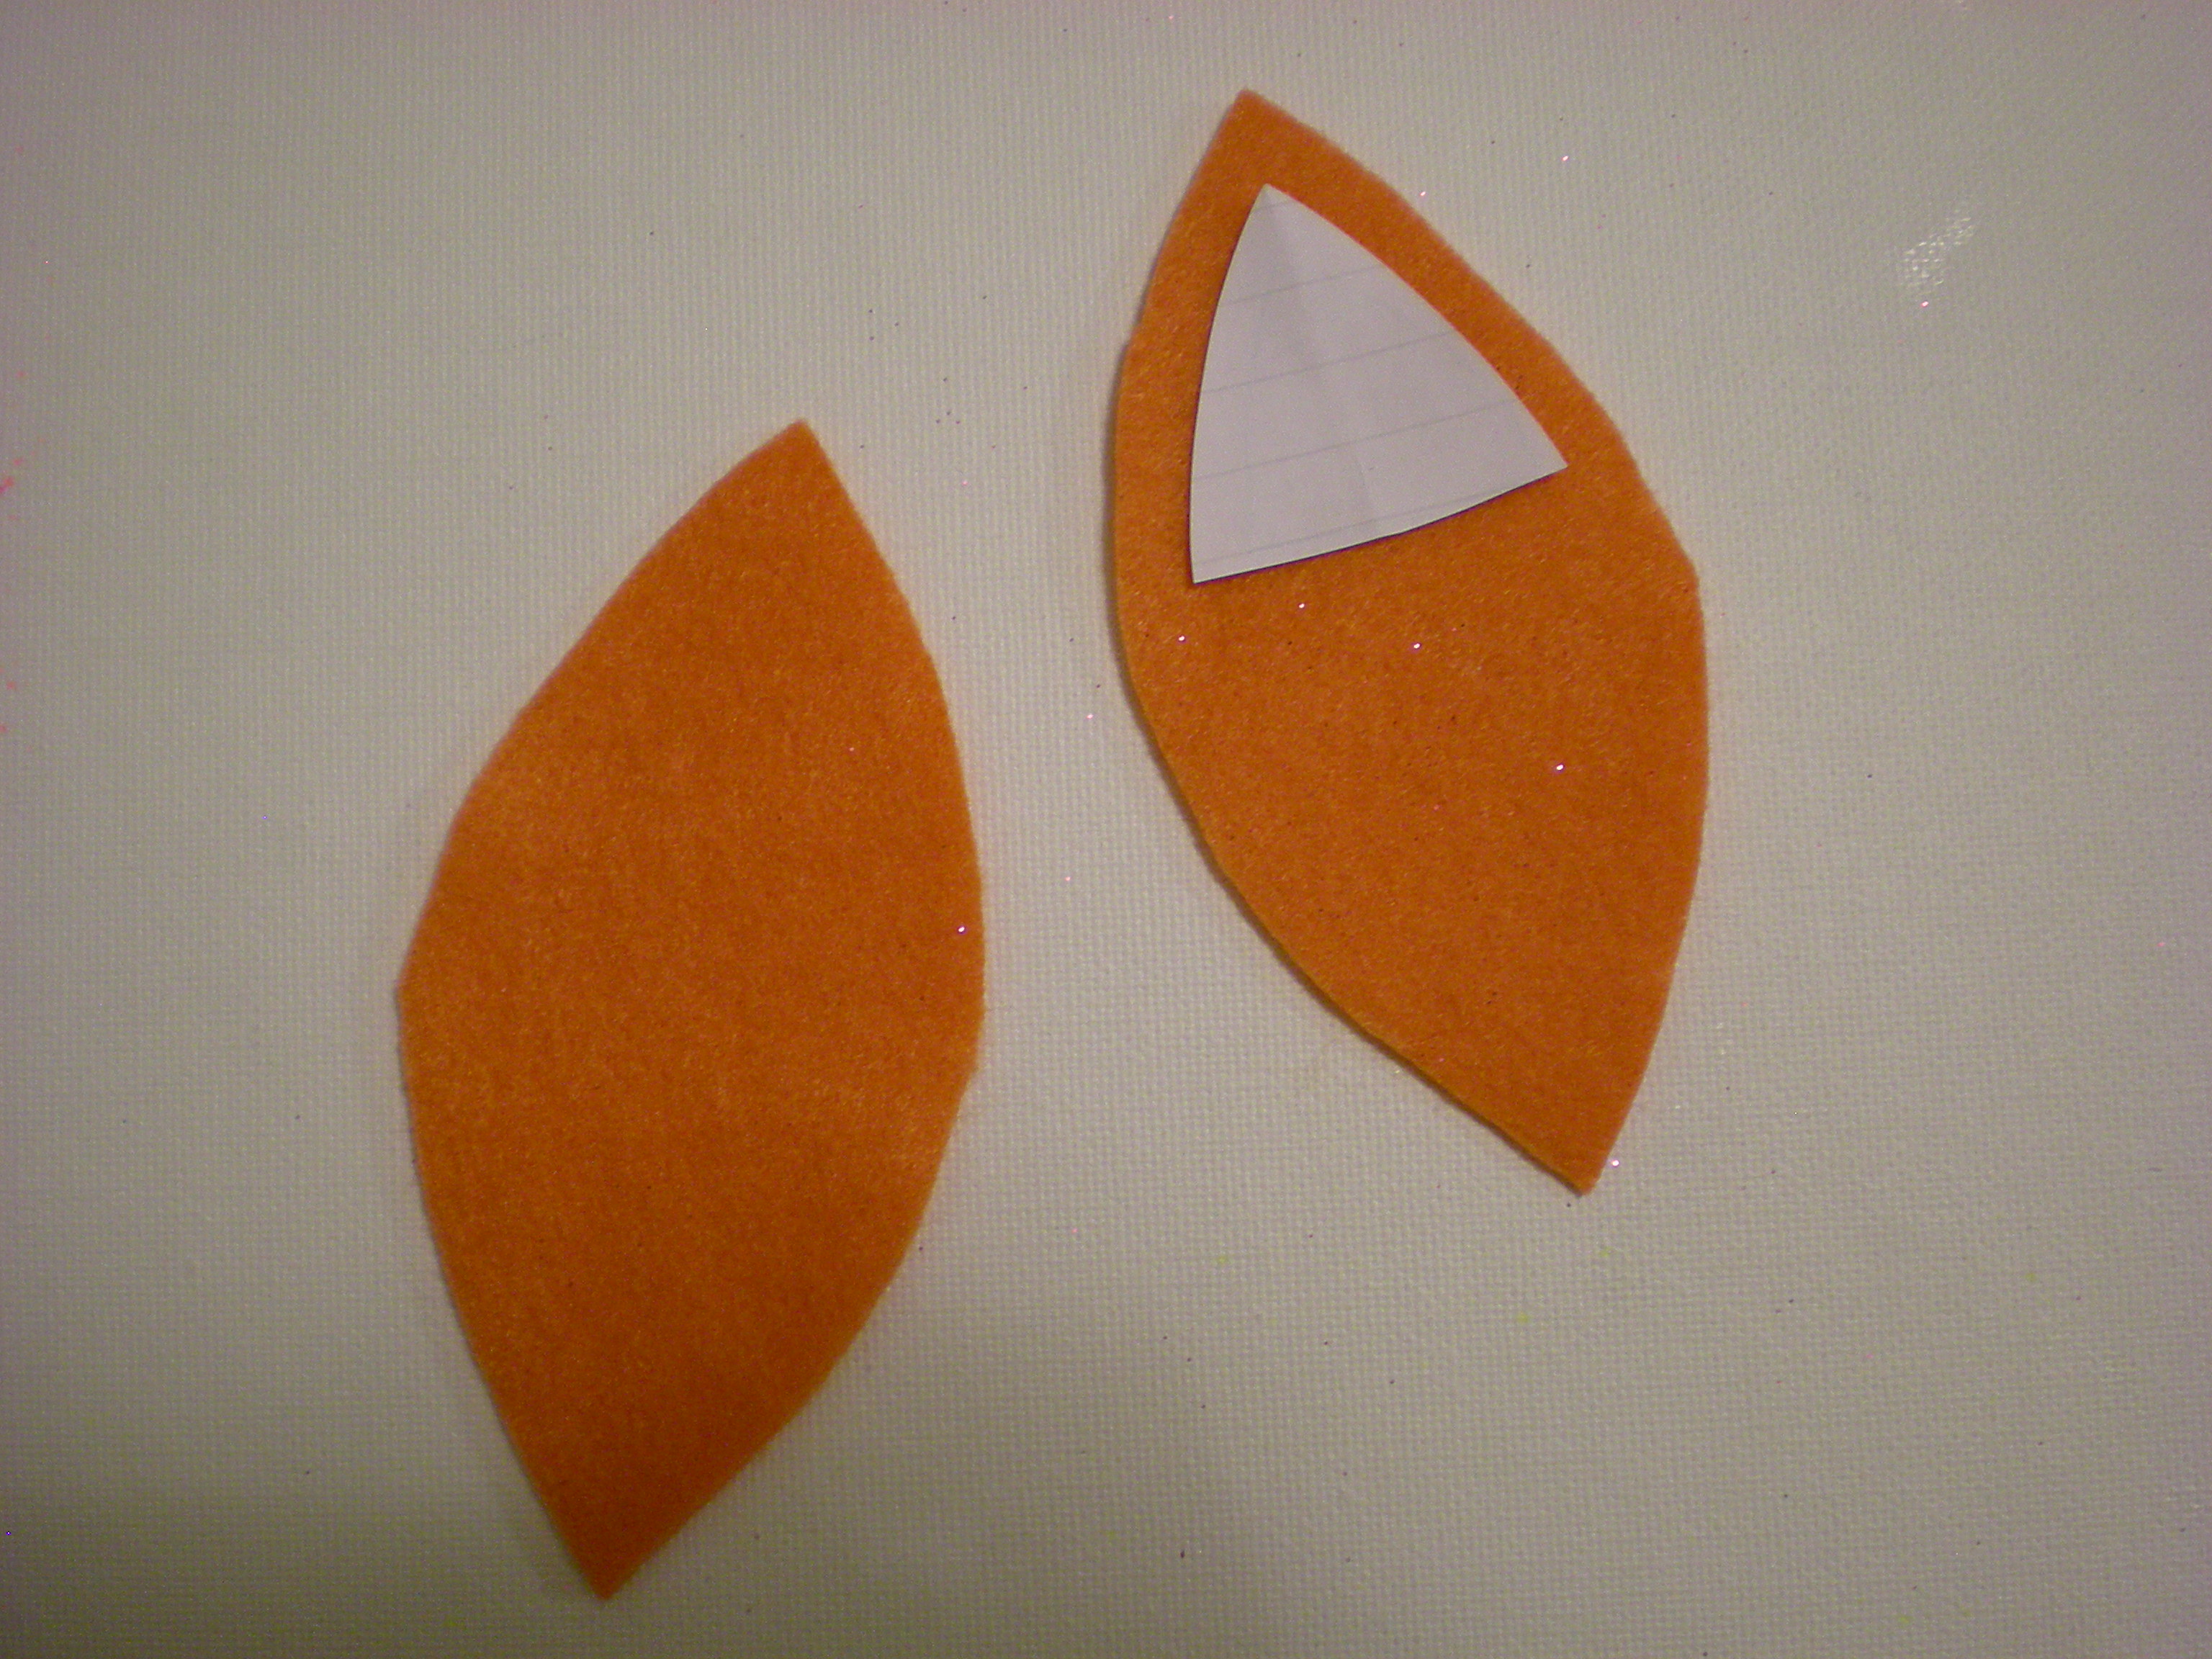
3. Mark and cut a second template, in the shape of a rounded triangle, about 1/4" smaller on all sides than the original triangle in Step 1.


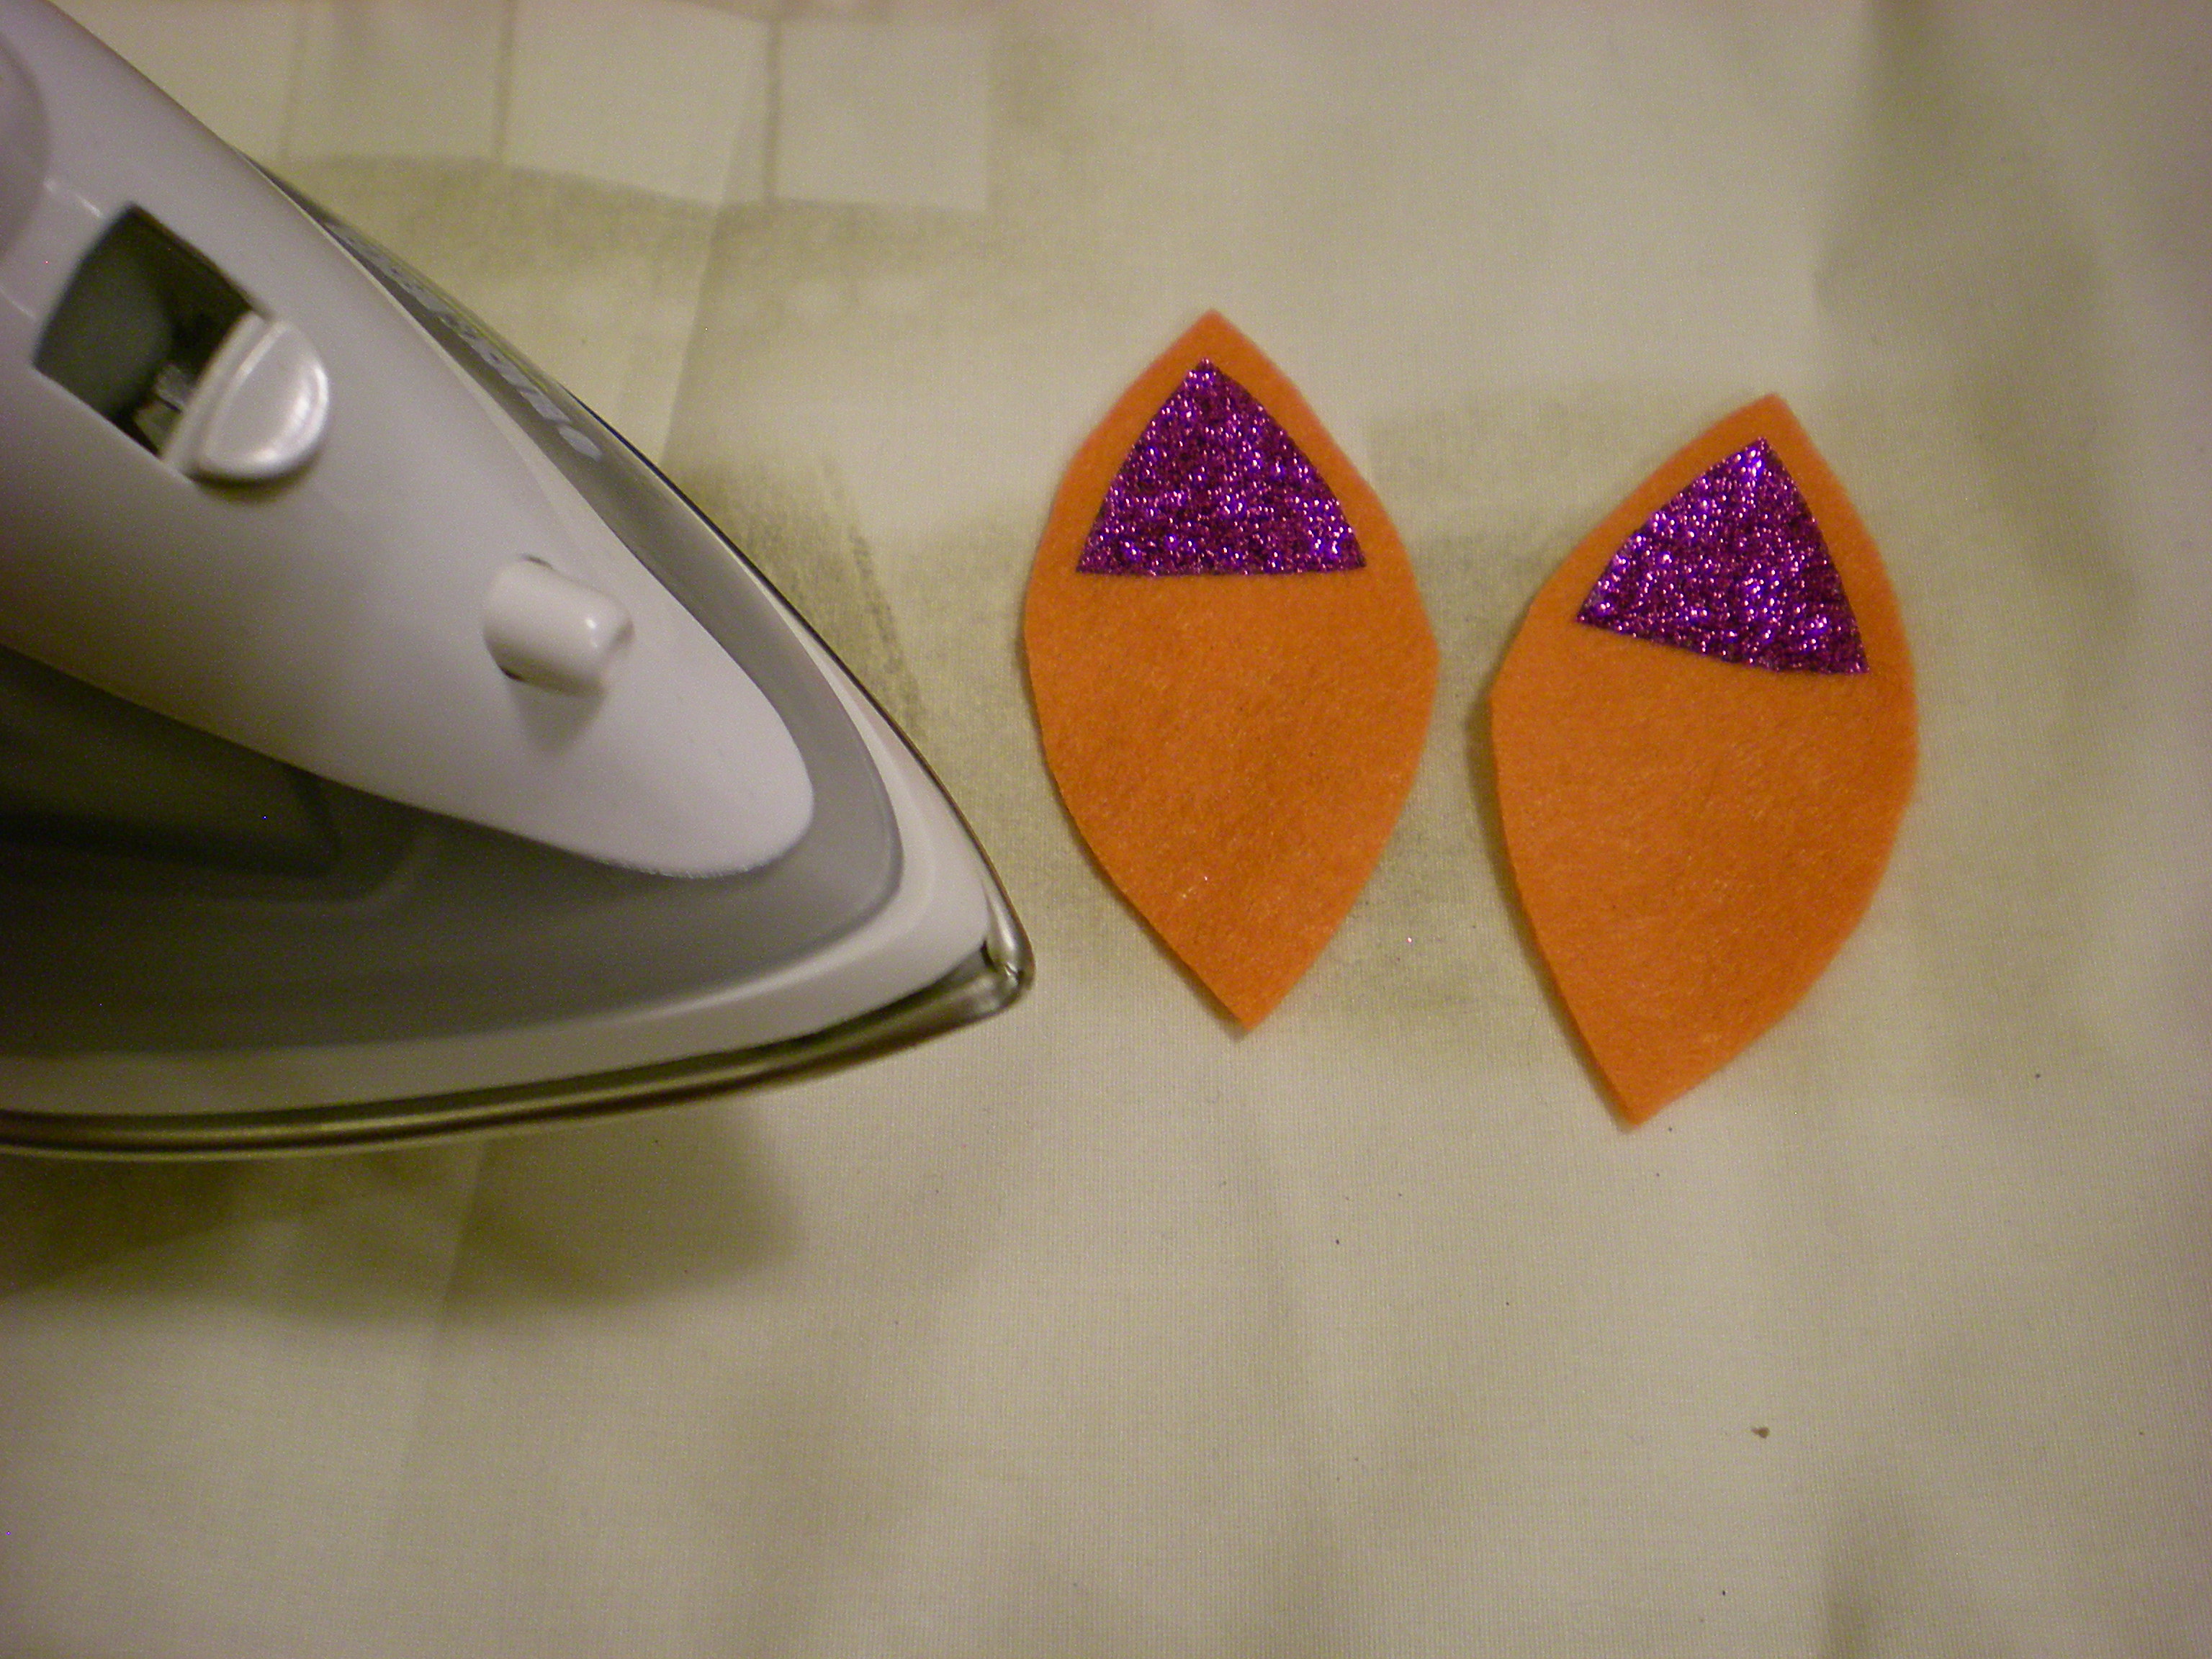
4. Select a color from the iron-on glitter sheets and trace the second template twice onto the shiny surface. Use the all-purpose scissors to cut them out. Peel away the shiny surface layer and arrange them on the felt ear pieces. Lay a pressing cloth over the ears, and press firmly with the iron for about 40 seconds. (Repeat if necessary to set the glitter transfer.)


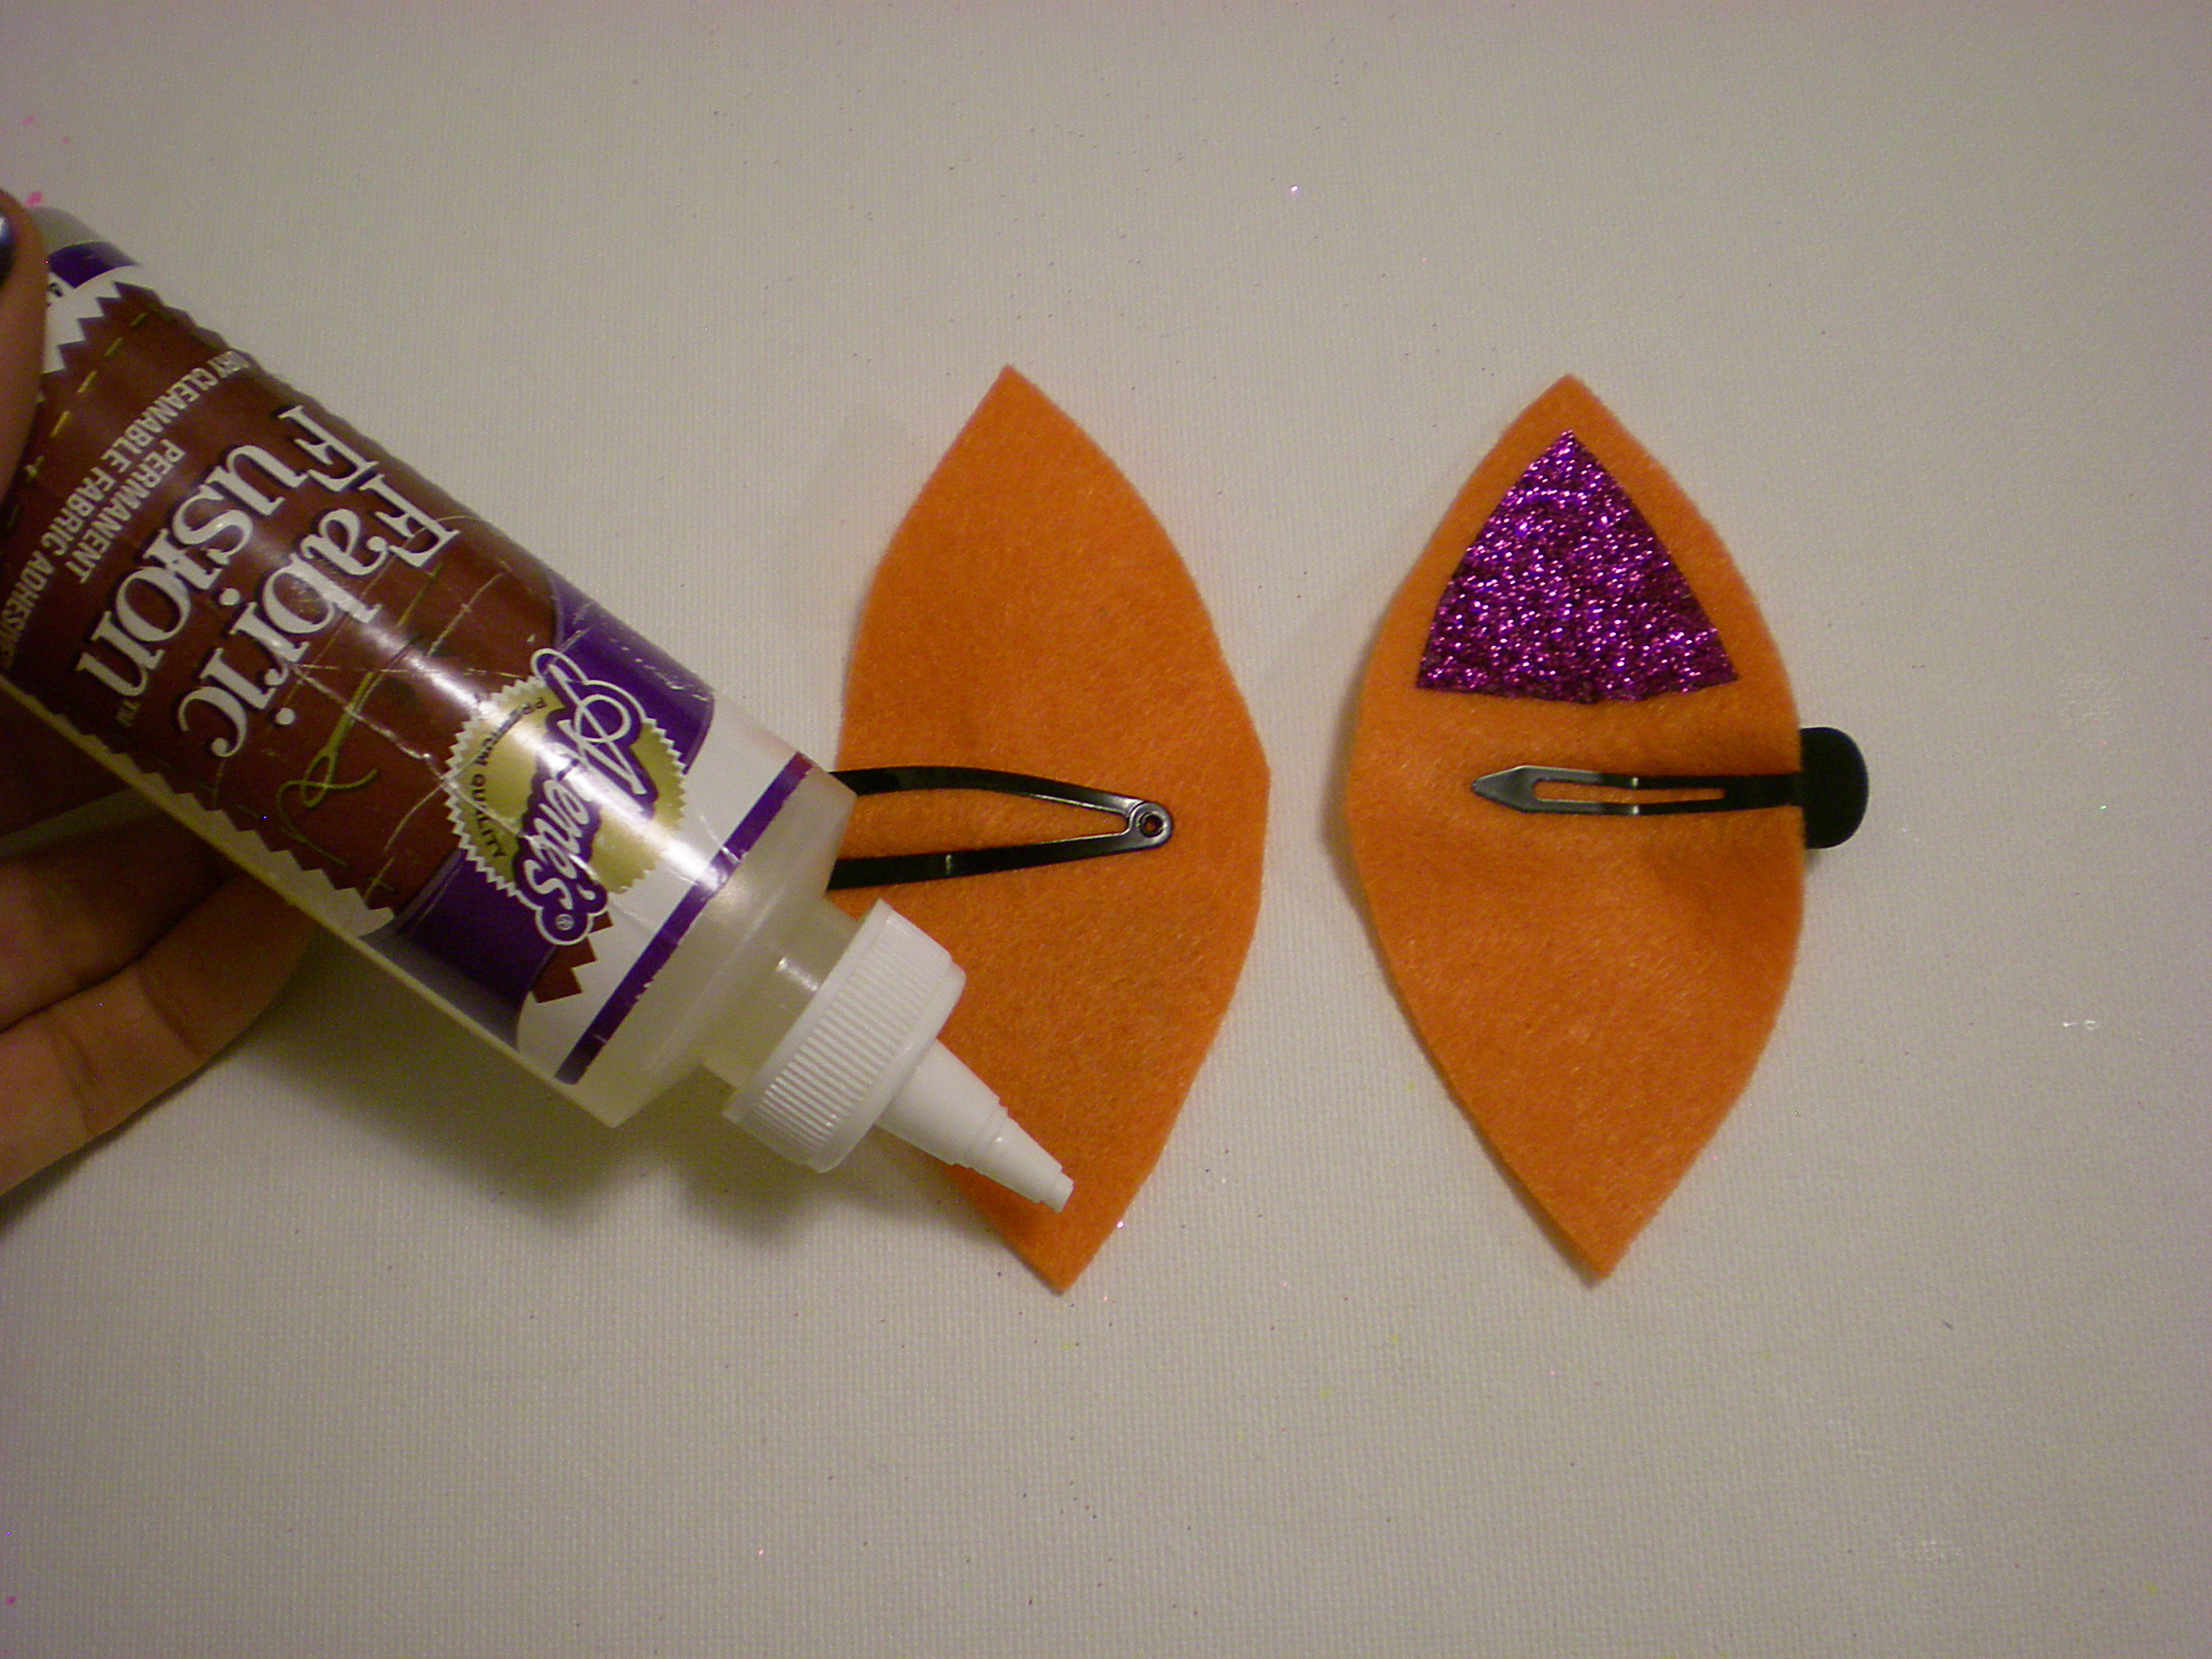
5. Clip the metal barrettes in the center, on each side of each felt ear piece, so that the top of the barrette corresponds to the wrong side of the ear piece and vice versa. Generously apply fabric glue around the edge of the wrong side of the ear piece. (Felt absorbs a lot of the glue, so don't hold back!)


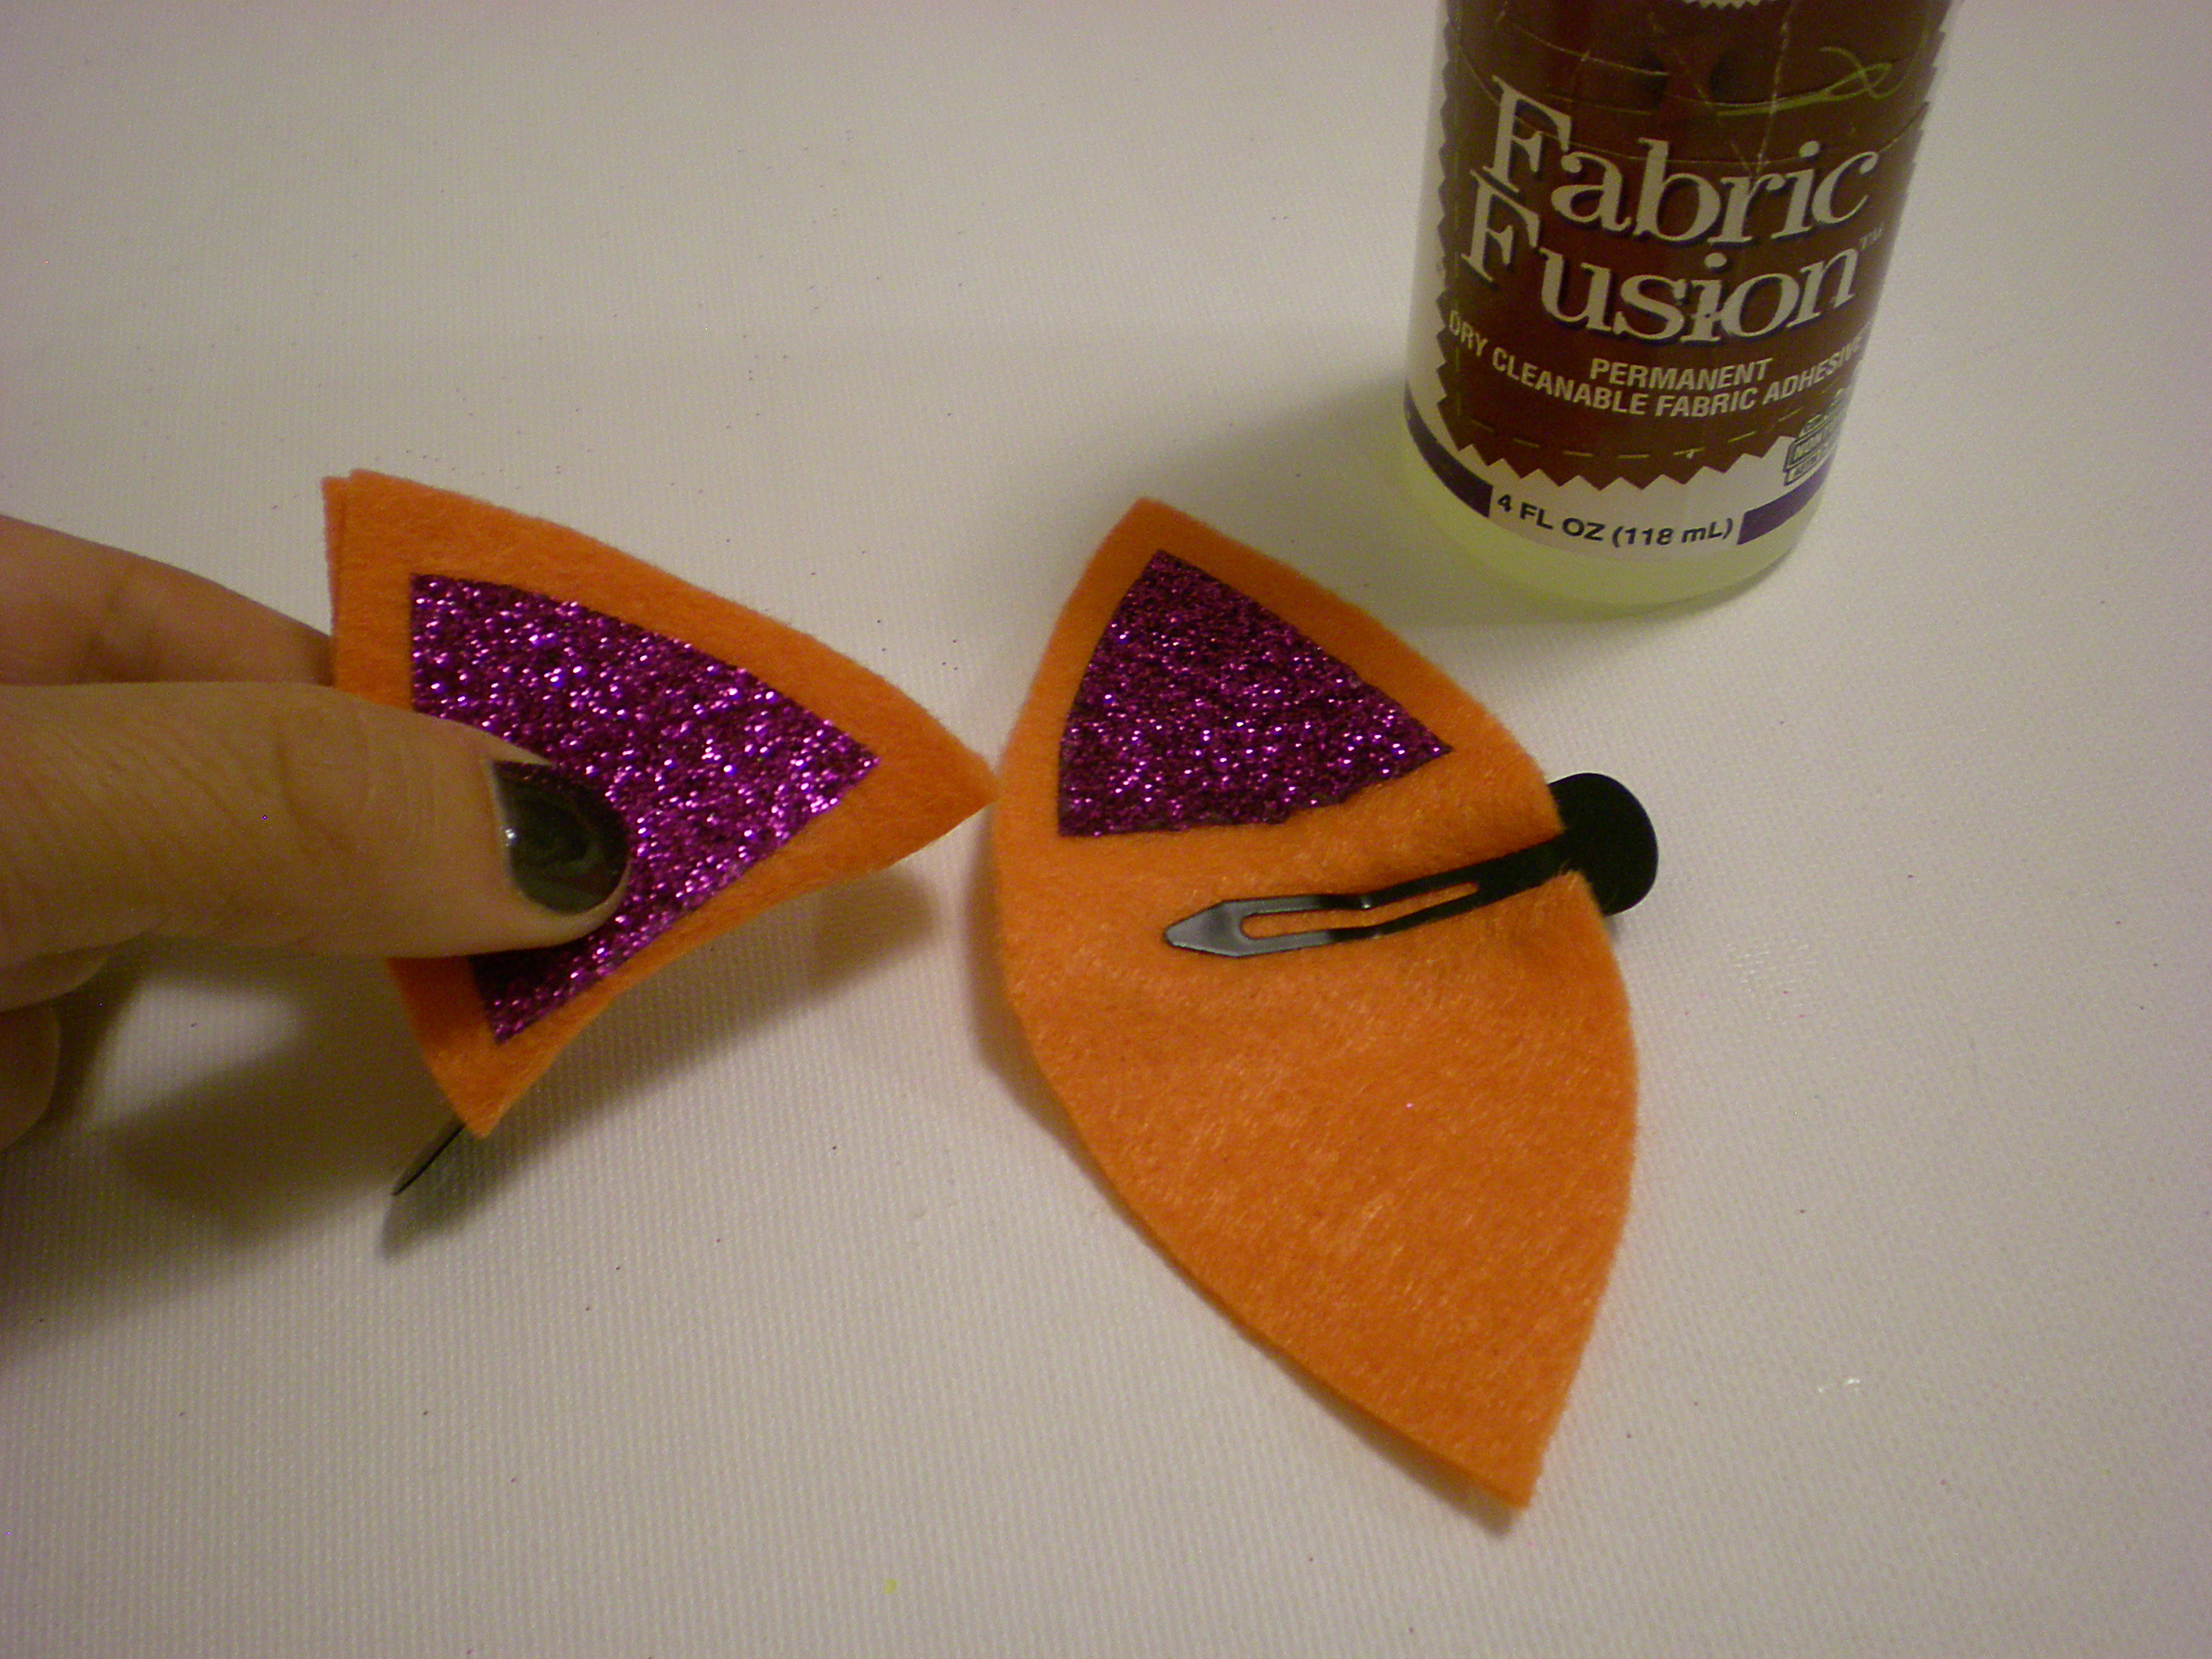
6. Fold the ear piece around the top of the barrette to seal the glue, and repeat on the second barrette.


7. Let dry. Optional: Clip the layers together with extra barrette clips while the glue dries!


8. Quick! Try them on before the actual cat who's been helping you craft gets a little too interested and starts batting them off your workspace!

(Special thanks to Tulu the cat for "helping.")


Visit us on Facebook!
Craft on!Click here for today's daily giveaway!

No-tug DIY Headband!

Tuesday, December 28, 2010

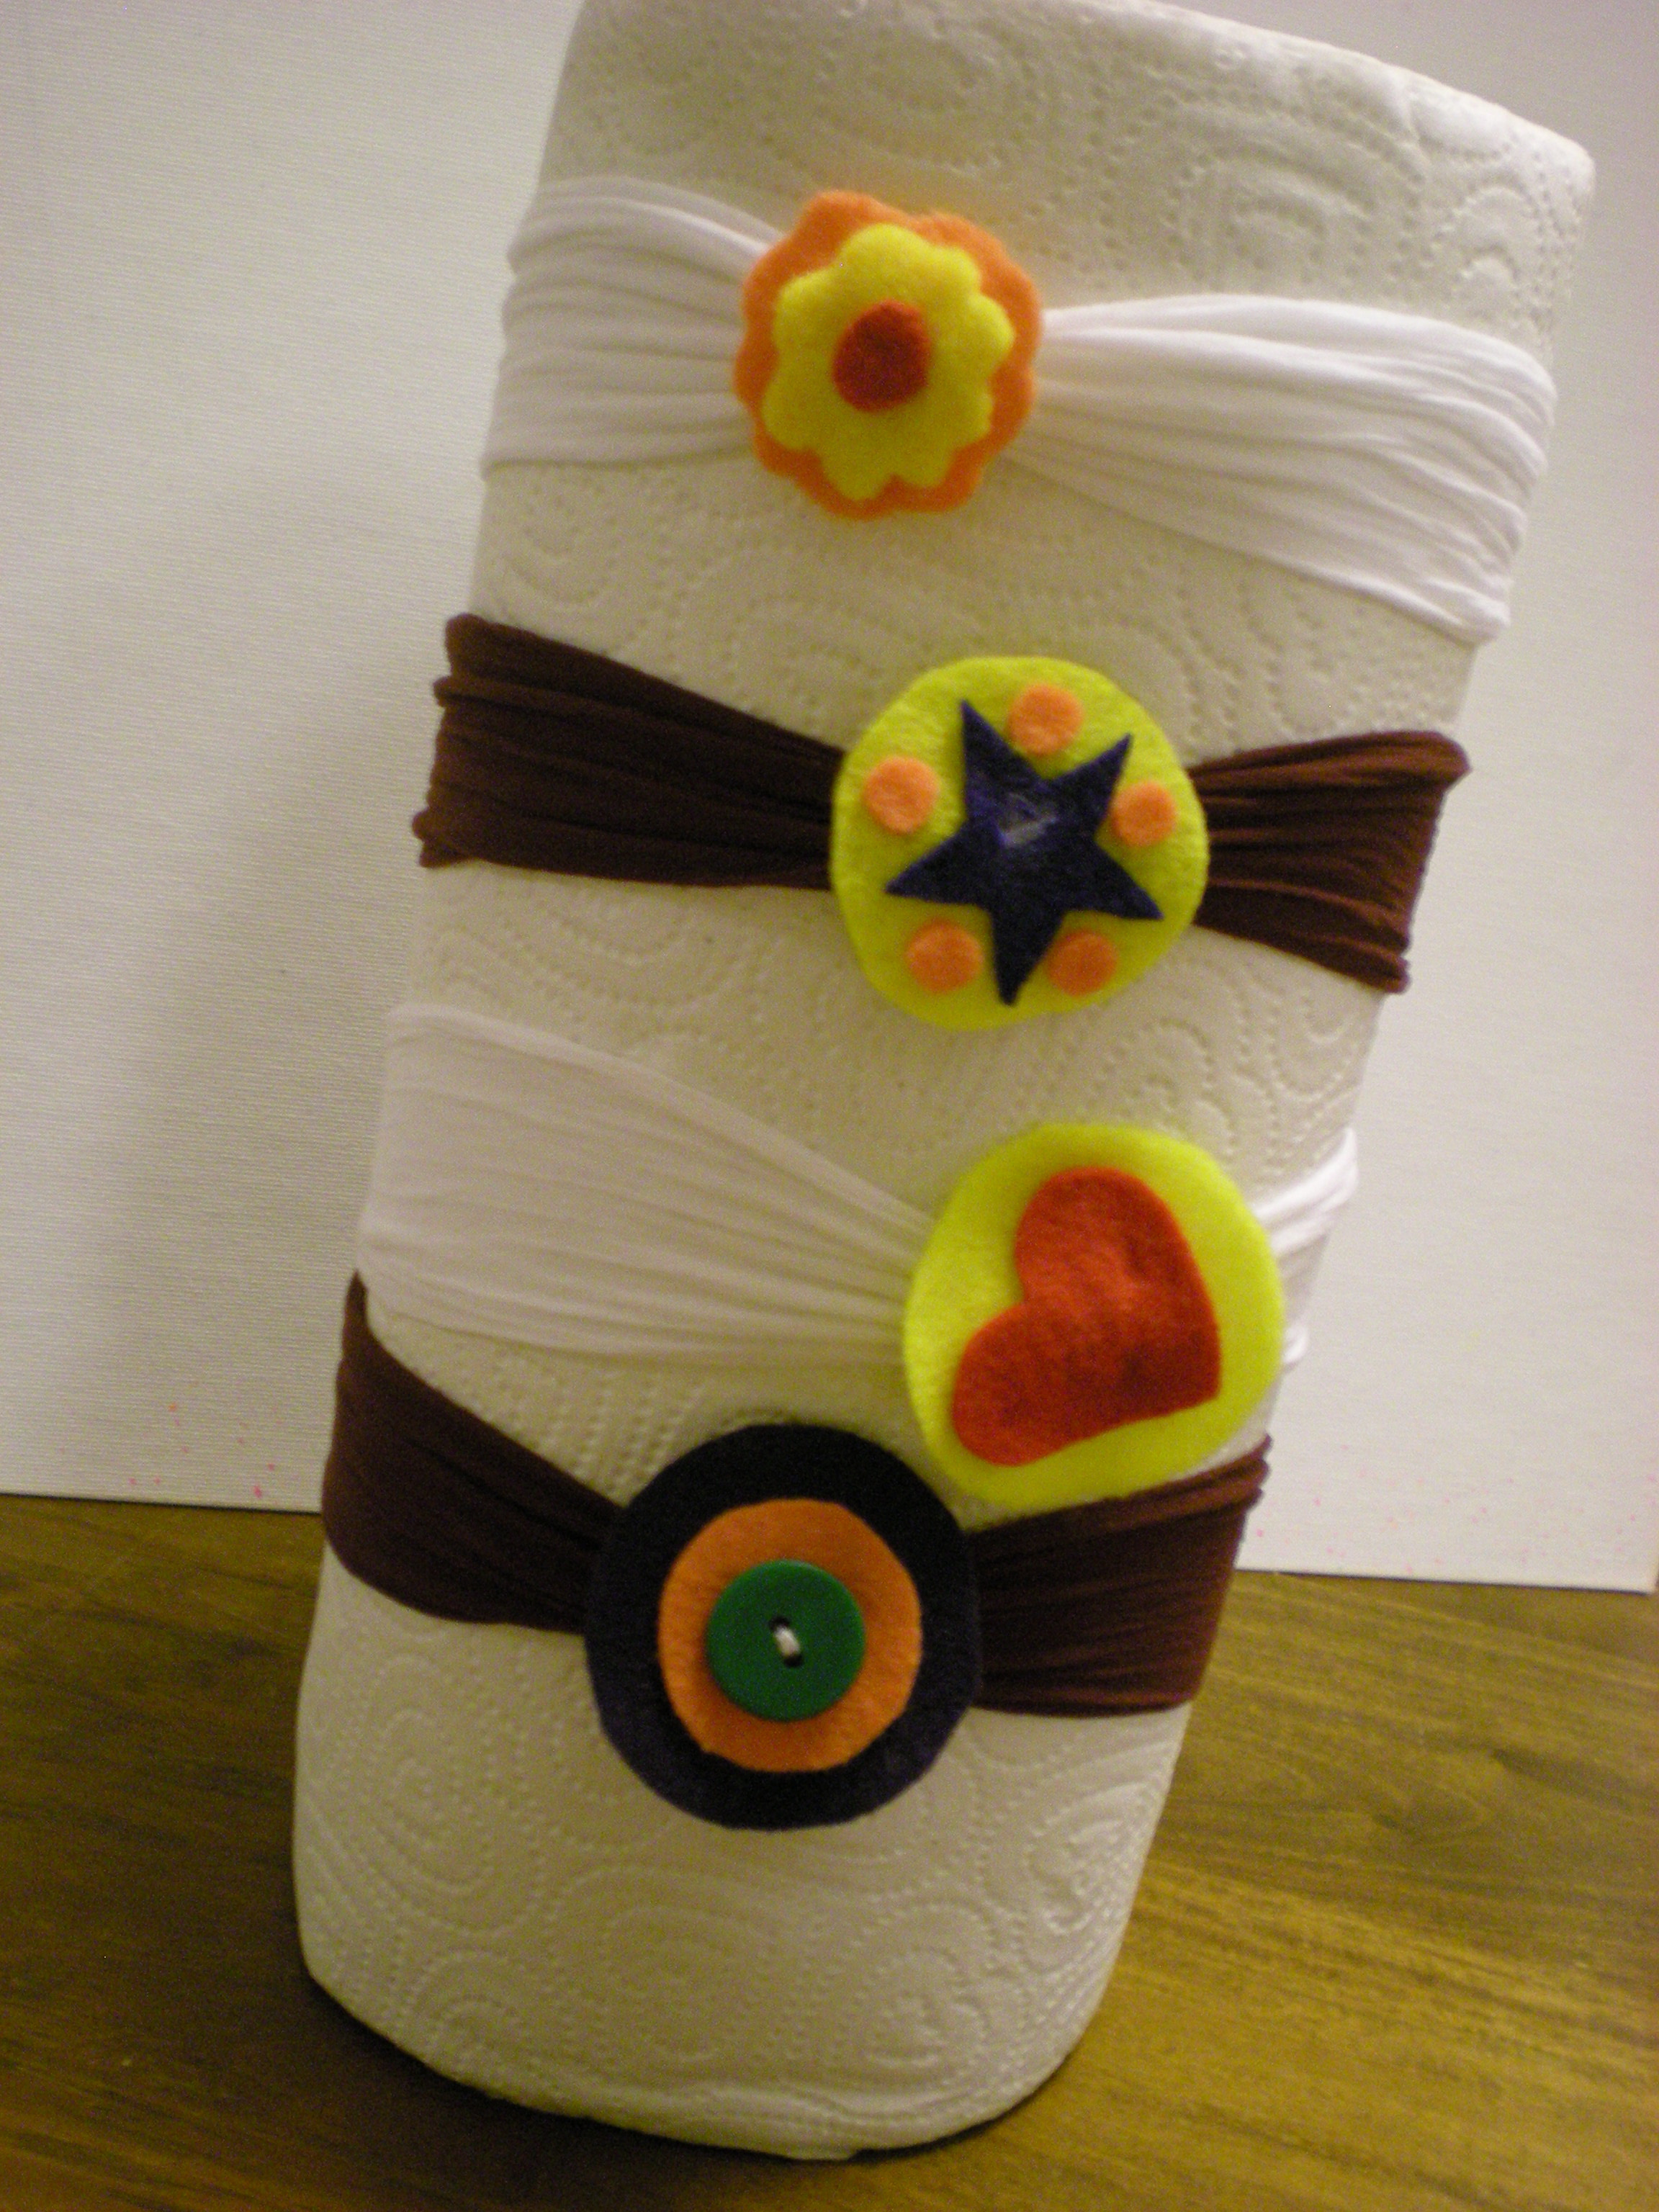
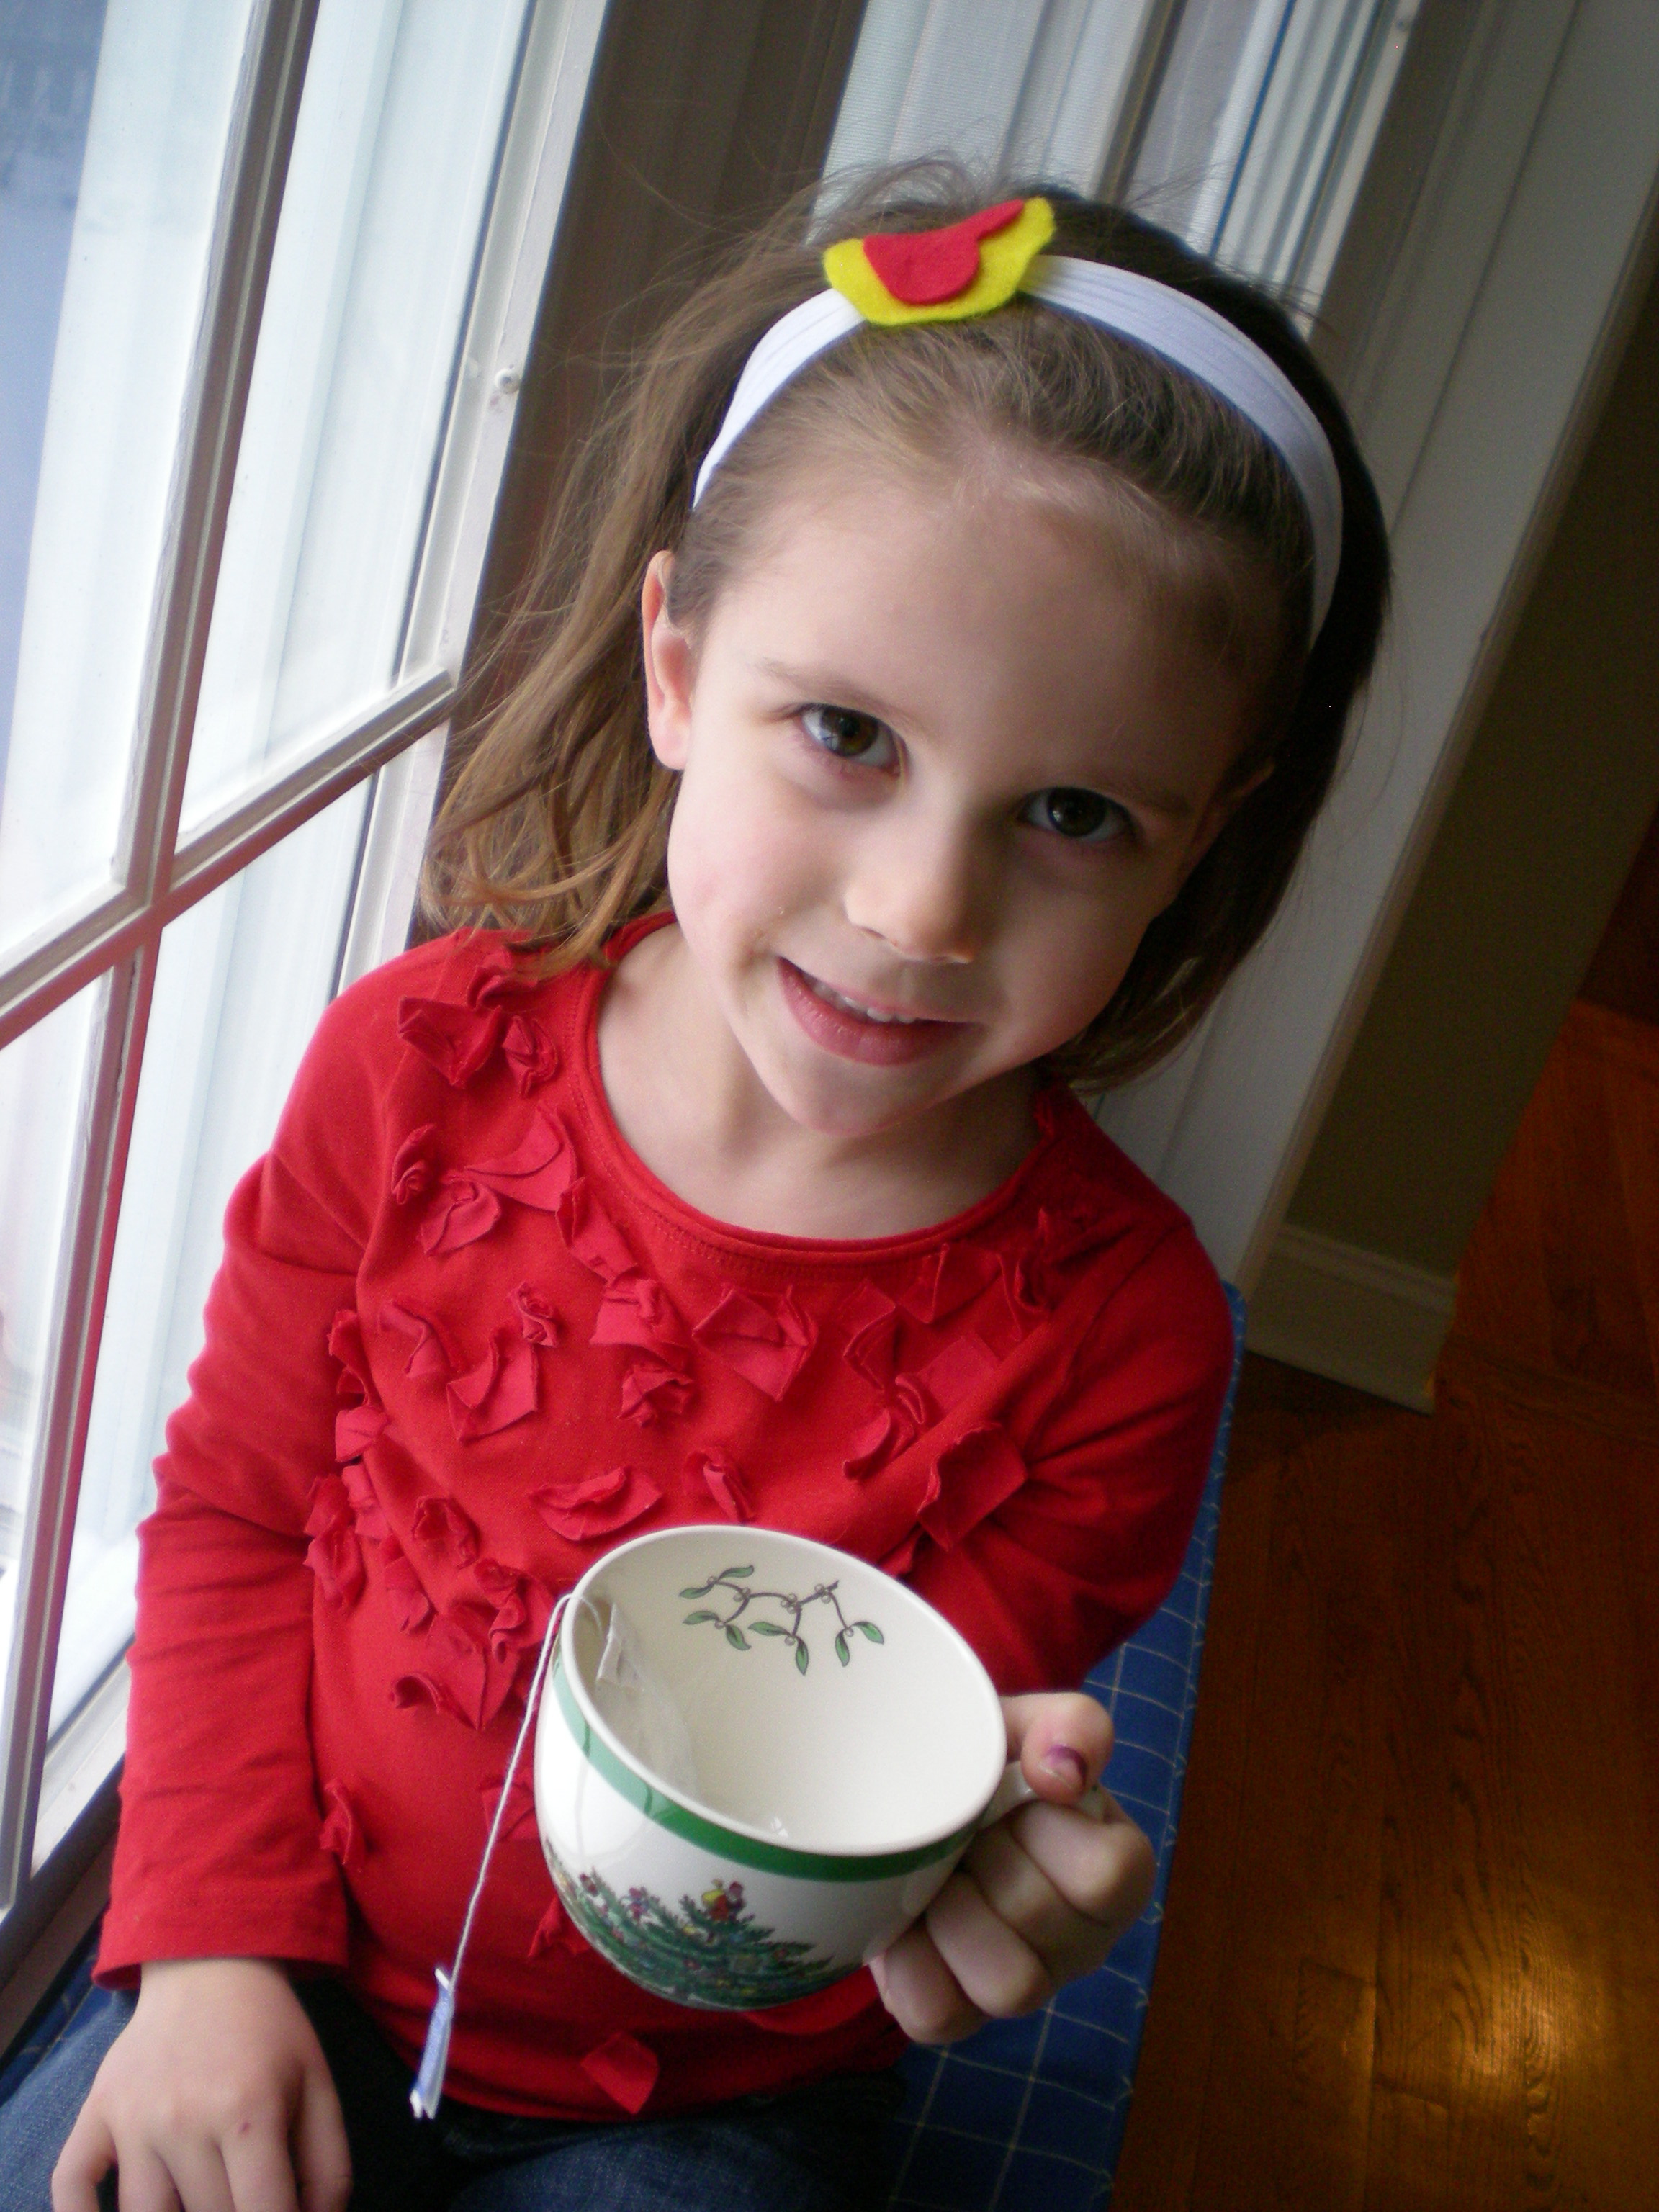
Last month, in preparation for the holiday party circuit, I shared the tutorial for the Softie Spiral Headband. This month, it's about headgear for the younger generation. I made these headbands, adapted from a project in one of my favorite books, Crafty Mama, for my four-year-old niece (though I'm not a Crafty Mama, the Crafty Auntie title is one I take very seriously). She's growing out her bangs and has a classic Goldilocks situation on her hands: The available solutions to bangs-in-the-face poke, prod, or pull, are too tight or too loose. But these stretchy soft headbands are just right.

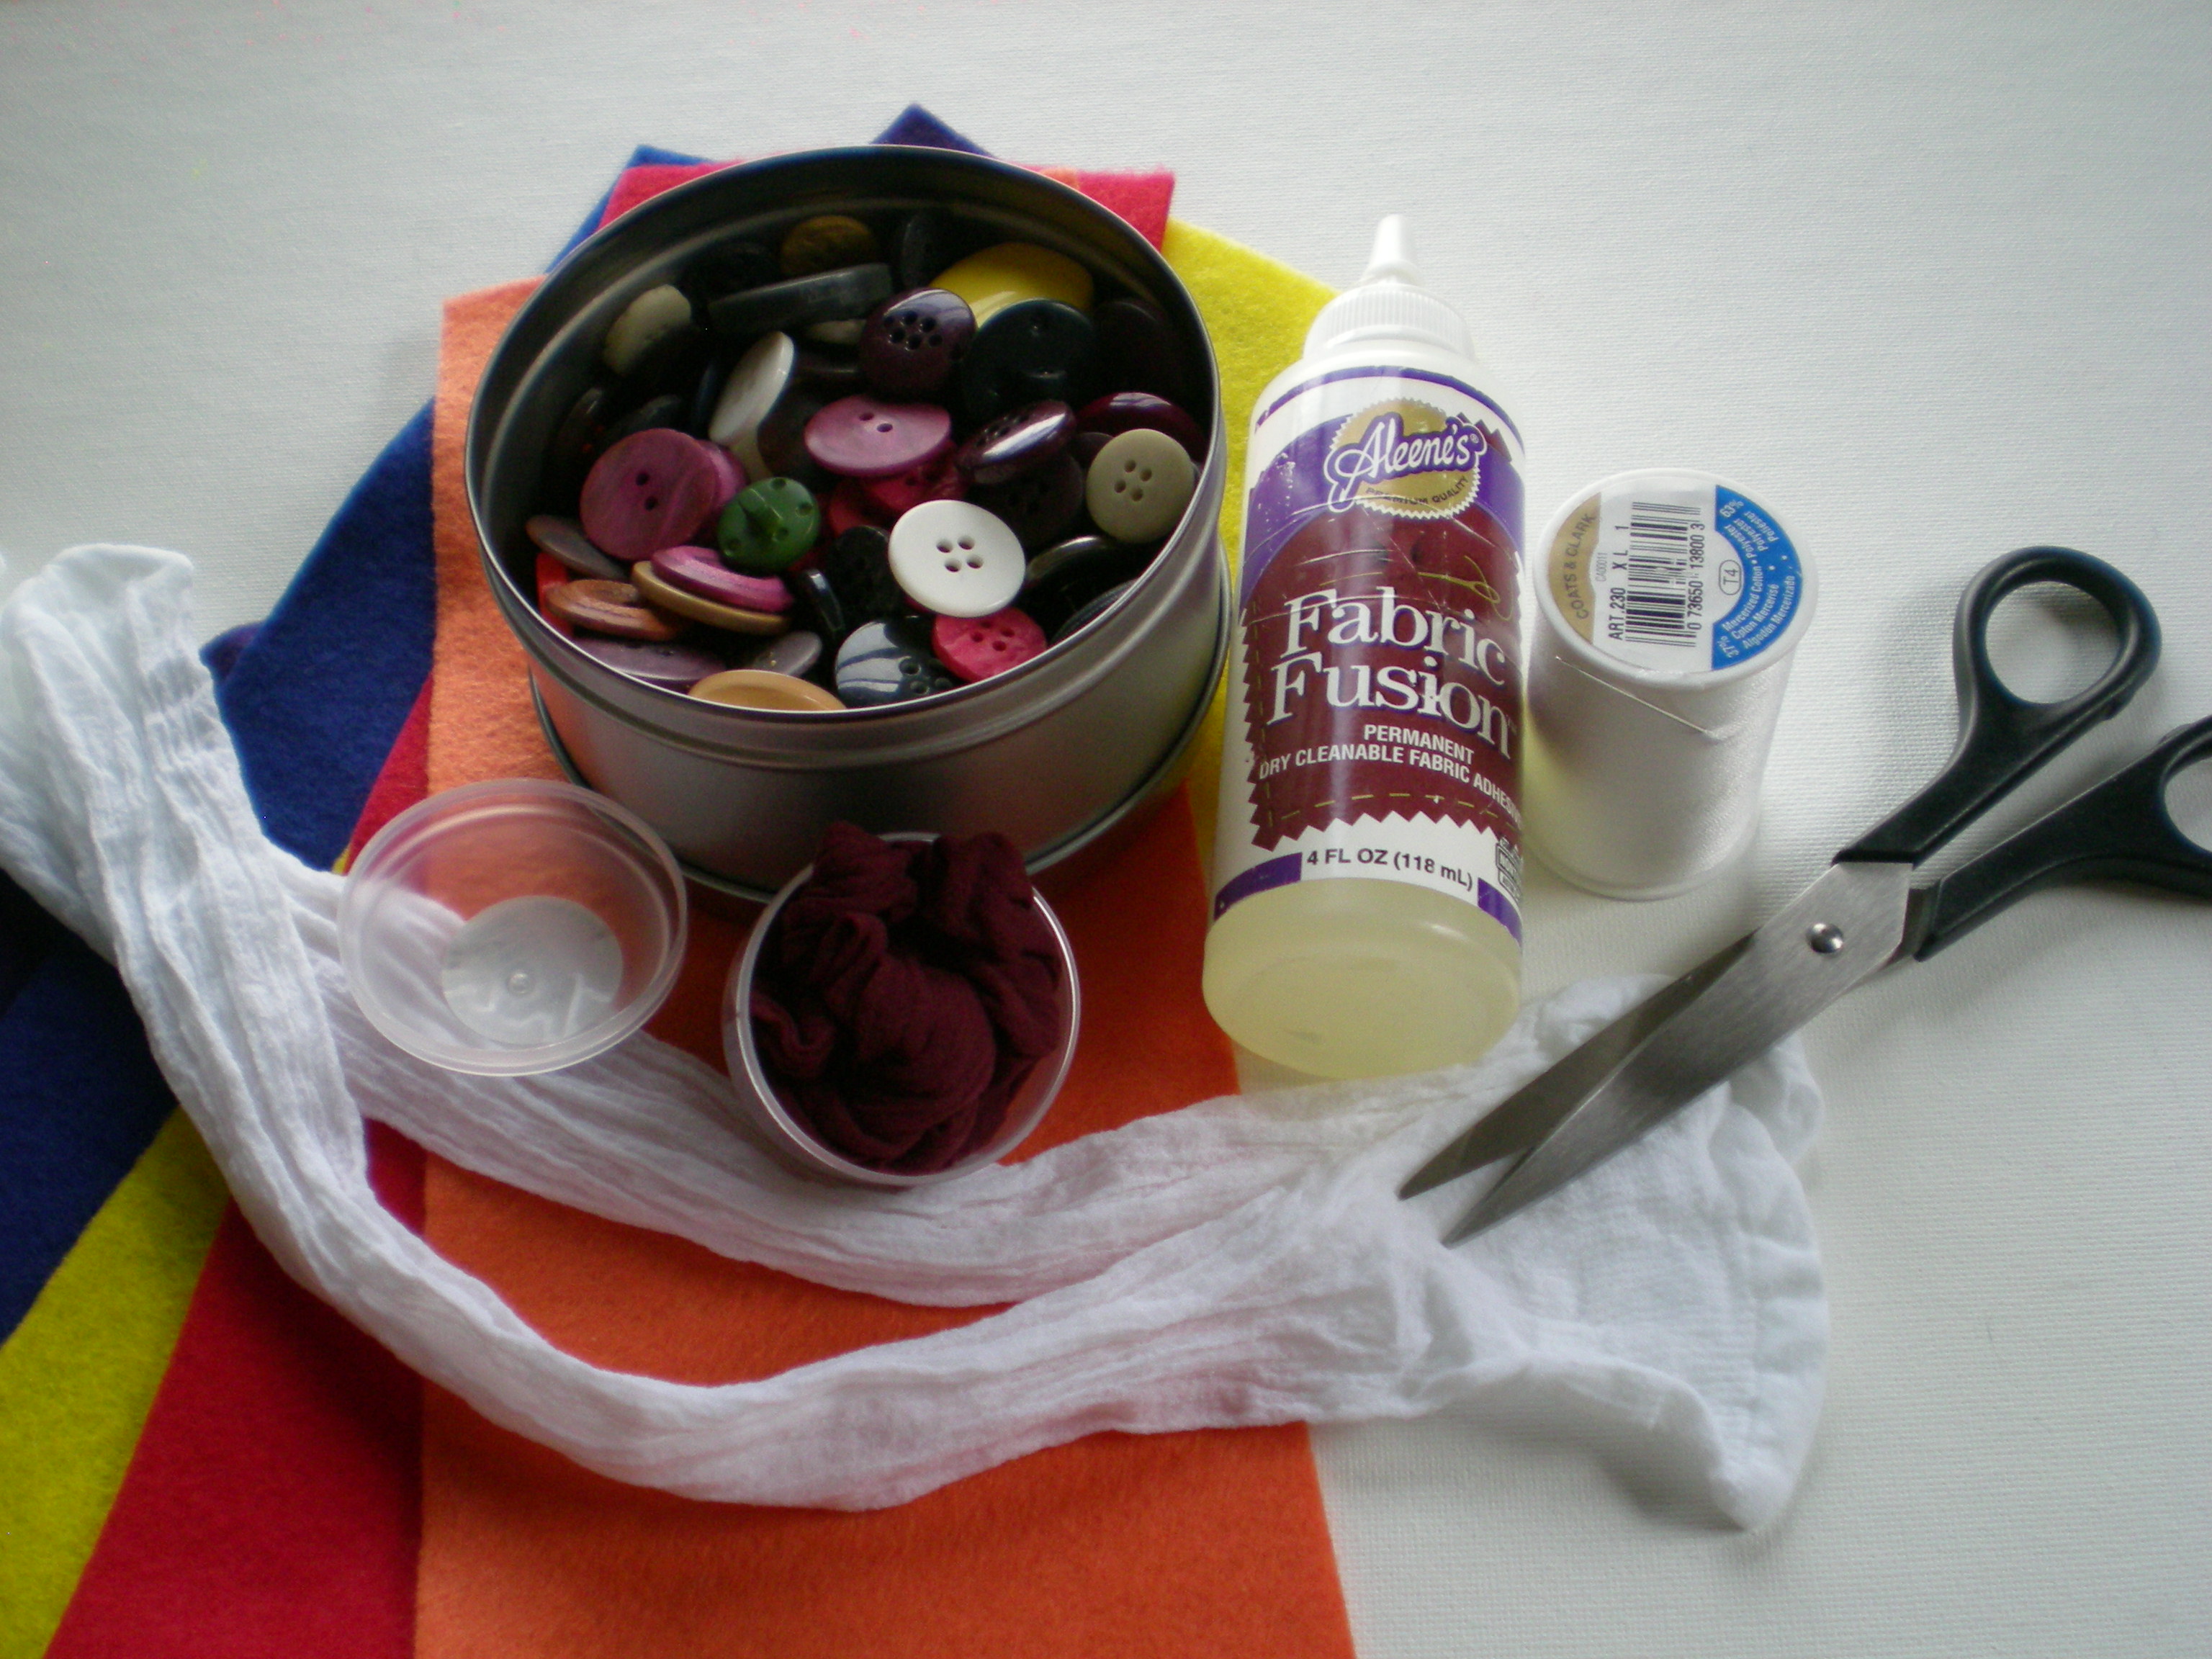
Materials:

-package knee-high stockings (1 stocking makes 1 headband)

-scissors

-needle and thread (color to match the stockings)

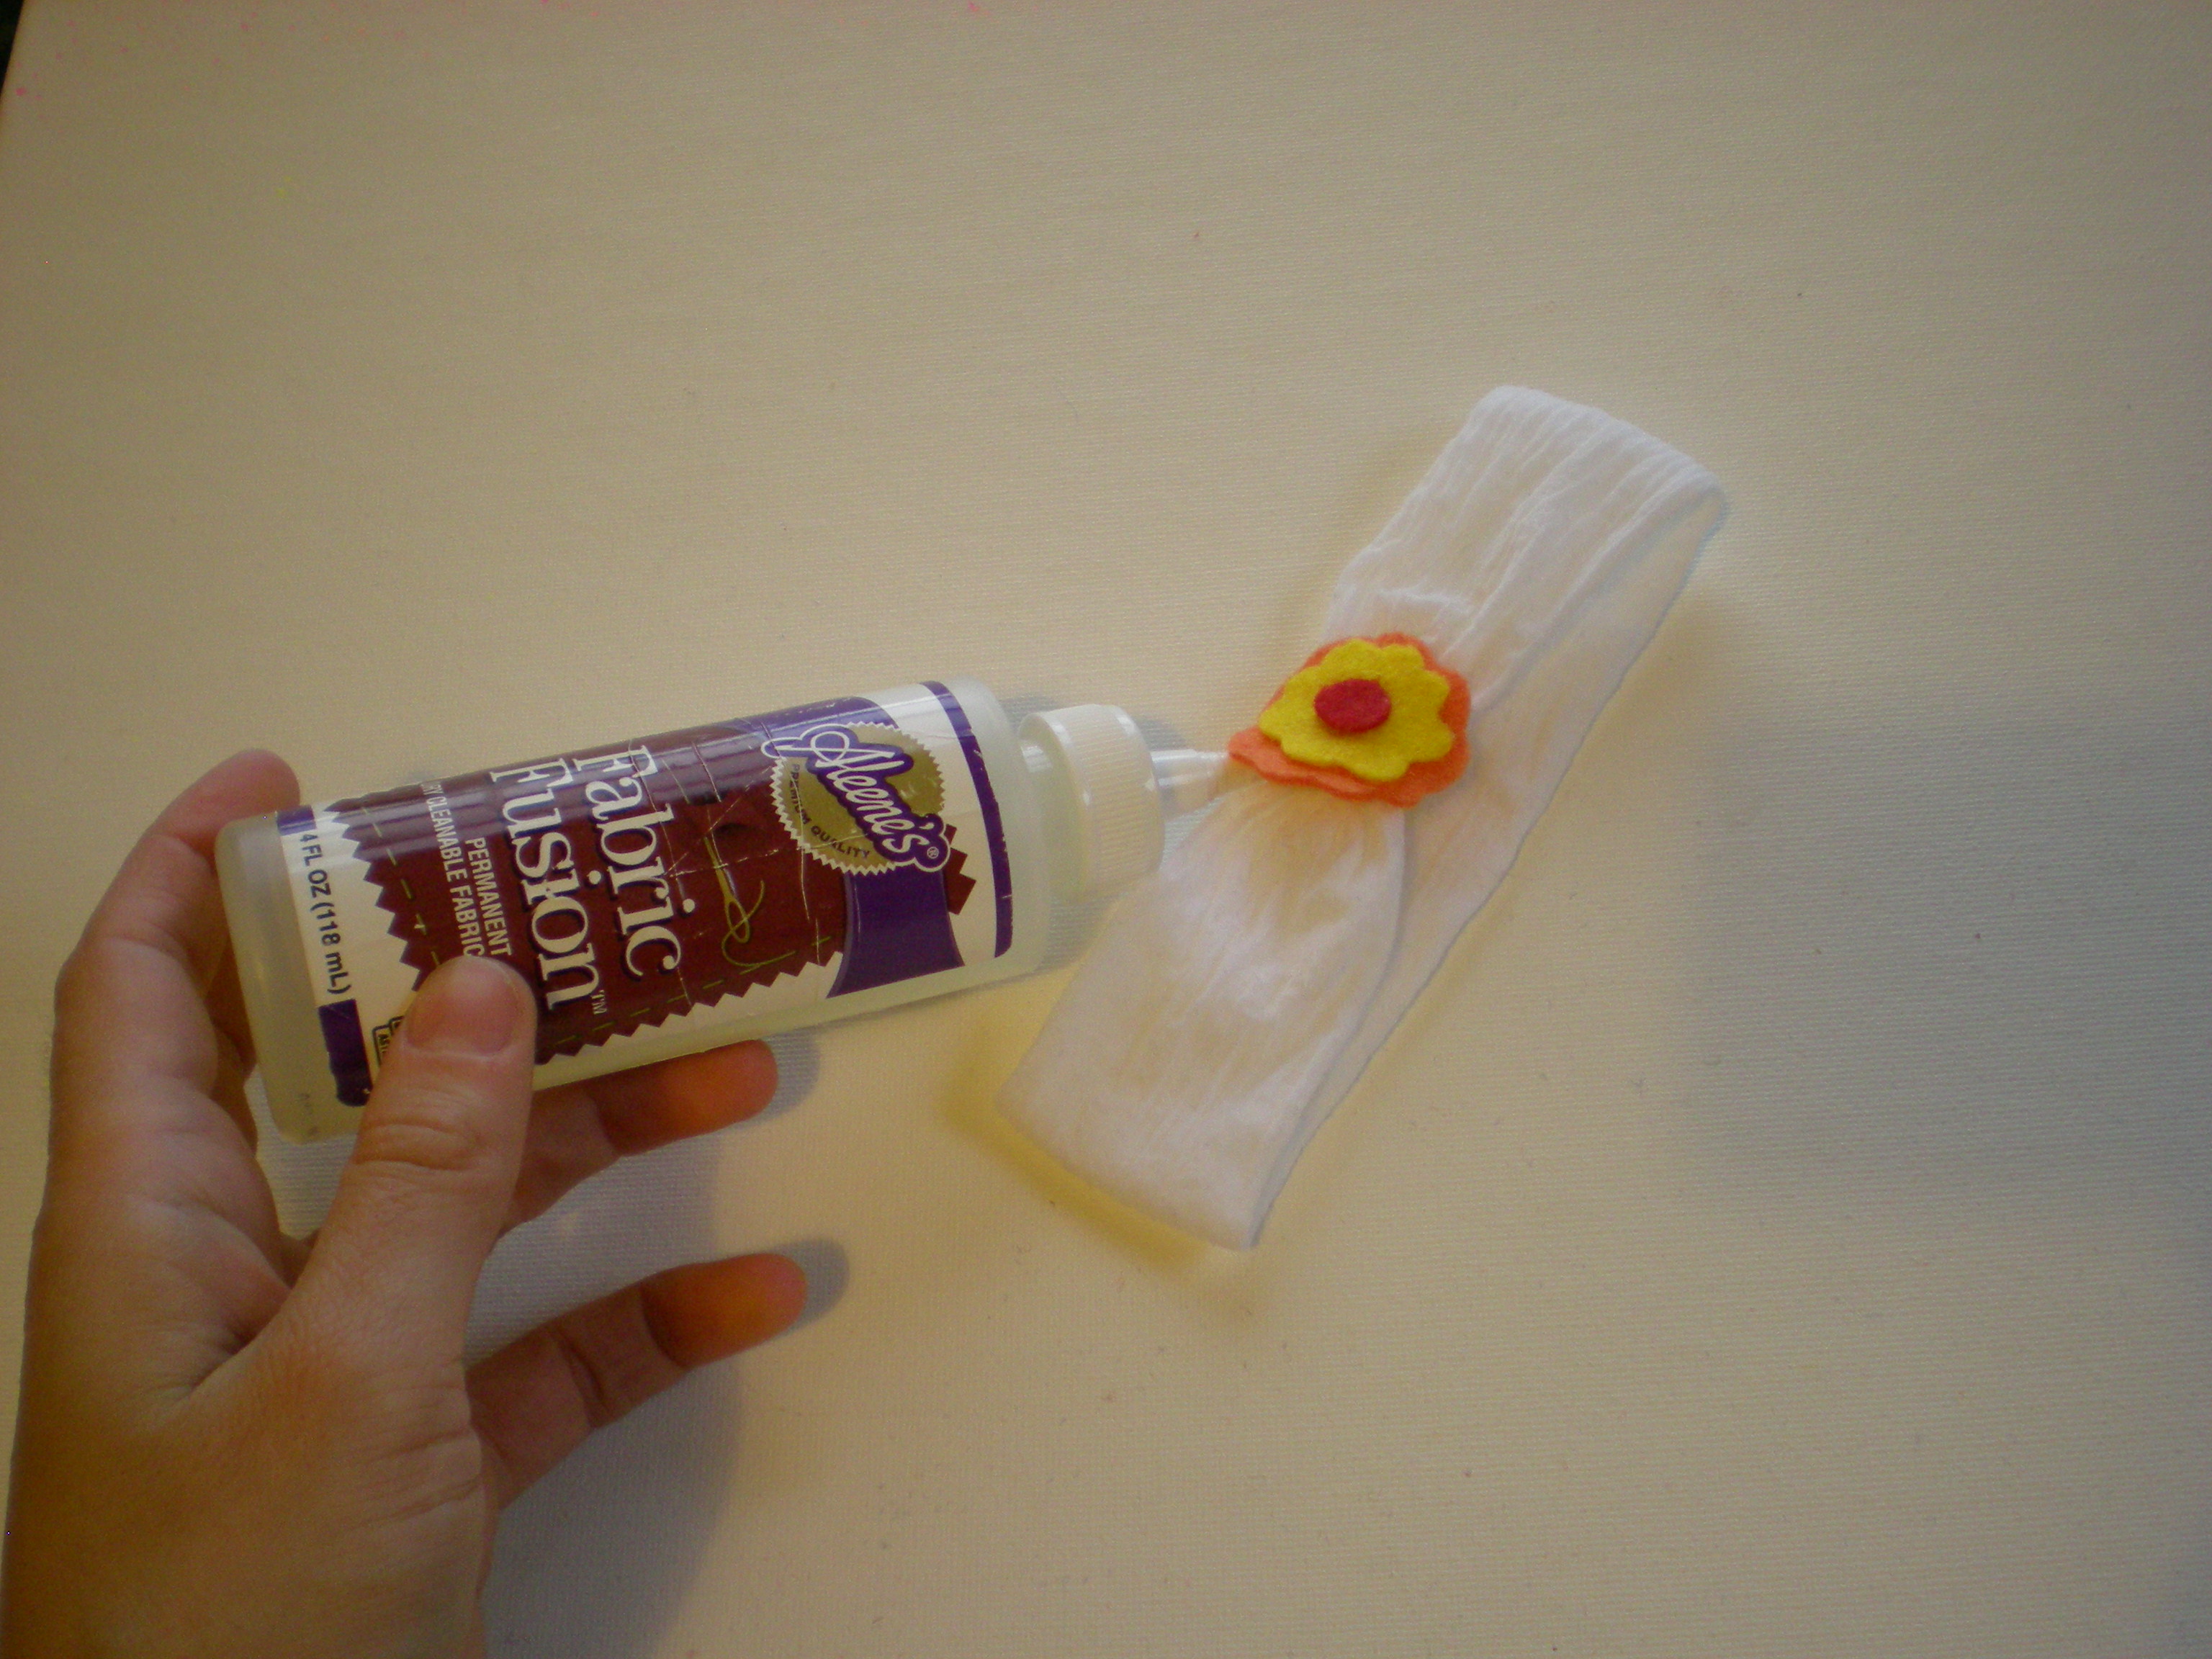
-Aleene’s Fabric Fusion Permanent Dry Cleanable Fabric Adhesive

-colorful felt pieces

-buttons (optional, for embellishment)

-clothespins (optional, for clipping in place while gluing/drying)

Make it:

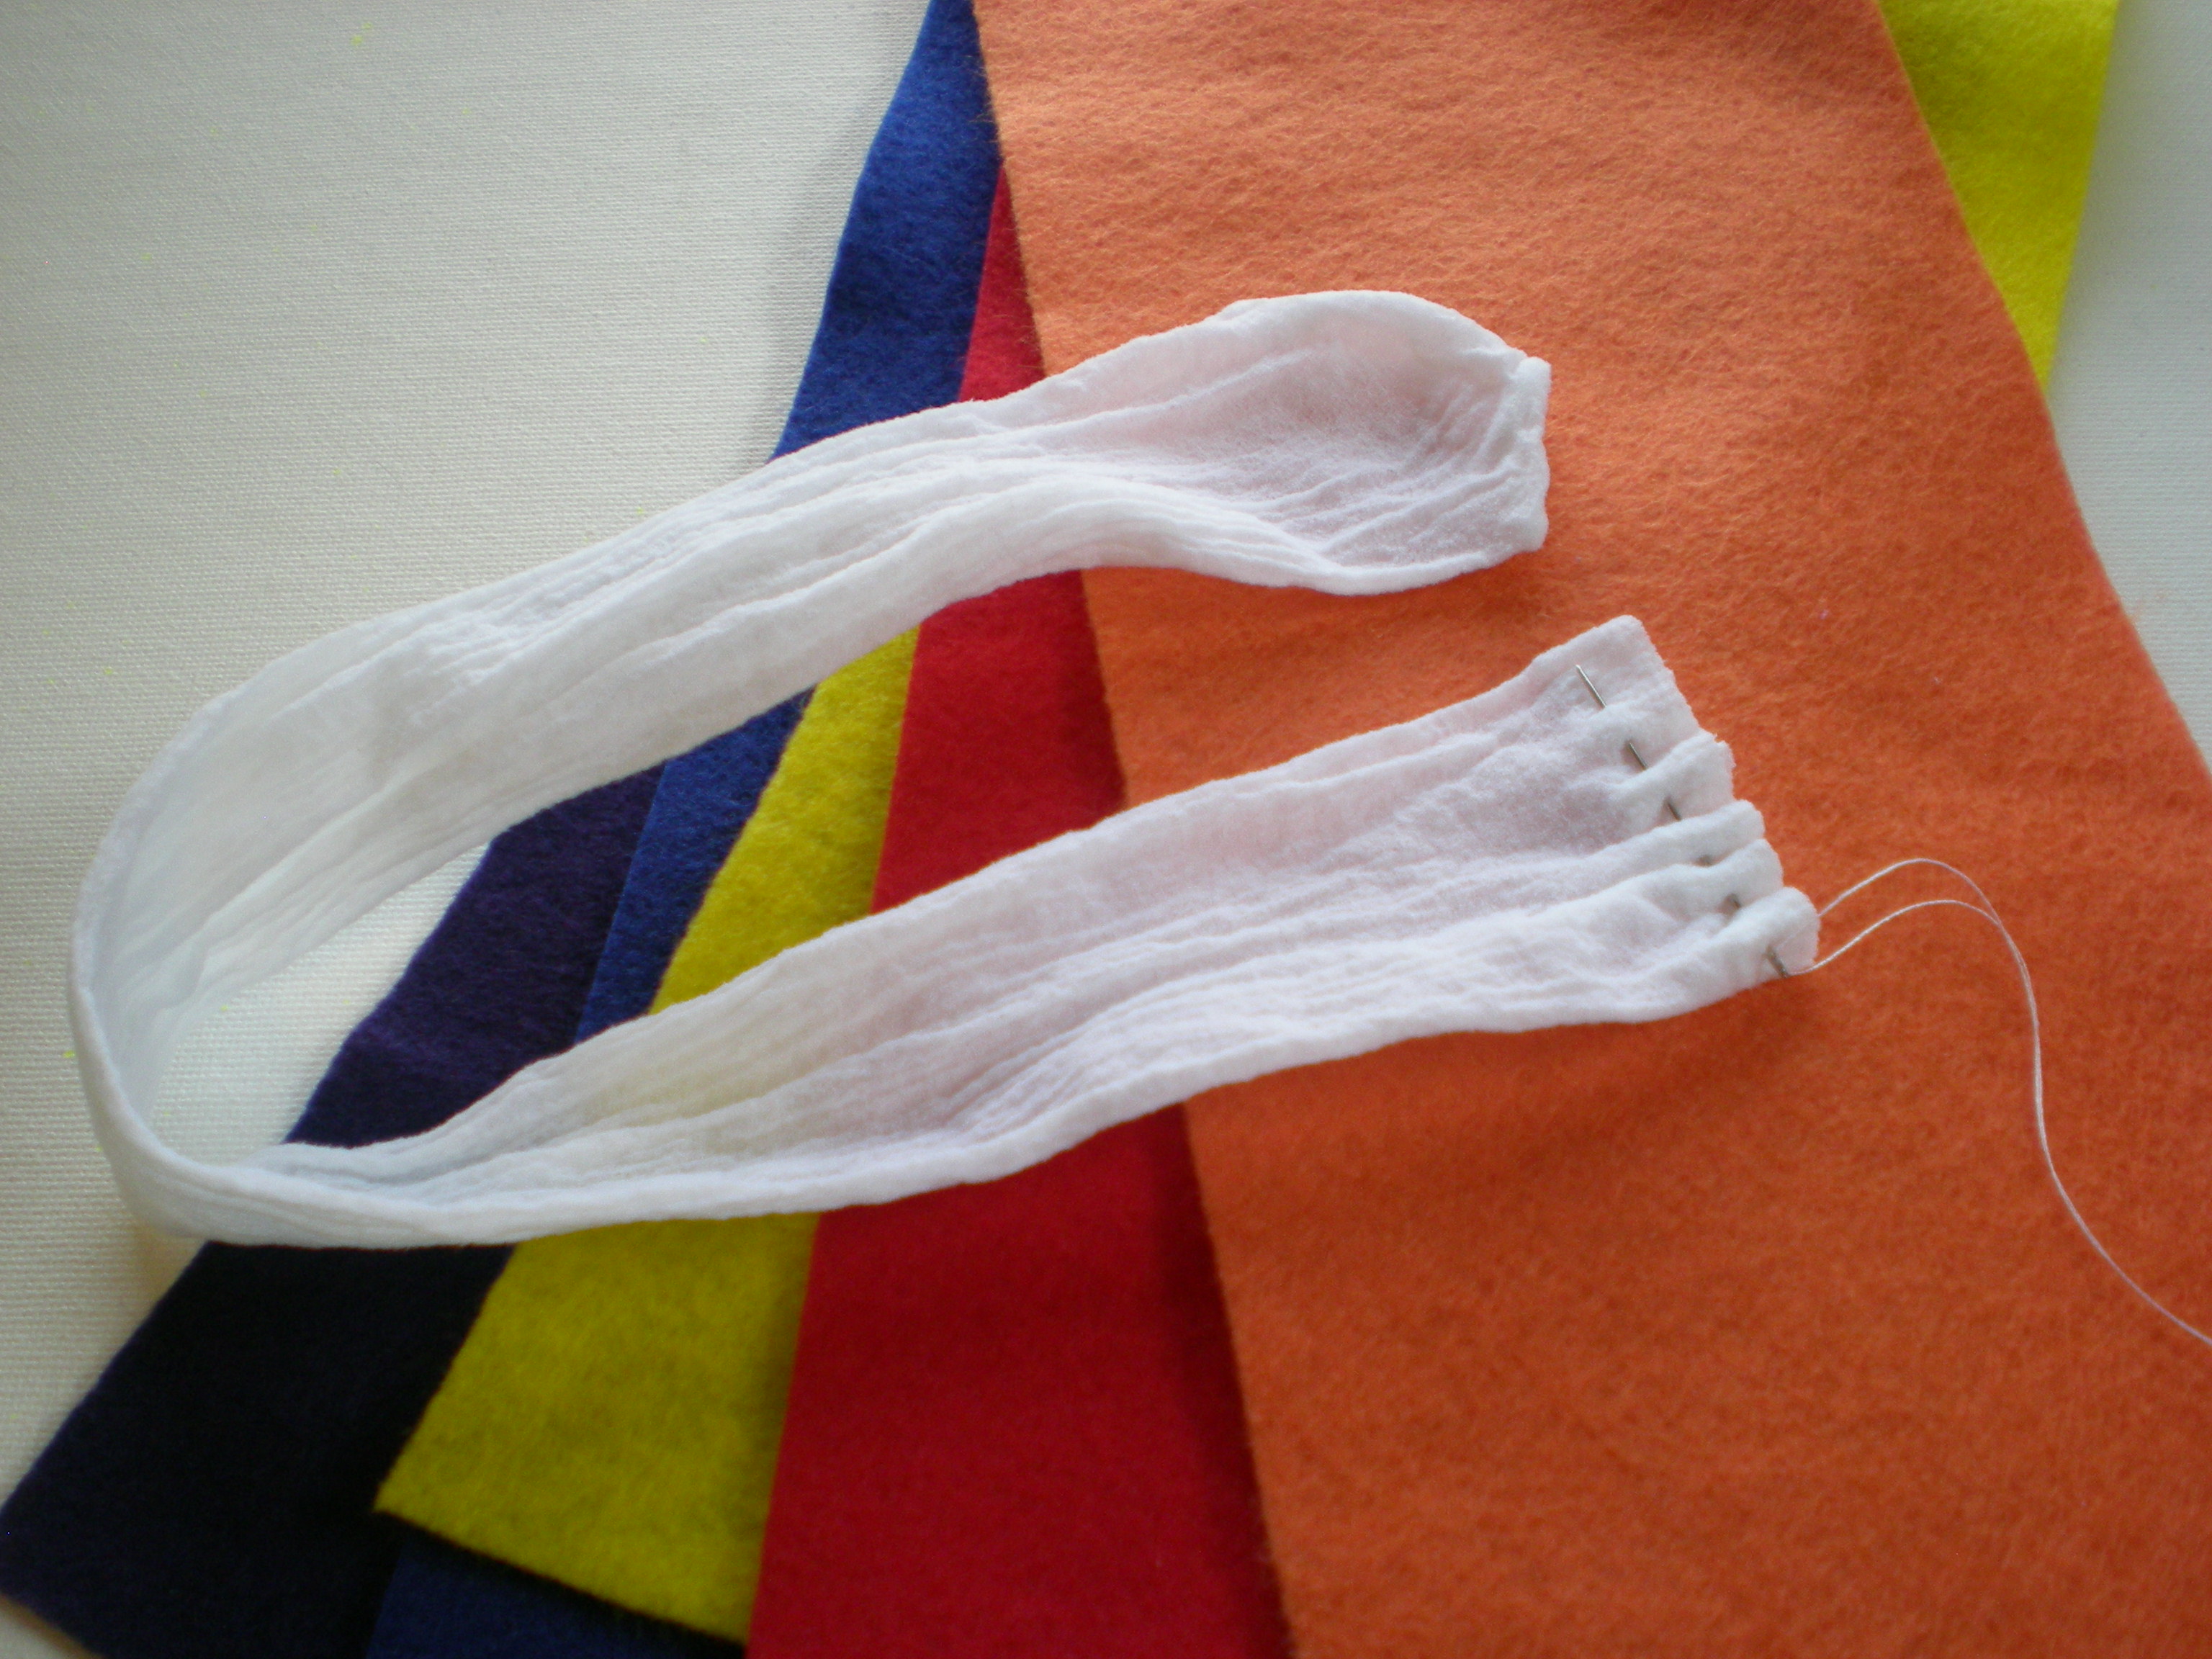
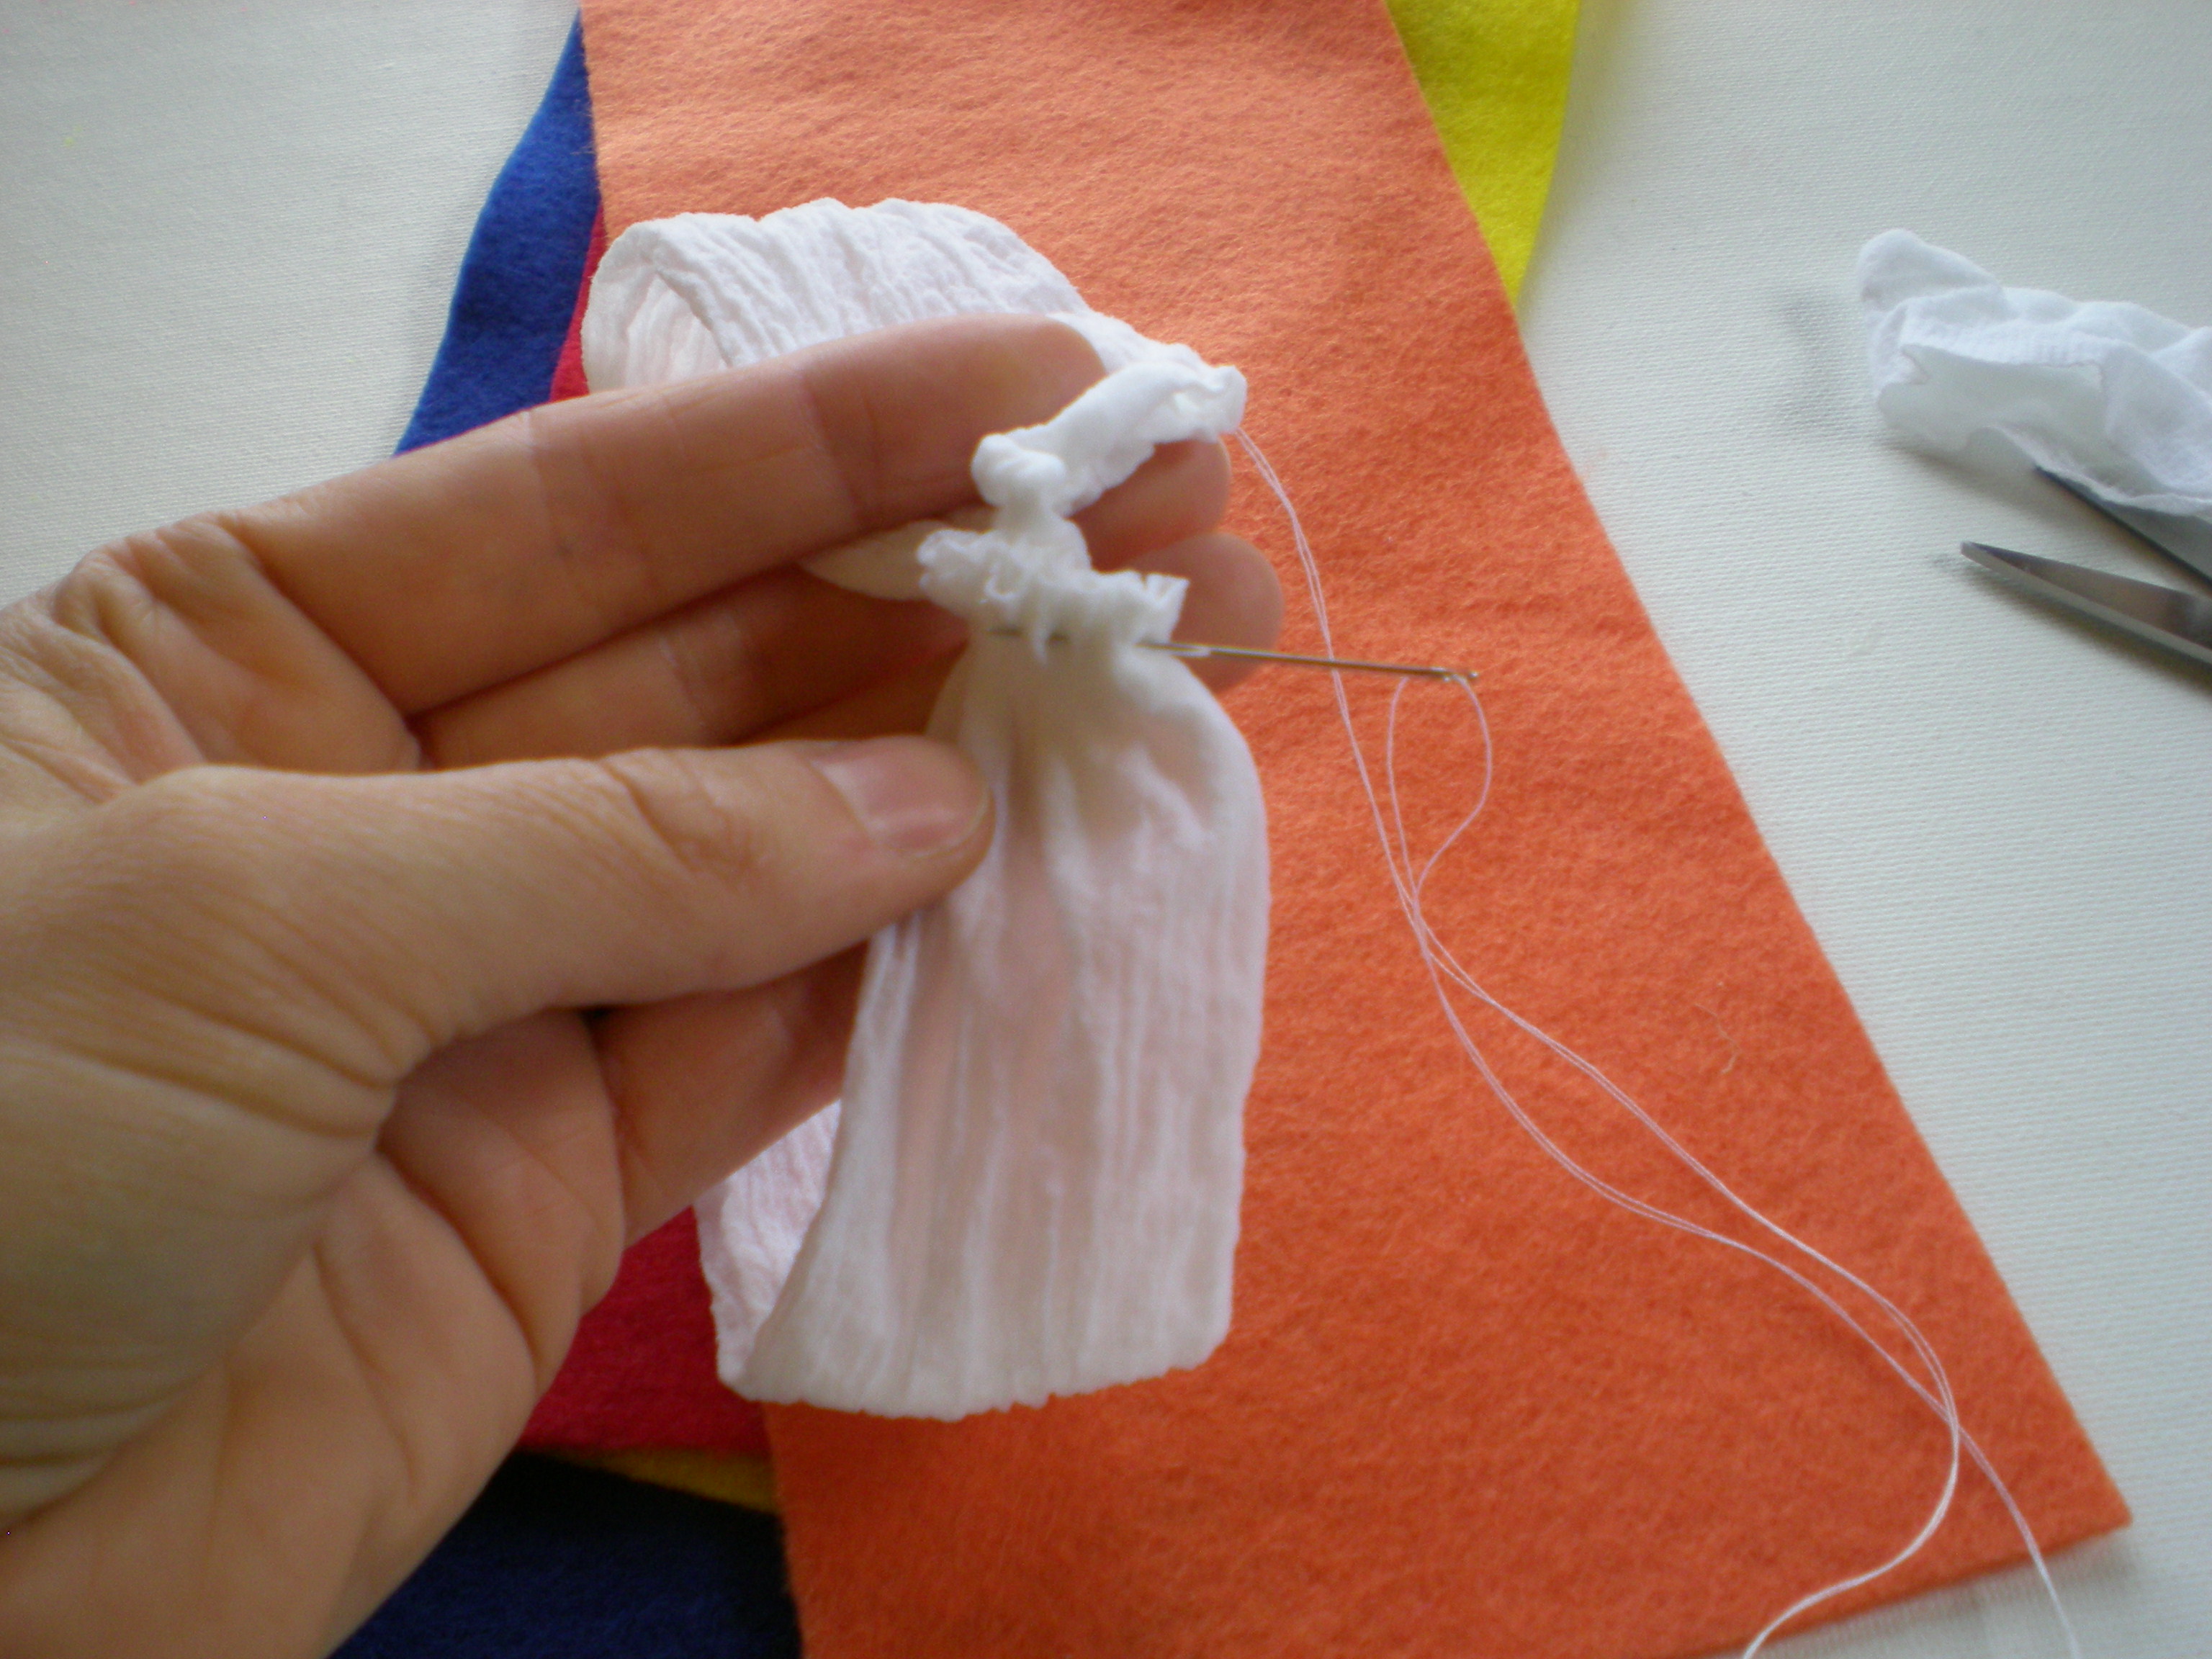
1. Remove the stockings from the packaging and stretch them out. Cut about 1" off the top of one stocking and set it aside. Thread the needle, knot the end, and make a running stitch about 1/4" from the cut end of the stocking.


2. Sew a running stitch along the toe end of the stocking and gently pull the thread to gather the two ends of the stocking together, forming a loop. Make a few more stitches to secure the ends, and knot.


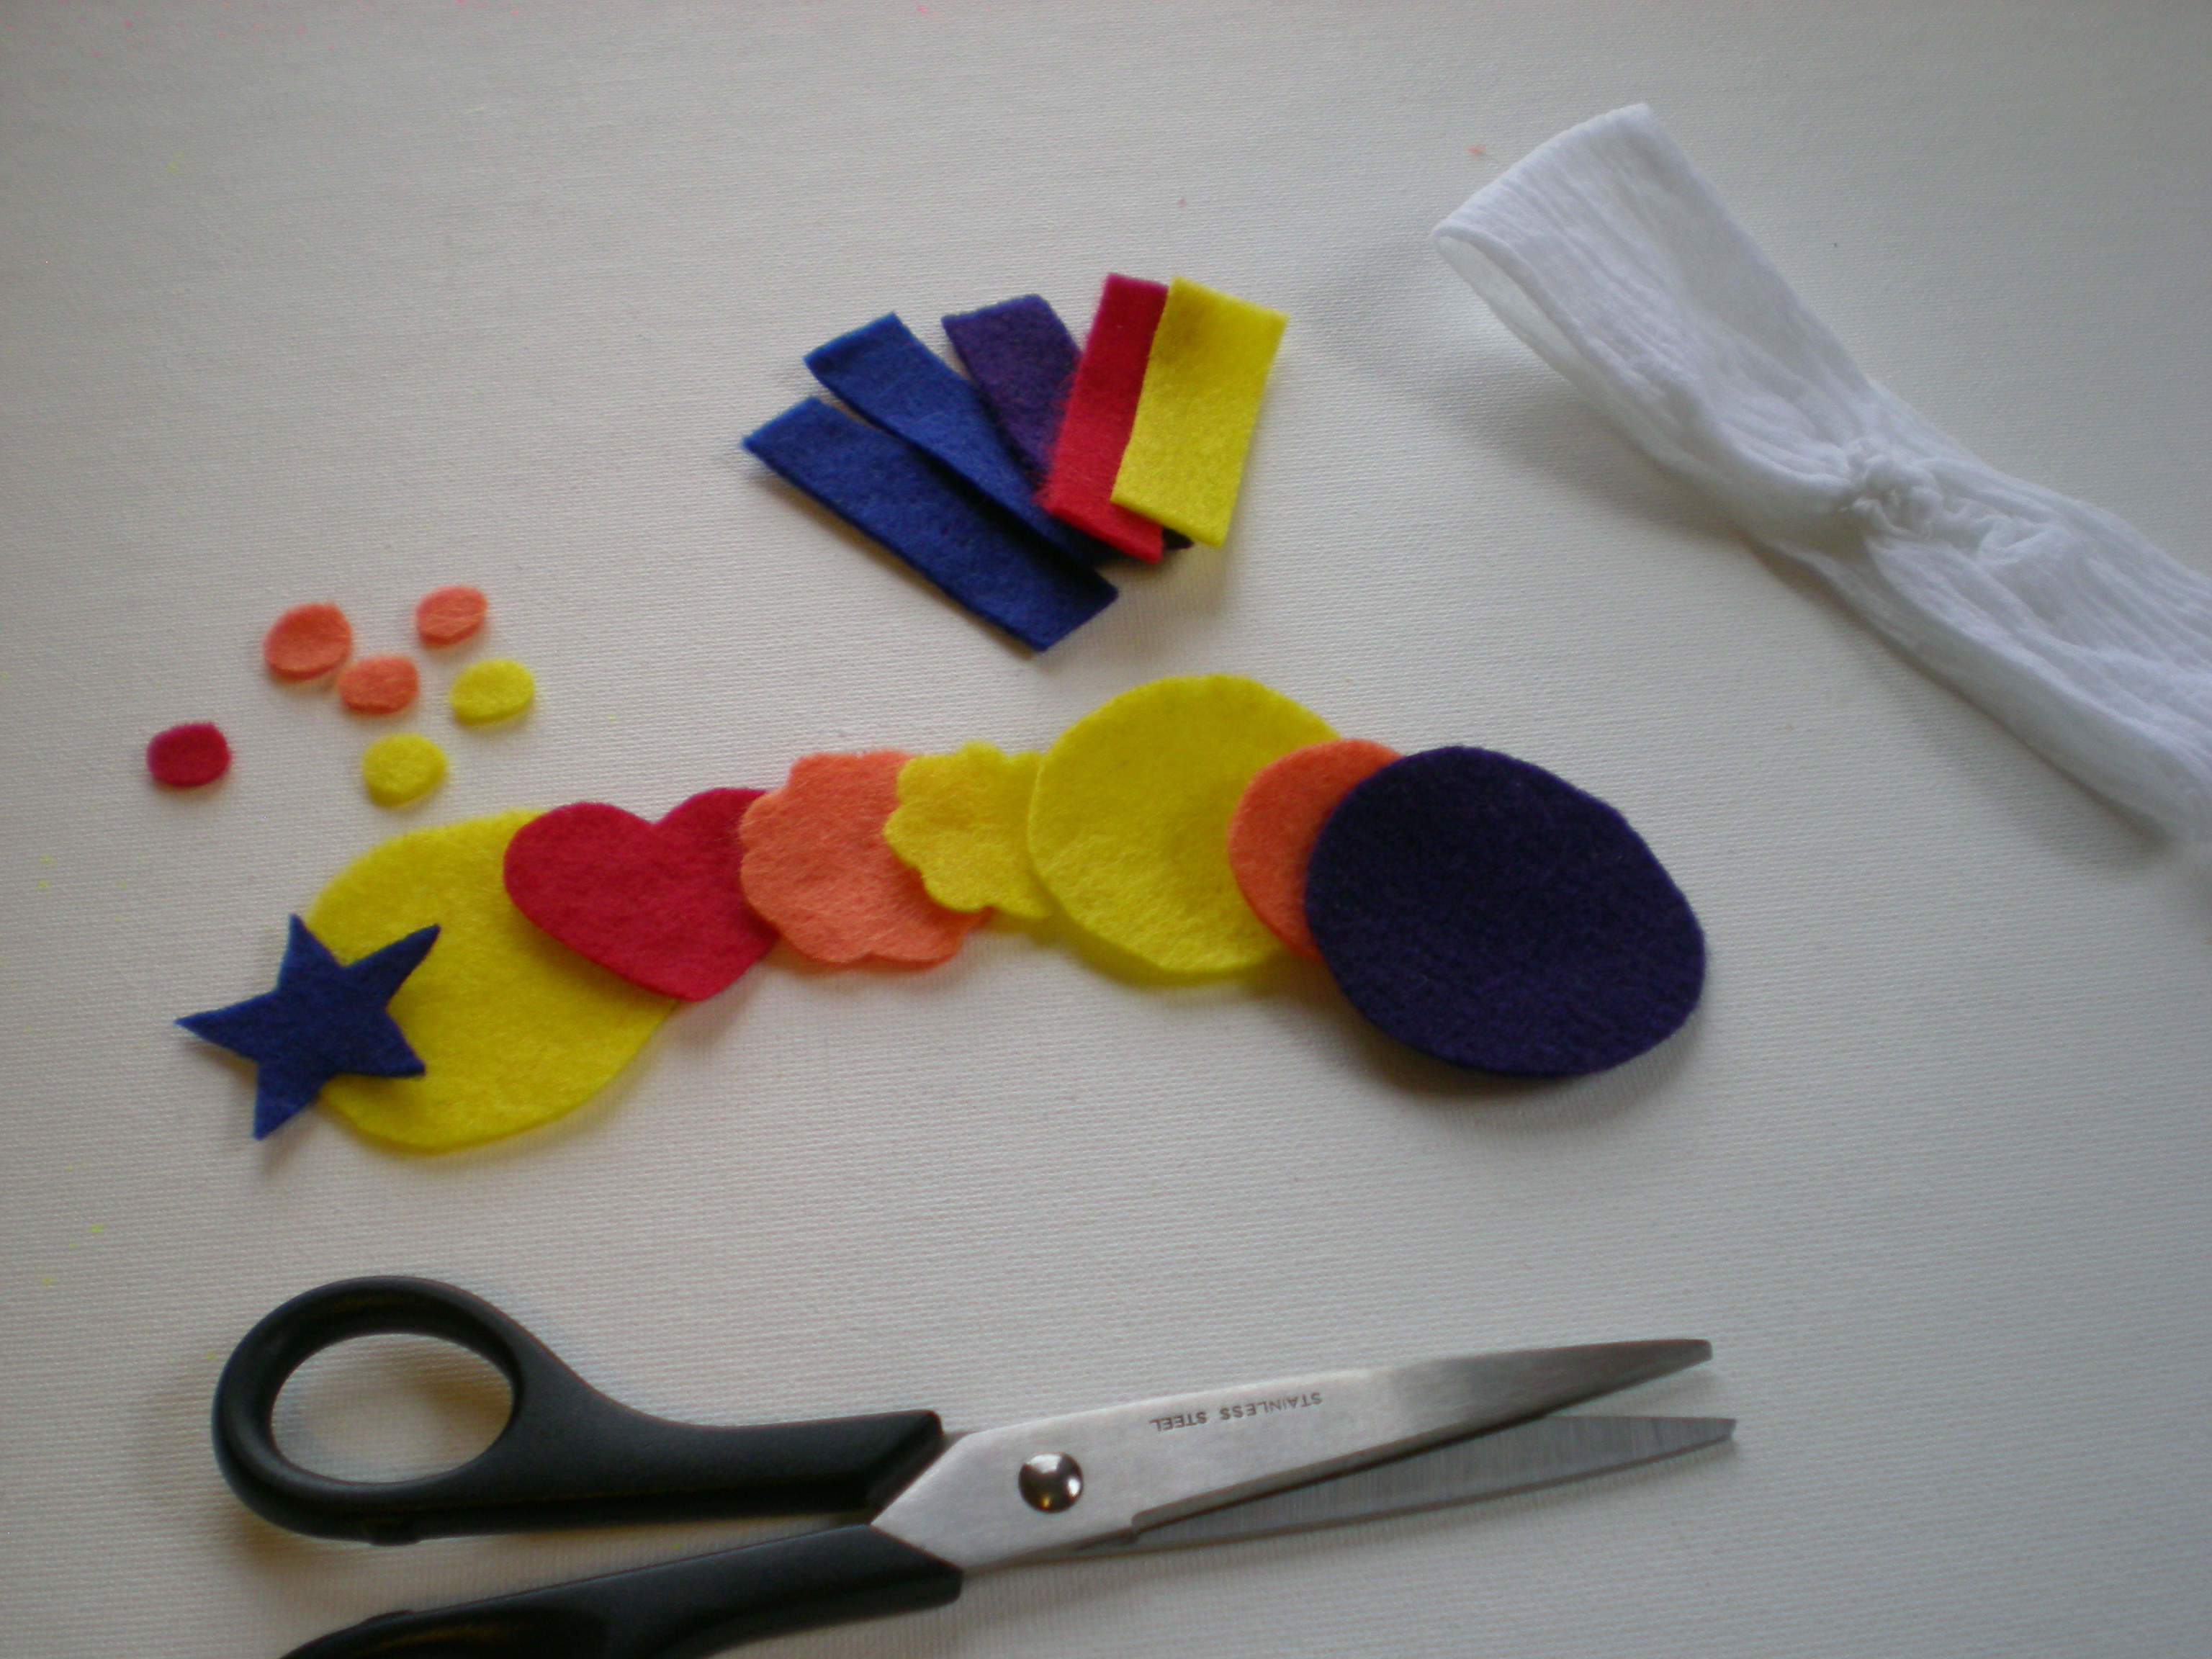
3. Set the loop (the headband) aside, and cut decorative shapes from the felt pieces. Cut several felt strips about 1/2" by 3".


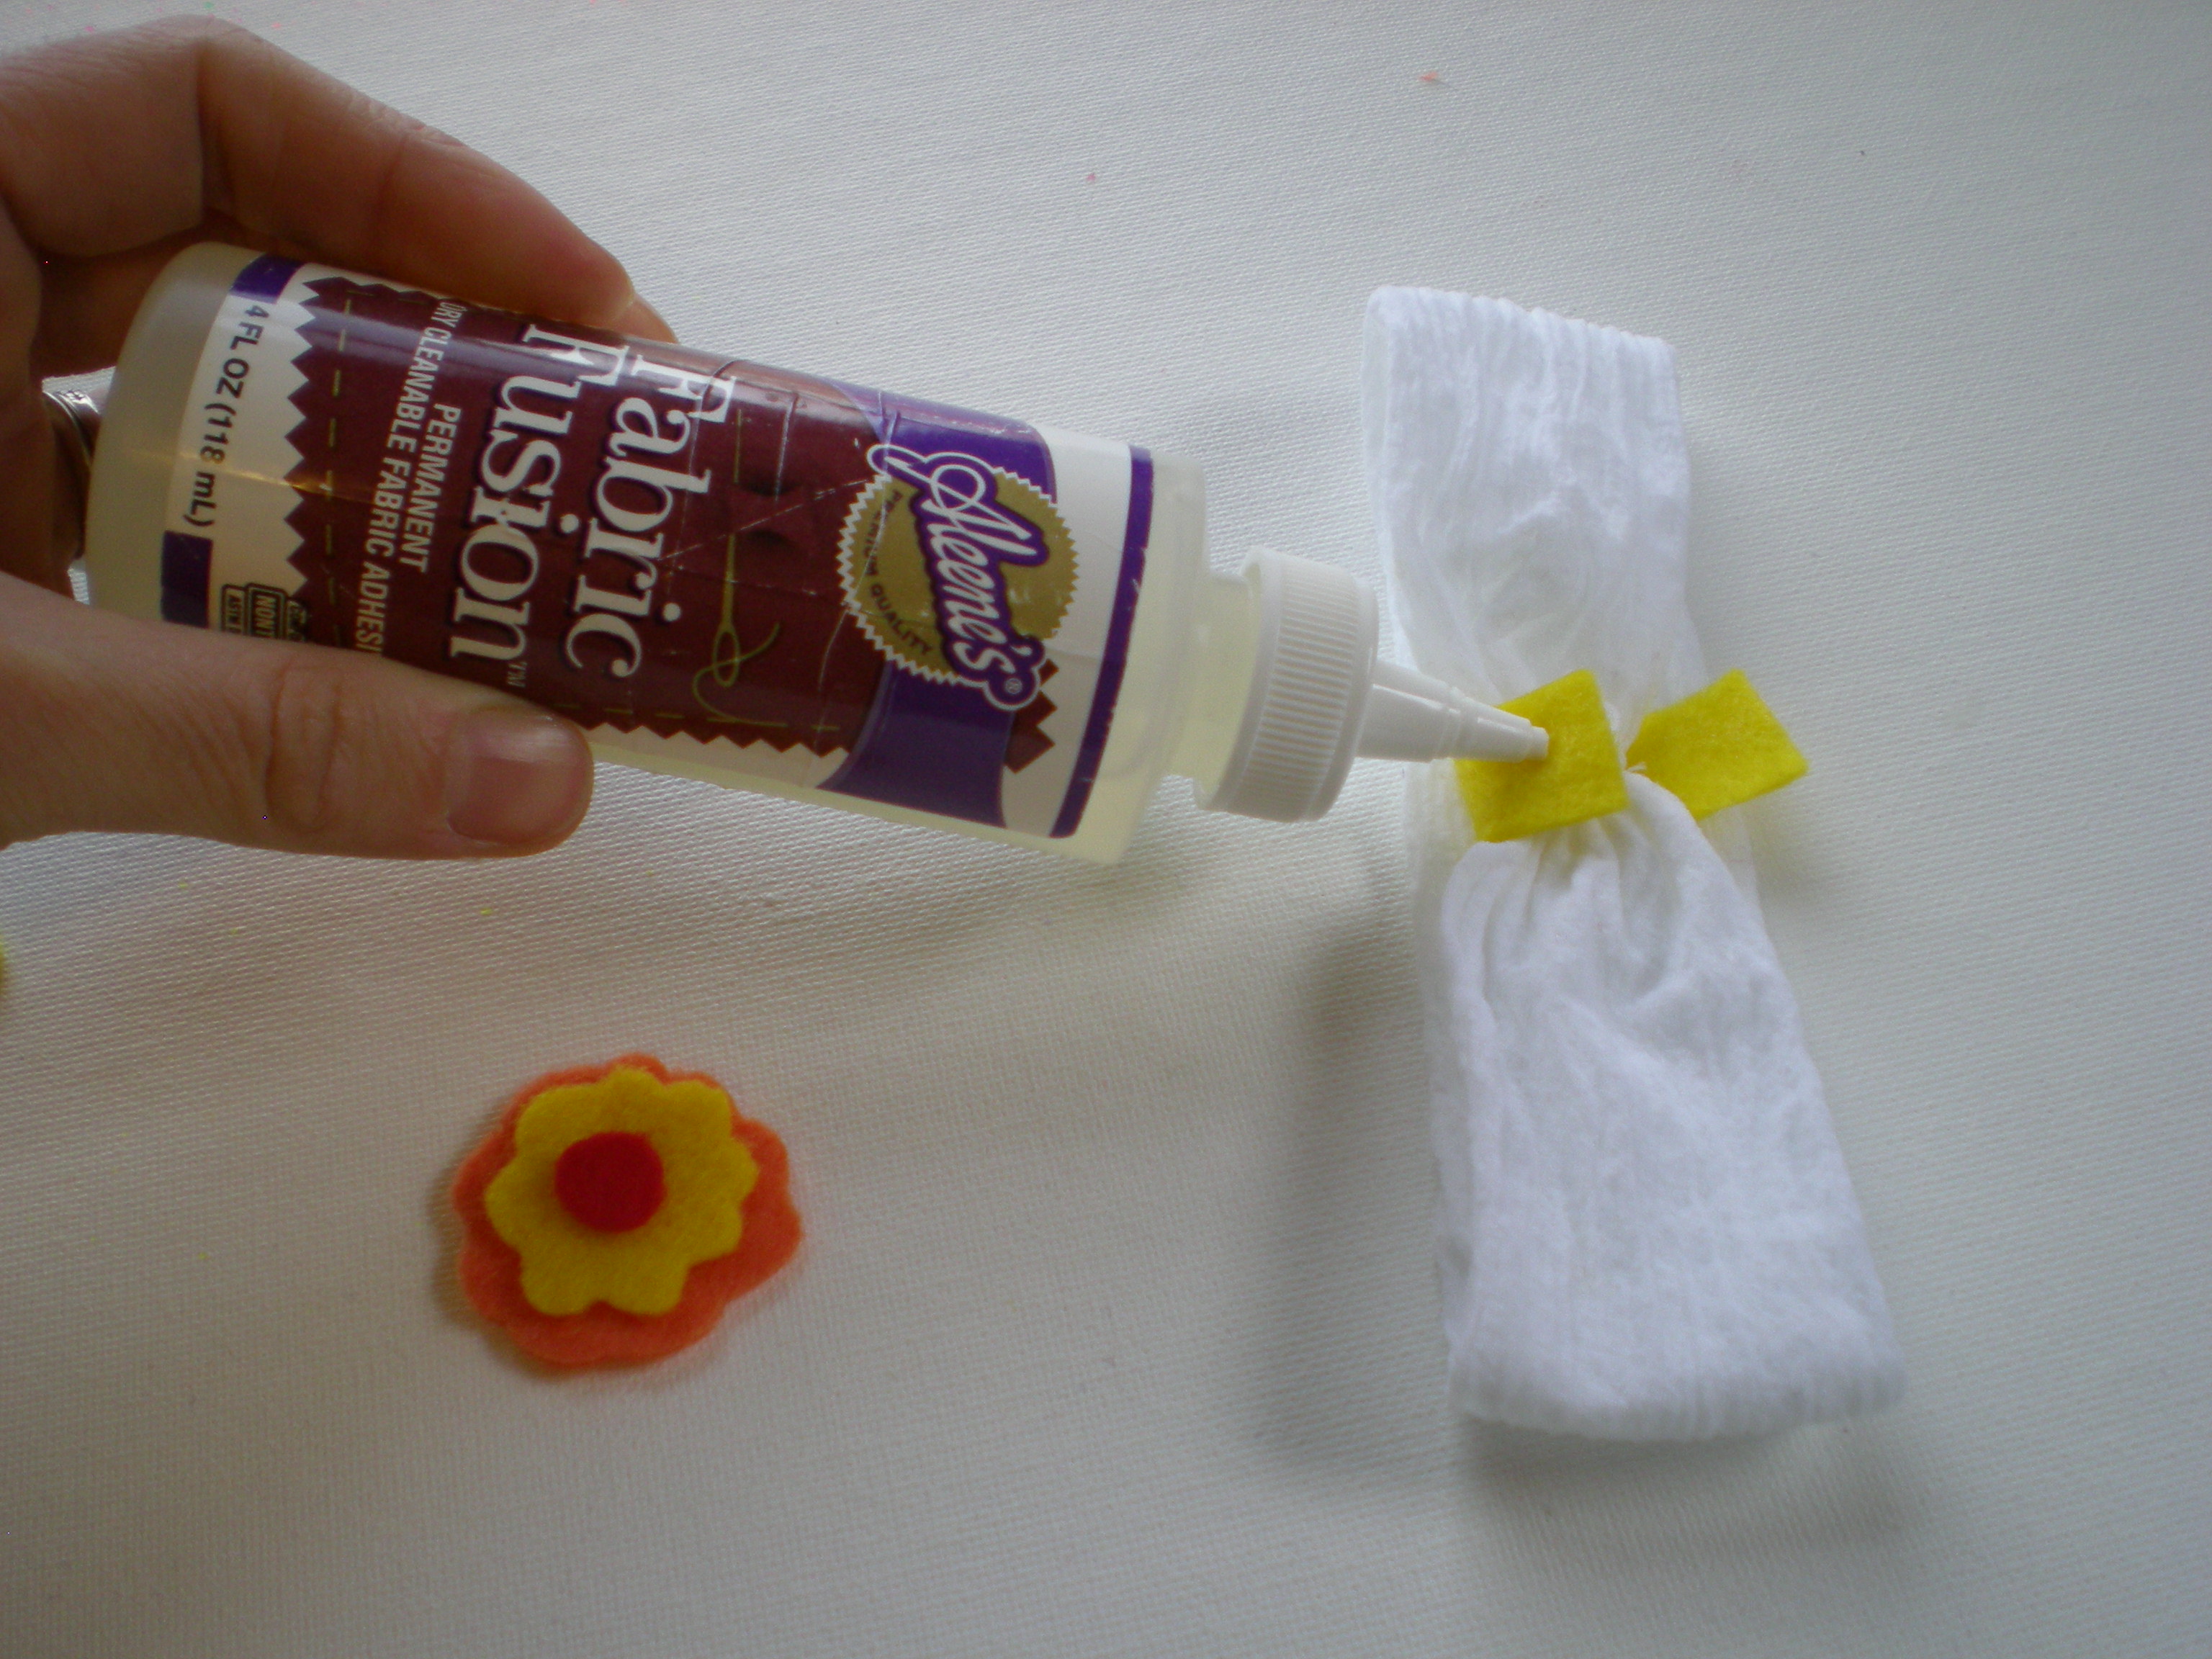
4. Wrap one felt strip around the gather on the headband (to hid the stitching and provide a base for the embellishment). Apply glue liberally to the ends of the strip and fold them over each other. Let dry, and reapply glue as needed. (Felt is very porous, so the glue gets absorbed easily.) While the glue dries on the headband, mix and match felt shapes and glue them together to make embellishments. Optional: Add buttons, glitter, ribbon, T-shirt flowers, even fabric scrapbook decals to personalize the headband.


5. Glue the felt embellishment over the felt seam and let dry. (Again, apply that glue liberally!)


6. You're done! Now get to the wearing part -- with no complaints of pulled hair, and no shaggy bangs covering up her sweet little face! Tea party, anyone?

Bonus: If you buy your stockings at the pharmacy or the dollar store, they often come in little round plastic containers that can easily be converted into a simple cat toy -- drop a button inside, snap it tightly closed, and roll it across the floor.

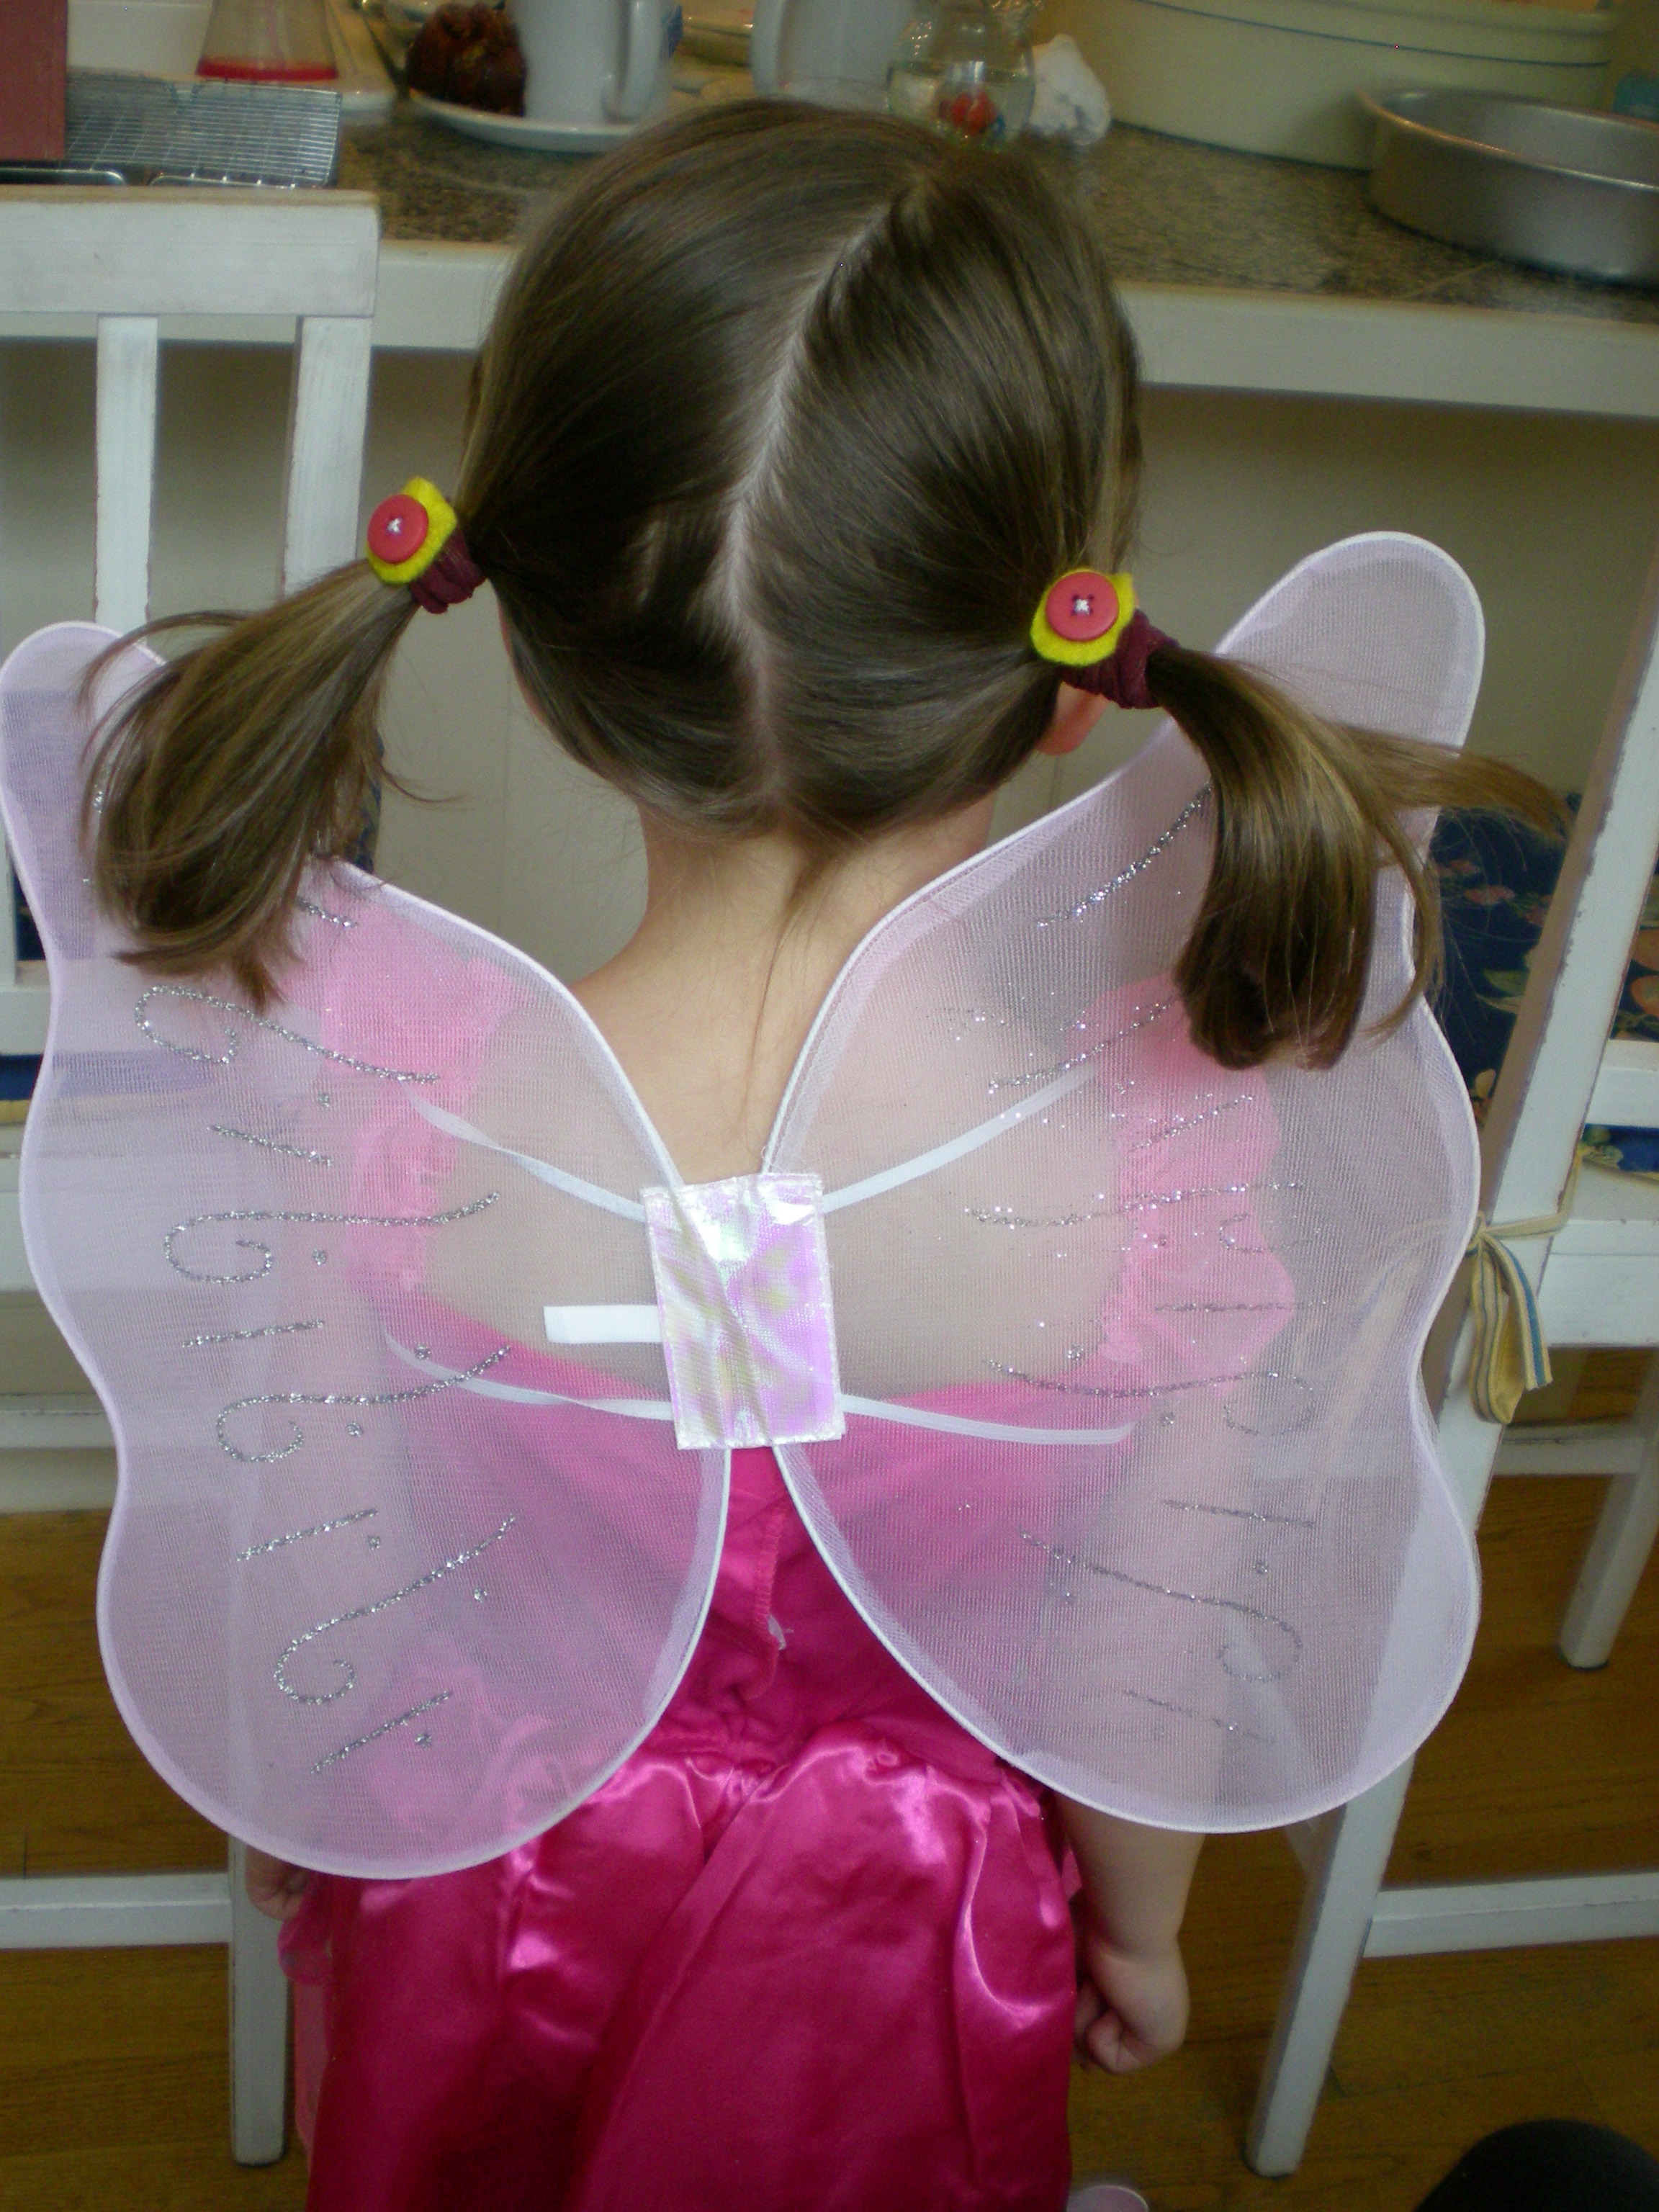
Double bonus: Remember the 1" bit of fabric you cut off the top of the stocking in step 1? Follow steps 4 and 5 to make No-tug Hair Ties! Perfect for taming pigtails, ponies, and braids.


Check out my other fun projects for iLoveToCreate here!

Visit us on Facebook!
Craft on! Click here for today's daily giveaway!

Cute Quilted Kiddo Coat

Thursday, November 25, 2010

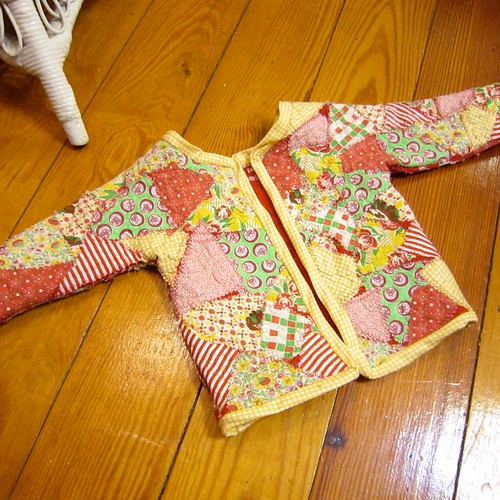
I know, I know two weeks in a row of kid's clothing - but can you really have enough? I have spent the week with my mother who has recently visited The Houston International Quilt Show, so she was busting with ideas. One of those fabulous ideas I decided to share with you today for I Love to Create.


I love the look of patchwork crazy quilts so when my mom told me about this adorable jacket she had seen made at the quilt show I was totally on board. Grab some fabric scraps and let's get busy.


SUPPLIES
Fabric Scraps
Pinking Shears
Sewing Machine
Sweat Shirt
Scissors
Aleene's No-Sew Fabric Glue
Iron
Pins
Thread
Velcro


TAKE ME DOWN TO THE TRIANGLE CITY
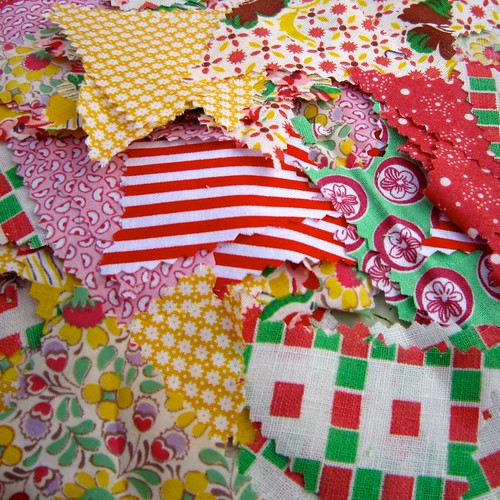
Scalene, isosceles, right - whatever kind of triangle floats your boat. I used my pinking shears and vintage feed sack fabric to cut a pile of different triangles. If you don't have feed sack light-weight quilting fabric works like a charm.


SWEATSHIRT DECONSTRUCTION
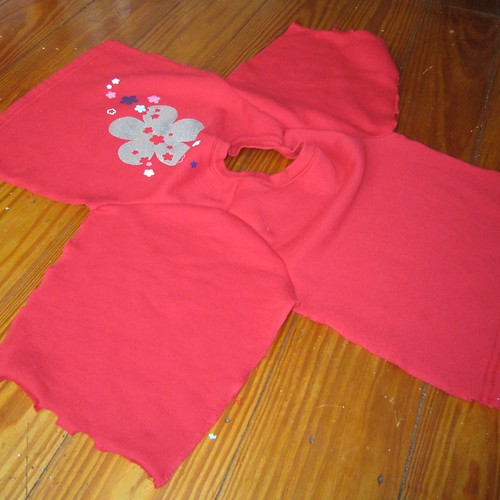
Next you are going to cut your sweat shirt up. Cut up the side seams and continue up the sleeves. Cut the cuffs and if there is a ribbed bottom cut that off as well.


PATCHWORK PARTY
Using your Aleene's No-Sew Fabric Glue place your triangles in a random pattern all over the sweatshirt. It's ok if there is a little sweatshirt peeking between the triangles. The glue will wash out, but hold your triangles in place long enough to stitch them on.


ZIG-A-ZAG-DO-DA-ZIG-A-DEE-A
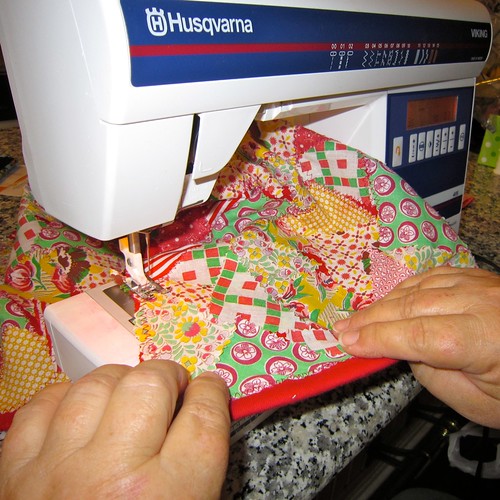
Using a zig zag stitch on your sewing machine and a contrasting thread sew all the edges of all your triangles down. Also stitch around all the edges.


LOOK MA, I'M QUILTING
Place your jacket on the sewing machine. Drop your feed dogs and using a straight stitch on your machine free quilt all over you jacket. The more random the better.


GRAB YOUR SCISSORS
Cut the ribbed neck out of your sweatshirt and cut your sweatshirt up the front.


PUT THE SWEATSHIRT BACK TOGETHER AGAIN
Pin your sweatshirt back together and using a straight stitch put it back together again. Using bias tape (we made our own) trim the edges of your jacket.


I have to give my mom the infamous Fredda Perkins most of the credit for this adorable jacket. Grandma comes to the crafty rescue yet again! I kinda want an adult size version of this jacket for me.

Craft on!Click here for today's daily giveaway!