Featured Artist Friday with Susan Wechsler

Friday, June 3, 2011

Artist Susan Wechsler is one talented lady and she has taken mosaic art to a whole new level! From gallery shows to installations to classes, Susan shares her passion for mosaics in many different ways. Susan honors the integrity and memory of each piece of china she works with by carefully cutting and then placing the patterns back together. She loves to inspire others through the unique telling of spiritual stories in her mosaics.

Susan's artwork ranges from shrines and houses to dresses and large-scale blossoms. She also does very large custom installations. Here's just a few examples of her amazing works!


We asked Susan a few questions about her style and artistic passion. Here's what she had to say

Describe your style.
I am in a lot of international mosaic groups and my mosaic technique is very unique. I layer shaped flat pieces of wood, edge them w/ tile and cover them with antique china. My work has a spiritual base, I call my style mix media mosaics.

What inspires you and your creative process?

I search at Antique Malls for that special ICON that gives my work its central focus and my inspiration. Sometimes it is the exterior shape like a discarded wooden shelf that gets my creativity flowing.

What is one art material you absolutely cannot do without? My ALEENE TACKY glue, of course! I love my tacky glue!

How do you organize your work space? I have a rather large studio space lined with shelves. On the shelves are stacks of china organized by color- this is my palette. Literally hanging from the rafters are all my finished pieces and large found treasures I incorporate into my work. And then I have shelves of tile, beads and boxes of stained glass. But, my favorite part of my studio are my shelves that are full of Buddhas, Angels, Quan Yins, antique frames, beads…..

What would you change about your work space?
It is an unfinished space and I wish I had central air conditioning in the summer and heat in the winter.

Do you listen to music while you work? What do you listen to? ALWAYS, there is a GREAT local station that I love and all my students always ask- “What station is this?” The station has special programming they do at noon, three and five that helps me keep track of my day, other wise I would have no sense of the time flying away.

What would you tell an artist just starting out? Love what you do and do what you love! When you follow your inner guides and let go, the Universe will help you find your true calling.

Susan also loves to share her art with others. She offers mosaic classes where others get a chance to share her passion! Here's a student busy at work!
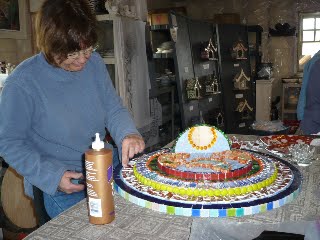


Thanks Susan for sharing your creativity with us! Visit Susan's website to learn more about her original creations! Also visit her Etsy page where she sells her unique wares!

Visit us on Facebook!
Craft on!Click here for today's daily giveaway!
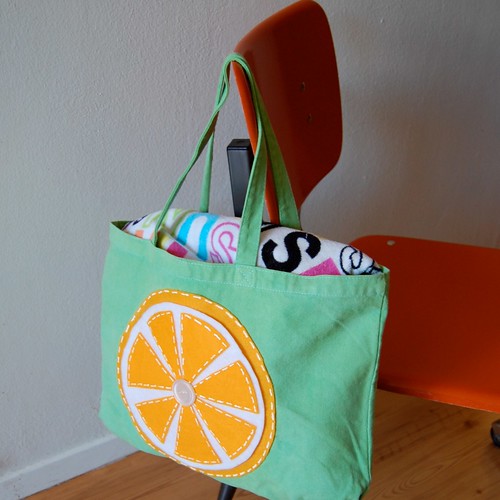
Slice of Citrus Tote

Thursday, June 2, 2011


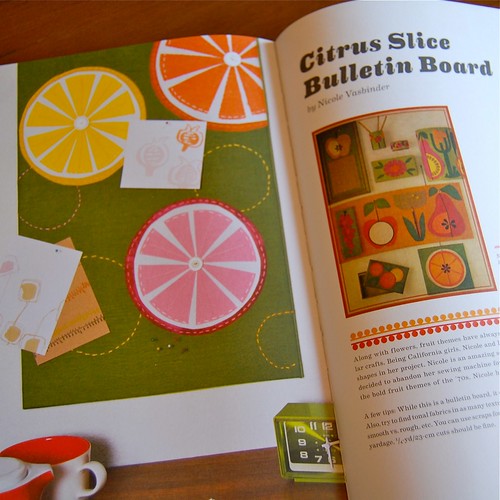
Recently when I interviewed Cathy Callahan about her book Vintage Craft Workshop: Fresh Takes on Twenty-Four Classic Projects from the '60s and '70s I was inspired by the Citrus Slice Bulletin Board made by Nicole Vasbinder. Summer is here and I was in need of a new bag to take to the pool and those big orange slices came to mind.


SUPPLIES
2 White Buttons
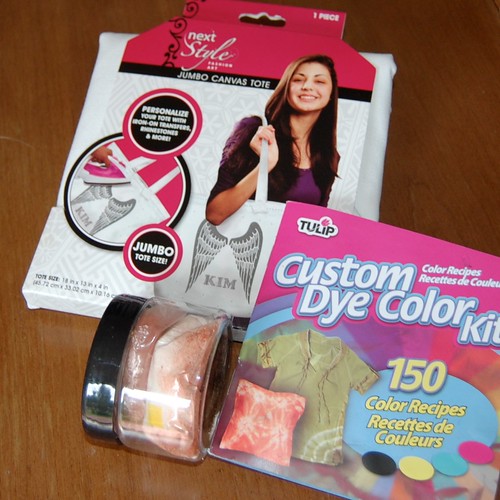
Tulip Custom Dye Color Kit
Orange Felt
Salt
Tulip Tote
White Felt
Tub for Dying
Aleene's Fabric Fusion Glue
Scissors
Tulip 3D Fabric Paint
Cardboard


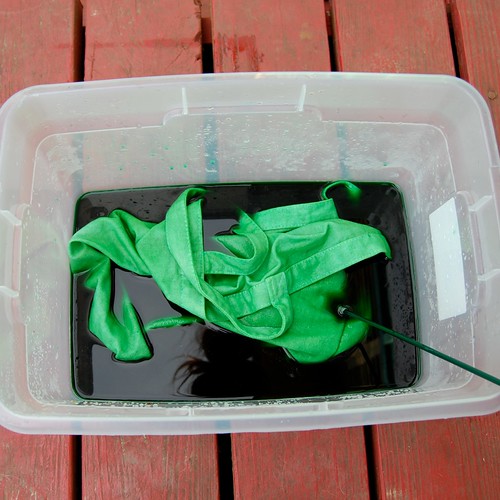
The first thing I did was wash my tote bag. Any time you are going to dye anything if it is brand new be sure to wash it first. Once the tote was washed I put it in a tub with salt and water. I love being able to pick from about a bazillion shades of green when I use the Custom Dye Kit. Follow the dying directions then wash and dry your new green tote bag.


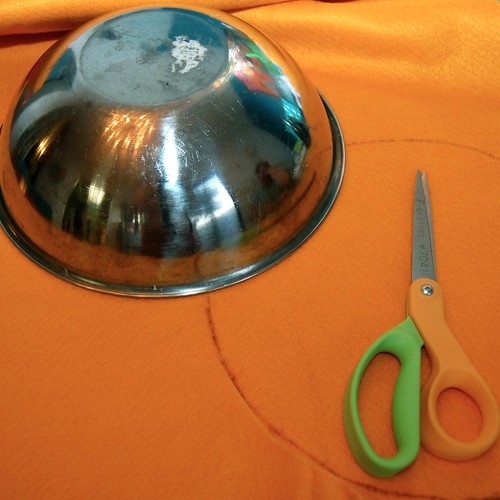
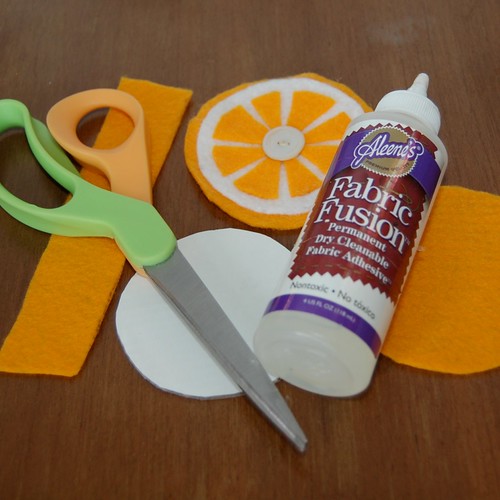
While the tote was dying I cut out my felt using various bowls and cups as my guide. You will need...
1 large orange felt circle
7 large pie shaped pieces of orange felt
1 large (but not as big as the orange one) white felt circle
2 small orange circles
1 small (smaller than the orange circle) piece of white felt
1 small rectangular piece of orange felt
8 small pie shaped pieces of orange felt


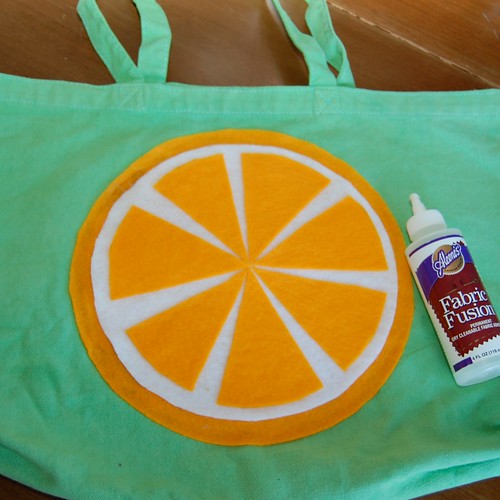
Once all my pieces were cut out I put together the large orange slice that was going on my tote bag using Fabric Fusion Glue. Next I glued the orange slice to my tote bag.


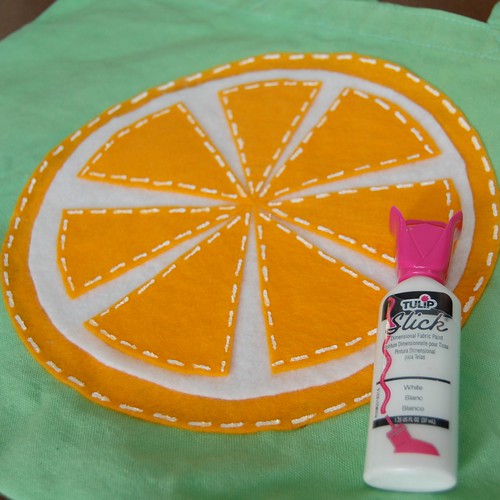
Sure I could have actually gone around the edges of my orange and embroidered, but why when you can get the same look in a lot less time with fabric paint. Just paint little dashes and presto looks like you spent hours stitching.


Using the smaller pieces of felt I cut out I made a key chain. I made the small orange slice the exact same way as before. You want a piece of cardboard slightly smaller than your orange. Sandwich the cardboard between the two small orange circles. Fold your orange felt rectangle in half and stick the loose ends in your cardboard felt sandwich. Use Fabric Fusion Glue around the edges and pinch to seal.


All that was left to was glue a small white button in the center of each citrus slice. I already have my bag packed with towels and sunblock, can't wait to hit the pool with my new bag!


Check out more I Love to Create projects by Jennifer Perkins right here.


Visit us on Facebook!
Craft on! Click here for today's daily giveaway!
MAYA IN THE MOMENT TEEN CRAFT: Tulip Color Change Tank Top!

Wednesday, June 1, 2011
My mom brought home a package of Tulip® Color Change™ 3D Fashion Paint and I couldn't wait to try it! I wanted a tank to wear over my bathing suit for when I go swimming at my cousin's house - perfect for decorating, right?

This is the package of paints, it comes in a lot of different colors.

All you need is the Color Change Paint and a white tank top. You can use Tulip® Sticky Fabric Stencilsor freehand. I did both.


Squeeze it on and let it dry for a few hours. It will dry clear. You can see in my pictures that I live in a very dry area, we have gravel in our front yard. No wonder I'm craving the beach!


Here is footage of the paint changing color! Please consider that of all days here in June of Arizona, it was overcast! But when it is super sunny, the colors will become even stronger. And then when you go back in the house, the paint goes invisible again!


See how bright it gets? And this is on a cloudy day!