Cool2Craft: Aleene's Burned Glue, Bread Dough and more!
Sunday, September 30, 2012 at 12:13 PMHey Aleene's fans! It's super cool! Cool2Craft TV October 1, 2012: Fabulous Felt
The Cool2Craft design team is inspired by vintage Aleene's crafting techniques this week! EcoHeidi Borchers is transforming a t-shirt with a Lace Inset featuring Aleene's OK to Wash It Glue and Tiffany Windsor is crafting Aleene's Bread Dough Pendant and Earrings featuring Aleene's Original Tacky Glue plus more! Learn new techniques, chat with us while watching the show and ask questions about all your favorite Aleene's products! Drop by our chat room during Monday's show and mention this post for your chance to win Aleene's Tacky Glue!
Airing Monday October 1, 2012 9am Pacific/11 am Central/Noon Eastern. Go to Cool2Craft.com and you'll see the Livestream player and chat box where you can join right in. See you Monday!
Can't make the live show? No problem, you can drop by this week 24/7 at Cool2Craft.com to watch the show!
Visit us on Facebook! Get creative! Get inspired! Be cool!
Pattiewack featured in Studios, Fall 2012 magazine
Friday, September 28, 2012 at 10:50 AMPick up a copy of STUDIOS magazine at your local bookseller or by following this link to purchase it online.
CRAFTY CHICA: Check out these cool projects!
at 9:46 AMHere's some tutorials for you to check out!
- DIY Dia de los Muertos Pennant Banner by SandiaFria
- Glammed Up Crafty Chica Eco-Tote by MothershipScrapbookGal
- Cardigan Makeover and Cucuy Doll by StudioLongoria
- Dia de los Muertos Pillow by Sabor a Cajeta
- Crafty Chica Market Tote, Part One by CultGrrrlCreations
- DIY Coloring Book T-Shirt by SeeVanessaCraft
- Embroidered Wedding Couple (in progress!) by @AllThingsBelle
- Corazon Shirt (in progress) by NachoMamasBlog
Check out the CraftyChica™ Pinterest board - share images of things you made with my product line and I'll share them! Hashtag: #CraftyChicaYarn Halloween Pom Pom Banner Tutorial
Thursday, September 27, 2012 at 6:59 PM

I'm kinda addicted to making yarn pom poms lately. This could be because I don't know how to do much else with yarn, but it is also because pom poms are so stinkin' cute. Pom pom banners are even cuter yet, so let's make one shall we.
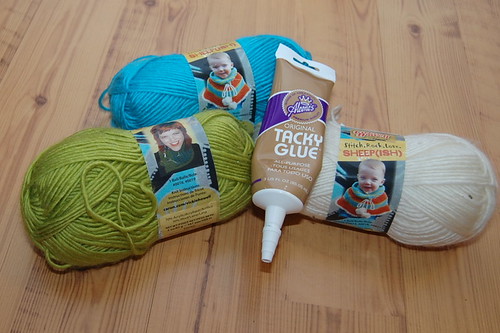
SUPPLIES
Yarn I used Sheep(ish)
Aleene's Tacky Glue
Measuring Tape
Scissors
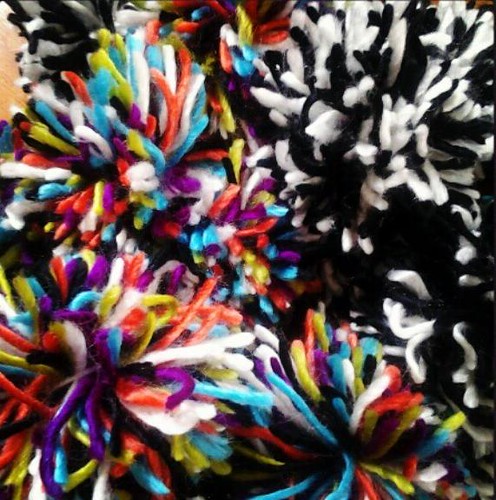
The first thing you need to do is make a ton of pom poms. There are about a bazillion ways to do that and even pom pom makers. I wrapped yarn around my four fingers. I made an even amount of black and white pom poms and green, teal, orange, black, purple and white pom poms.
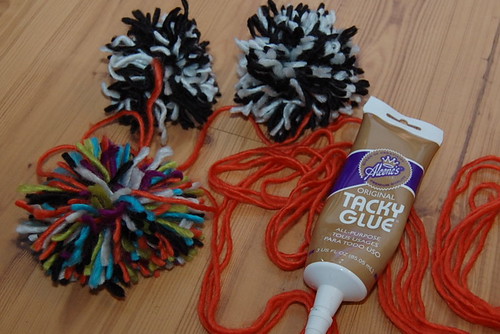
I measured the area where I wanted my banner to hang and then draped enough orange yarn to fit the space. I divided the length of my yarn by the amount of pom poms I made and for my banner glued alternating pom poms every 17"s.
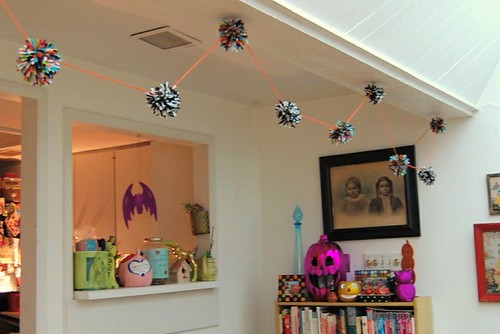
Once my glue was dry all that was left to do was hang my banner! I love the way it looks and ties in all my favorite Halloween colors. I'm thinking I might make more to put in Halloween party goodie bags for babies. I know my kids spent a good part of the afternoon tossing, stirring, sweeping and gathering my pom poms.
Check out more Halloween themed posts here. You can find more I Love to Create tutorials here.
iLovetoCreate Teen Crafts: Toiletry Organizer Cabinet
Wednesday, September 26, 2012 at 11:19 AMiLoveToCreate Teen Crafts
Toiletry Organizer Cabinet
Avalon (and Andrew) Potter
Avalon and her dad had to make this week's project for iLovetoCreate because Mom was at the Southern Women's Show. They did a terrific job with this handy dandy bathroom organizer which makes a stylish storage solution! This is easy to hang on the wall above the toilet or by the sink. Av's plan is to put hair bands, cotton balls and bobby pins in the jars and keep some of her toiletries in the shelf unit. They sell these little cabinets in the wood section of the craft stores and the jars can be found in neighboring aisles. This is a great way to clear sink space and keep organized. Teen girls require a fair amount of beauty supplies, as do their moms who could also benefit from a shelf like this! Using Tulip stencils allowed them to add initials and the pouncers make quick and pretty work of the polka dots.
 |
| Materials |
 |
| Jars and Cabinet |
Small wooden cabinet with glass doors
3 small glass jars with metal screw tops
Crafty Chica Little Chica Paints in white and blue
Tulip Sticky Fabric letter stencil or Tulip Multi-Surface Stencils
Tulip Sponge Pouncer
Tulip Fashion Glitter gold
Tulip Soft Fabric Paint gold
Aleene's Super Gel Instant Adhesive
 |
| Tape glass, paint cabinet. |
 |
| Pounce white dots. |
 |
| Attach stencils to glass. |
 |
| Stencil gold paint with pouncer. |
 |
| Sprinkle glitter on paint, tap off excess. |
 |
| Glue lids to bottom of cabinet. |
Happy, Shiny Pixie Headband!
Tuesday, September 25, 2012 at 7:32 PM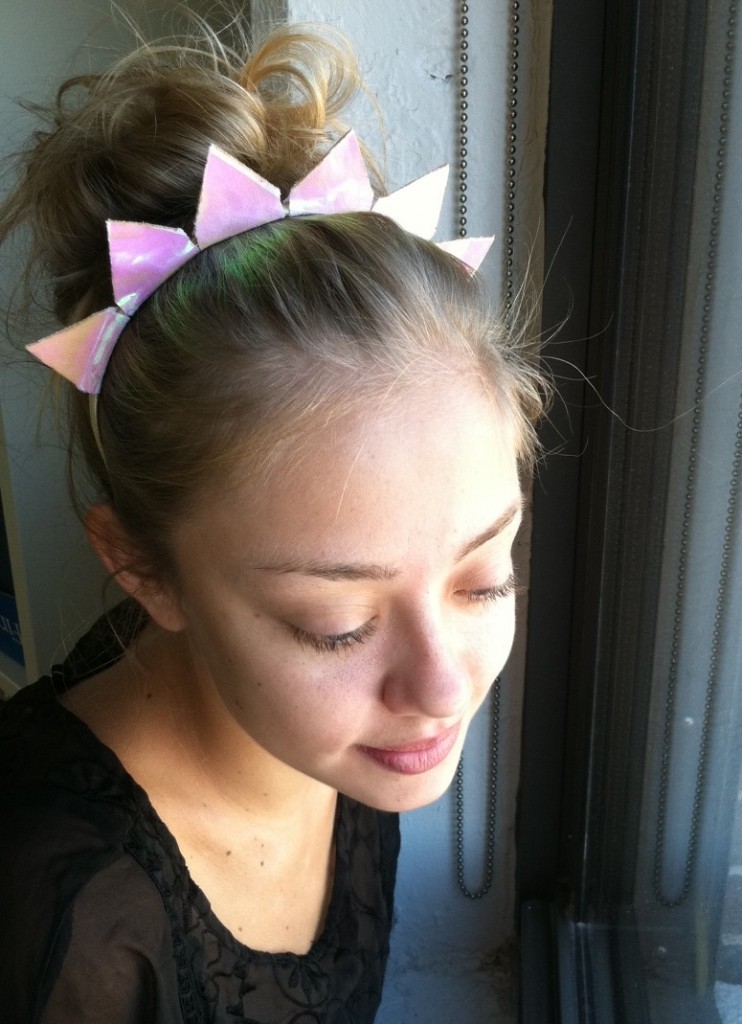
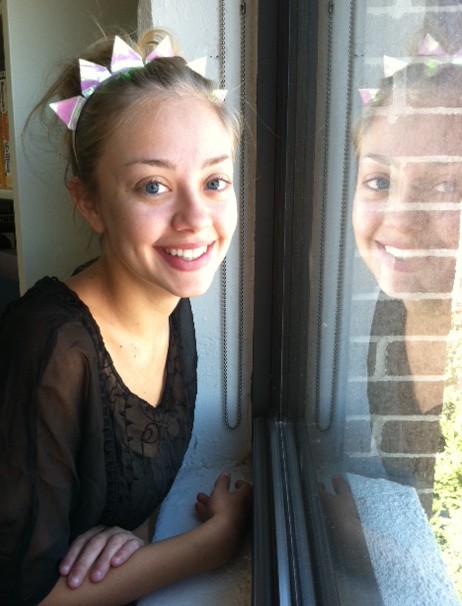
I mean, it's so bright and sunshine-filled (and a little prehistoric?), and I have to admit, though I was begging for cool temperatures back in the heat waves of July (and couldn't be happier that nature has complied!), the shorter days are already threatening to change my mood. I'm already missing the sun! This happy, shiny, pixie headband brightens up the day wherever you are.
Materials:
-T-shirt sleeve (or T-shirt scrap of equivalent size)
-scissors
-Tulip Fashion Glitter transfer sheets
-ballpoint pen
-ruler
-Aleene's Fabric Fusion
-warm iron and pressing cloth-blank headband (preferably metal rather than plastic)
-Tulip Soft Fabric Paint in gold metallic (optional)
-toothpick (optional, to use as a paint applicator)
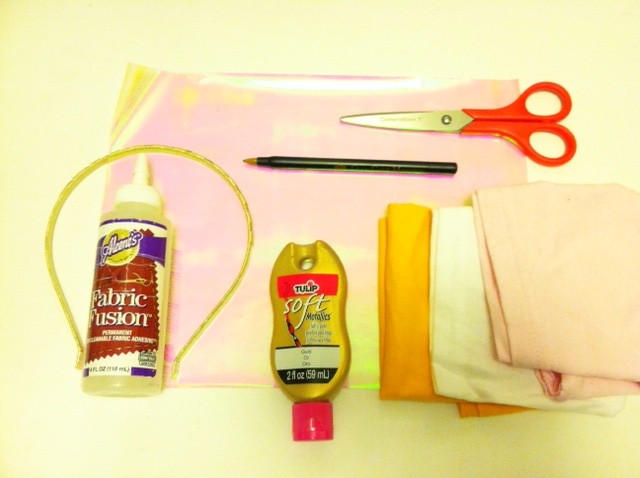
Make it:
1. Cut out the underarm seam of the sleeve, and lay it flat, right side up. Measure, mark, and cut two 1 1/4"-wide to 1 1/2"-wide strips from the iron-on transfer sheets.
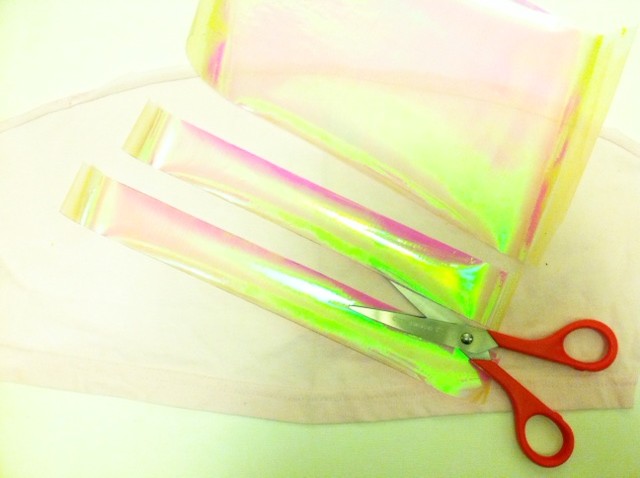
2. Sandwich the two strips together and cut out a series of triangles from one edge (through both layers), leaving a zigzag that runs the width of the strips.
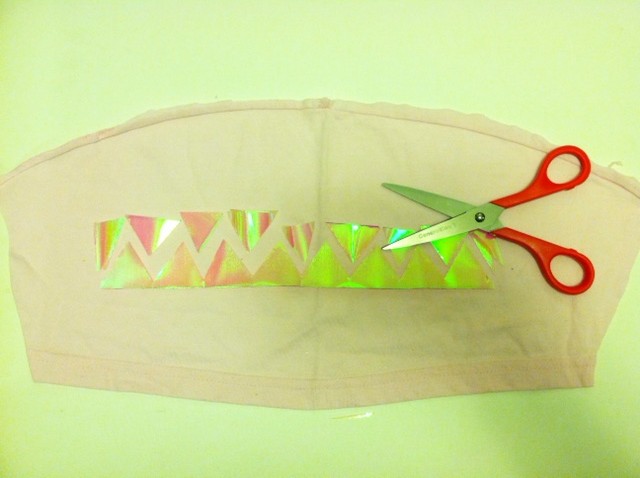
3. Separate the strips and align them along the straight edges, about 3/8" apart. Use a pressing cloth and iron the strips onto the fabric.
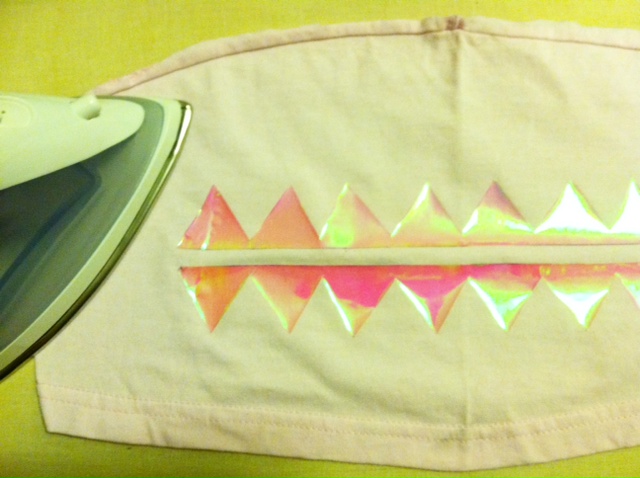
4. Make parallel cuts through the fabric, separating each pair of triangles from the row of zigzags.
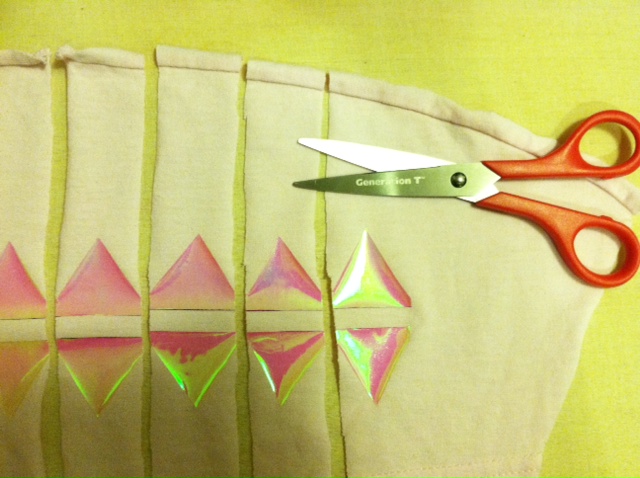
5. Determine how many rays of sunshine you'd like (I debated between 5 and 6, and ultimately went with 6), and arrange them evenly around the arc of the headband. Working one ray at a time, spread fabric glue evenly along the inside of the headband, and wrap the flexible fabric piece around the headband, lining up the triangles. Apply glue evenly to the inside of the strip of fabric and press the triangles together (the triangles should seal beyond their edges).
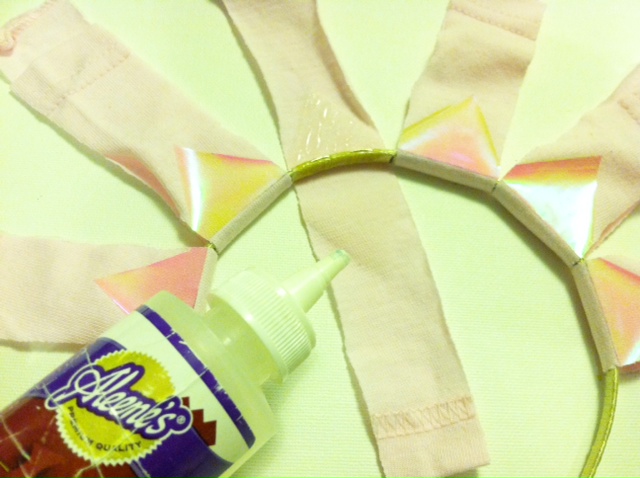
6. Finish gluing each ray, and let them dry flat. (Note: If the fabric is pulling apart, use a clothespin or paperclip to pinch it while it dries.)

7. When the glue is completely dry, trim the fabric to the edges of the triangles.
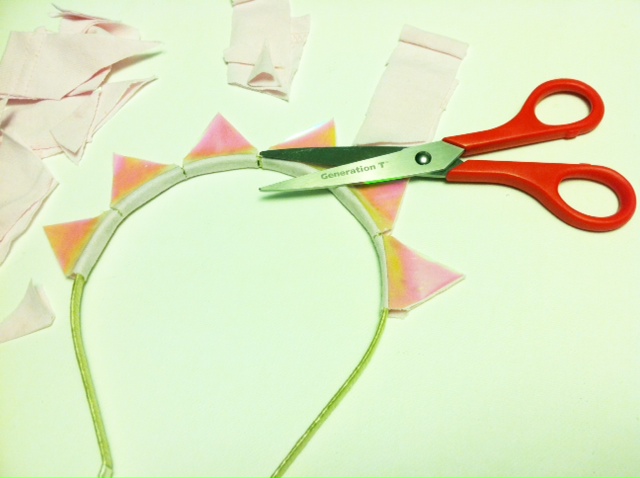
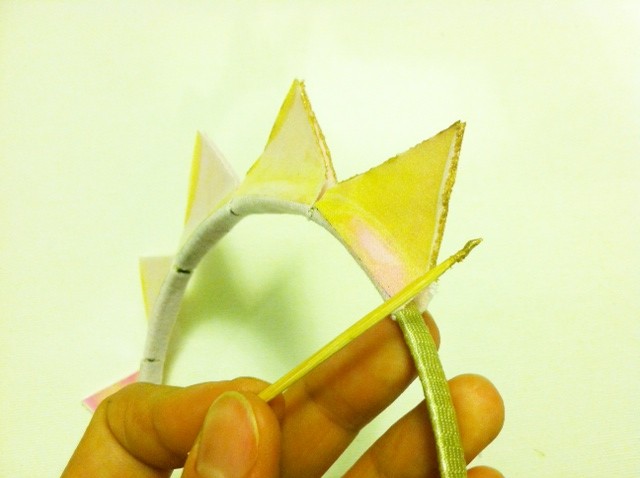
8. As an optional finishing touch, apply the metallic paint carefully with a toothpick along the fabric edges of the rays. Let it dry.
9. Try on the headband to spread a little sunshine both indoors and out!

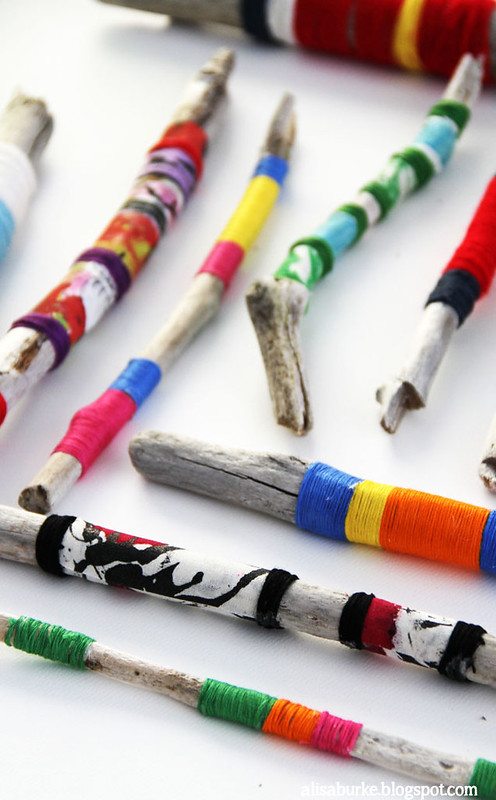
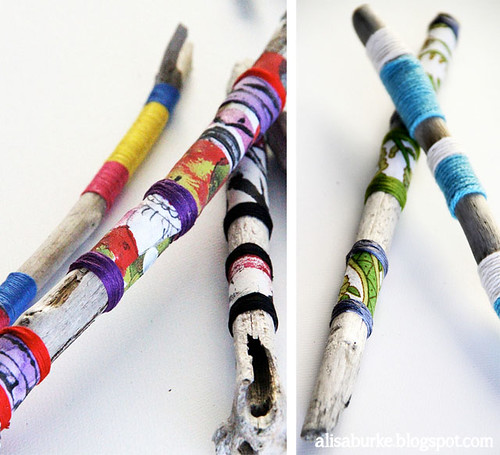
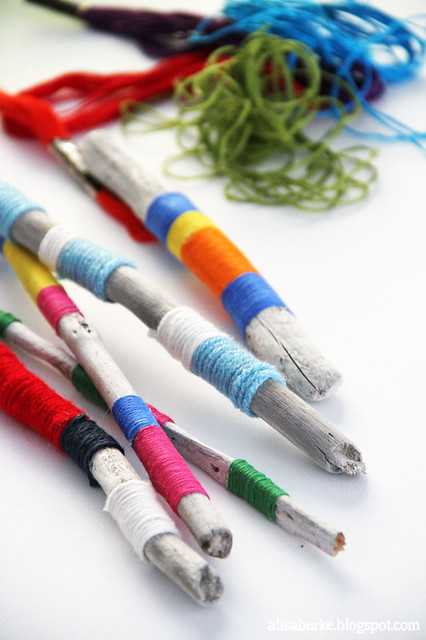
altered driftwood
at 6:00 AM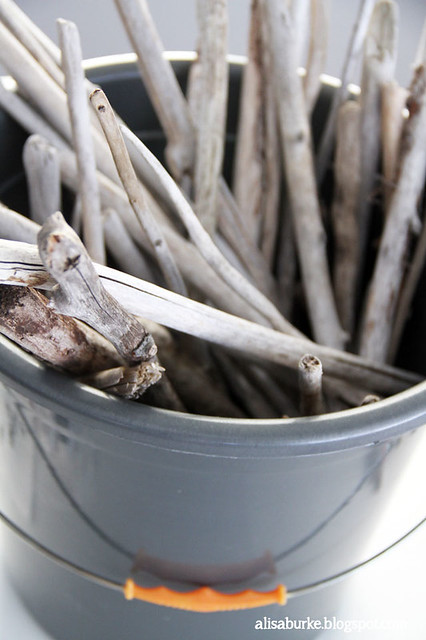
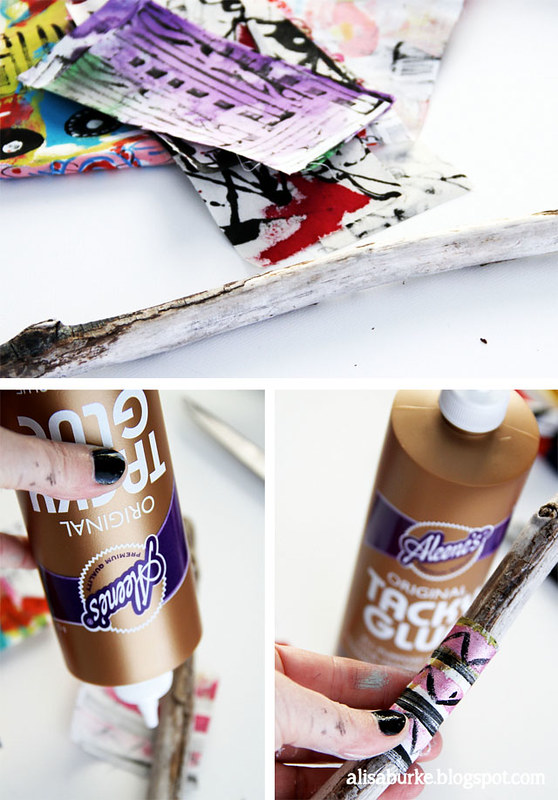
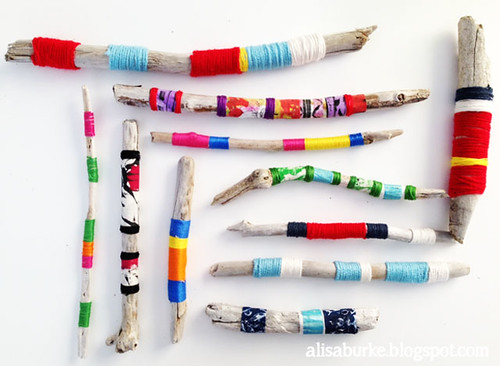
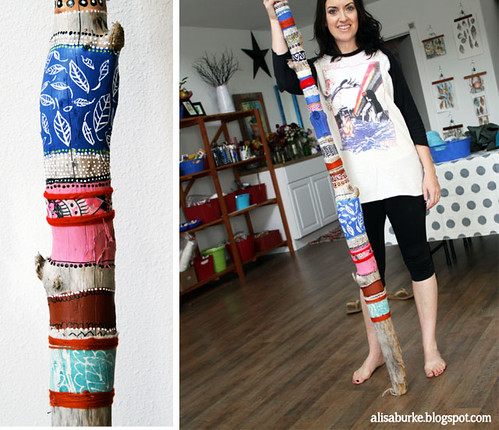
I started by collecting lots of driftwood- if you don't have driftwood available sticks or twigs will work just fine.
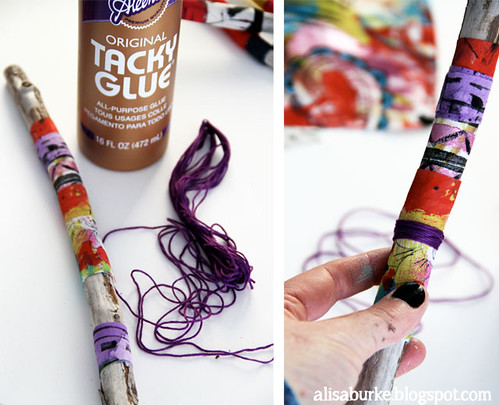
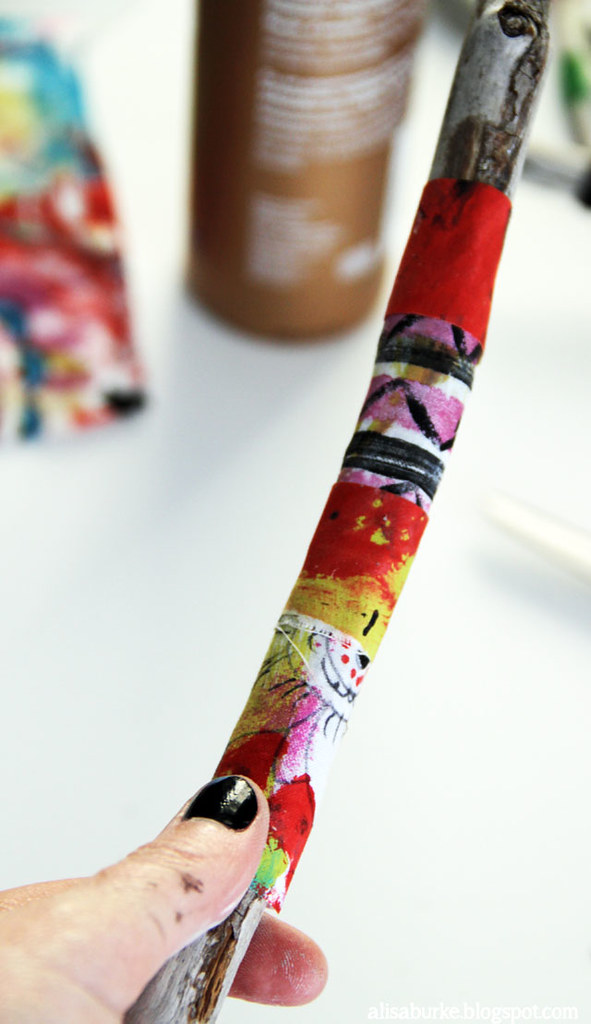
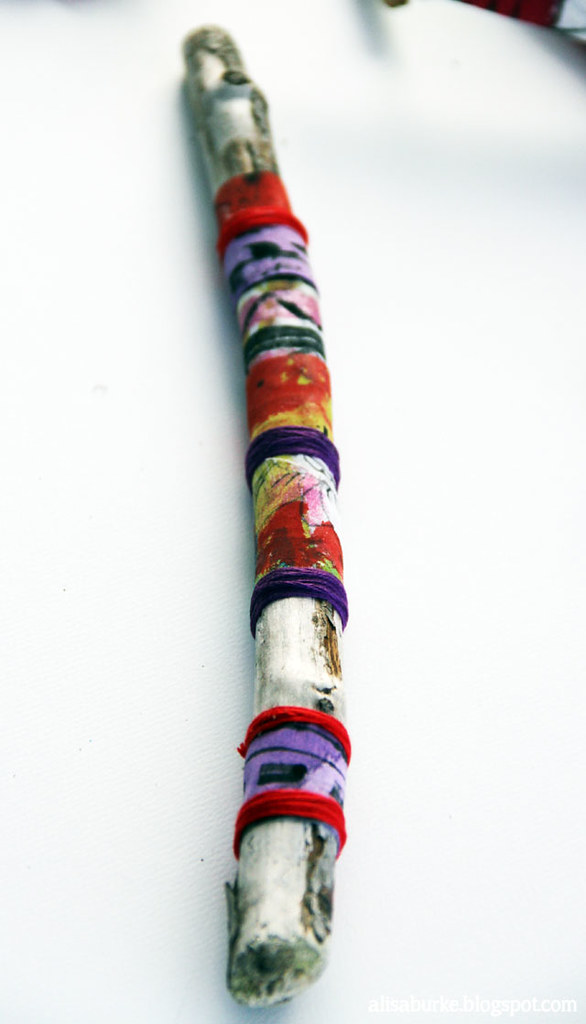
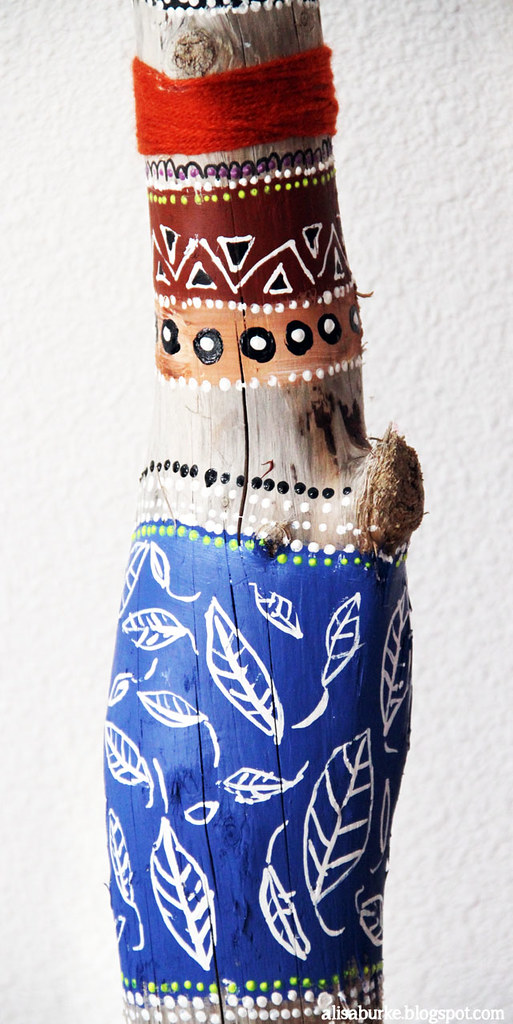
I wrapped colorful embroidery floss around the surface to create a stripe of color- gluing the floss as I wrapped.
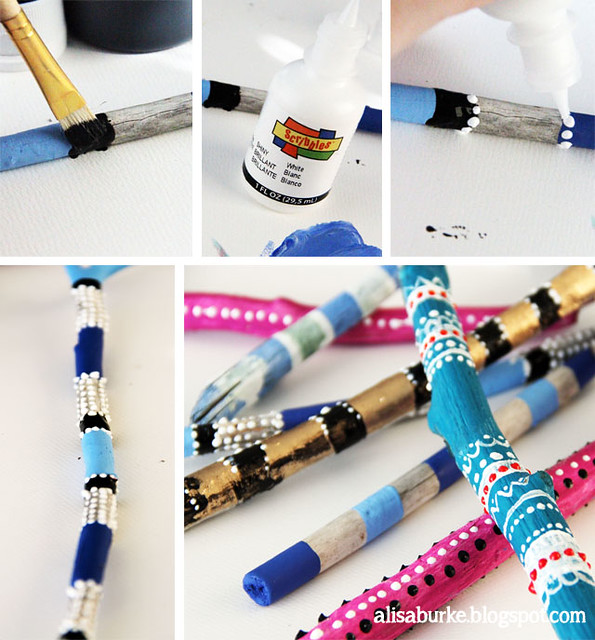
I even created a variety of painted driftwood by first painting stripes and then adding embellishments with Scribbles 3-D Paint (MY FAVORITE SUPPLY!)
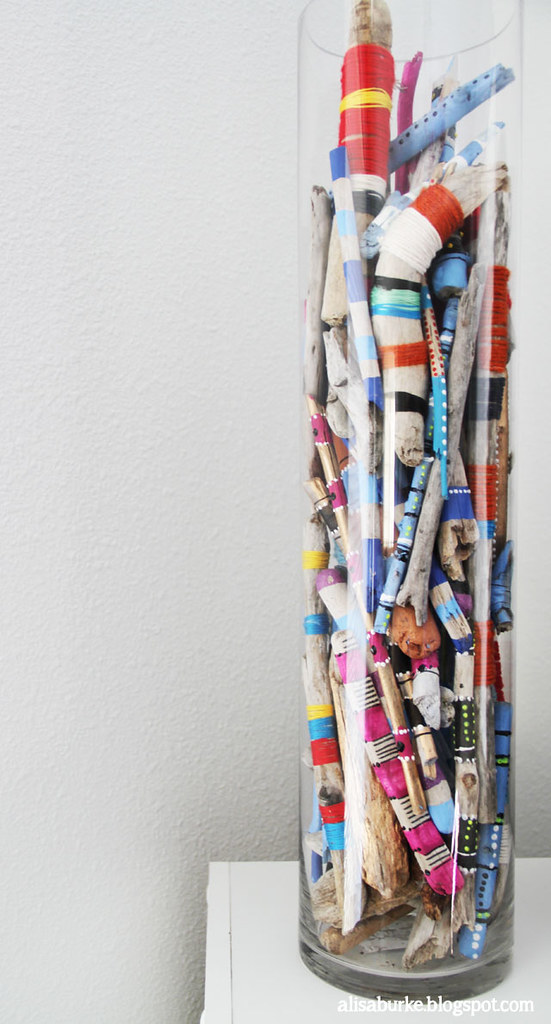
At this point you are probably saying to yourself- those are pretty but what the heck are you supposed to do with a whole bunch of altered wood?!?! Well, my vision all along was to fill all kinds of large glass jars with my artful driftwood and display them around my studio. I used large jars (3-4 foot) and filled them up and placed them around the room. I like to think of them as a unique nature inspired art piece.
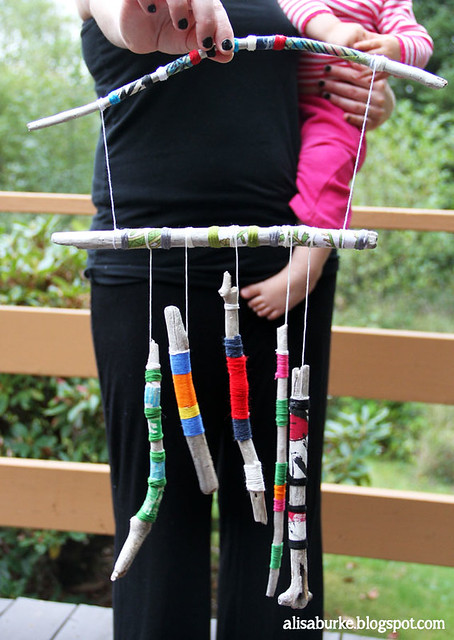
I also created a few small mobiles to hang above my work space and in Lucy's room.
Cool2Craft: Fabulous Felt!
Monday, September 24, 2012 at 7:00 AMHey Aleene's fans! It's super cool! Cool2Craft TV September 24, 2012: Fabulous Felt
The Cool2Craft design team is crafting with felt! Tiffany Windsor is assembling a felted floral headband with Aleene's Super Thick Tacky Glue, EcoHeidi Borchers is transforming felt into a pretty floral iPad cover, plus much more! It’s easy to watch Cool2Craft right from your computer. Learn new techniques, chat with us while watching the show and ask questions about all your favorite Aleene's products!
Airing Monday September 24, 2012 9am Pacific/11 am Central/Noon Eastern. Go to Cool2Craft.com and you'll see the Livestream player and chat box where you can join right in. See you Monday!
Can't make the live show? No problem, you can drop by this week 24/7 at Cool2Craft.com to watch the show!
Visit us on Facebook! Get creative! Get inspired! Be cool!


