Tie-Dye Macrame Bracelets

Friday, March 29, 2013

When you work for a company that makes and sells fabric dye, you can't help but stop for anything cotton, rayon, hemp...you get the idea. The other day I came across a brand new package of cotton cording and the first thing that crossed my mind was - "I want to dye that!" Not only did I dye the entire package, but I also cranked out a collection of macrame bracelets! Here's how I did it!

Supplies:
Cotton cording
Cut the cord into equal parts so you  have about five-six piles. Wet the cords either by running under water or with a spray bottle. Line your work area with a plastic covering. Set the piles down and add dye.
 
Cover the wet cording with another plastic and let set for six hours. Wash under cool water to remove excess dye. Tie the bundle with rubberbands and run through the washer, and then the dryer. The ends will be frayed, but just snip those off!
 
Do you know how to macrame? You'll need a clipboard, blue painter's tape and scissors and little bit of duct tape. Cut apiece of cord that measures 24" long. Fold it in half and place the loop end under the clip on the clipboard. Tape the two ends down to the bottom of the clipboard. Now cut another piece of cord that measures about 30". Slip it under the two cords, bring the ends up so they meet and tie a knot at the top. Take the left cord and create an L across the two straight cords, then take the right cord, place it down and then under the two cords and up through the opening of the left cord.
 
TIP: You'll end up with four long strands at the end of the bracelet. The ones connected to the knots, you'll want to glue those ands then snip them. Coat the ends with more glue to seal them, or you can use decorative duct tape. The other two, you'll use those to tie on the bracet. Tie one through the lopp and knot it.
Watch my video tutorial to see how to do it!


Other ideas: Belts, hats, purses, plant holders (of course!)

Making Project Life and Smashbooking Your Own


I promise I'll quit obsessing with scrapbooking, smashbooking, art journaling and now Project Life soon. In the meantime I wanted to share my latest creation - a custom book. With an arsenal of Aleene's products, a spiral bound book and a hole punch all things are possible.

I can't hardly resist vintage books with cute graphics, big surprise I know. Through my years of hoarding, I mean collecting, I have amassed a few that are binder style with rings that open and close. I see some version of these books almost every time I am the thrift store so they should not be hard to find.
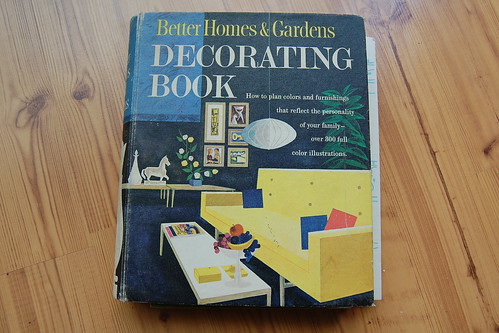
I opted for a 50's Better Homes and Gardens decorating book for my first attempt at journal making. I loved the graphics inside and out. You could always start with a plain ring binder and use Collage Pauge to adhere your own cover graphic.
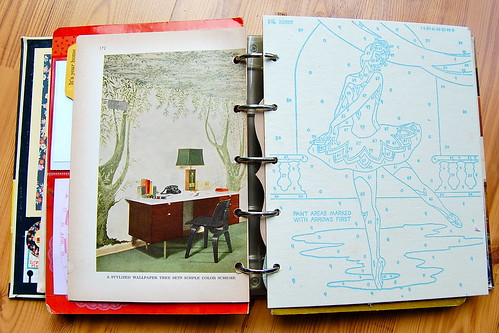
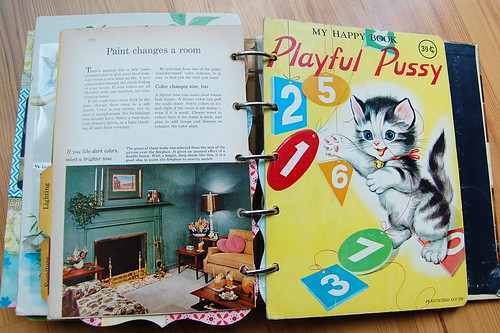
The first thing I did was remove all the pages and make and add my own. Things like vintage paint by number canvases, pages from board books and even packages of panty hose work great. If you have trouble using a hole punch try a crop-a-dile. I also kept several of the original pages from the book.
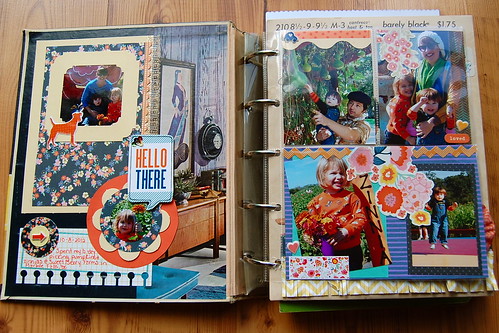
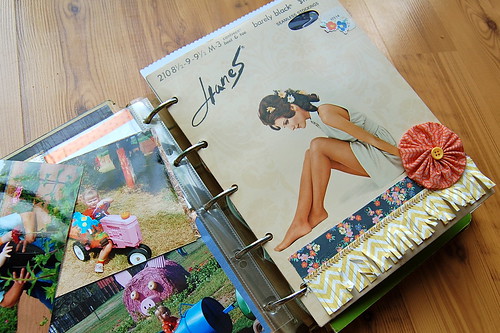
Just like a Smashbook I love working with the original graphics in my book. I let the images and colors be my guide for the theme. You can see here where I started dabbling in Project Life. I used some pockets from Sn@pshots and used my hole punch to make them fit in my binder.

The thing I love about this form of scrapbooking is you are encouraged to not make your layouts flat. I have started to dip into my vintage buttons, cabochons and findings. Using a stronger glue like Aleene's Fast Grab is better than your typical glue stick.
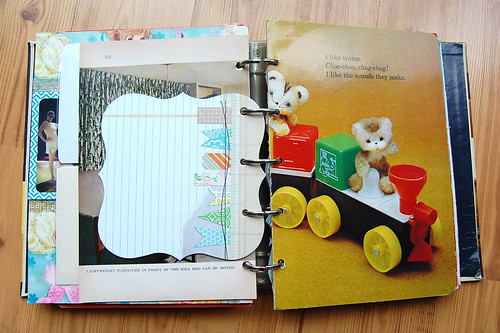
My whole journal is pretty free-form. There is no reason why all your pages need to be the same shape or size.
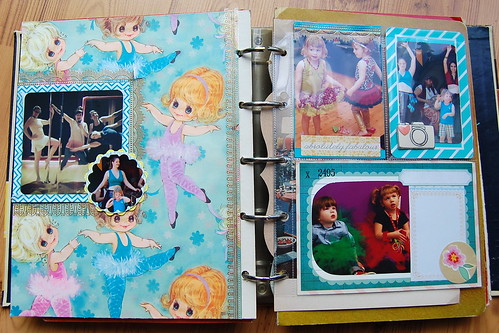
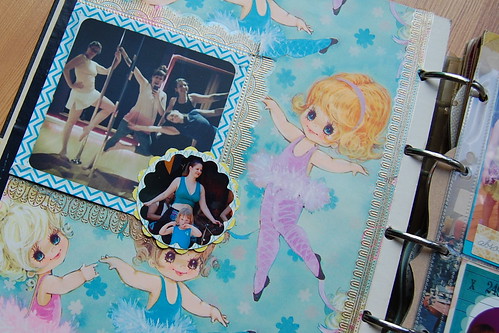
Add wrapping paper, wall paper, scrapbook paper and more to pages using Collage Pauge.

What do you use to keep your pictures in? Scrap book, Smashbook, photo album, phone or computer? Might I suggest making your own. They are a lot more fun to sit through than a slide show of your last vacation.

Be sure to check out more of my posts for I Love to Create here. Also, stop by my blog Naughty Secretary Club and say hello sometime.

Make Yarn Wrapped Easter Eggs

Wednesday, March 27, 2013
 We're trying to eat healthier here at Casa de Potter, so the Easter Bunny won't be bringing much in the way of sugary sweets.  Still, an Easter Basket needs a little something-something to perk it up!  Enter...a basket of pretty yarn wrapped paper mache eggs!  These are so easy to make in three easy steps using Aleene's Fabric Fusion sheets and these sparkly yarn bon-bons were super easy to wrap.  I learned this technique from Miss Crafty Chica during our Women's Show classes this summer, it's so much easier than using glue! The key to success is starting at the top, grasping firmly and wrapping tightly.  We tried stripes, but found that one color in one continuous thread worked best.  We are so happy with how these turned out, we may make some spheres to use for year round decor.

What You Need
Paper mache eggs
Thin sparkly yarn (I used Lion Brand Bon-Bons)

 
1.) Gather materials.  2.  Wrap one sheet around egg.  Cut off excess on top and bottom.  Gently press sheet to adhere film.  Carefully remove.  Use the strips you cut off to fill in any gaps.  3.  (Egg is sticky, so try to do this in one sitting!)  Grasp bottom of egg firmly.  Start a coil working from yarn skein.  Wrap moving egg and pulling yarn so it remains taut as you wrap.  Take your time to prevent gaps between yarn.  4.  Wrap a contrasting yarn around center of egg and tie into a bow.  
You could make these with a variety of yarns, twines and fibers, all for a completely different final effect.  This is so much fun, you'll be looking for objects to wrap! 
I hope the Easter Bunny is good to you and yours!  Hippity hoppity!
xoxo, Madge

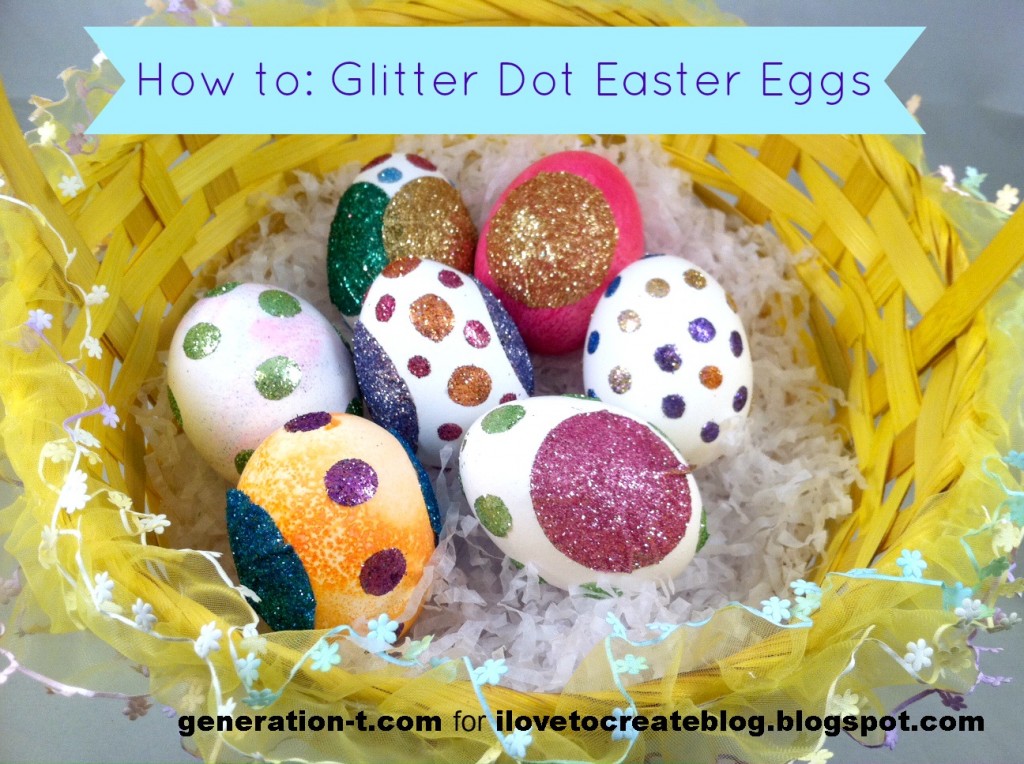
Easy Glitter Dot Easter Eggs

Tuesday, March 26, 2013

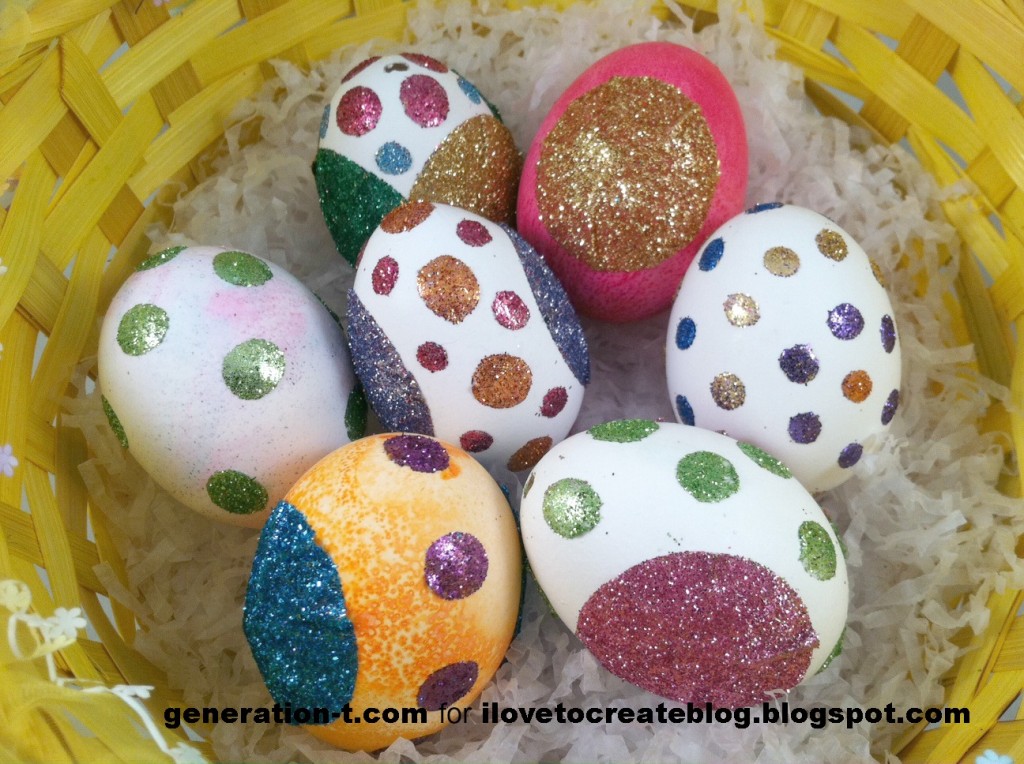
I'm pretty traditional when it comes to decorating eggs at Easter time (dollar store egg dying kit, anyone?), but to be honest, it was getting kind of dull year after year. My solution: Bring on the polka dots! Bring on the disco sparkle! The best part? No waiting around for dye to set or glue to dry. This is egg decorating with immediate (and rather shimmery) results.


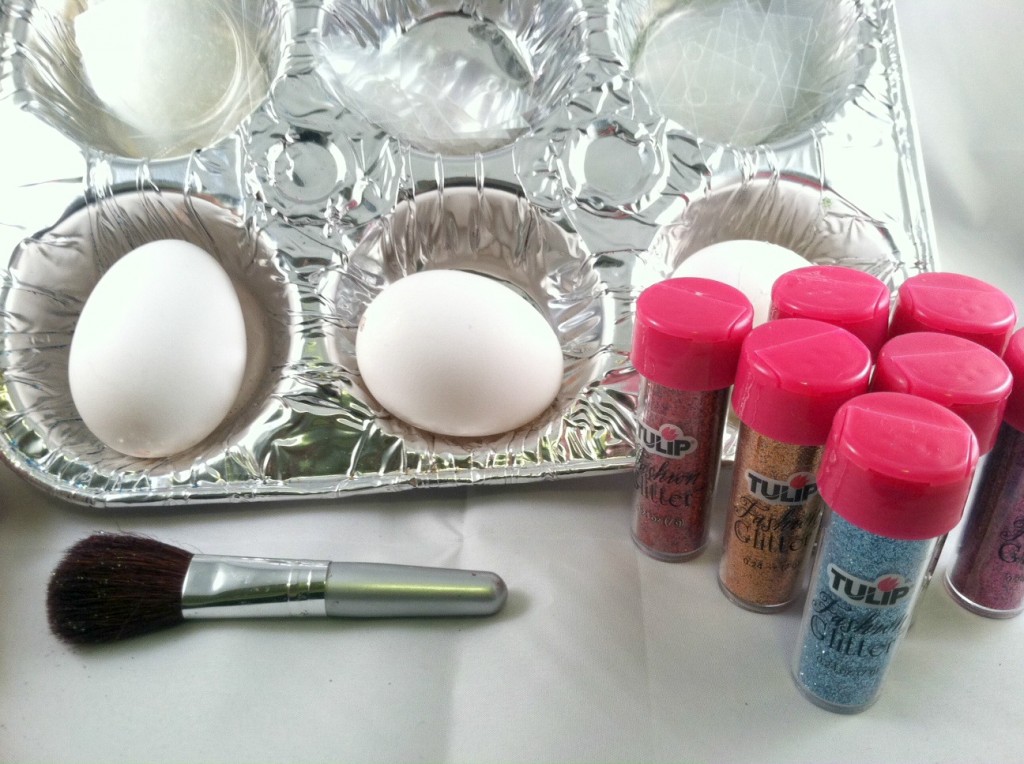
What you need:
-clean, dry blown eggs (hard-boiled will work fine, too; I personally just don't like to mix food and glitter!)
-Aleene's Tacky Dots
-Aleene's Tacky Dots Singles (small and medium)
-Aleene's Fashion Glitter
-aluminum muffin tin or tray
-makeup brush
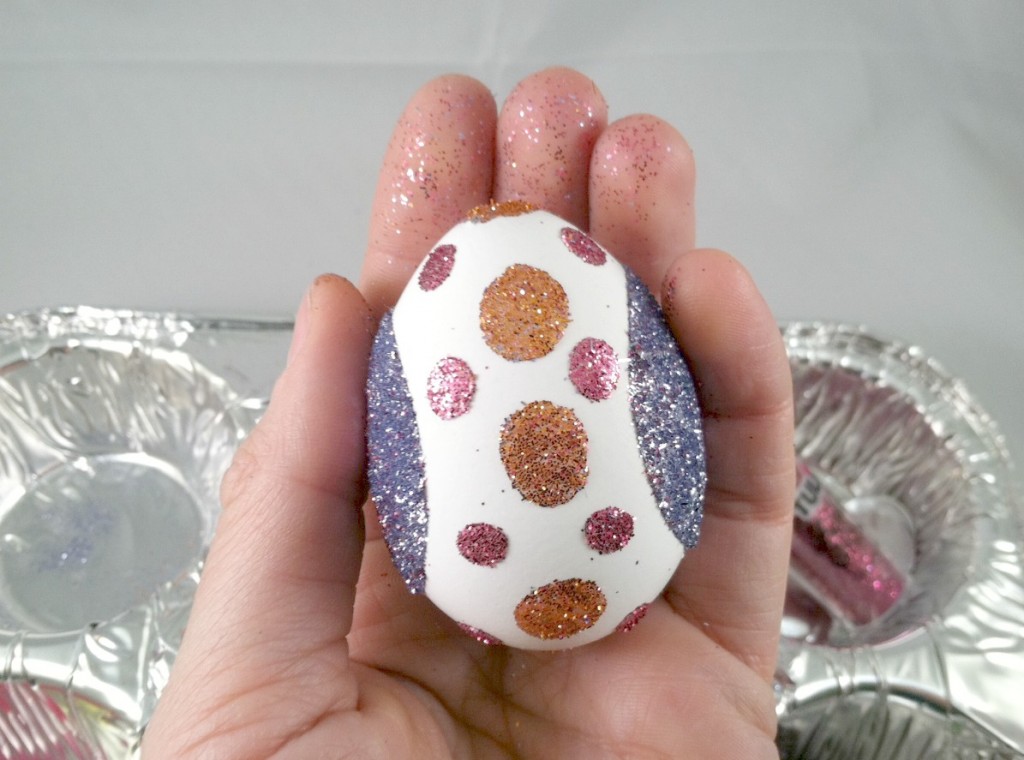
Click through to watch the video tutorial I did for About.com, or follow the instructions below!
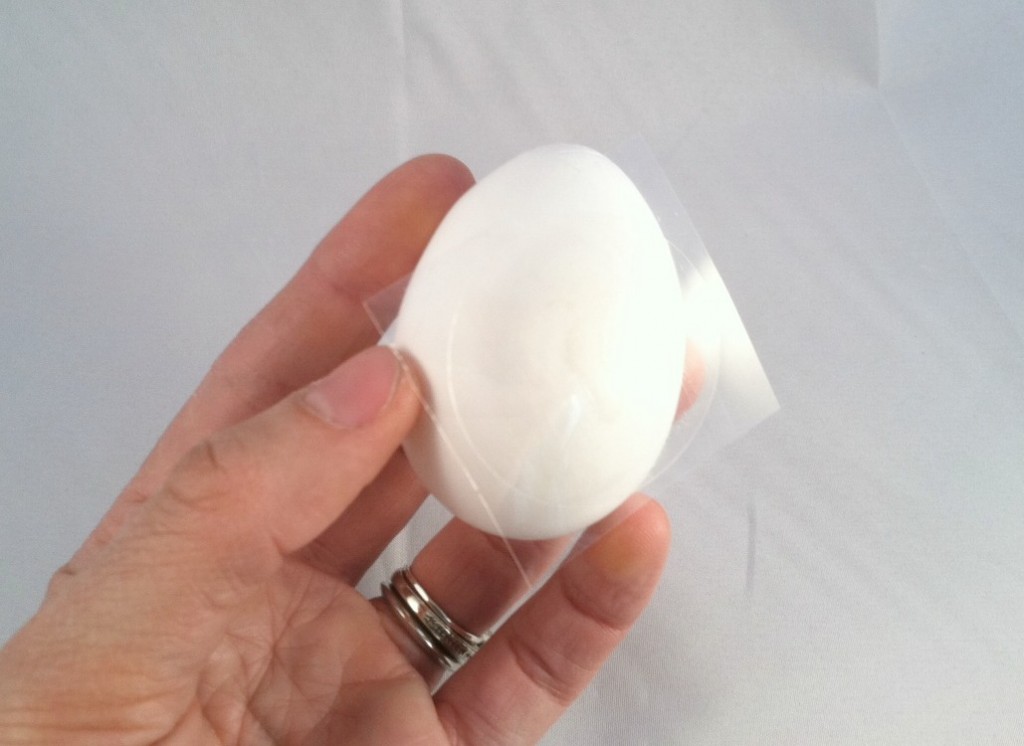
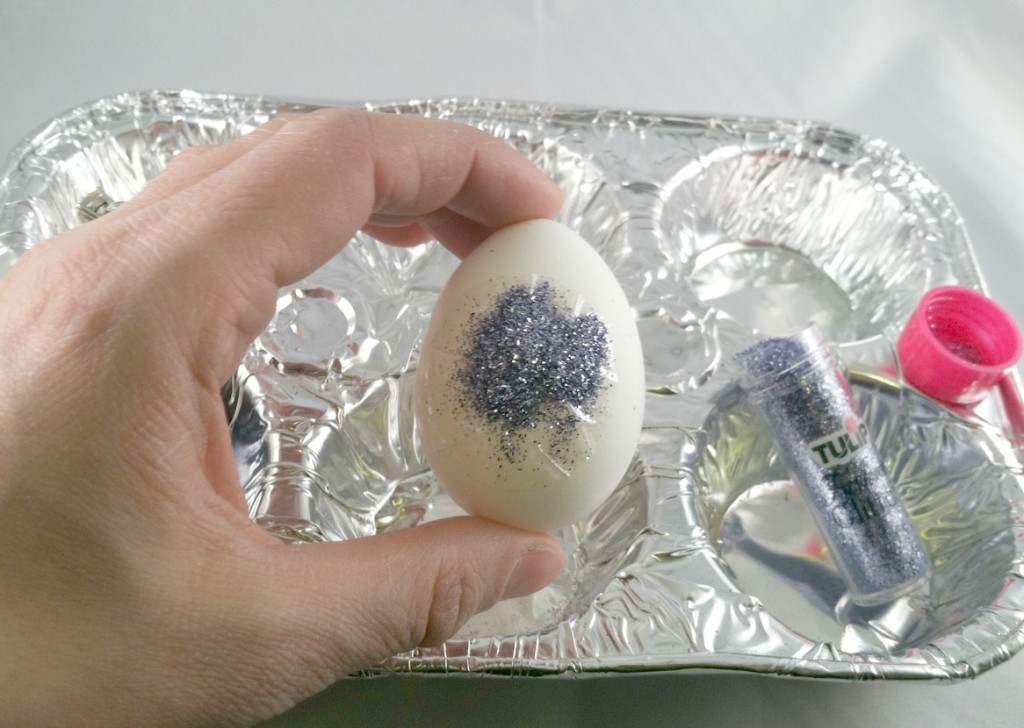
Center one of the Tacky Dots on the side of the egg, and gently press it down.
Peel off the backing and gently press down any wrinkles. Then repeat on the other side with another Tacky Dot.
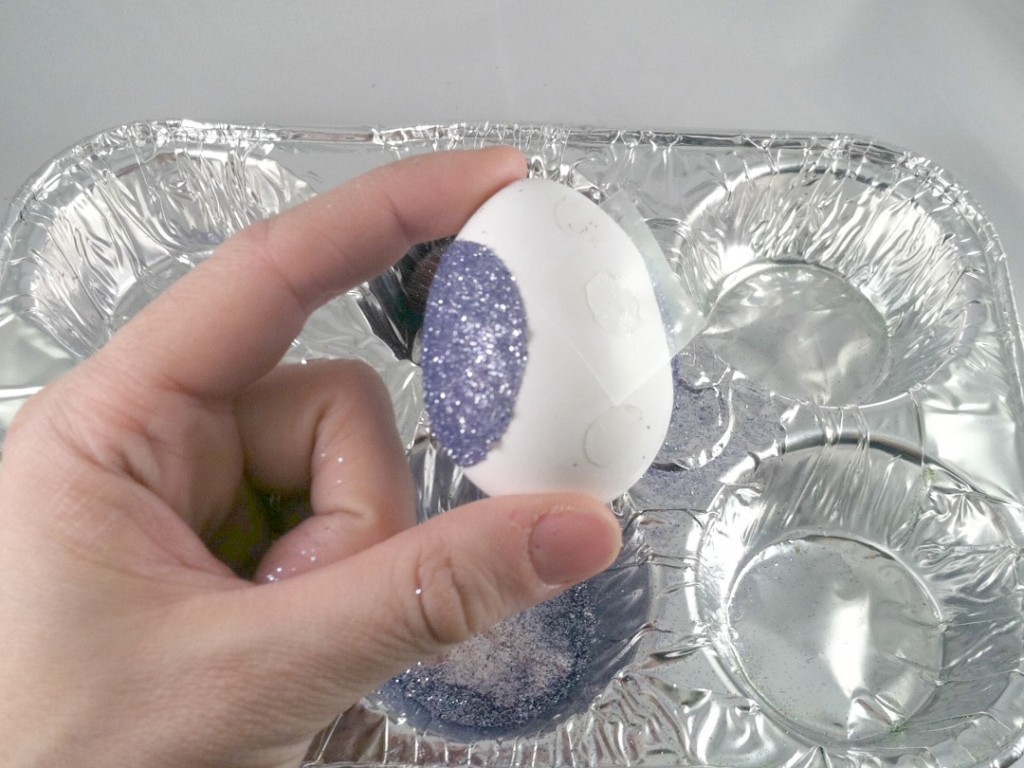
Hold the egg gently over the muffin tray and liberally sprinkle glitter over the tacky dot. Brush off the excess with the makeup brush and rotate the egg to repeat on the other side.
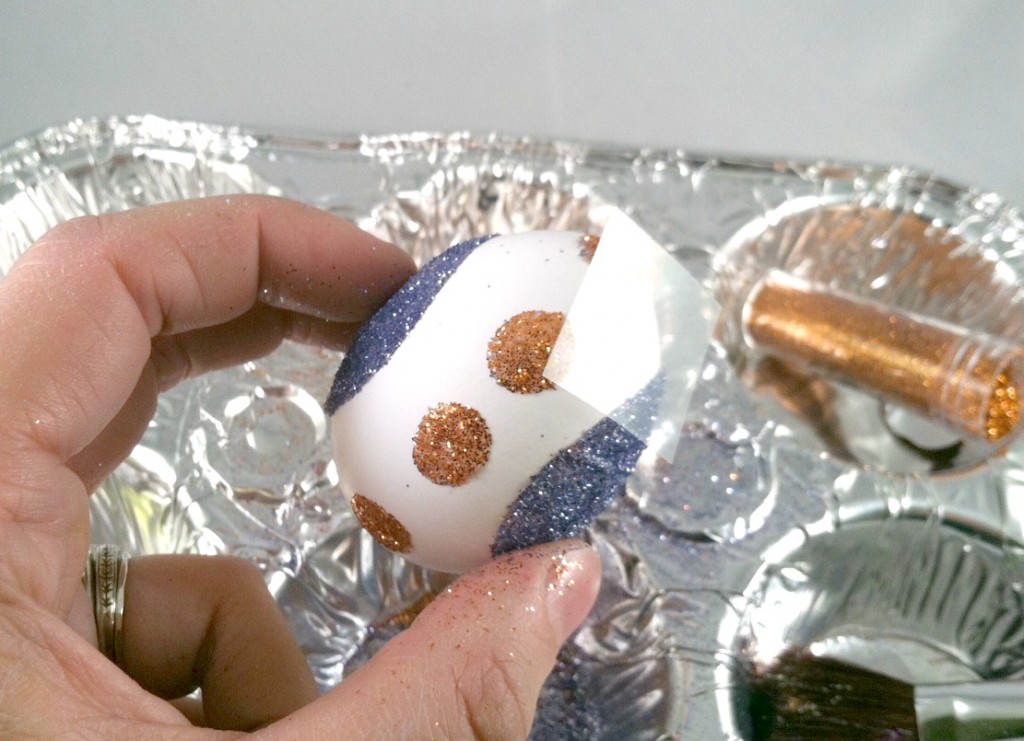
Try adding medium Tacky Dot Singles around the egg, between the large dots, and repeat the process: Shake on the glitter (new color!); brush off the excess.
Next, I try sticking the small Tacky Dot Singles in the white area around the large dots and repeat the process a third time (again, with a new color).
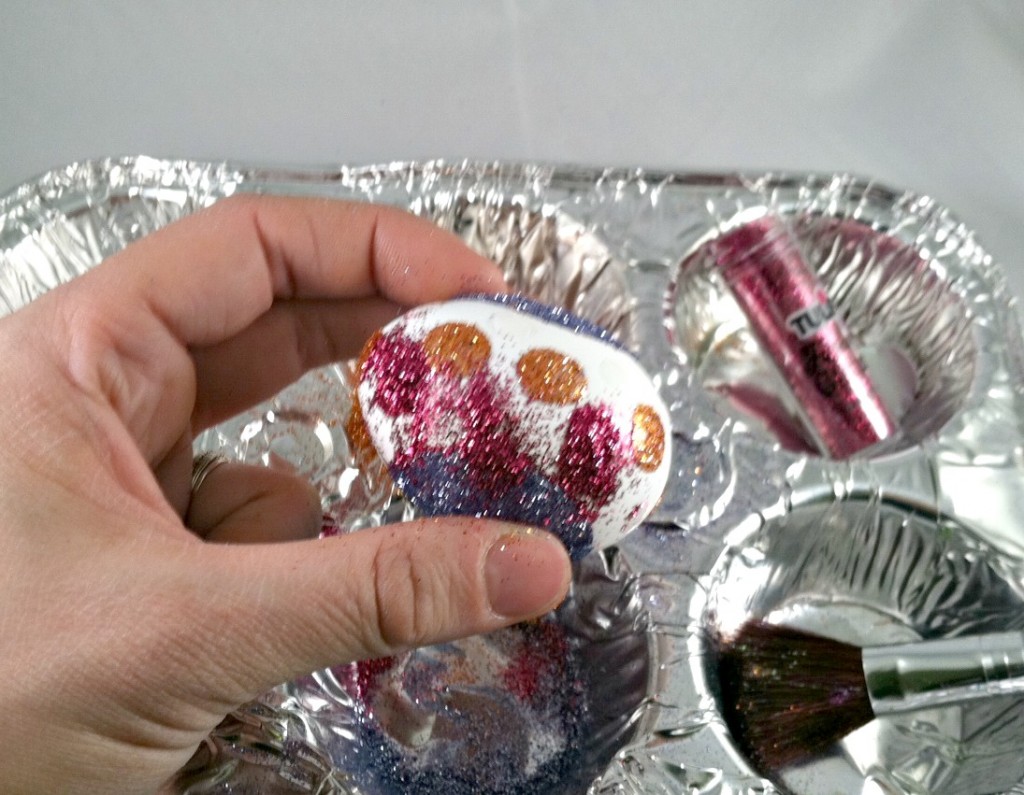
Shake the glitter on, then dust off the excess.
 
Finished!
Try different combinations of glitter color and dot sizes to repeat and fill your basket.
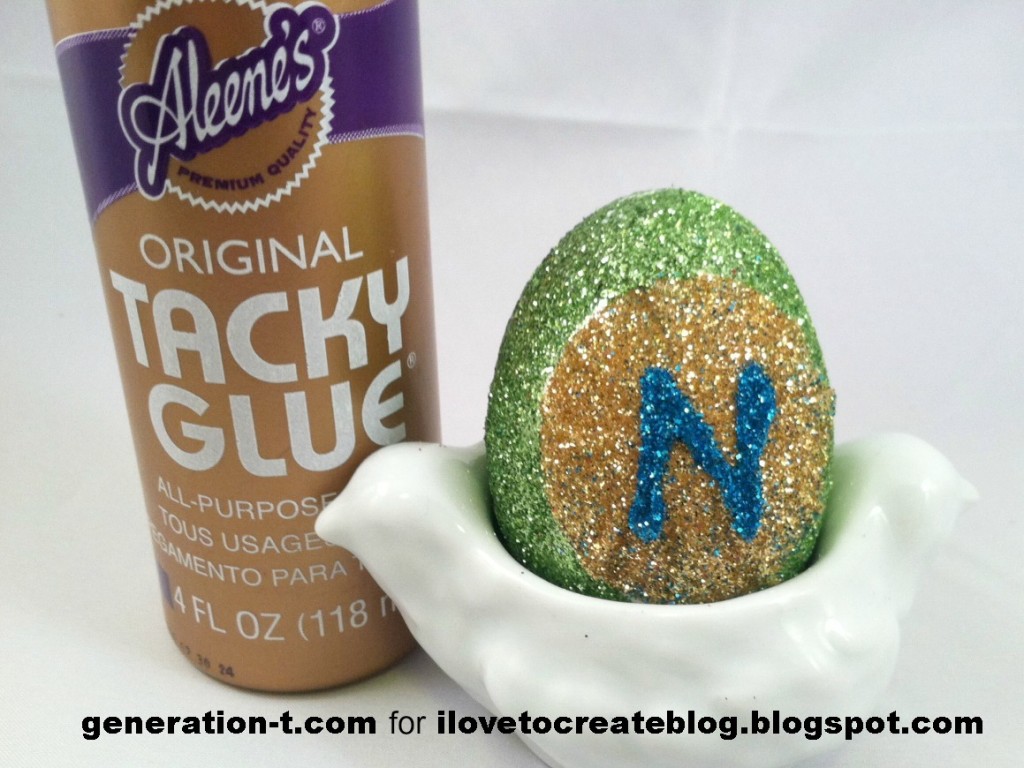
Variation: To personalize your egg, use Tacky Glue to write an initial over the glitter layer on the large Tacky Dot, then sprinkle it with contrasting color glitter. Let it dry completely before brushing off any excess sparkle.

Art Journaling With I Love to Create

Thursday, March 21, 2013

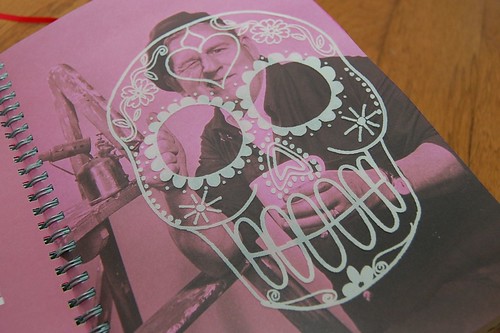
I recently read that Smashbooks are like the anti-scrapbook. I kinda agree and I kinda think that is why I love them. Traditional scrpabooking, though lovely, seems very rigid at times. I like the idea of a book that is part art journal part scrapbook and a pinch of Project Life. If I want to iron on a flocked Crafty Chica sugar skull applique to the pages I can and it fits right in.

When I was done with the iron-on there was still residual flocking that I painted hot pink and used as a stamp. I eventually mounted the sheet and added it to my Smashbook too. I never realized how many items from my I Love to Create arsenal could applied to my journaling.

Speaking of Crafty Chica, Kathy's paint makes appearances in my journal. I did an ombre effect using purple and white on some foam letter stickers. A technique I leaned from Dear Lizzy. I used the background to frame out a mural my sister and I painted for I Love to Create.
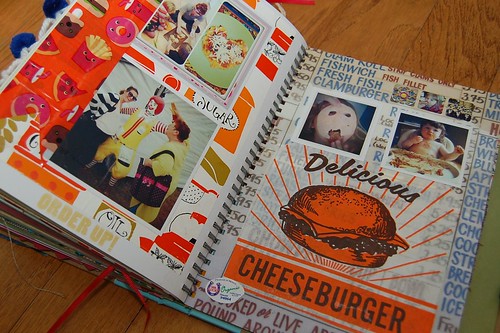
An acid free glue stick like Aleene's is this crafty ladies best friend. I use it to stick pictures, postcards even hamburger bags to my journal.
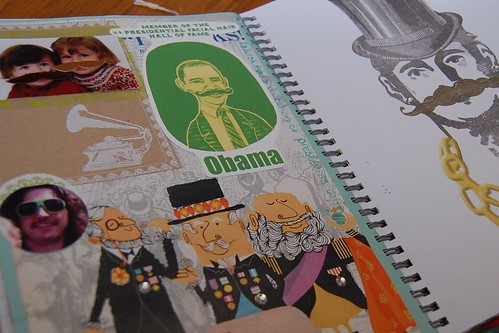
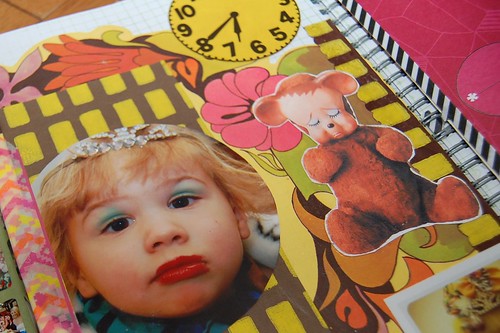
Tulip Glam It Up Crystals are found all over my Smashbook. I use them as earrings, badges and tiara accents on photos. Anything that comes already sticky is a friend of mine.
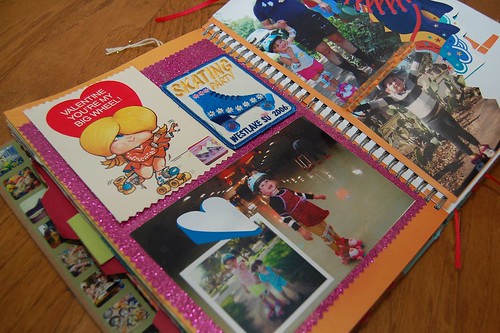
I've used Tulip Fashion Glitter Shimmer Transfer Sheets on robot onesies & Christmas decorations, but I think I may love using them as sparkly background paper in my journal most of all.
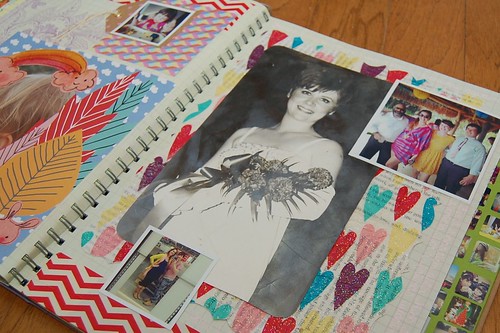
Why would anyone use plain decoupage medium with something as fun as Sparkle Collage Pauge exists. Glitter makes everything better including leftover Valentine's Day napkins from Target. A coat of Collage Pauge sticking them to sheet music and my own funky paper was born.

All the Aleene's Dry Adhesives are perfect for Smashbooking. I have been running through Tacky Dots, Tacky Sheets and Tacky Line Runners like they are water. That reminds me I need to get some more! They are great for doing things like turning pieces of fabric into quick appliques.

So there you have it. A sneak peak into my latest crafty obsession. How do you use I Love to Create projects in your paper crafts? Wanna see more of my Smashbooks? Check out my week long series of sneak peaks into typography, paper making and using fabric.

52 weeks of Art Plates with Laura Fraedrich: Weeks 9 and 10

Wednesday, March 20, 2013
Greetings, iLoveToCreate® blog fans! I am excited to share the next two plates in my Art Plate series with you today!


Plate # 9– Be The Brightest Star
 
To be a star, you must shine your own light, follow your own path, and don't worry about the darkness, for that is when the stars shine brightest ~Napoleon Hill
 
This quote has special meaning to me. If I had listened to everyone else and didn't follow the path that was right for me, I wouldn't be where I am today. This plate was a bit labor intensive. I used the sgraffito technique for the words so I could write smaller, since the quote is so long. I ended up with a big cramp in my hand, but it was worth it because I was happy with the look. I also used stamps from the Pen & Ink set by Rubber Stamp Tapestry, which was super fun. I am going to incorporate more stamps in my plate going forward.
 

 Plate #10 – Gypsy Bird

This one is just silly....it materialized from a conversation I had with a friend of mine (I explain the story on my personal blog  – The Peculiar Palette – if you're interested in hearing more about it). The quote is by Reba McEntire, but it's something I could picture myself saying.

Both plates were made using Duncan® OhFour® Bisque plates, Cover Coats™, French Dimensions™ and Pure Brilliance®

Until next time! 
Laura