

I realize not everyone has a
Yudu or the knowledge of how to make and burn their own screens. Never fear, if you were feeling a little left out of the screen printing fun I have just the project for you. Today for
I Love to Create we are silk screening using pantyhose, decoupage and an embroidery hoop!
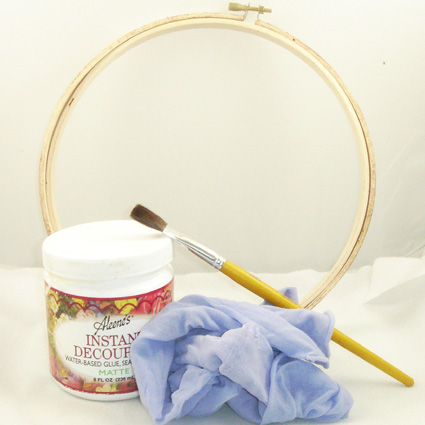 SUPPLIESTulip Soft Fabric PaintCollage Pauge
 or Aleene’s Instant Decoupage Medium
Onesie or something to screen on
Embroidery hoop
Pen
Pantyhose
Paint brush
Business card
 WHO DOESN’T LIKE UNICORNS?
First choose your image. Something in silhouette works best. Also I would not opt for a design that was too complicated. Make sure your design will fit inside the embroidery hoop you will be working with. I chose a perky little unicorn in all its magical glory.
PREPARE YOUR SCREENI retired my panty hose a long time ago when I quit my day job as a secretary. Luckily my friend Susann who was the mastermind behind this project brought over a lavender pair for me to work with. All you do is stretch the hose out in your embroidery hoop nice and taunt just like you would get a piece of cloth ready to embroider on.
 TRANSFERING YOUR IMAGE
Lay your image down on a flat surface and place your embroidery hoop on top. Trace the outline of your image with a pen onto your panty hose.
 BLOCKING OUT THE SCREEN
Using your decoupage and a paint brush fill in the area around your image. Be sure to apply the decoupage to the top of your screen and only put the decoupage where you do not want your paint to go. Allow the screen to dry completely.
 GET YOUR SCREEN ON
I stretched my onesie over a piece of cardboard so that the fabric paint would not soak through to the back. Once I had done this I laid my screen top side down on my onesie and squirted out a generous helping of paint.
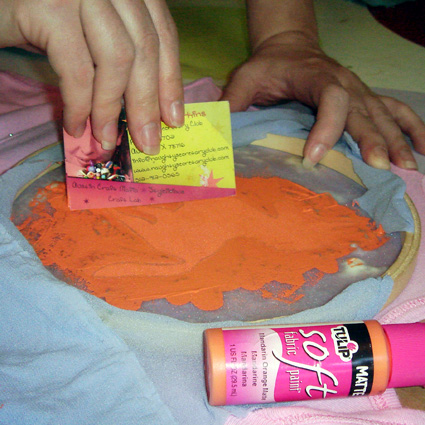 SCREENING YOUR IMAGE
Using a business card or old hotel key scrape the paint across the image in a firm manner while holding your embroidery hoop in place on your onesie. You do not want the image to shift or your baby will have an ugly outfit.
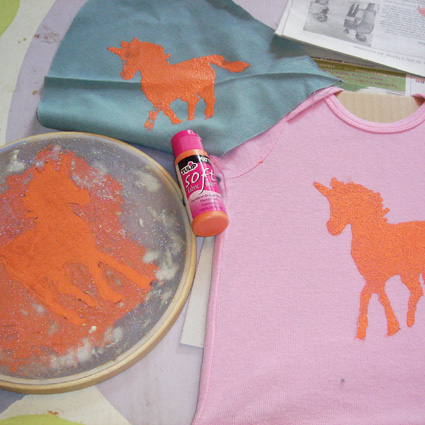 PLAY DRESS UP
Once the paint has dried on the onesie give it a 45 minute spin in a hot dryer to heat set the image and all that is left to do is get your baby dressed!
Have you tried the embroidery hoop method of screen printing? I am particularly curious if anyone has tried to screen a multi colored layered image? I wanna hear all about it!
Also remeber this is day 4 in a week long screen printing adventure. Flip back through
Print Liberation,
Screen Printed Record Bracelets and a
YuDu Improved Record Clock. Don't forget our
Handmade Nation round up and contest tomrrow!


.JPG)


