
I love socks, especially kooky knee high ones. If you want to know the way to my heart buy me some socks. Nothing says I love you and Happy Valentine's Day like toasty toes. The trick is how to give a pair of socks and make it look cute and festive. Today for I Love to Create I'm gonna show you how to do just that.
SUPPLIES
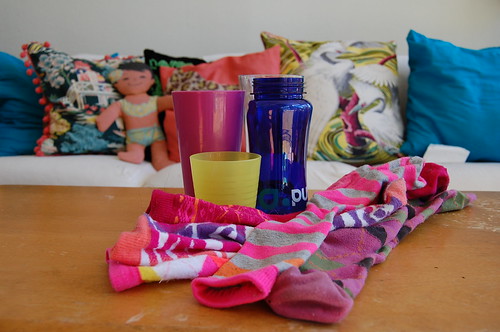
Cute socks
Glasses and bottles
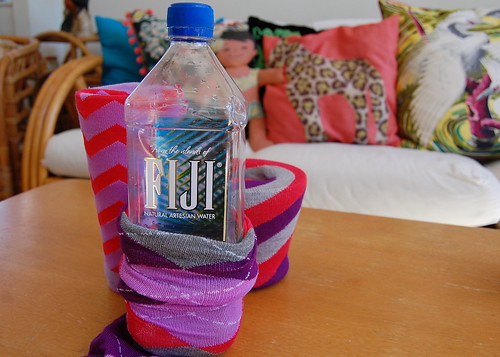
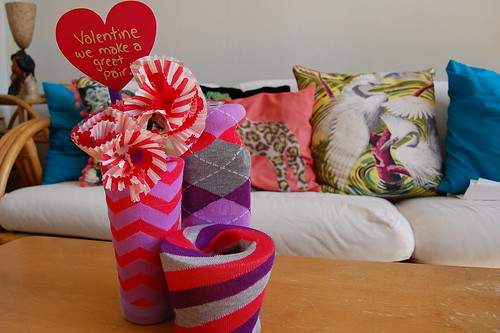
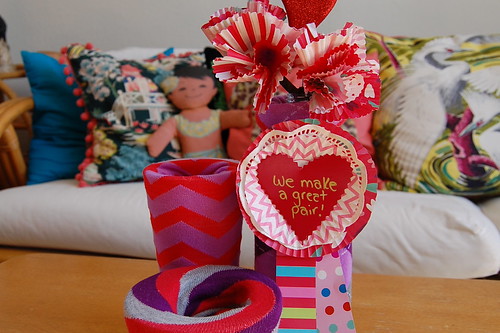
This part is super easy. Roll your sock over your glass or bottle. Thanks Design Sponge for the great idea! At this point you can fill your vase with anything you want. Lollipops, roses or cupcake liner flowers. Lemme show you what I did.

SUPPLIES
Aleene's Tacky Glue
Sticks
Cupcake liners
Pen
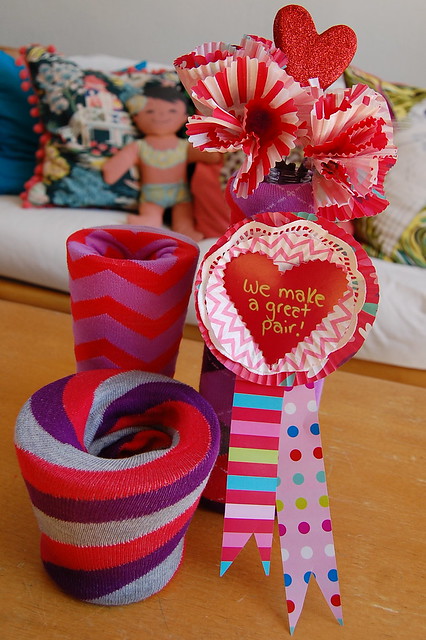
Baxter, my right hand crafty man and I gathered up our supplies and got busy. There are a million tutorials online for making flowers out of cupcake liners. I just sorted twisted and glued to the top of my stick. I added the occasional pom pom for good measure.
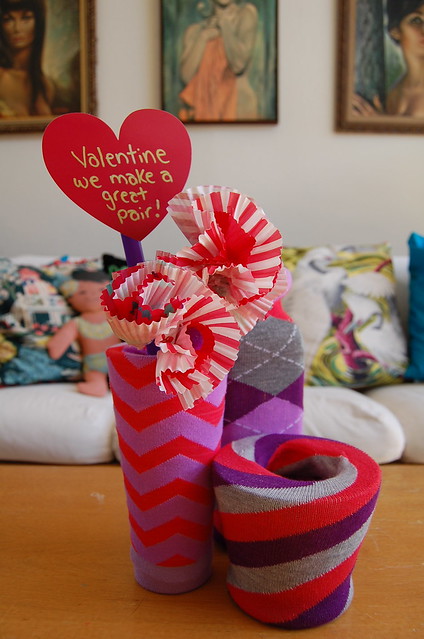
Make a little card or floral pick that says something catchy like "Valentine - We Make a Great Pair!". Give to your loved one and watch their heart melt and feet warm up


