Crafty Chica's NYE Celebratory Hair Comb
Friday, December 31, 2010 at 12:00 AMI have this thing about New Year's Eve.If i'm going to go out, I'm going to go out with some major sparkle. Ringing in the New Year is one of those over-the-top opportunities to scootch out of your comfort zone. So go big!
Supplies:
Aleene's® Original Tacky Glue®
Crafty Chica® Chunky Glitters™
(SciFi Silver)
Chipboard numbers
Glittered ribbon, about 12-15" long
Clothespins
Plastic haircombs (medium)
Any other desired embellishments
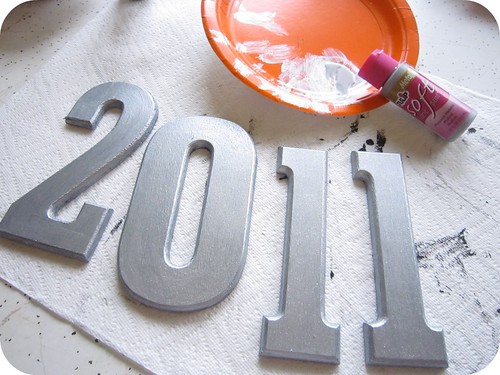
Directions: Coat the letters with the Tacky Glue and then coat with glitter, set aside to dry. Fold the ribbon three times and glue the edges so it has a tapered bottom. Add glue to affix the ribbon to the front of the comb. Add the numbers, and then the embellishments. Use the clothespins to hold everything in place until the glue dries.
I know this is big and gaudy, but it is much classier than a huge pair of plastic 2011 fake eyeglasses, don't you think? You can actually carry on a serious conversation while wearing this!
Happy New Year!
Visit us on Facebook!
Craft on! Click here for today's daily giveaway!
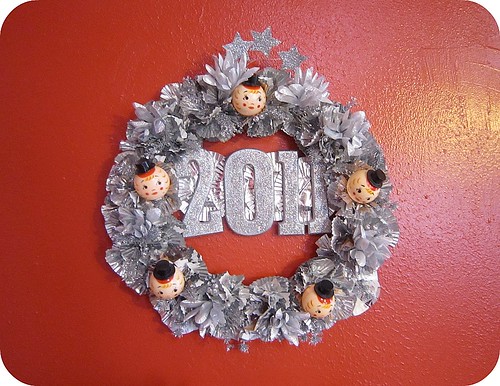
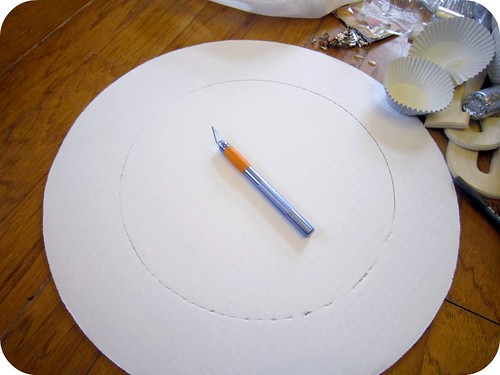
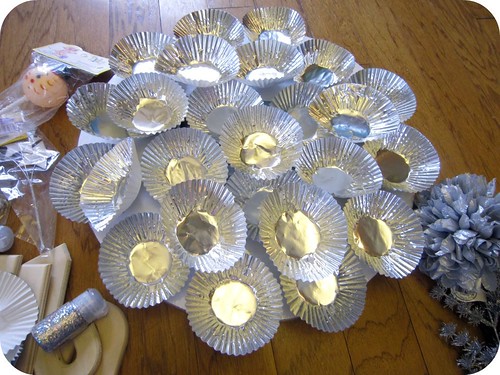
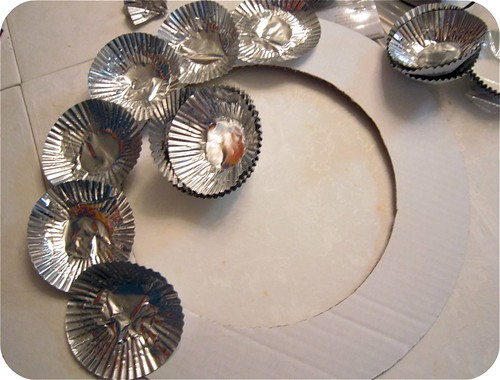
Cupcake Lined New Years Wreath
Thursday, December 30, 2010 at 11:39 AMNew Year's Eve Champagne Glasses
at 12:00 AMSupplies:
Liquid Fusion® Clear Urethane Glue
Tulip® Glam-It-Up!™ Fashion Art Tweezers™
Tulip® Glam-It Up!™ PDA: Personal Dazzle Assistance™
Glass champagne flutes
Paper plate
Toothpick
Foil
Directions:
1. Squeeze some glue on to the foil. Use the toothpick to pick up "dots" of the glue and apply to the glass in a random fashion. Only do one segment at a time. NOTE: We are using Liquid Fusion to permanently glue the PDA crystals on the glasses. If you want them to be temporary, simply skip the gluing step.
2. Use the tweezers to pick up the gems, one at a time and apply on the dot of wet glue.
3. Continue until glass is covered - you can add as little or as much as you want. Let dry.
Wash gently by hand.
Visit us on Facebook!
Craft on! Click here for today's daily giveaway!
Happy New Years Place Setting
Wednesday, December 29, 2010 at 12:00 AMMaterials List
- Tulip® 3D Fashion Paint™

65408 Gold Metallics - Tulip® Fabric Spray Paint™

Glistening Gold - Tulip® Soft Fabric Paint™

BI15806 Platinum 
BI15808 Gold -
Miscellaneous
- Foam plates
- Tracing paper
- Thin silver wired ribbon
- Crafter’s knife or X-acto knife
- Foam stamps, star designs
- White canvas napkins and placemats
- Card stock
- Paint pen, Silver and Gold
Instructions
1. Name Card
Cut card stock to 4-1/2” x 5” and fold in half.
2. Tap Paint sponge into Gold Soft Paint and tap excess off on paper towel. Tap on large star of star group stamp. Repeat process using Platinum Soft Paint on small stars.
3. Unfold card and stamp in upper left corner. The large star should be on the back part of card. Use crafter’s knife or X-acto knife to cut around top of large star to the fold.
4. Use Silver Glitter pen to outline silver stars and Gold Glitter pen to outline gold star. For the border, use Gold Glitter pen to make a dot-dash design around card. Let dry. Write name on card.
5. Placemat
Iron to remove any wrinkles.
6. Tap Platinum Soft Paint on mini swirl stamp and tap randomly around outer edge of placemat.
7. Use Gold paint pen to draw a scalloped border about 1-1/2” around placemat.
8. Squeeze drops of Gold and Platinum Soft Paint onto foam plate. Tap Gold on large star and Platinum on small star. Stamp in center of placemat. Repeat 5 times, forming a spray of stars. Let dry. Clean stamp between applications.
9. Outline the gold stars with Gold Metallics dimensional paint. Let dry.
10. For extra sparkle, spray gold Glitter Spray on placemat. Let dry.
11. Napkin
Iron to remove any wrinkles.
Visit us on Facebook!
Craft on! Click here for today's daily giveaway!
No-tug DIY Headband!
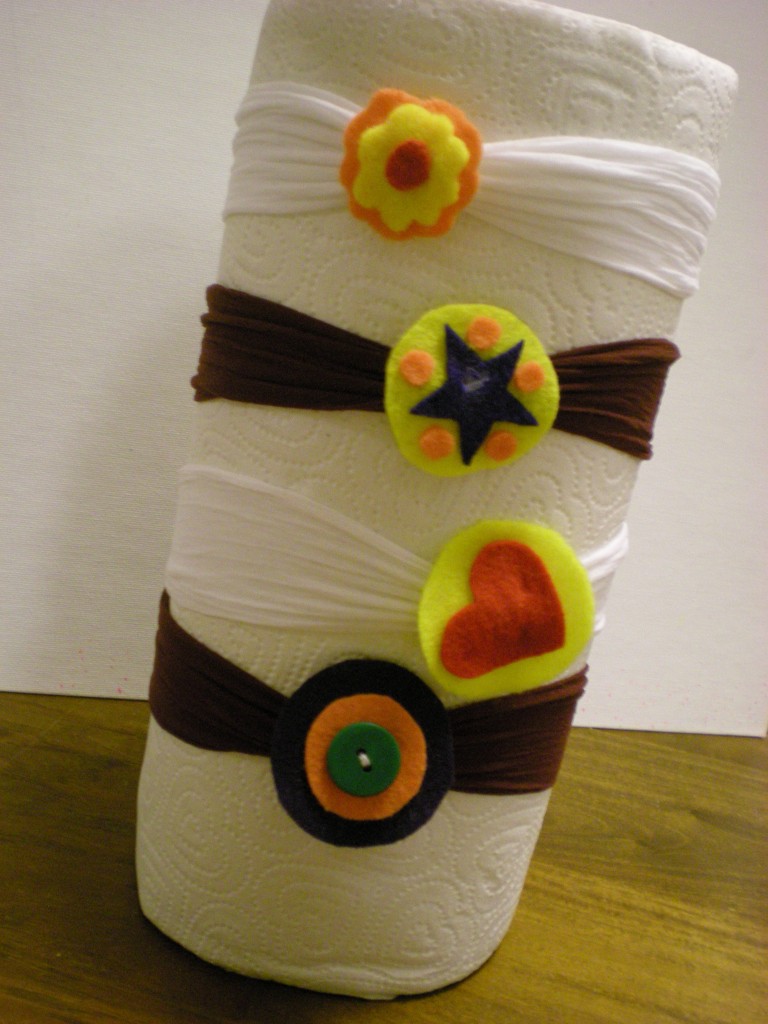
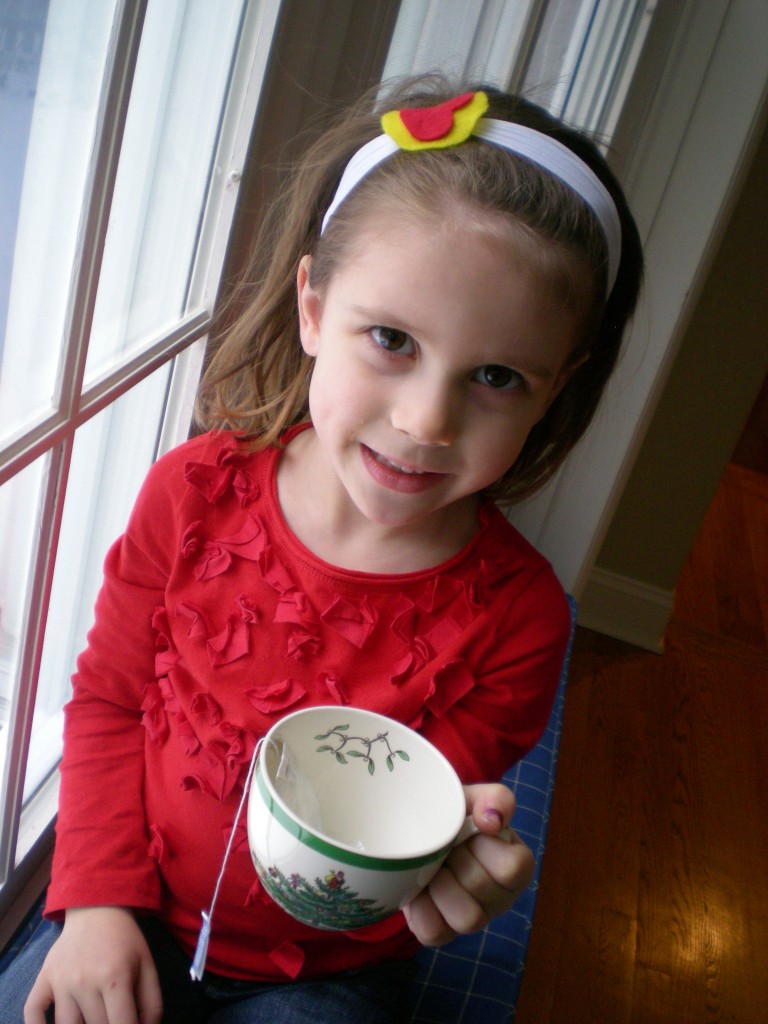
Tuesday, December 28, 2010 at 11:06 AMLast month, in preparation for the holiday party circuit, I shared the tutorial for the Softie Spiral Headband. This month, it's about headgear for the younger generation. I made these headbands, adapted from a project in one of my favorite books, Crafty Mama, for my four-year-old niece (though I'm not a Crafty Mama, the Crafty Auntie title is one I take very seriously). She's growing out her bangs and has a classic Goldilocks situation on her hands: The available solutions to bangs-in-the-face poke, prod, or pull, are too tight or too loose. But these stretchy soft headbands are just right.
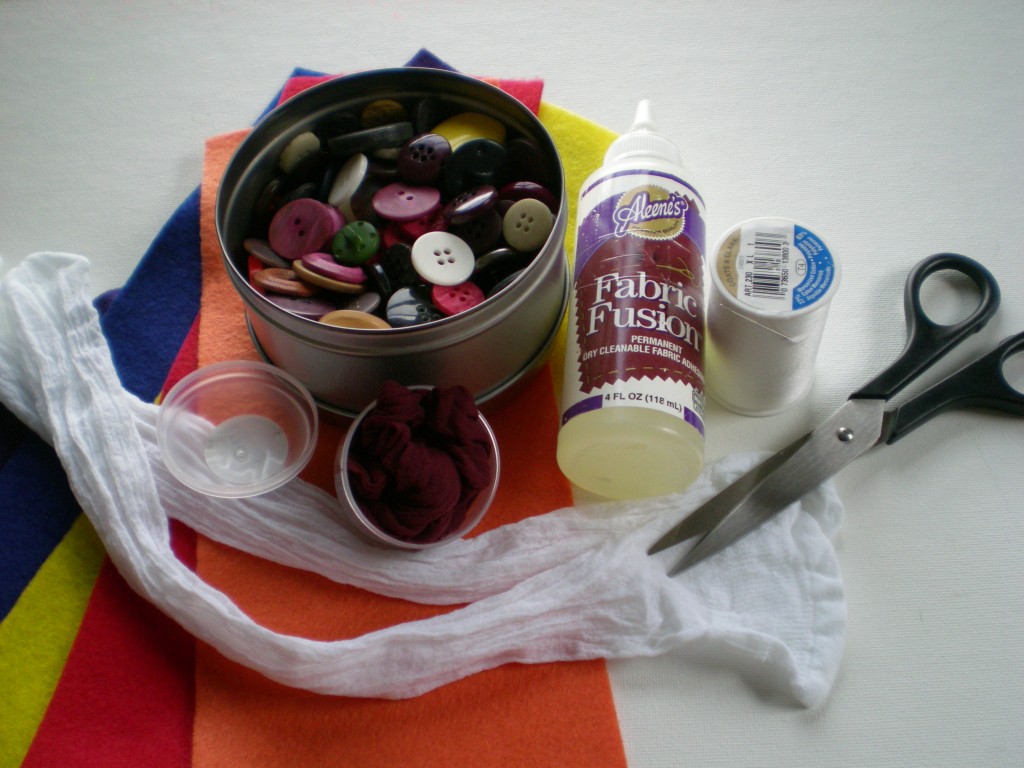
Materials:
-package knee-high stockings (1 stocking makes 1 headband)
-scissors
-needle and thread (color to match the stockings)
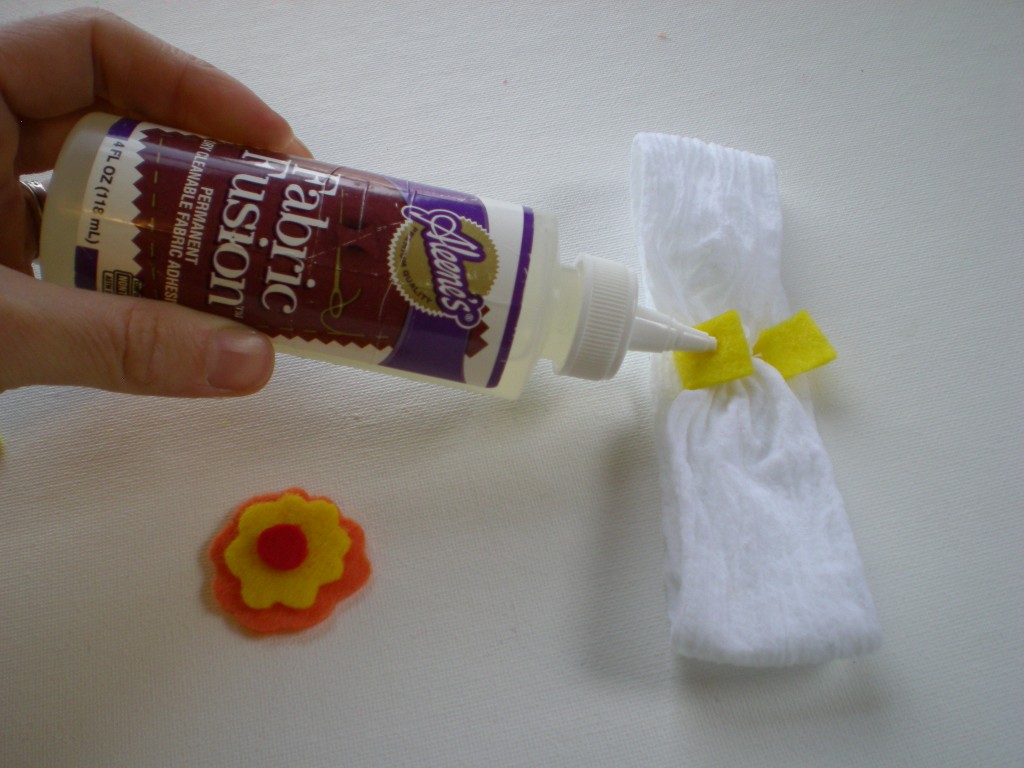
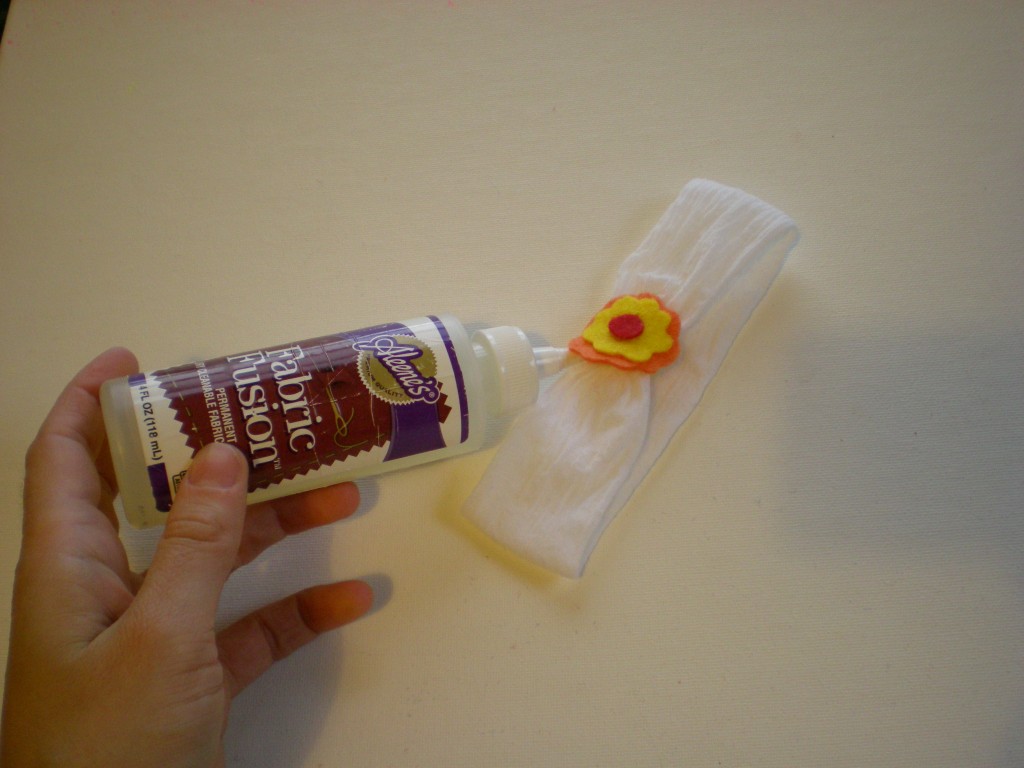
-Aleene’s Fabric Fusion Permanent Dry Cleanable Fabric Adhesive
-colorful felt pieces
-buttons (optional, for embellishment)
-clothespins (optional, for clipping in place while gluing/drying)
Make it:
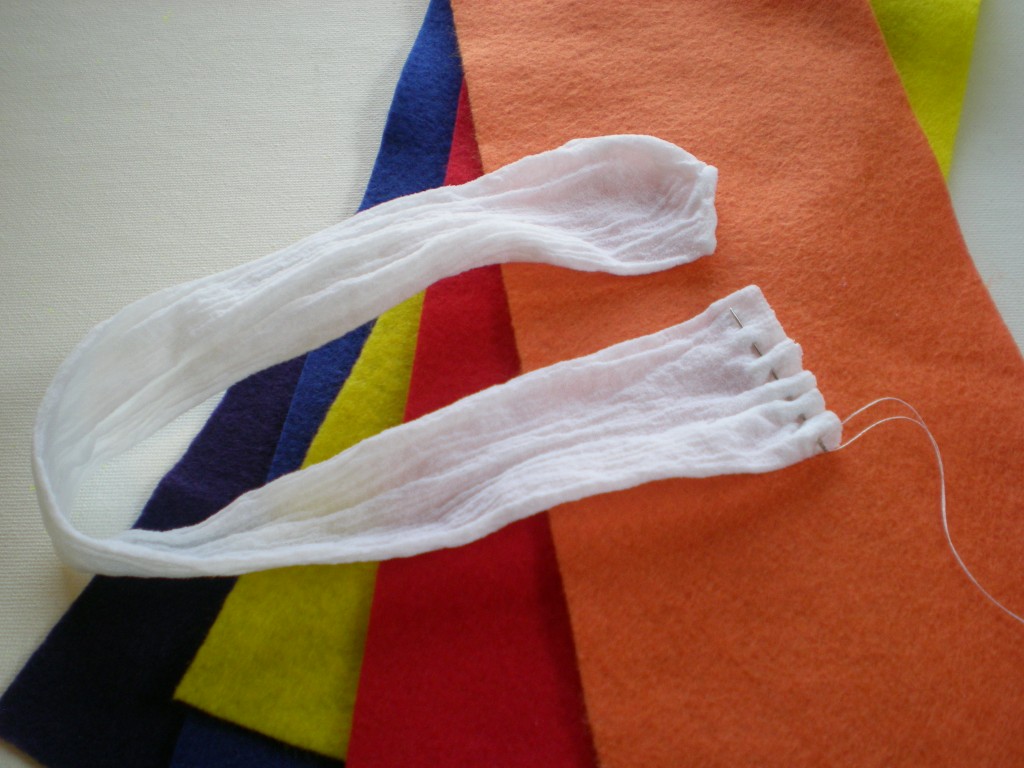
1. Remove the stockings from the packaging and stretch them out. Cut about 1" off the top of one stocking and set it aside. Thread the needle, knot the end, and make a running stitch about 1/4" from the cut end of the stocking.
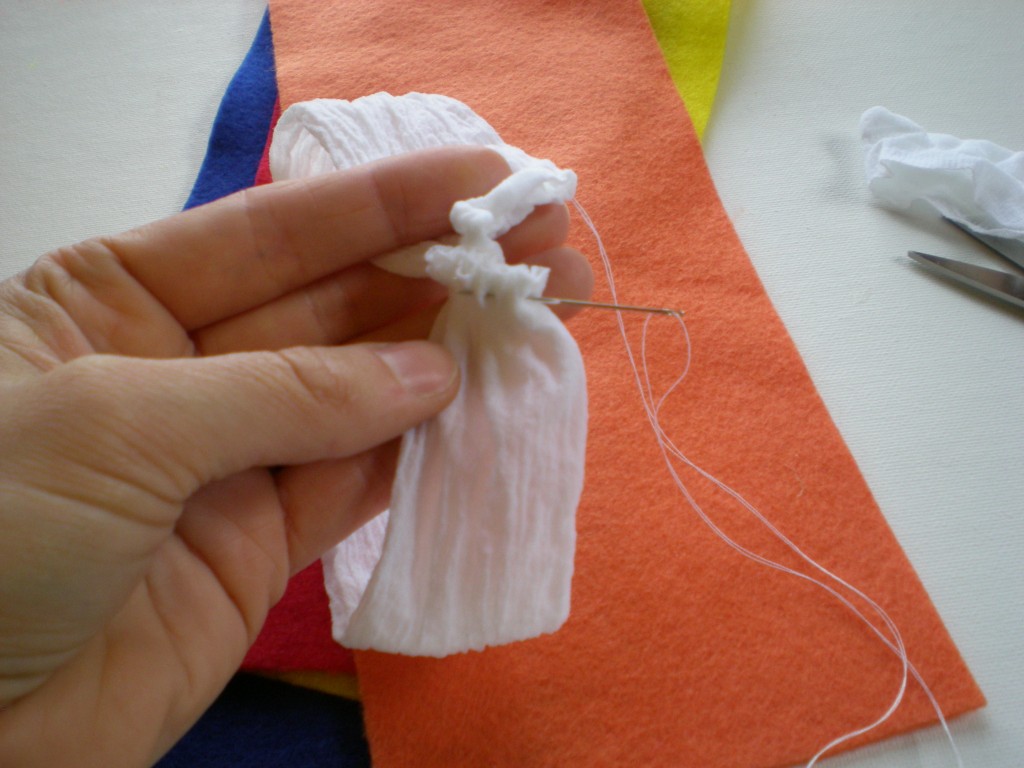
2. Sew a running stitch along the toe end of the stocking and gently pull the thread to gather the two ends of the stocking together, forming a loop. Make a few more stitches to secure the ends, and knot.
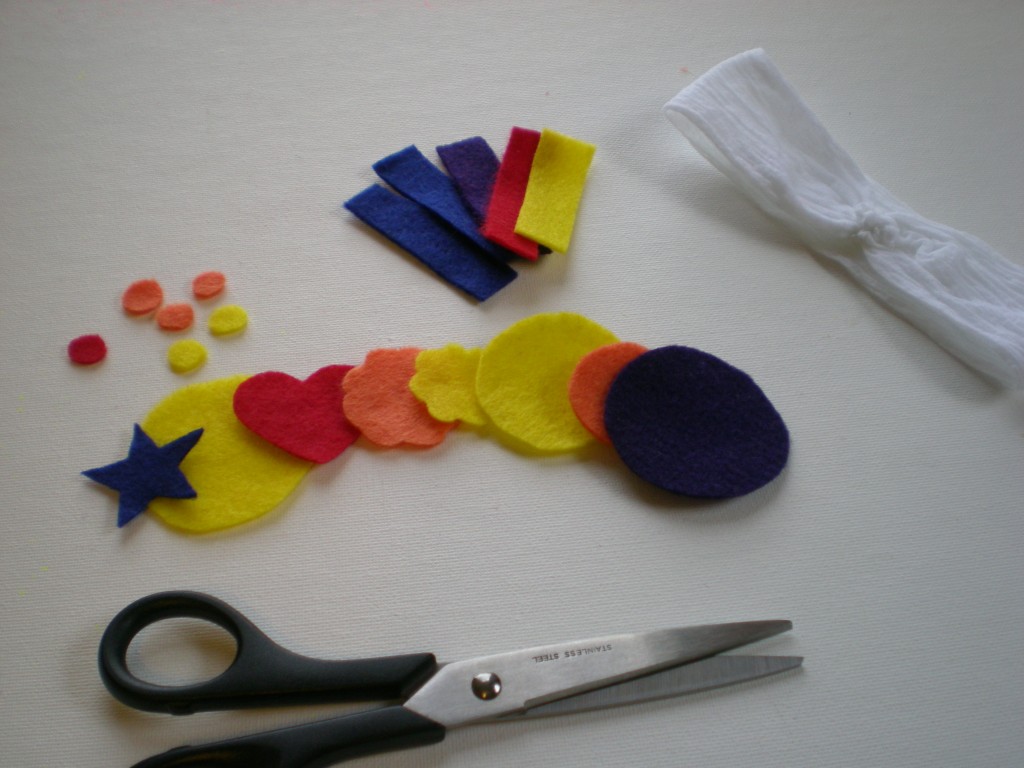
3. Set the loop (the headband) aside, and cut decorative shapes from the felt pieces. Cut several felt strips about 1/2" by 3".
4. Wrap one felt strip around the gather on the headband (to hid the stitching and provide a base for the embellishment). Apply glue liberally to the ends of the strip and fold them over each other. Let dry, and reapply glue as needed. (Felt is very porous, so the glue gets absorbed easily.) While the glue dries on the headband, mix and match felt shapes and glue them together to make embellishments. Optional: Add buttons, glitter, ribbon, T-shirt flowers, even fabric scrapbook decals to personalize the headband.
5. Glue the felt embellishment over the felt seam and let dry. (Again, apply that glue liberally!)
6. You're done! Now get to the wearing part -- with no complaints of pulled hair, and no shaggy bangs covering up her sweet little face! Tea party, anyone?
Bonus: If you buy your stockings at the pharmacy or the dollar store, they often come in little round plastic containers that can easily be converted into a simple cat toy -- drop a button inside, snap it tightly closed, and roll it across the floor.
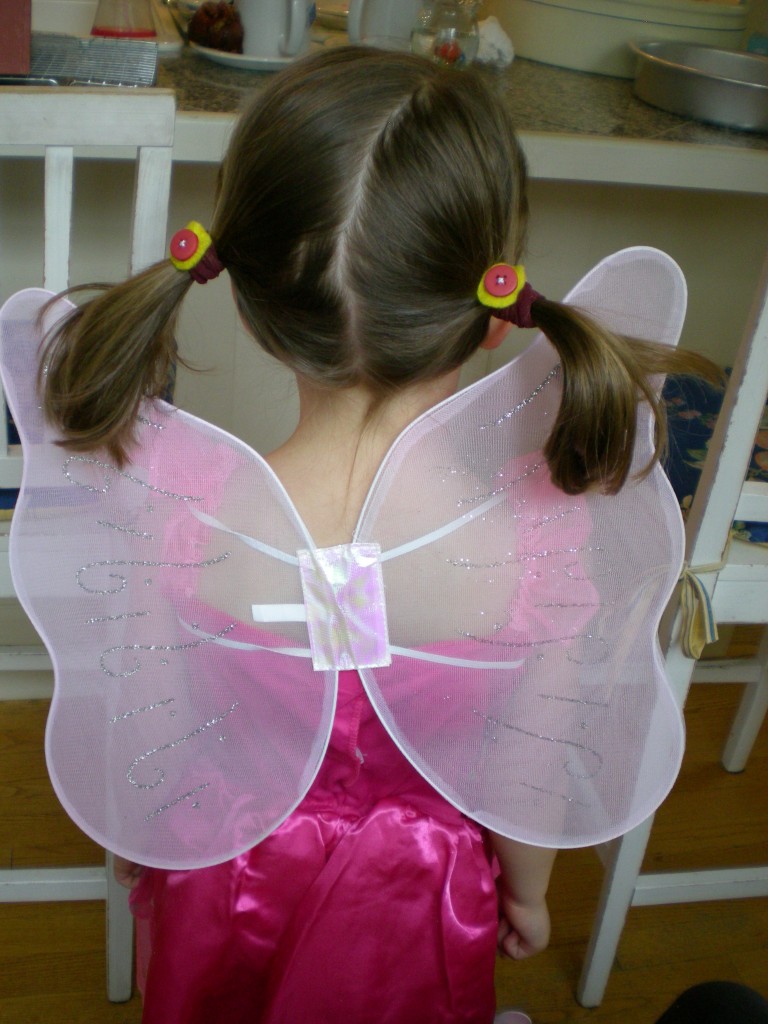
Double bonus: Remember the 1" bit of fabric you cut off the top of the stocking in step 1? Follow steps 4 and 5 to make No-tug Hair Ties! Perfect for taming pigtails, ponies, and braids.
Visit us on Facebook!
Craft on! Click here for today's daily giveaway!
DIY New Year's Eve Party Dresses
at 12:01 AMMaterials List
- Tulip® Soft Fabric Paint™

BI15789 Azalea 
BI15793 Grape 
BI15804 Azure Blue 
BI15806 Platinum 
BI15826 Turquoise 
BI15828 Purple - Tulip® Glam-It-Up!™ Iron-On Fashion Designs™

Design 13 - Tulip® Glam-It-Up!™ Iron-On Crystals™

25619 Pink 
26592 AB Crystal -
Miscellaneous
- Palette knife
- Tweezers or crayon
- Dress, black
- Brushes: 2 different handle sizes small and large
- Craft heat tool
- Sparkle Dress:
- Iron
- Dress, black
- Foil
- Palette Knife Dress:
- Foil
Instructions
Palette Knife Dress - Prewash dress to remove sizing. Do not use fabric softener. NOTE: Check garment care instructions.
- Squeeze some of each paint color on foil.
- Place edge of palette knife in one color and scoop up paint.
- With a scraping motion, move knife back and forth down right side of dress and up to top of dress. Apply remaining colors, referring to photo. Let dry.
- Apply Crystals randomly, following package instructions. Tip: Use tweezers or crayon to pick up and place Crystals.
- Wait 72 hours to wash. Follow garment care instructions. To iron, turn garment inside out. Do not dry-clean.
- Prewash dress to remove sizing. Do not use fabric softener. NOTE: Check garment care instructions.
- Iron Fashion Designs on left side of dress, referring to photo for placement and following package instructions.
- Squeeze a small amount of each paint color on foil.
- Dip nonbristle end of larger paintbrush into paint. Press on points of each star, dipping into paint after each application. Scatter random paint dots. Let dry.
- Wait 72 hours to wash. Follow garment care instructions. To iron, turn garment inside out. Do not dry-clean.
Visit us on Facebook!
Craft on! Click here for today's daily giveaway!
Black Rim Silhouette Bowl
at 12:00 AMMaterials List
- Duncan® Concepts® Underglazes for Bisque and Majolica

CN 073 Dark Scarlet 
CN 221 Light Blush 
CN 253 Dark Black - Signature Brushes

SB 806 No. 6 Round 
SB 807 No. 6 Fan Glaze 
SB 808 No. 4 Round - French Dimensions™

FD 254 Black Licorice -
Miscellaneous
- Clay carbon paper
- Pencil
- Large Rectangle Platter
- Sponge,dampened
-
Patterns
Instructions
1. Clean greenware. Fire to shelf cone 04.
2. Remove dust and condition ware, using dampened sponge.
3. Trace design with clay carbon paper and pencil on platter.
4. Apply 3 coats of CN 221 Light Blush to all skin areas, using SB 808 No. Round. Let dry between coats.
5. Apply 3 coats of CN 073 Dark Scarlet to one part of lady’s dress, using SB 806 No. 6 Round. Let dry between coats.
6. Apply 3 coats of CN 253 Black to the other part of dress and hair, using SB 806 No. 6 Round. Let dry between coats.
7. Add dots to red side of dress and outline arms neck and face with FD 254 Black. Let dry.
8. Apply 3 coats of CN 253 Black to rim of platter, using SB 807 No. 6 Fan Glaze. Let dry between coats.
9. Apply 2 coats of IN 1001 Clear to entire platter, using SB 806 No. 6 Fan Glaze.
10. Let dry. Stilt and fire cone 06.
Craft on! Click here for today's daily giveaway!


