Showing posts with label aleene's fabric fusion. Show all posts

DIY Rhinestone Bungee Bracelets

Monday, November 11, 2013

Create fun and sparkly bracelets using bungee cords as the base with this Rhinestone Bungee Bracelet DIY tutorial. These bungee cords from Tulip have smooth ends that won’t scrape you and are surprisingly perfect for bracelets.
Read more »

DIY Brooch using Beads in a Bottle

Monday, October 28, 2013

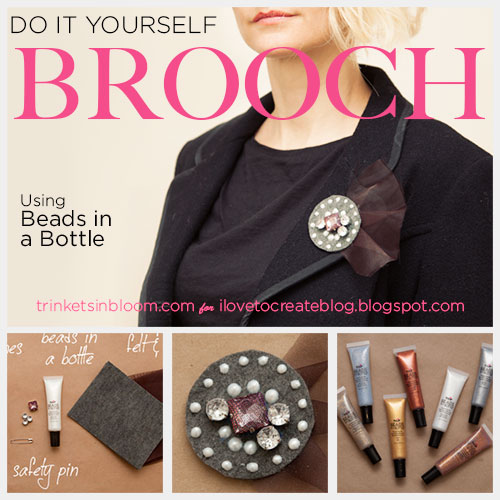
A fun mix of materials and a cool new way to make your own beads, this DIY Brooch using Tulip’s Beads in a Bottle adds sparkle and glamour to your outfit. Check out the tutorial to see how easy it is to make your own “beads” on most any surface.
Read more »

No Sew Embellishing

Tuesday, June 11, 2013
Embellishing clothing is such a fun way to personalize things.  However, even if you don't sew there are still lots of ways to embellish clothing.  All of Aleene's adhesives can help you get that hand-sewn look without even picking up a needle and thread.

Here are a couple of ways I embellished some onesies without sewing.  For the first onesie (pictured above) I got out some lace and Aleene's Fabric Fusion.
I ran a line of fabric fusion down the sleeve and another line parallel to it since my lace was fairly wide.  I pressed on the lace, allowed it to dry well, and it was done.
While I did sew to make the hat, I actually used fabric fusion on the hat as well so that the petals on the flower wouldn't flop around or fall downward.
On another onesie I pulled out some leather I had, a Tulip fabric marker, and Aleene's Peel and Stick Sheets.
I cut a small heart out of the leather and used my Tulip fabric marker to create stitch marks.
I traced the heart onto the peel and stick sheet to cut the adhesive the same size as the heart.  
Then I peeled off the backing and pressed the heart onto the shirt.  Done.
You could even add a name right below the heart with the fabric marker for a personalized look.
So what will you embellish next?

DIY Summertime Swirly Shoes

Wednesday, June 5, 2013

Hey everyone! It's SUMMERTIME! YAAAAAY! I found these cute kicks on clearance at Target for five bucks. (Score!) I LOVE the color, but since it's summertime I thought I'd make them pop even more by adding yarn swirls and gems. 


– Shoes
– Yarn
– Fabric Fusion
– Gem
– Cold Glass of lemonade (recommended!)
 Squeeze a quarter sized amount on to shoe. Pinch the end of yarn and apply it to the shoe. Next, simply wrap around in a spiral/swirl. Repeat until you get the look you want. I like the different sizes of circles that I ended up with!
Now add a little drop of glue in the center of each swirl and add a gem. You can do the matchy-matchy thing or add some contrast like I did.
I love my new shoes, they are so cute and are great for the beach or pool side parties! Now, where is that glass of lemonade??
Thanks for reading, I hope you liked my project! For more stuff, check out my Facebook page! http://facebook.com/mayainthemoment

DIY Rocker T-Shirt

Tuesday, June 4, 2013
Using the Tulip Screen-it and some scissors you can turn a boring t-shirt into a fun printed tank for summer. For this project I used one of my husbands old t-shirts, since it’s a little large, once it’s tied it works perfectly. The t-shirt I used has David Bowie on it, so I created a graphic of a lightning bolt and used the Tulip Screen-it which is really easy! I was amazed! Follow the instructions on the ILTC website and you’ll be able to create your own awesome t-shirt designs in no time!
TOOLS & MATERIALS:
1 T-shirt a few sizes larger than normal
Graphic image
Scissors
Ribbon
Timer
Sponge
step 1
Choose your design and print it out in black ink. It’s very important that your image is dark.

Find a room in your house that you can make a dark room. Cover every possible place that light could get in.

Set up a plastic bin with enough water to soak your film once you’ve burned your screen or use your tub, if your bathroom works best for your darkroom. That’s what I did.

Once your room is ready, use the yellow light bulb as your only source of light.

Be sure to have all your supplies with you, Aleene’s Tacky Spray, your films, your graphic, the Screenit, squeegee and a timer before you get started.

step 2
Spray the base of your Screen-it with the Aleene’s Tacky Spray and place your film on top of the base. Use your squeegee to smooth out any bubbles.

Next, spray the design side of your graphic with the Aleene’s Tacky Spray and place it graphic side down on your film.

Place the frame and the top of the Screen-it on top of your graphic.

step 3
Turn on your Screen-it for 8 minutes.

When your 8 minutes are up lift the top of your Screen-it, rotate it 180 degrees, set it back on top and turn it on for another 8 minutes.

You will use your Screen-it for a total of 16 minutes.

step 4
When that is finished, peel your graphic off your film and submerge your film in your pan or tub of water and let sit for 10 minutes.

This is where you’ll see your design emerge!

step 5
When your 10 minutes are up, lay your film on top of the base from your Screen-it and using a sponge (soft side only) rub your film under running water.

This will loosen the emulsion on your film, revealing your image.

Let your film dry.

For more detailed instructions on using the Screen-it click here.

step 6
Now you’re ready to print your shirt.

Lay your t-shirt out on a flat surface.  

Use the base of your Screen-it inside your shirt, this will provide a hard surface to screen on and keep any paint from soaking through.

Spray the area of your shirt with Aleene’s Tacky Spray and place your film on top.

Place the frame of your Screen-it on top of your film. 
step 7
Apply a generous amount of your Tulip Soft Fabric Paint across the top of your design.

Hold the top of your film with one hand and use your squeegee to pull the paint across your design with your other hand. Be sure to add even pressure with your squeegee as your pull it across.

You may need to do this a couple of times. Depending on the color of your shirt and your paint.

My image is a bit light, since I used silver paint on a dark gray t-shirt, but I wanted a vintage faded look. Using lighter colored t-shirts will give you a stronger color with your fabric paint.

Let your image dry.

Be sure to rinse out your film when you are done, it can be reused many times!
step 8
Now you’re ready to cut your t-shirt.

Lay it out flat and cut off the sleeves and the bottom band.

Cut the neck in large scoop shape, you can go slowly with this and keep trying it on as you go. That will keep it from getting too big to wear.
Cut the back of your t-shirt lower than the front.
step 9
When your t-shirt is cut the way you want it, you’re ready to tie the back.

Using a ribbon or the bottom strip of your t-shirt or whatever you like, wrap your two back shoulder straps with your ribbon and tie in a bow.
 
step 10
The front of my t-shirt was puckering a bit (since I’m not much of a busty gal) I used Aleene’s Fabric Fusion to hold small tucks on either side of the neckline.

I also used the Fabric Fusion to hold the bow, just a few drops inside the knot, to keep it from untying.


I had so much fun using the Screen-it, in a really short time you can create fun graphics for t-shirts and so much more! Also, this way of turning a t-shirt into a tank is a great way to keep those old t-shirts from ending up in the rag pile! You could also use small adult or teen sizes to make tops or dresses for girls! I guess I know what my daughter will be wearing this summer!

To see more DIY fashion be sure to check out my blog at Trinkets in Bloom.

HOW TO: Make a Boyfriend Pillow

Wednesday, May 15, 2013

Hey guys! Have you ever heard of a boyfriend pillow? It looks like this:


It's a pillow with the torso and arm of a male, made to be a perfect cuddle pillow. Some people might get freaked out from this, but ever since they showed it on GLEE, I've heard all my friends talking about it, and some even buying them. They retail for 40 bucks. 40?! For a pillow?! That's insane! So, I decided to make my own, since I LOVE pillows. Also...because it looks fun! :)

GLEE VIDEO:

 Here's my take on the Boyfriend Pillow! Please watch my video and like or give it a comment! Thanks!


(NOTE: If you like music- that's me singing in the video, it's an original song I wrote just for this project!)

SUPPLIES:
-Flannel Long Sleeved Shirt
-Pinking Shears
- Clothespins
- Pillow stuffing (FiberFill)

Directions:
1. Set your flannel shirt out flat on a table. For a bigger pillow, make sure to get an XXL shirt! Button up the shirt.
2. Draw a chalk line next to the buttons, then cut all along that line.
3. Fold in the raw edges, use Aleene's Fabric Fusion Tape along the edges and fold over to seal the hem.
4. Add a thick line of Fabric Fusion along the edge and press the two sides in place and use clothespins to hold in place until the glue dries. Also glue the neck area and in between the buttons.
5. Stuff your pillow! Add a little less in the arm so you can bend it around you when you sleep!
5. Glue the bottom hem with Fabric Fusion.
Optional: Add a hand made of felt or fabric!
Now go cuddle!


Make a Tie Dye Flower Fascinator

Wednesday, May 8, 2013

You may recall the tie dye t-shirt purse I made just the other day.  There was a fair amount of leftover fabric, so I decided to use it for another project.  Waste not, want not! It's so easy to make these fabric rosettes using Aleene's Fabric Fusion Peel and Stick sheets.  This would be so pretty in black and white with a rhinestone brooch in the center.  I love women in hats!  This is a great way to dip your tootsies into the hat wearing pool without feeling like Eliza Doolittle at the races.  Yes, I'm on a mission and so far, I'm feeling pretty good about it.  Who knew tie dye could be so chic?
You will need
Tie dyed cotton fabric strips
Coordinating feathers
Silk or fabric flower in contrasting color
Neutral color felt
Wire or plastic headband
Aleene's Tacky Glue
Scissors
 Ruler
1.  Trace and cut felt circle and cut a smaller felt oval.  2. Cut fabric into 6 strips (about 1.5" wide and 10" long). 3. Place felt oval and circle on Peel and Stick Sheets, peel off backing.  You may need to use more than one sheet to cover felt. 4.  Fold strip in half, start your rosette in the center of the felt circle by pressing strip edge down on adhesive and winding fabric in a spiral. 
5.  Keep winding, adding new strips as you move along. 6.When you get to the edge, wrap final strip around bottom of rosette to conceal. Use a little Aleene's Fabric Fusion tape here! 7.  Place headband on center of flower.  Attach the oval felt section over headband to secure flower.  8. Add a dab of glue to the end of your feathers, slide under the oval felt and press.  Allow to dry.
9. Use Fabric Fusion sheets to attach a smaller silk or fabric flower to the center of your rosette.  I love the bold contrast of this citron yellow against the softer blue and green. 10.  Press down to secure flower.  
Would you wear a fascinator?  What color palette would you choose?  Do tell!
For more DIY fashion and style, visit my new site DIY Doyenne and for an array of fabulous fashion savvy products and projects, visit iLoveToCreate.com!

xoxo,
Madge

"A is for Animal" Wall Decor!

Tuesday, February 26, 2013
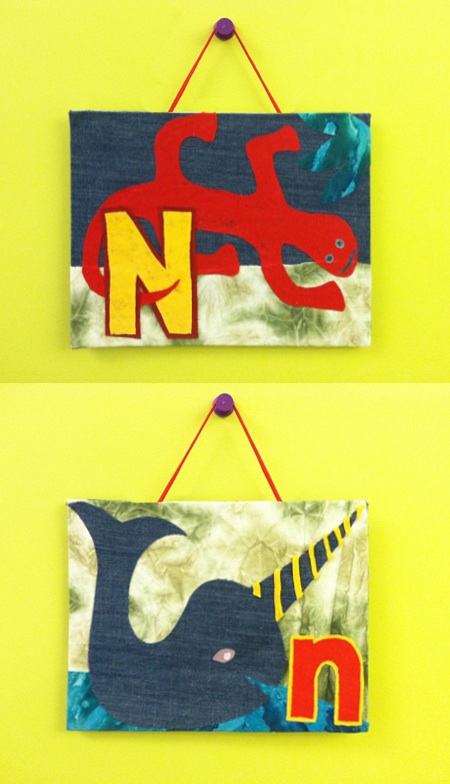
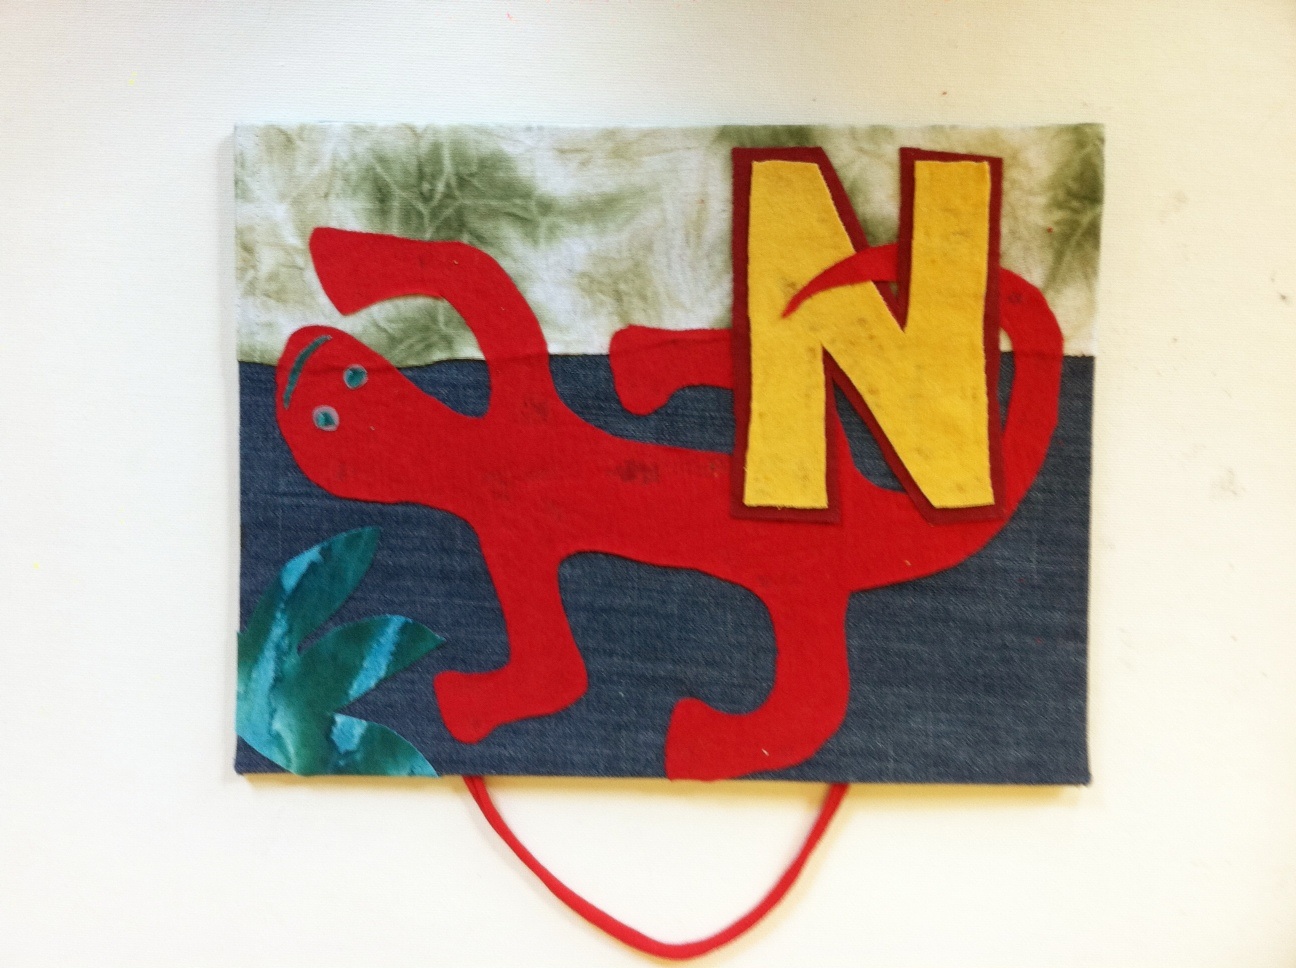
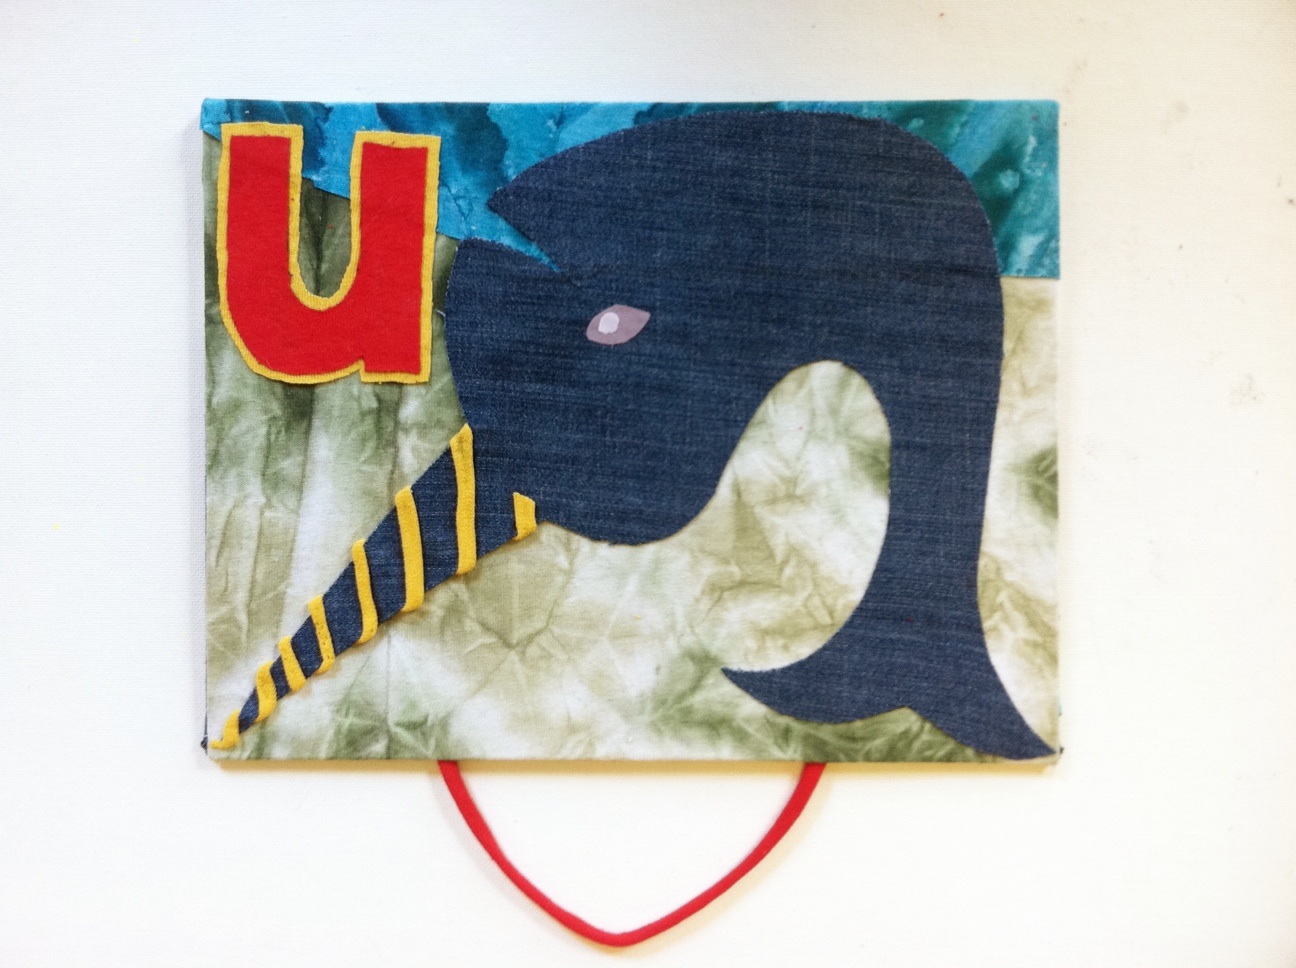
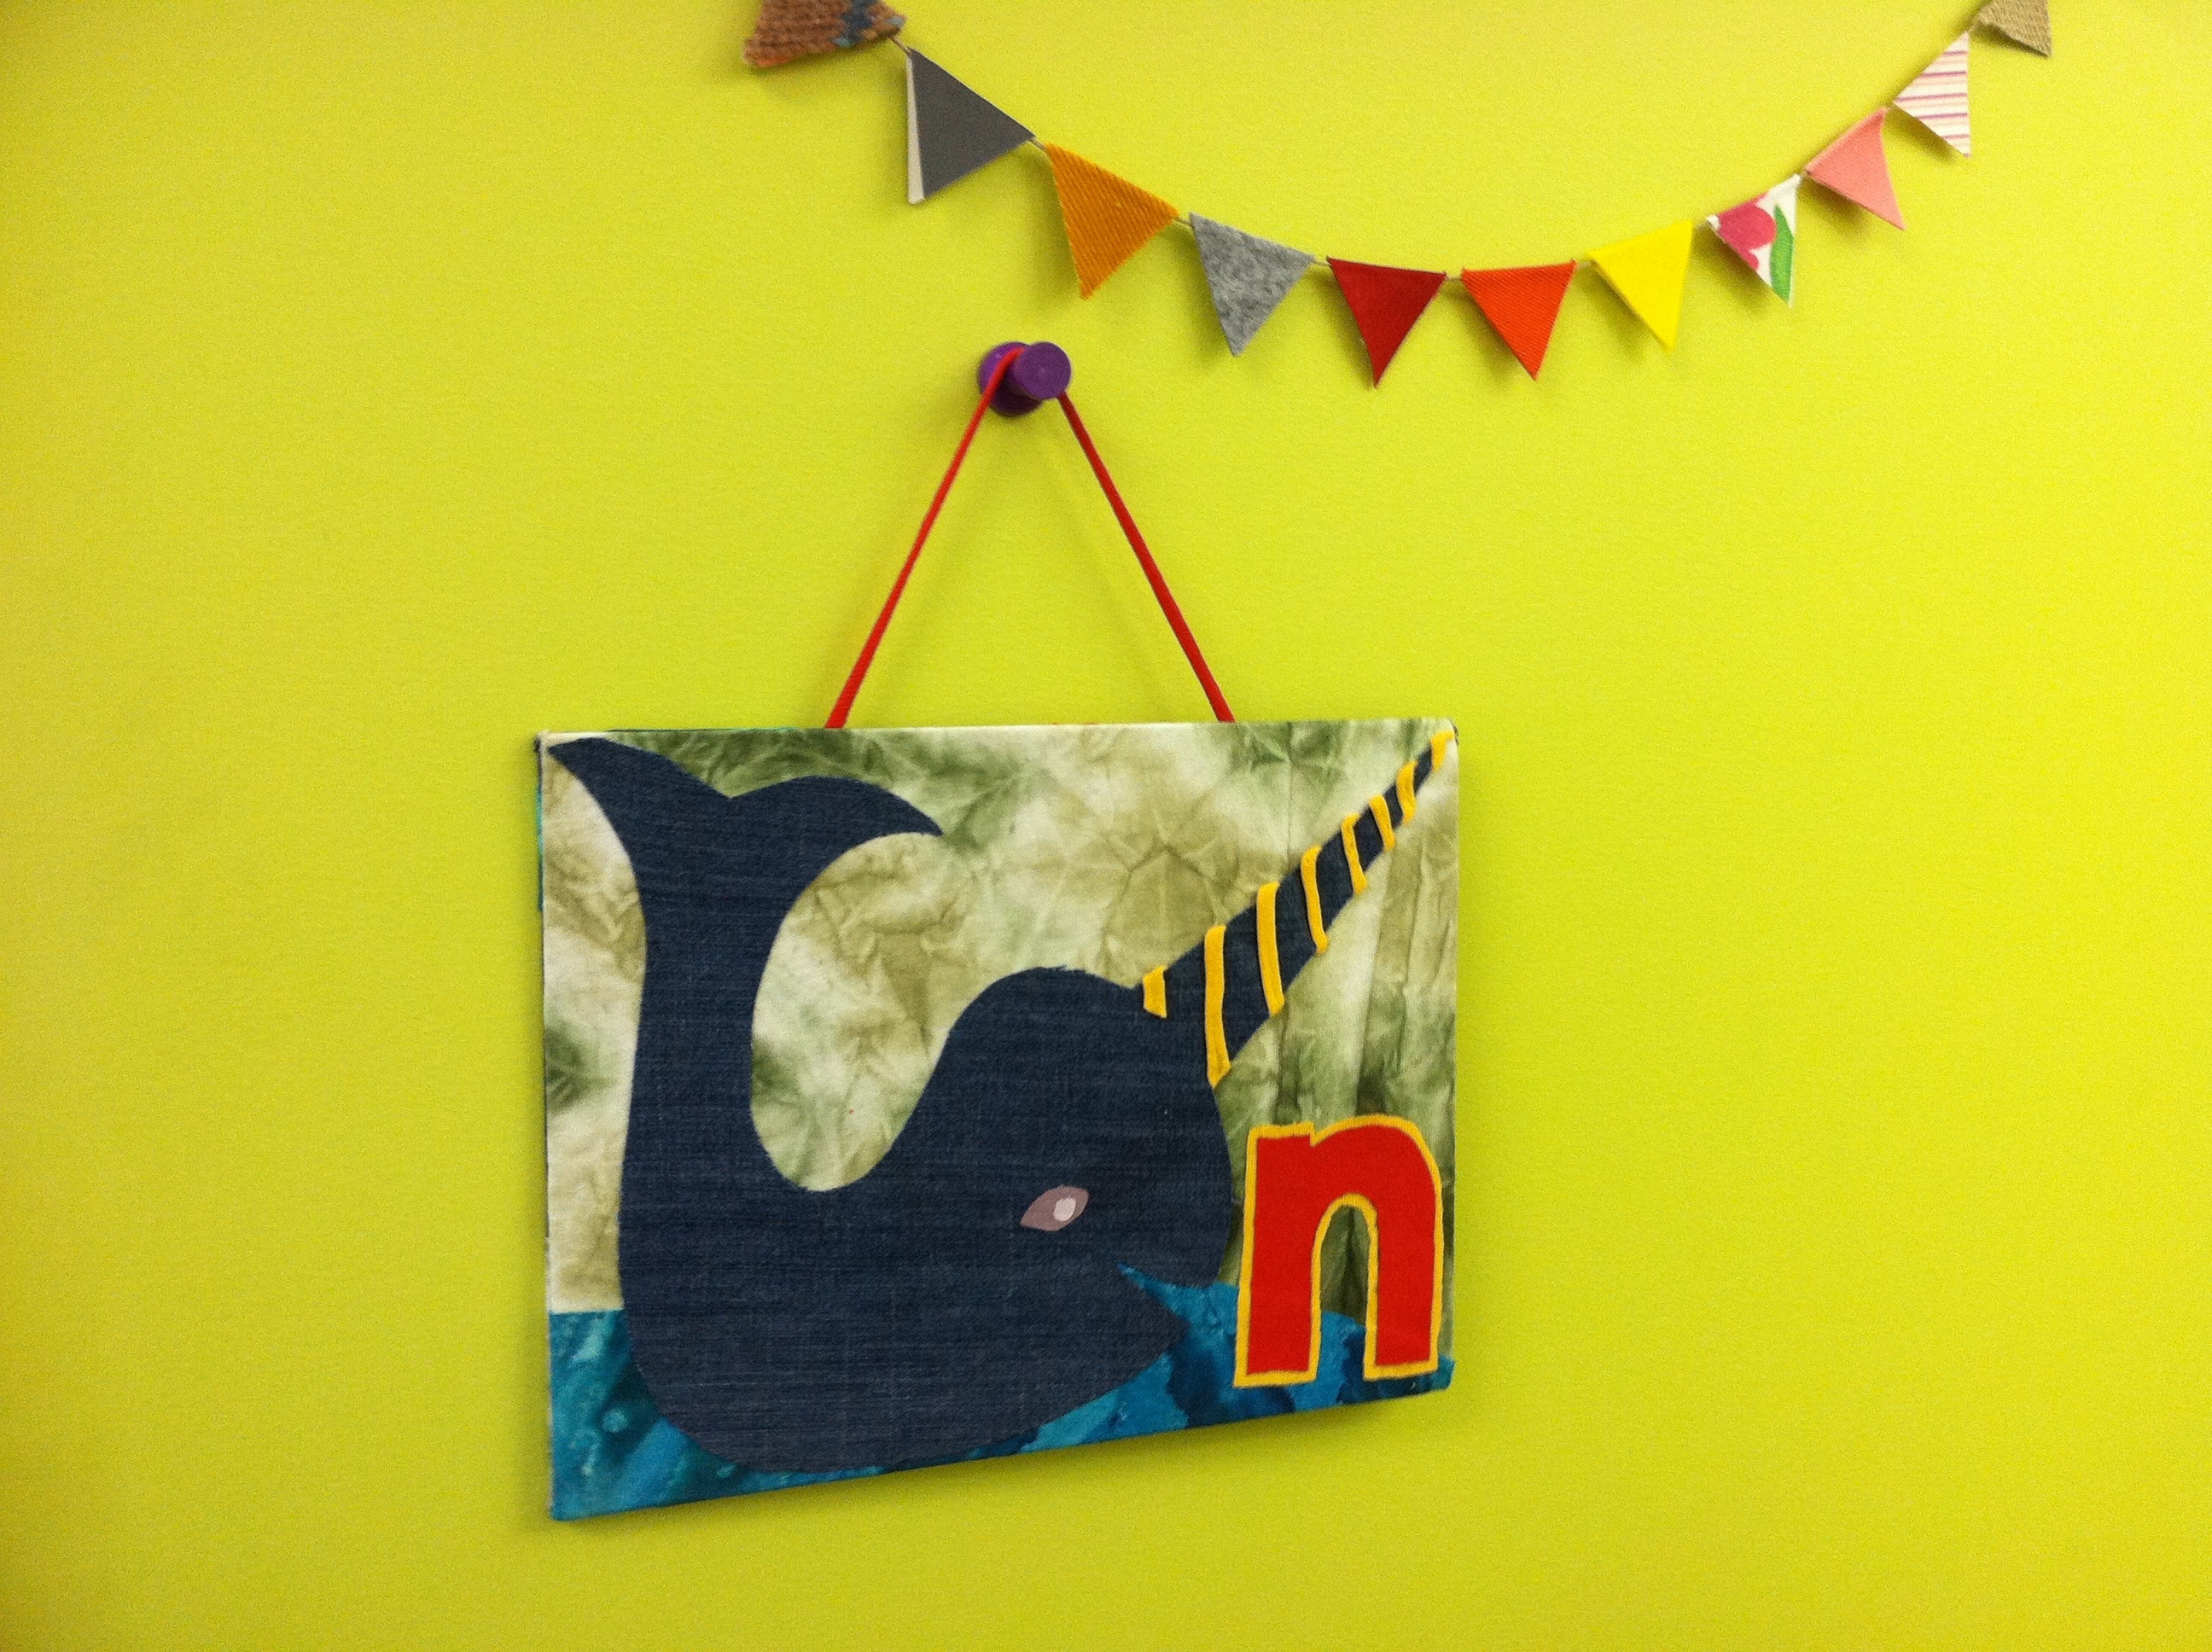
A is for Ant, B is for Beetle, C is for Cat.... Here's an easy way to turn old clothing scraps (in this case, T-shirts and jeans) into personalized decoration for a young (or young at heart) friend's bedroom wall or door. Whether you stick with the animal theme, or go with fruits and veggies (A is for Apple, B is for Broccoli, C is for Carrot), geography (A is for Australia, B is for Belgium, C is for China), or a more random selection of words (A is for Astronaut, B is for Bubbles, C is for Castle), part of the fun is brainstorming the image that will represent the recipient's initial. For me, N is for Narwhal was a shoo-in. N is for Newt came second. What animal would you choose for your name?

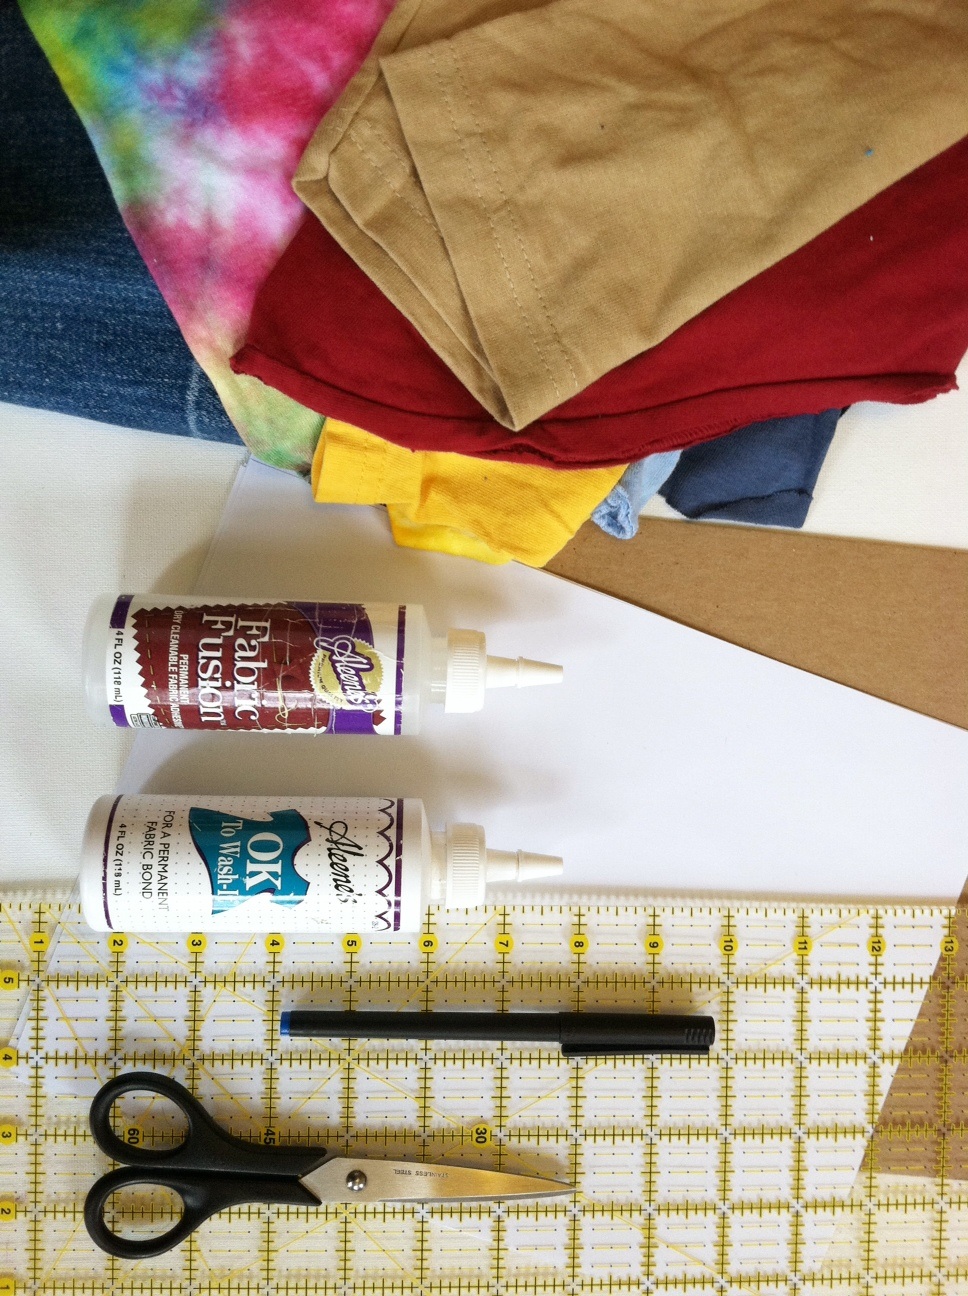
Materials:
-Paper
-Pen
or pencil
-Scissors
-Fabric scraps (old T-shirts and denim pieces)
-2 sheets 8 1/2" x 11" medium-weight cardboard (often used as stiffener in a flat parcel)
-Aleene's OK to Wash It
or Aleene's Fabric Fusion permanent fabric adhesive
-Ruler
-Fabric paints (optional, for additional embellishment)


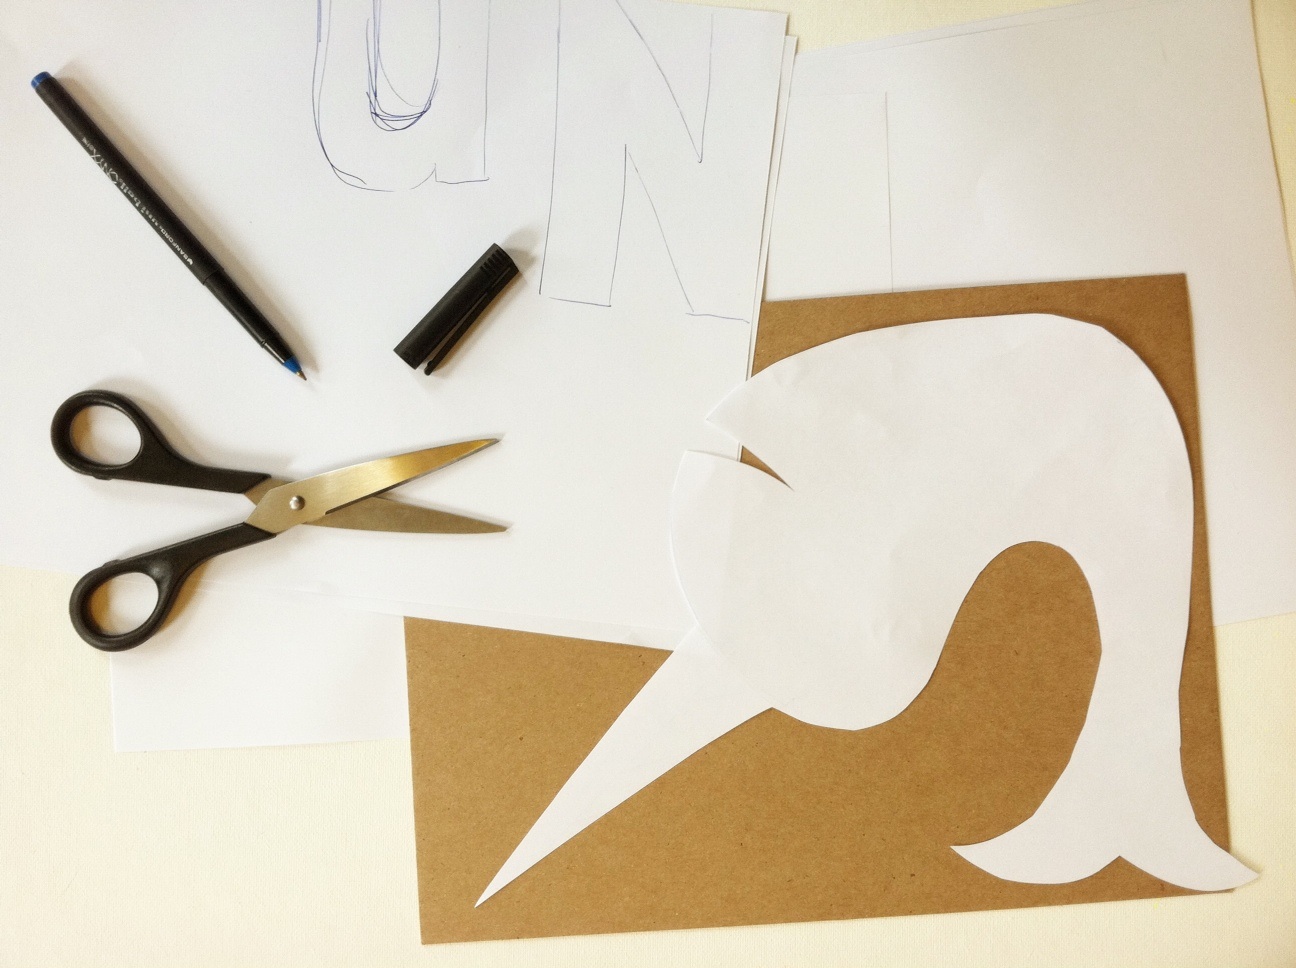
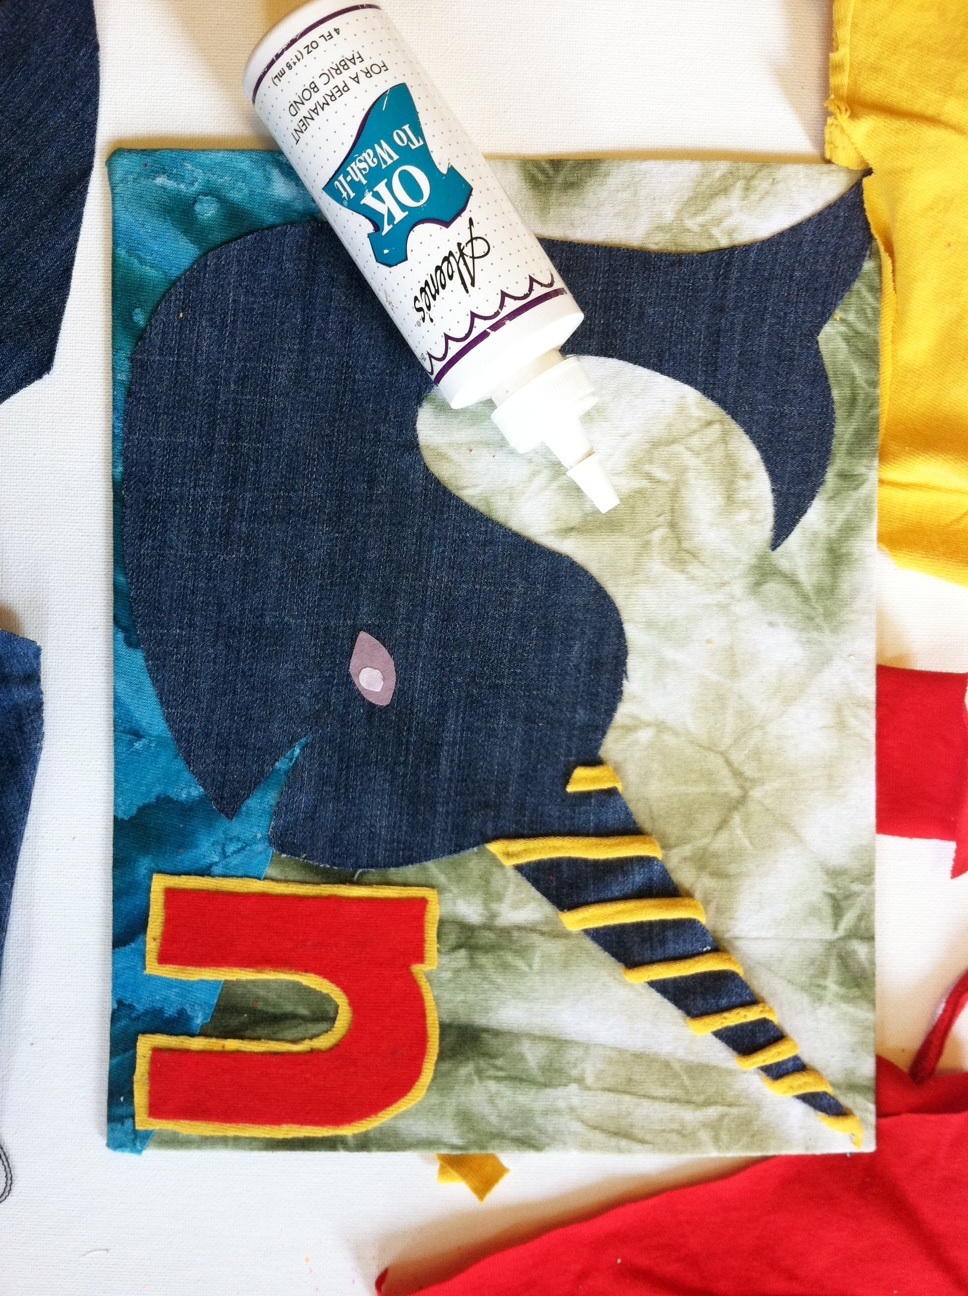
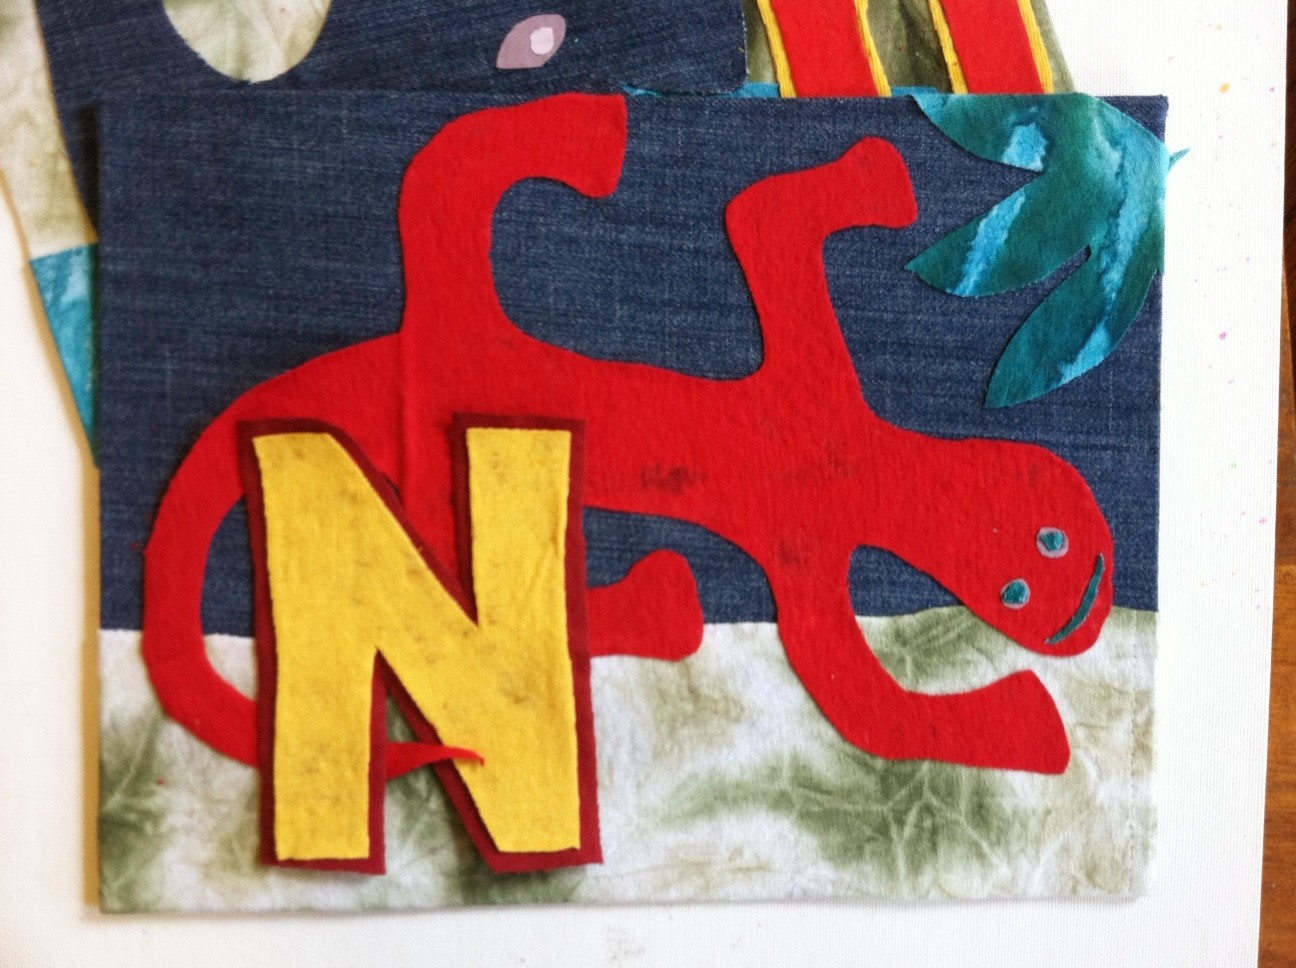
1. Select a first initial and then choose an animal (or two) with a name that also begins with the letter: I chose to start with N for Narwhal (that fabulous sea mammal that looks like it was crossed with a unicorn) and N for Newt (an orange salamander. Draw an outline of each animal and the capital and lowercase letter. Cut them out and arrange them on the cardboard to make sure they'll fit. Set them aside.


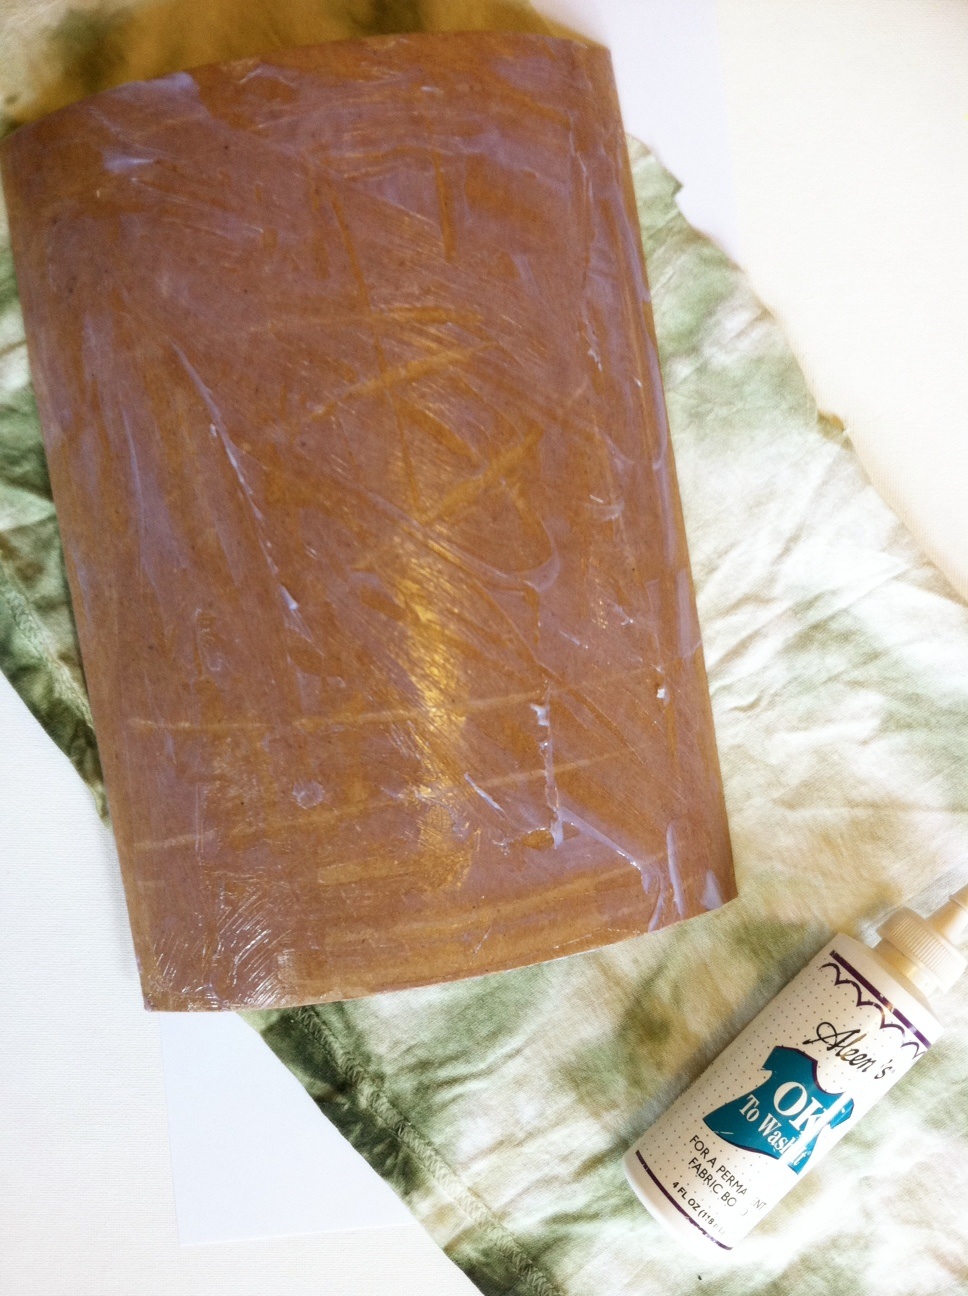
2. Spread fabric glue evenly over one side of one of the sheets of cardboard and press it onto fabric.


3. Fold and glue the edges to the back of the cardboard. (It's okay if the edges are messy -- they'll be covered up.)


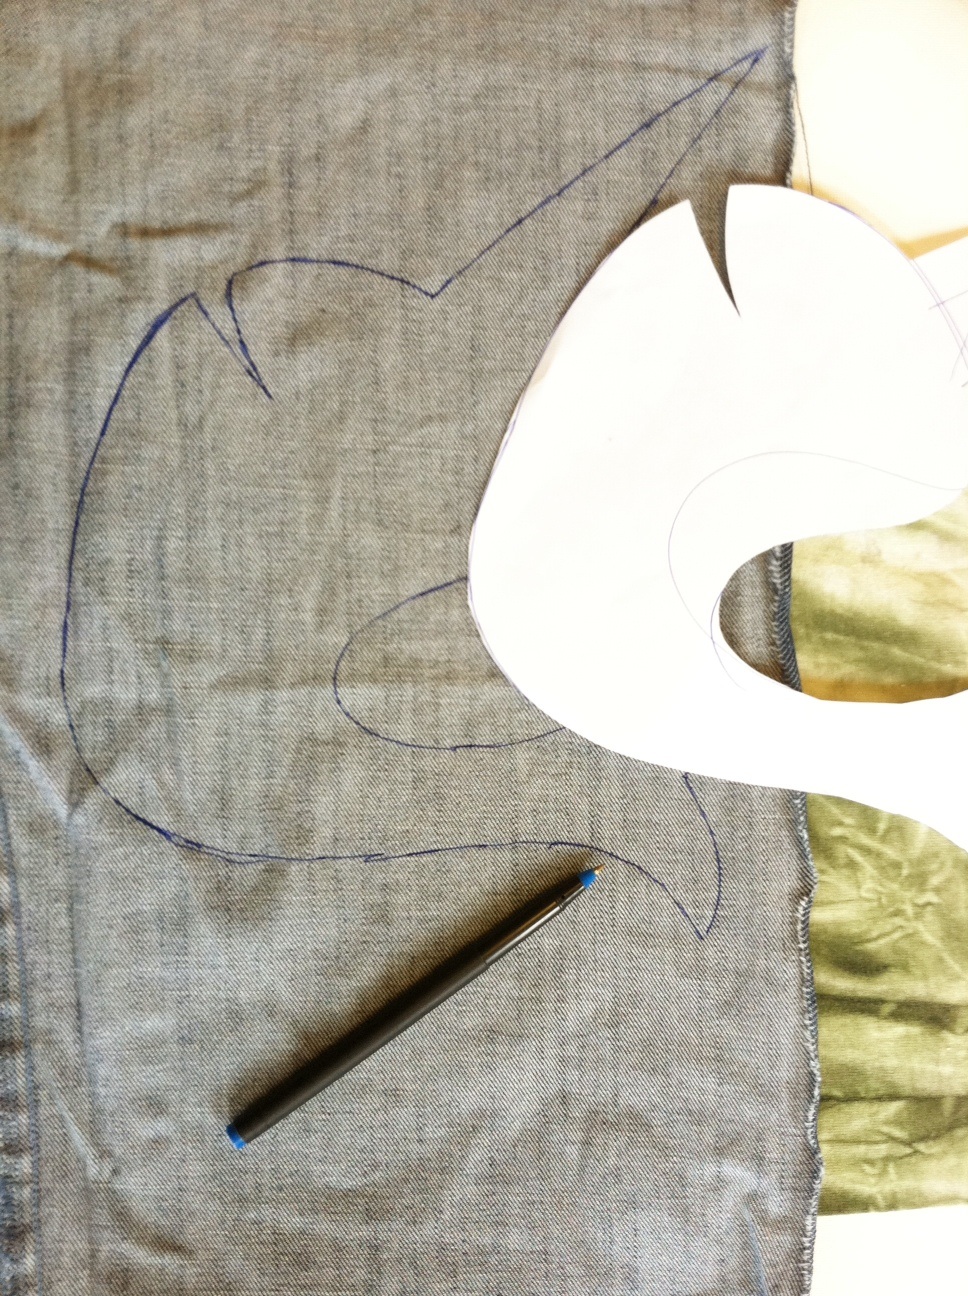
4. Trace one of the paper animal templates (in reverse) onto the wrong side of one of the fabric scraps. Repeat with different scraps with the letters and second animal.


5. Arrange and glue each of the elements onto the fabric-covered cardboard. Add background (like water!) and details (spiral on the horn, eyes!), making sure to layer the pieces appropriately. Let it dry and proceed to decorate the second piece of cardboard!


6. Cover the second piece of cardboard by following steps 1 and 2. Arrange and glue on the embellishments by following steps 4 and 5.


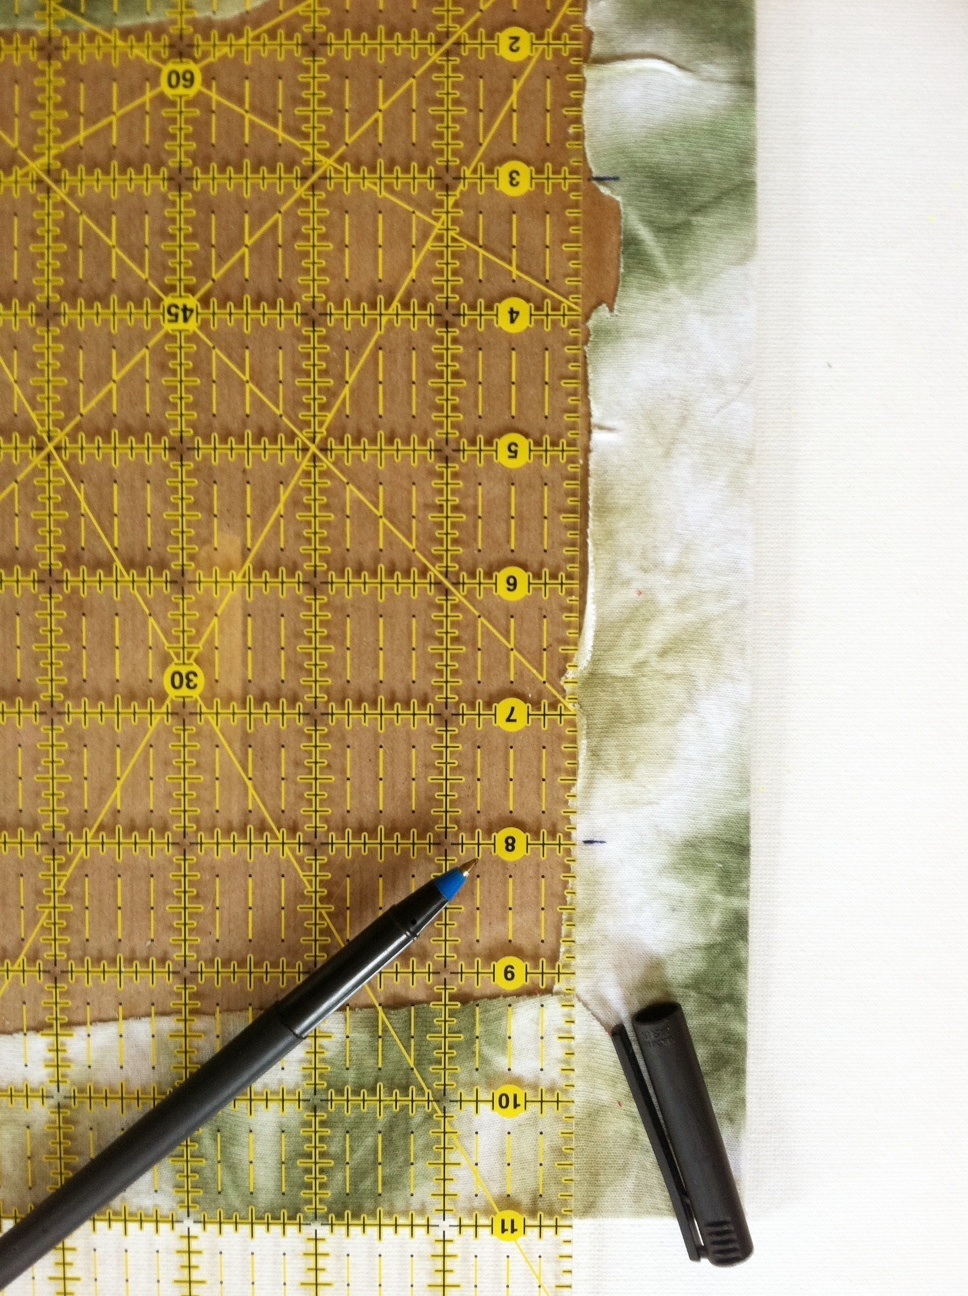
7. Flip one of the panels backside up and measure about 3" in from each side. Mark each point.


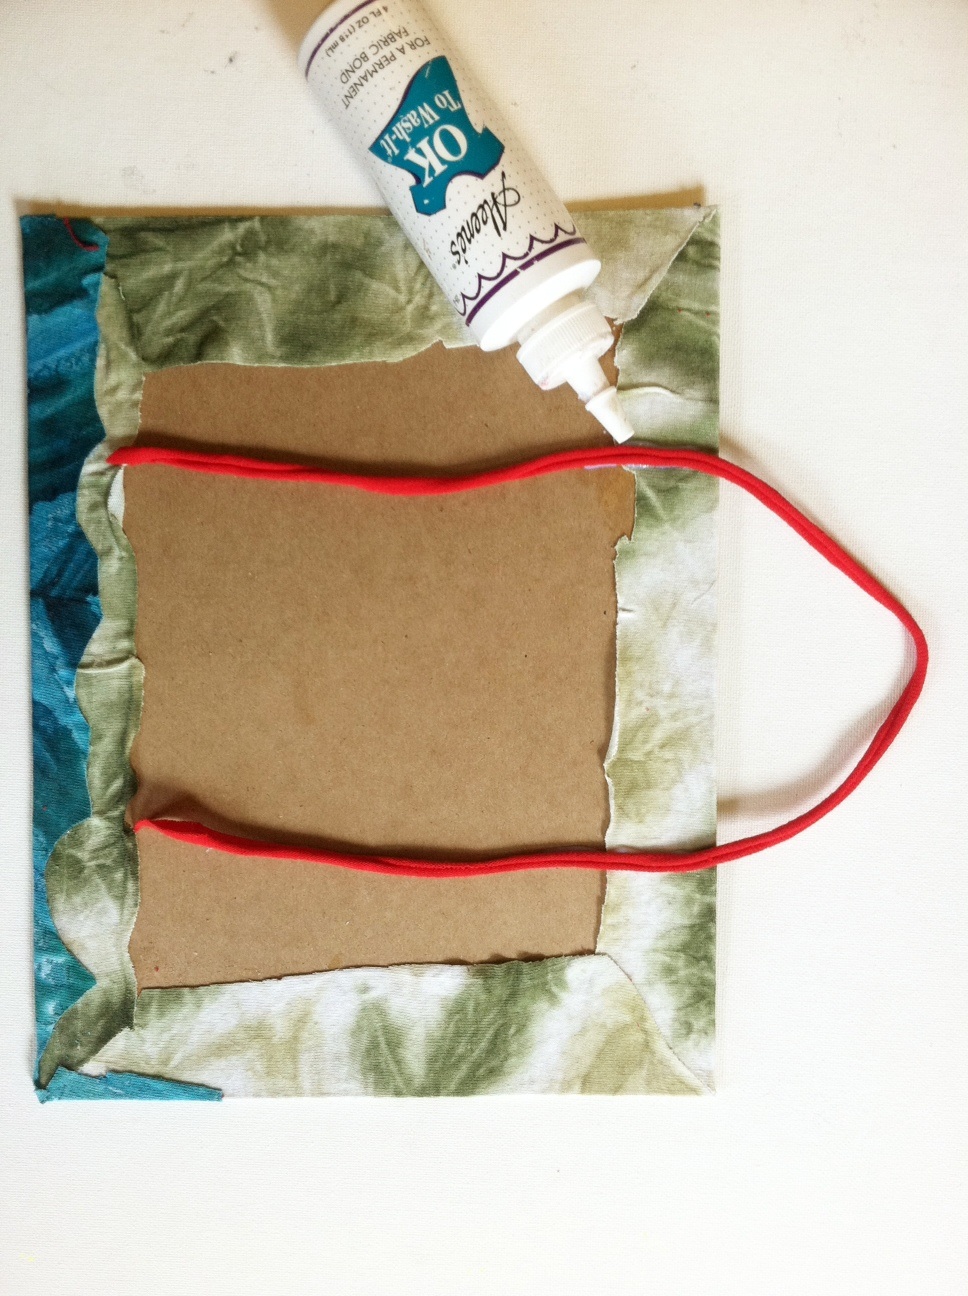
8. Squeeze fabric glue at each mark, and press the length of a T-shirt cord into each line of glue.


9. Then spread glue across the entire backside of one of the panels and press it firmly to the back of the other, sandwiching the hanging strap ends between them. (This tidily covers any messy work and makes the sign reversible, whether you prefer caps or lowercase -- or narwhals or newts.) Let it dry.


10. A, B, C, D, E, F, G...H, I, J, K, L, M, N is for Newt and Narwhal!

After it's completely dry, choose a side to display and hang it up!


Variations:
-If you're feeling ambitious, make multiple signs to spell out a person's name. Arrange them in a row, a column, or rectangle.
-If you're feeling really ambitious, make the whole alphabet, and line the edges of the room with A through Z animals!