DIY Rhinestone Bungee Bracelets
Monday, November 11, 2013 at 6:43 AMHOW TO MAKE: FAUX BEADED SNEAKERS
Wednesday, September 18, 2013 at 4:40 AMI know! Make FAUX BEADED SNEAKERS!
Five Fab Flower DIY Jewelry Projects
Monday, May 20, 2013 at 10:04 AMDIY Tie-Dye Flower Power Necklace
at 12:30 AMDIY Emerald City Necklace
Monday, March 18, 2013 at 12:30 AMMargot Potter for iLoveToCreate
We loved Oz the Great and Powerful and of course, it has inspired a lot of new design ideas here at Studio Madge. This necklace is made of chipboard, which is a surprisingly durable medium. I wouldn't recommend wearing this in the rain, but you can make it water resistant with a coat or two of Aleene's Spray Acrylic Sealer.
Use a ruler to mark green chipboard into triangles. These are 1.5" wide and 2" long. Cut triangles with sharp scissors. Mark and punch holes in top edges of triangles, I used my Crop-a-dile. Cut the back off of a vintage rhinestone earring, any green sparkly item will work here, even a button or an array of Tulip Glam-it-up crystals!

Tri-Collar Fabric Necklace Tutorial!
Friday, March 15, 2013 at 12:08 PMHow-to Make a DIY Collar Necklace
Monday, January 7, 2013 at 12:30 AMThis would look stunning on canvas, denim, linen...don't limit yourself to felt or to a black background. Change it up to suit your style, darling.
DIY Collar Necklace
Margot Potter for iLoveToCreate
Materials
Black felt (2 sheets)
Acrylic rhinestones in various sizes
2 black grommets
Black button with shank and flat top
1" segment silver plated chain
2 10mm silver plated jump rings
Aleene's Fabric Fusion peel and stick sheets
Aleene's Fabric Fusion glue
Aleene's repositionable Tacky Spray
Aleene's Glass and Bead adhesive
Template (4 copies)
Tools
Fabric scissors
2 pairs chain nose pliers
Tracing pencil in white
Hand draw a Peter Pan style collar shape to fit your neck. It needs to meet in the center and wrap around to back in a crescent shape as in picture. Make four copies of template. Spray back with adhesive, position, cut out. You'll need two facing left and two facing right! Remove templates carefully.
Dying and Burning Wooden Beads
Thursday, August 30, 2012 at 3:55 PM

A few weeks ago I was cruising the web and came across a great post on Natalme about wood burning. I have a soldering iron and wooden beads so I thought I'd give it a whirl. I busted out some fabric dye for a pop of color.

I whipped up a batch of Tulip Custom Color Dye in Wicked and popped in my wooden bits plus a few stained T-shirts and waited. I love all the color options you have with this dye kit.
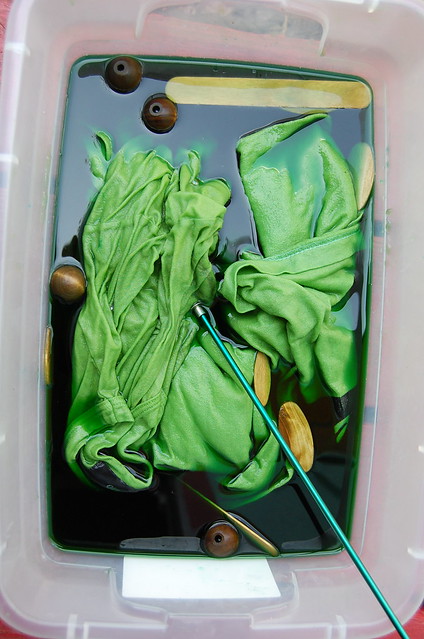
I gotta tell you at first I was pretty sure the beads did not dye. They just looked dark in the water.
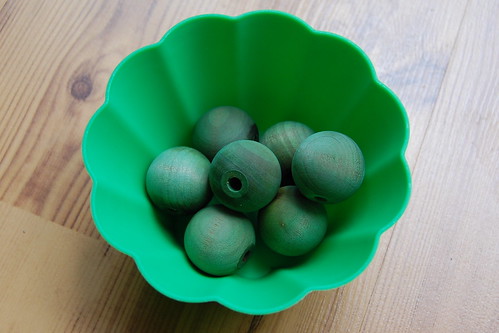
However, when the beads dried in the sun the green color started showing through.
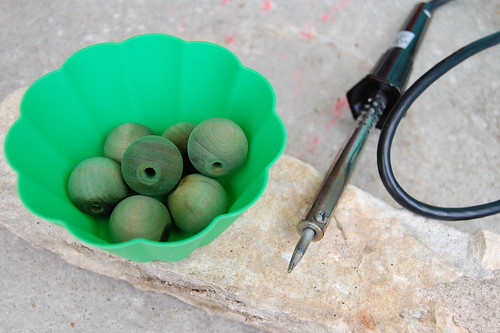
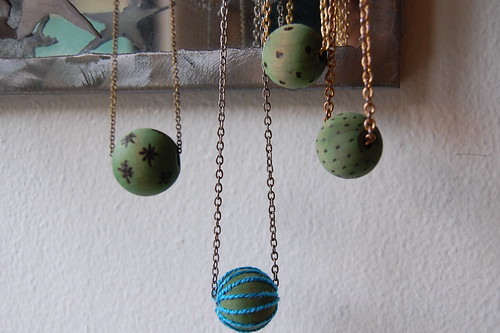
Next, time to bust out the soldering iron. I tried polka dots, stars, mini dots and more.
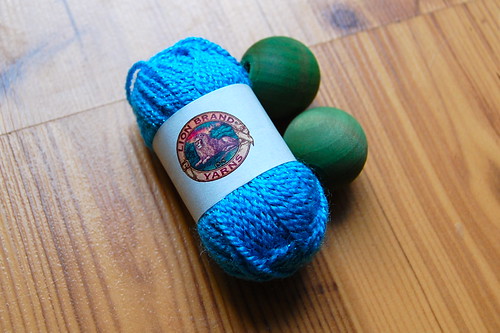
I tried a few beads wrapped with Bon Bon yarn too!


I want to dye some other colors and make a big chunky Wilma Flinestone necklace. Whatcha think? Not too bad for a project I thought was going to be a total craft fail. Now I'm thinking of all the wood things I can dye and burn!