Showing posts with label fashion DIY. Show all posts

Sweatshirt Hack: Sparkle Sleeves

Friday, December 6, 2013
Tis the season of sweatshirts. They are warm and comfy, but lordy, they look so frumpy. I love that I've seen other chicas take a pair of scissors to them to alter them in a more fashionable way. I wanted to get in on the fun, but I needed to find a way to make my design appear appealing for my plus-size bod. Here's what I came up with!
Read more »

60+ Fun Fashion DIYs from the iLoveToCreate blog

Monday, November 25, 2013
Looking for a fun fashion DIY?  Look no further than our blog for some pretty DIYs to help spice up your wardrobe!  These are just 60+ of the wonderful DIYs from our wonderful team of DIY bloggers!  Leave a comment below and let us know your favorite -or- tell us what Fashion DIY you would like to see!  OK, on with the show!

HOW TO MAKE: FAUX BEADED SNEAKERS

Wednesday, September 18, 2013

 
What's going on people! It's already time for cinnamon-pumpkin candles, veggie soups, football and lot's of Fall and Halloween crafting. I always try to have something in my daily outfit that POPS and the fact is some day's all I want to wear is a cute pair of skinny leg blue jeans and white v neck shirt. What is one to do to make their outfit POP at this point? 

 I know! Make FAUX BEADED SNEAKERS! 

Read more »

Plastic Animal Necklaces DIY

Monday, August 19, 2013
I love making jewelry and accessories, so the plastic animal craft trend inspired me to incorporate cute animal heads into my latest project!  Some folks may think these are a tad bit creepy, but I think they turned out really cute and cool.  They are definite conversation starters for sure.  You can make them in a few simple steps...let me show you how!

Read more »

How to make Tie Dye Rainbow Socks

Tuesday, February 26, 2013
Do you love color as much as we do?  Then you'll want to make a pair of your very own Tulip One-Step Tie Dye socks (or leggings as some may call them).  We are so ecstatic how these tie dye socks turned out. They were created by superstar designer Lauri Eaton.  So fun and truly statement making for your wardrobe! Lauri shows you how to make them below...


What you need:

Tulip One-Step Tie Dye (Neon kit for rainbow socks; Vibrant kit for green, blue, and purple pair)
– Long 100% cotton socks (we got ours from Dharma Trading Company)
– Surface Cover

– Paper Towels
– Drying rack (optional)

Before you begin:  Prepare your work area and wet your socks and squeeze out any excess water.
Lauri started off making the blue, green, and purple socks.  For these socks, you will fold them in half, then fold them again to make four layers.
Section the socks into three sections using the zip ties.  Pull the zip ties as tight as you possibly can for best tie dye results. 
 Fill your tie dye bottles with water and shake well. Now place the socks on a drying rack and squeeze the 3 tie dye colors on each section.  Make sure to not squeeze all around the zip ties.  The colors will seep toward the zip tie as it sets, so there's no need to stress about getting every teeny tiny white area!
This is what the dyed socks looked like before Lauri covered them to set.  She let them set for 10 hours!  That's why the colors turned out so intense.
For the rainbow tie dye socks, Lauri folded them in half, then dyed them in rainbow color order.  Notice there's a paper towel underneath the rack to catch the dripping dye.  Sometimes the paper towels turn out so pretty!


We love how the socks turned out and now want to make more!  Do you think you'd like to rock some tie dye socks?  They'd even be fun for just around the house!
Love tie dye? Check out these other fun, vibrant project ideas!!

Pretty Payless Shoe DIY

Tuesday, July 12, 2011


We must say we were quite enamored by these pretty high heeled sandles in our office! Lauren Binci, our Product Engineering Specialist here at iLoveToCreate created them and as you can see she's just as talented of a crafter as she is a product engineer!

Here's how she created the shoes from start to finish!


Lauren started off with a plain pair of shoes purchased from our local Payless Shoe Store!


She then added pretty flower accents and doodles all over the shoe using Tulip® Fabric Markers.


After she was done with the markers, she added metallic and shimmery dots using Tulip® Beads in a Bottle™ Paint.


Lauren then added some plum ribbon for laces! Here's a detail of the final product!

Great job Lauren! You did a fabulous job!


Visit us on Facebook!
Craft on!Click here for today's daily giveaway!

New iLTC Blogger: Alisa Burke!

Thursday, August 12, 2010

tunic
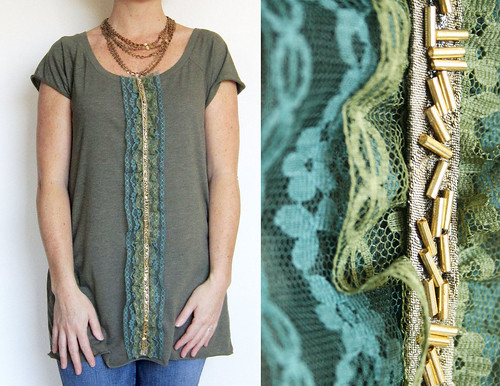
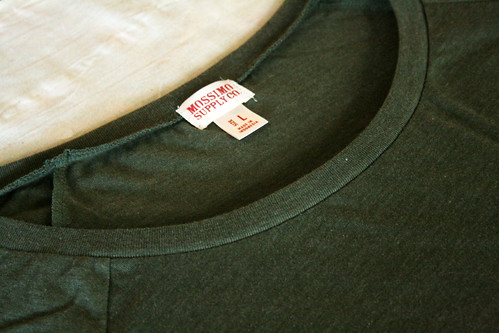
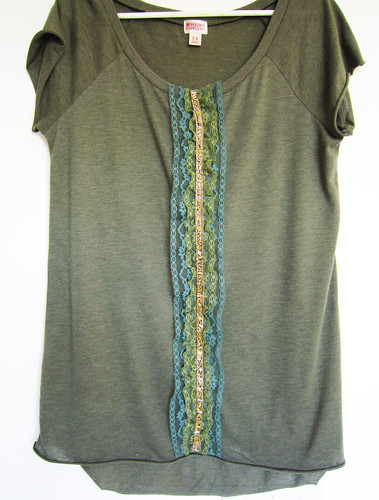
I love tunic style tops so when I found a plain tunic inspired t-shirt at Target, I knew that it would be perfect to alter.

IMG_2233
I purchased a larger size than normal- for a little extra room- tunics can't be tight!


IMG_2232
I just read that lace is everywhere in fall 2010 fashion so I decided to use a little lace and beads to add to the shirt.


IMG_2235
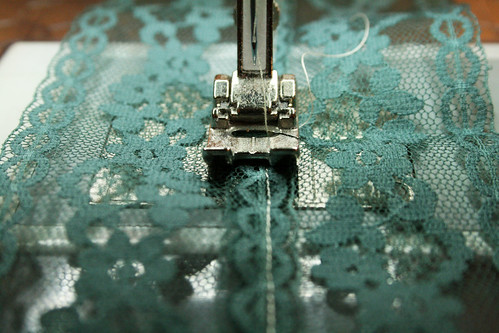
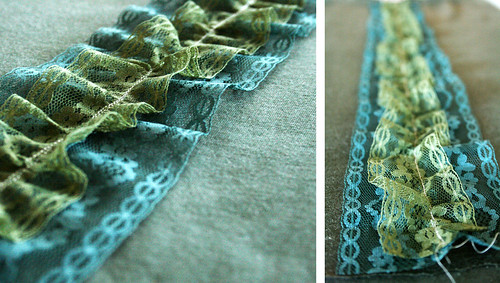
I picked out a two different shades of green lace.


IMG_2236
I sewed two pieces of dark green lace together.


IMG_2237
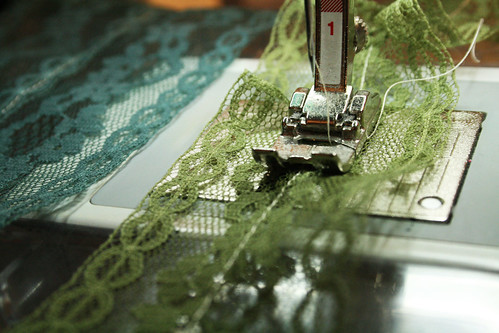
Then I used a piece of lighter green lace and turned it into a ruffle


IMG_2238
and sewed it- down the middle- to the top of the dark green lace.

fd


cv
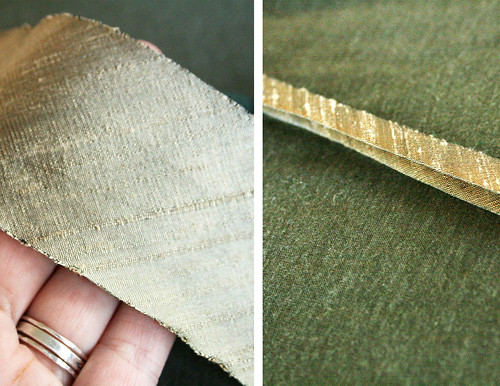
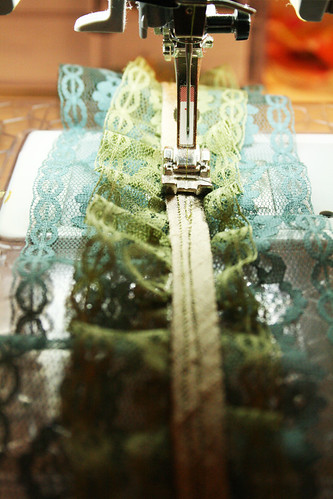
Next I used a a piece of silk ribbon that I folded up

IMG_2249
and sewed it to the top of the lace.


IMG_2252
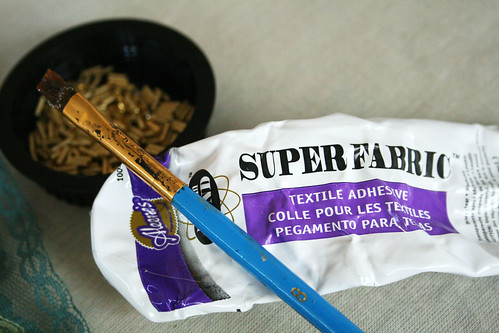
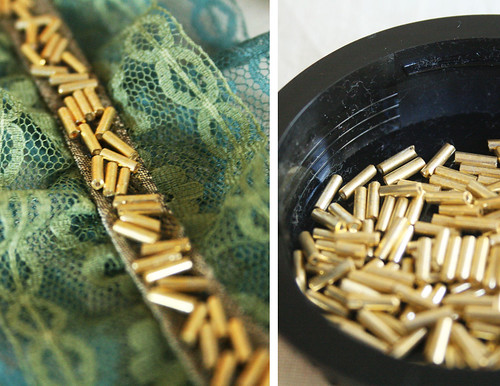
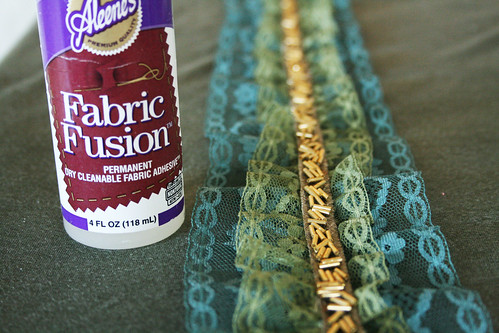
I knew that I wanted to add gold beads for a little sparkle but I just didn't have the patience or time to hand sew them all on..insert Aileen's Super Fabric textile adhesive here. I love this stuff- heavy duty, dries clear and is great to use with embellishments.

gh
I added little gold beads down the surface of the ribbon.


IMG_2257
Last, I used Fabric Fusion (fabric glue) to adhere the lace and beads down the very middle of the shirt and let dry.


IMG_0269

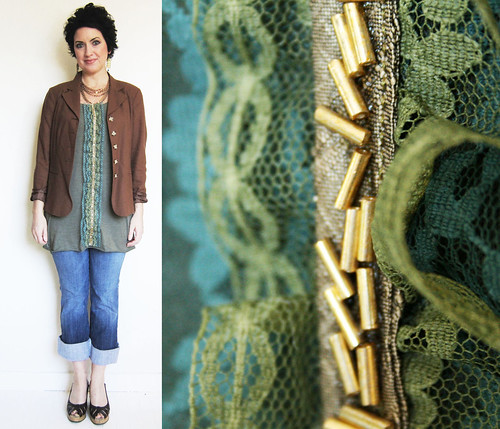
And there you have it- a lightweight and SIMPLE tunic that can be worn by itself....

bl

or under a jacket!

Puffy paint helped launch designer's career!

Wednesday, August 11, 2010

I came across this article on Danielle Pettee - she uses puffy paint to create a faux embroidery-look. This piece above is from her early days, now she has her perfected her technique to include dye and fabric paint.


Visit her site, DanielleTheDressmaker.com, for more information and inspiration!

Add a faux leather sheen with Tulip® 3D Fashion Paint™ !

Monday, August 9, 2010
We absolutely love seeing people using our products in new and different ways, so when we saw this tutorial from Eat Really Super Fast, we were super excited.

She turned a pair of plain shorts into painted leather-look shorts (after being inspired by these runway fashions). Ok, would this be considered pleather? Well, kinda/sorta, but this look doesn't look as sticky, more a cool vinyl sheen! All she did was brush on the 3D Fashion Paint™ (3 coats) with a foam brush onto the fabric.
And here she is modeling her creation! It's so cool when people create a project and also show how to coordinate it into their outfit. It really helps me see how I can incorporate this look into my wardrobe.


Check out her other amazing tutorials including this cool triangle print shirt onthe Eat Really Super Fast blog! Her dreamlike photos are a must-see as well!