One of the first things I want to do this year is clean up my room and bring in new, positive energy. Craftyness is a good trait to have in this area! These are some word pillows I made to remind myself to always word hard and play nice! And guess what? I made them from ONE pillowcase that I found in our laundry cabinet!
Supplies:Assorted scrap fabric pieces
Scissors
2 packages of
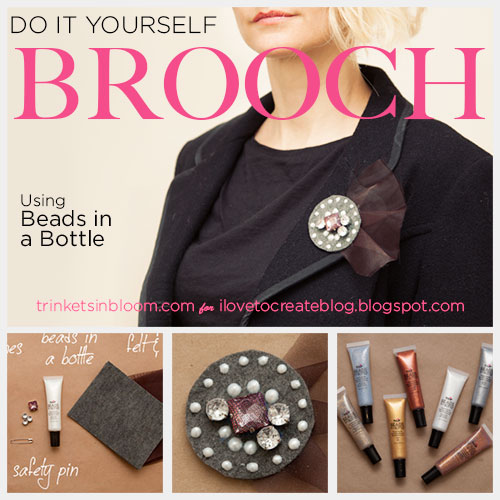
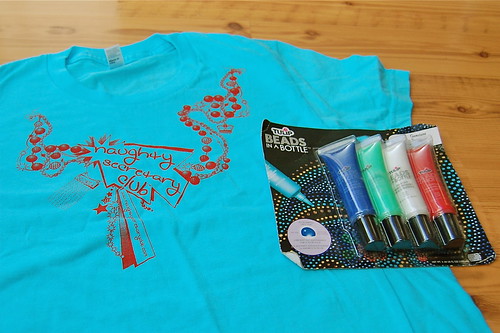
Aleene's® Fabric Fusion® Peel and Stick Sheets™ Tulip® Beads in a Bottle™ Paint Fiberfill stuffing
Open one package of the sticky sheets and cut them in half. You can scan fonts from a computer program, but I just cut out my letters freehand. FLIP the sheet over so your letter is cut from the back, this is very important, I found out. My mom helped me figure this part out, it has to do with the way the sticky sheets come off, trust me, do it!
Draw and cut out your letters for your words.
Here are the words for my first pillow!
Peel off the top protective sheet from one letter at a time and place the fabric, flat on top, design side up. The tape is really sticky, so try not to touch it! Once all your letters are covered with fabric, set them aside.
Fold the pillowcase in half, widthwise, and cut up the side.
This will give you two casings for pillows!
Peel off the protective backs from each letter and place them on the pillow fronts. Peel and stick, so simple and not messy at all!
Use the Beads in a Bottle to add dots all around the edges of each letter. This will pull the design together and seal down any raw edges of your letters. I like the gold glitter best! You can also use Tulip 3D paint or fabric paint. Let dry for an hour!
I ironed a hem on the inside seams and cut more strips of the sticky sheets and pressed them in place. Fill the pillows with the fiberfill, remove the backing and press in place to seal. They are now permanent and washable!
And here is the finished result! Cute, no???
Please LIKE me on Facebook! I have new ideas everyday!Visit us on Facebook!Craft on!