Showing posts with label t-shirt project. Show all posts

"A is for Animal" Wall Decor!

Tuesday, February 26, 2013
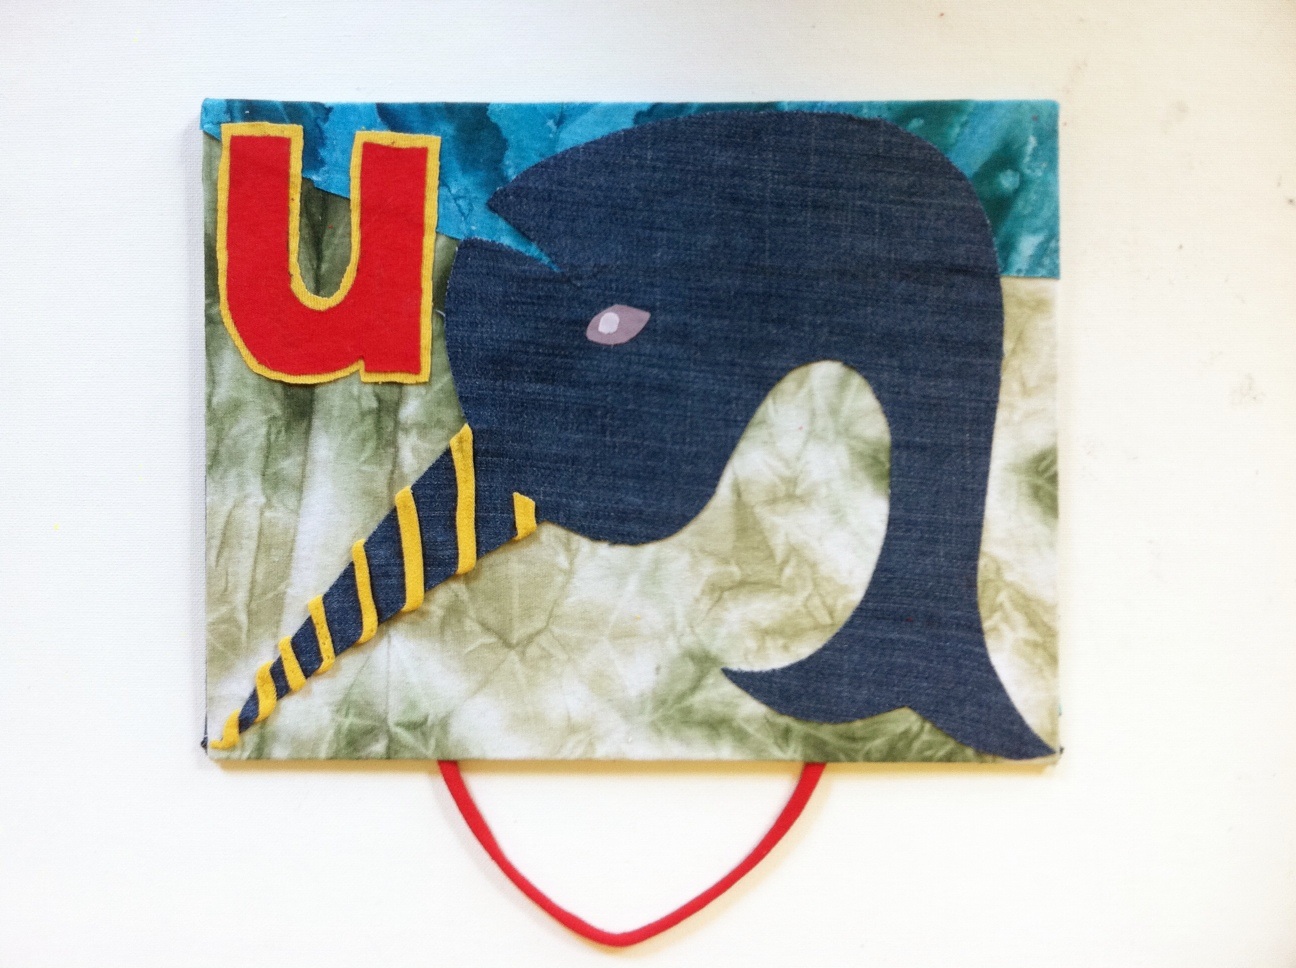
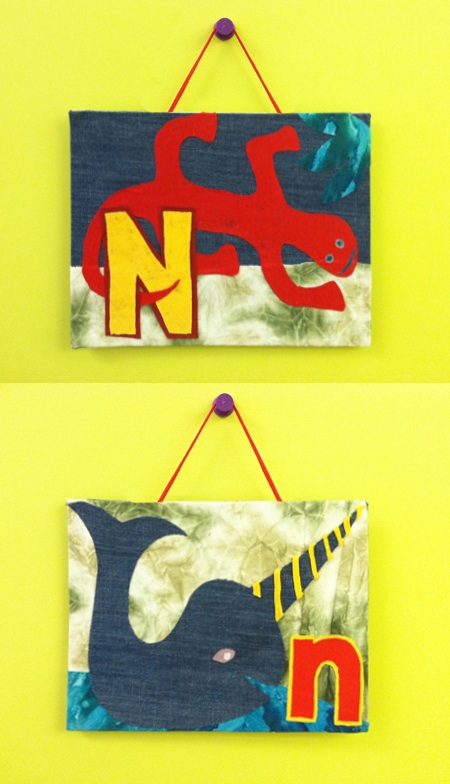
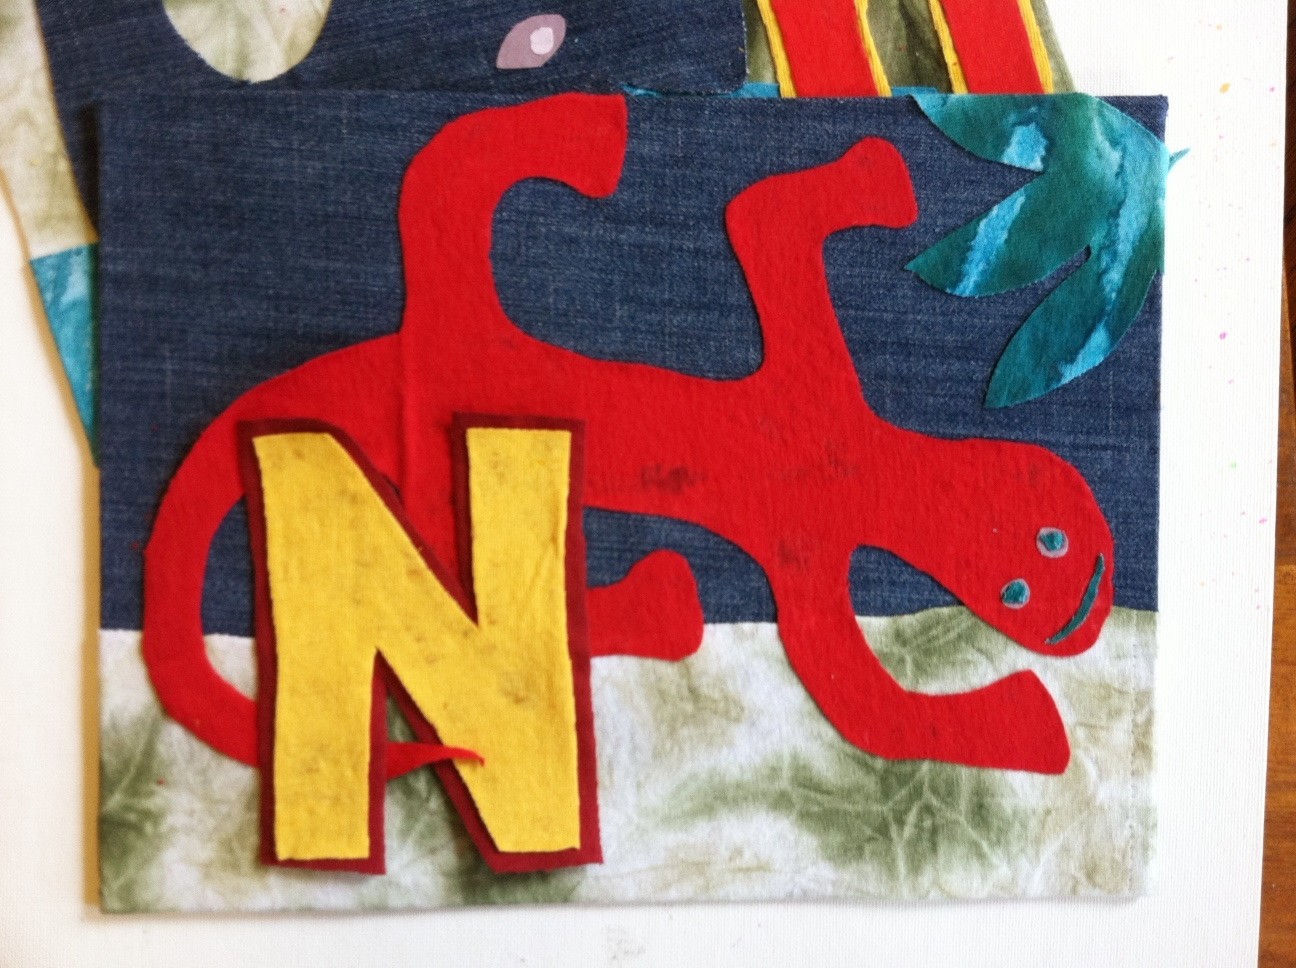
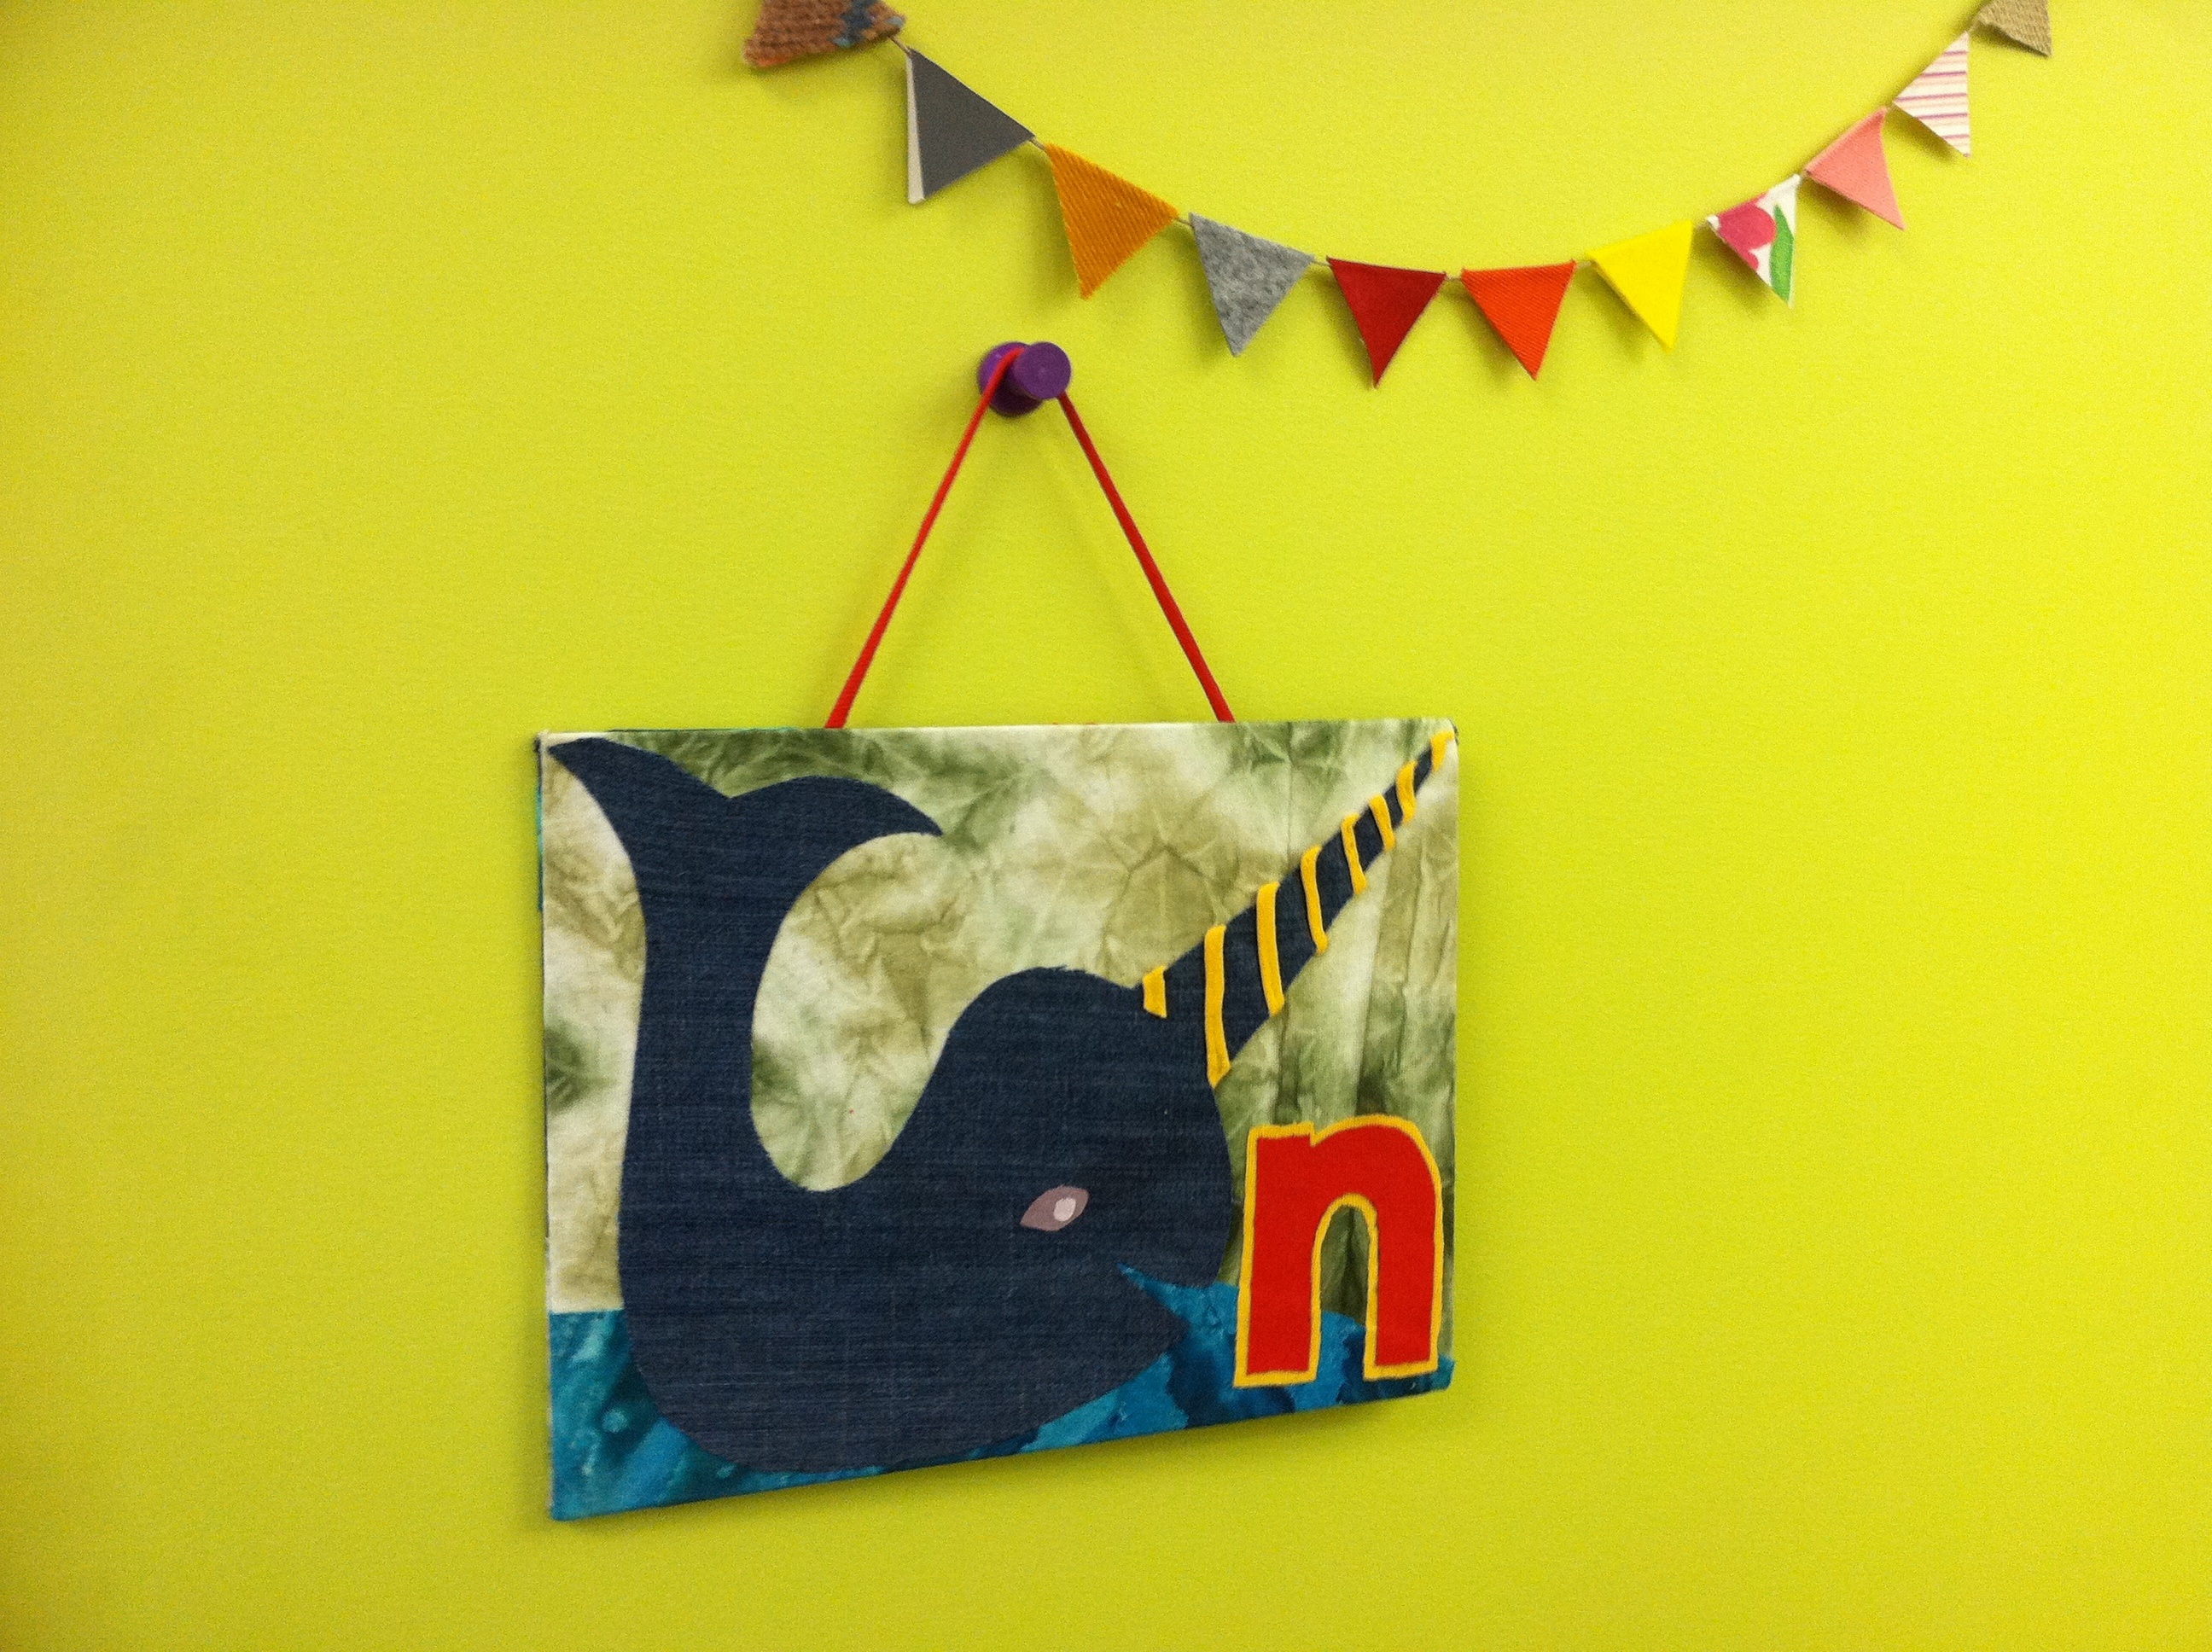
A is for Ant, B is for Beetle, C is for Cat.... Here's an easy way to turn old clothing scraps (in this case, T-shirts and jeans) into personalized decoration for a young (or young at heart) friend's bedroom wall or door. Whether you stick with the animal theme, or go with fruits and veggies (A is for Apple, B is for Broccoli, C is for Carrot), geography (A is for Australia, B is for Belgium, C is for China), or a more random selection of words (A is for Astronaut, B is for Bubbles, C is for Castle), part of the fun is brainstorming the image that will represent the recipient's initial. For me, N is for Narwhal was a shoo-in. N is for Newt came second. What animal would you choose for your name?

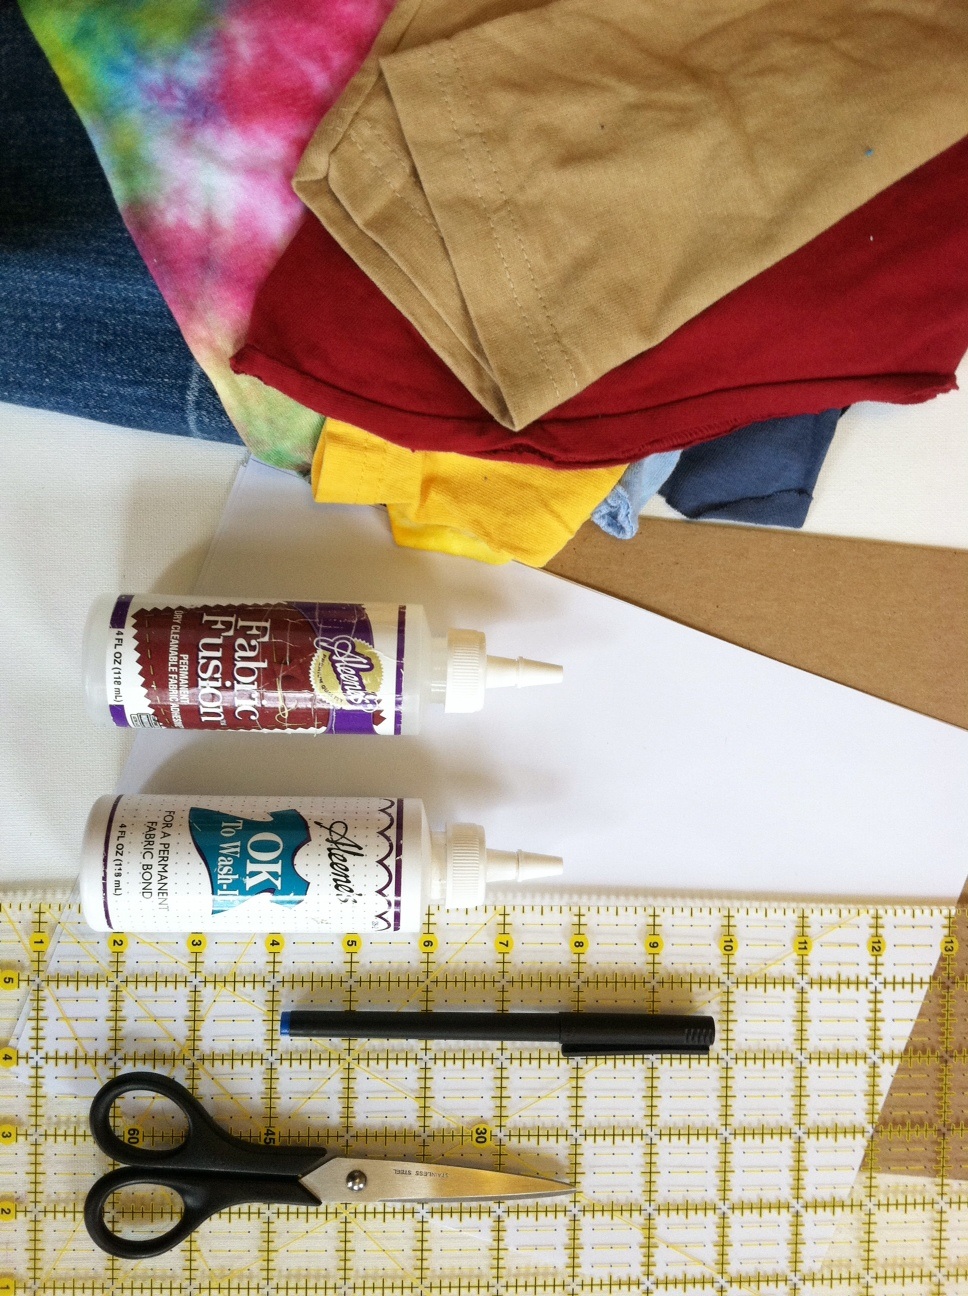
Materials:
-Paper
-Pen
or pencil
-Scissors
-Fabric scraps (old T-shirts and denim pieces)
-2 sheets 8 1/2" x 11" medium-weight cardboard (often used as stiffener in a flat parcel)
-Aleene's OK to Wash It
or Aleene's Fabric Fusion permanent fabric adhesive
-Ruler
-Fabric paints (optional, for additional embellishment)


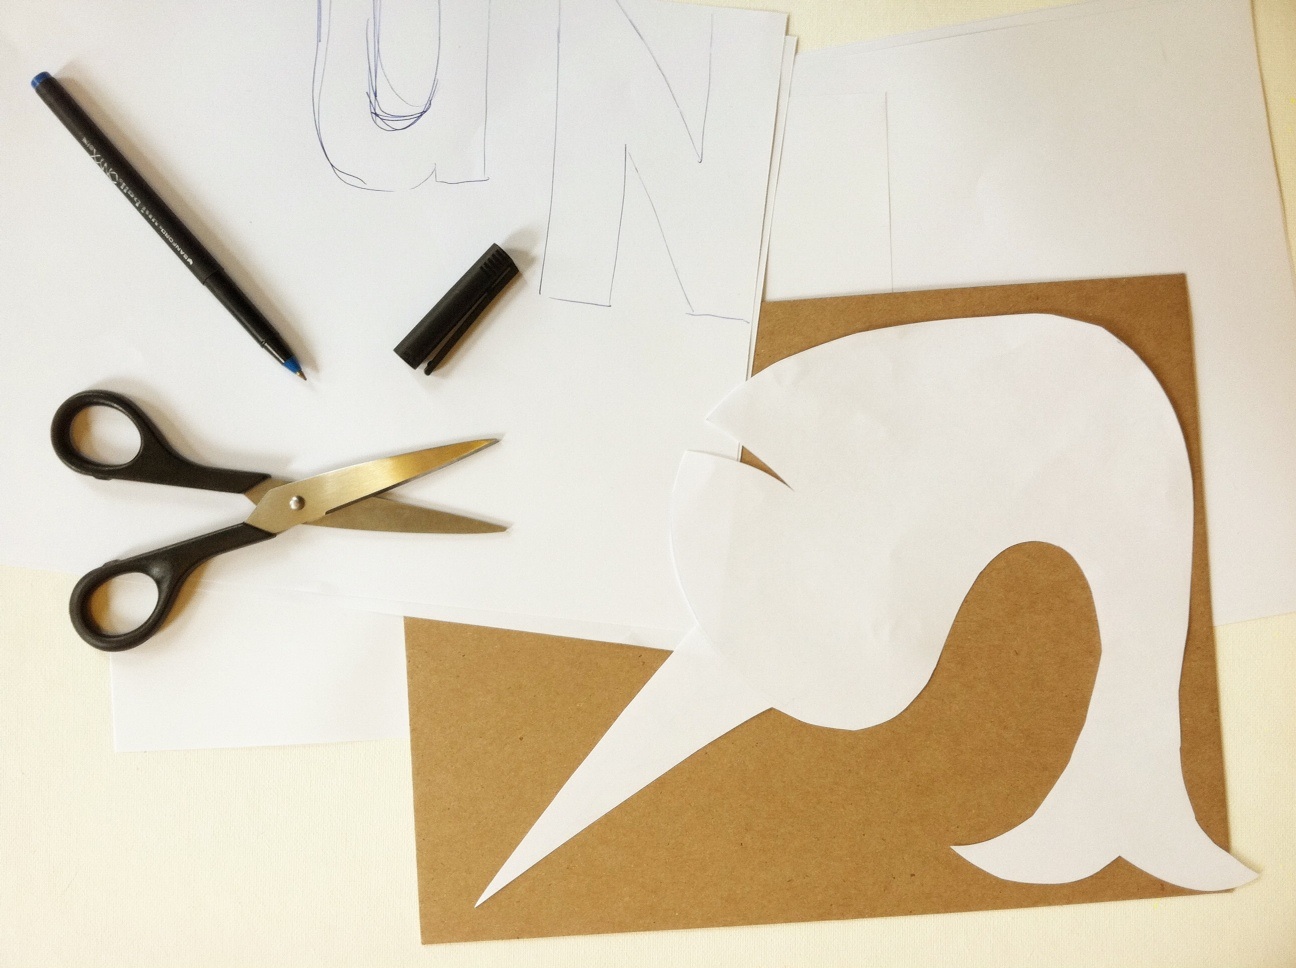
1. Select a first initial and then choose an animal (or two) with a name that also begins with the letter: I chose to start with N for Narwhal (that fabulous sea mammal that looks like it was crossed with a unicorn) and N for Newt (an orange salamander. Draw an outline of each animal and the capital and lowercase letter. Cut them out and arrange them on the cardboard to make sure they'll fit. Set them aside.

2. Spread fabric glue evenly over one side of one of the sheets of cardboard and press it onto fabric.
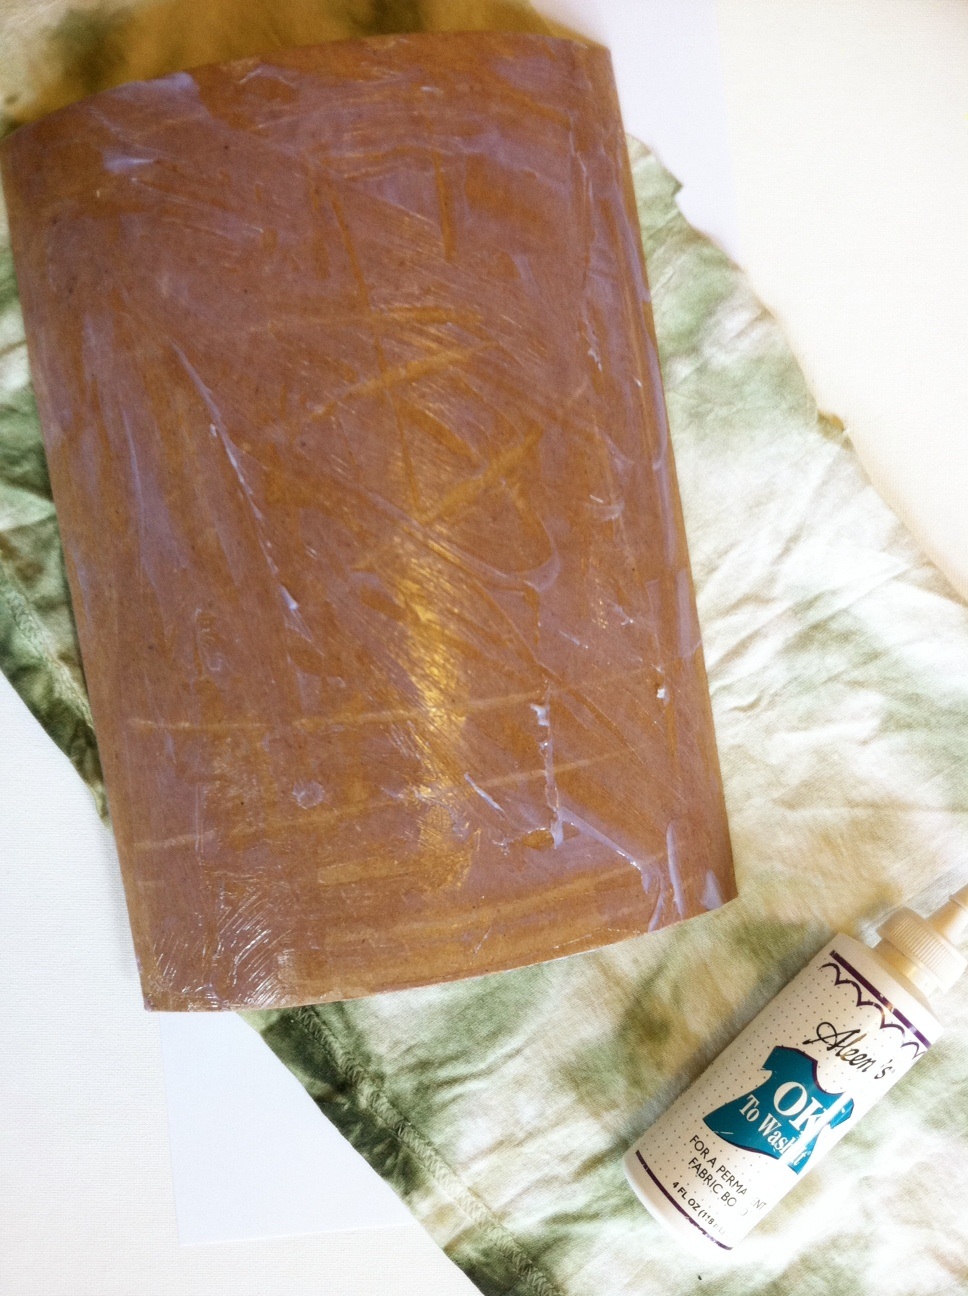

3. Fold and glue the edges to the back of the cardboard. (It's okay if the edges are messy -- they'll be covered up.)


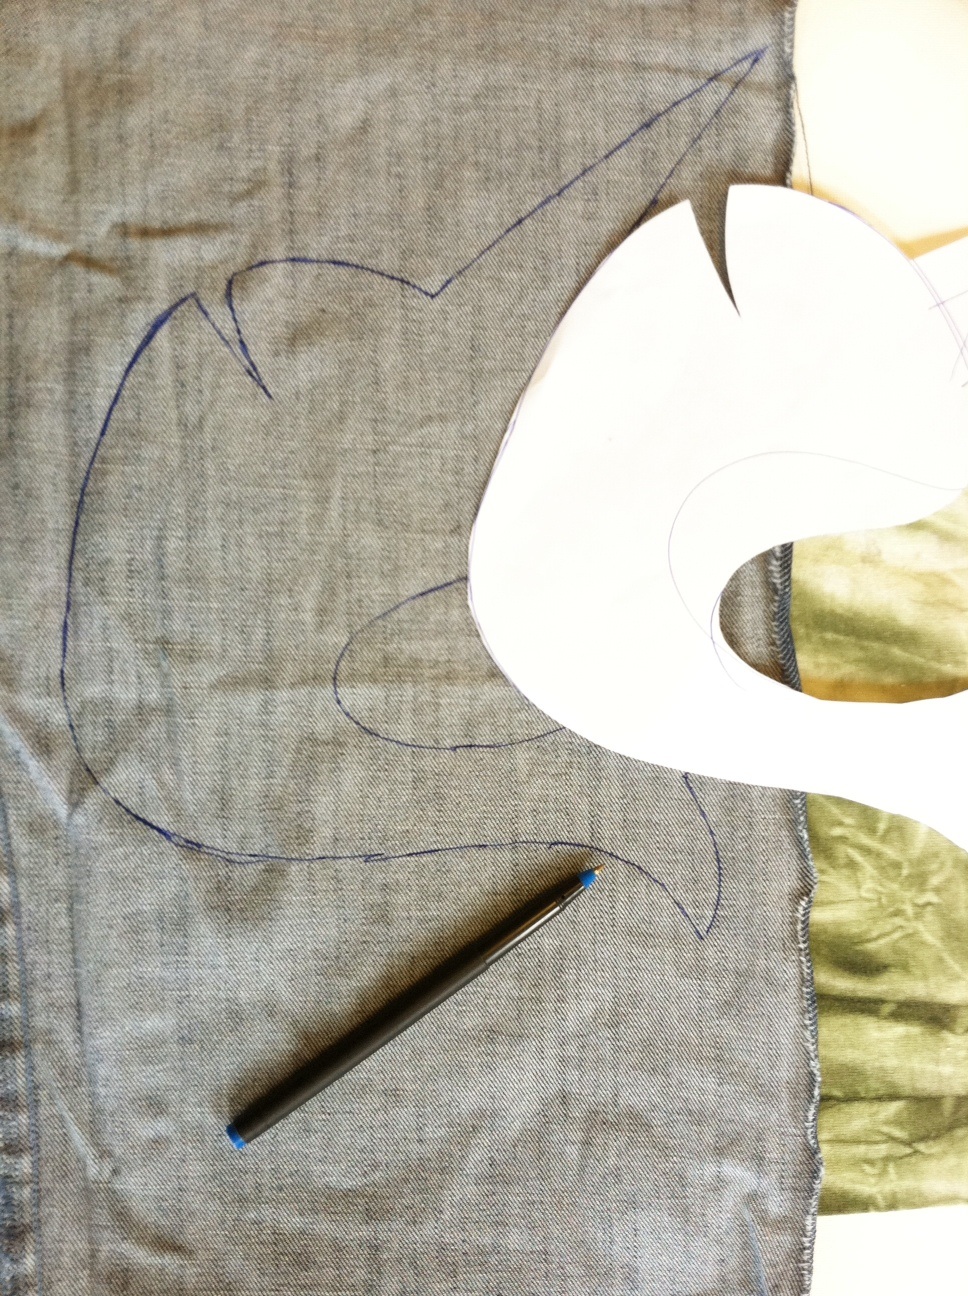
4. Trace one of the paper animal templates (in reverse) onto the wrong side of one of the fabric scraps. Repeat with different scraps with the letters and second animal.

5. Arrange and glue each of the elements onto the fabric-covered cardboard. Add background (like water!) and details (spiral on the horn, eyes!), making sure to layer the pieces appropriately. Let it dry and proceed to decorate the second piece of cardboard!
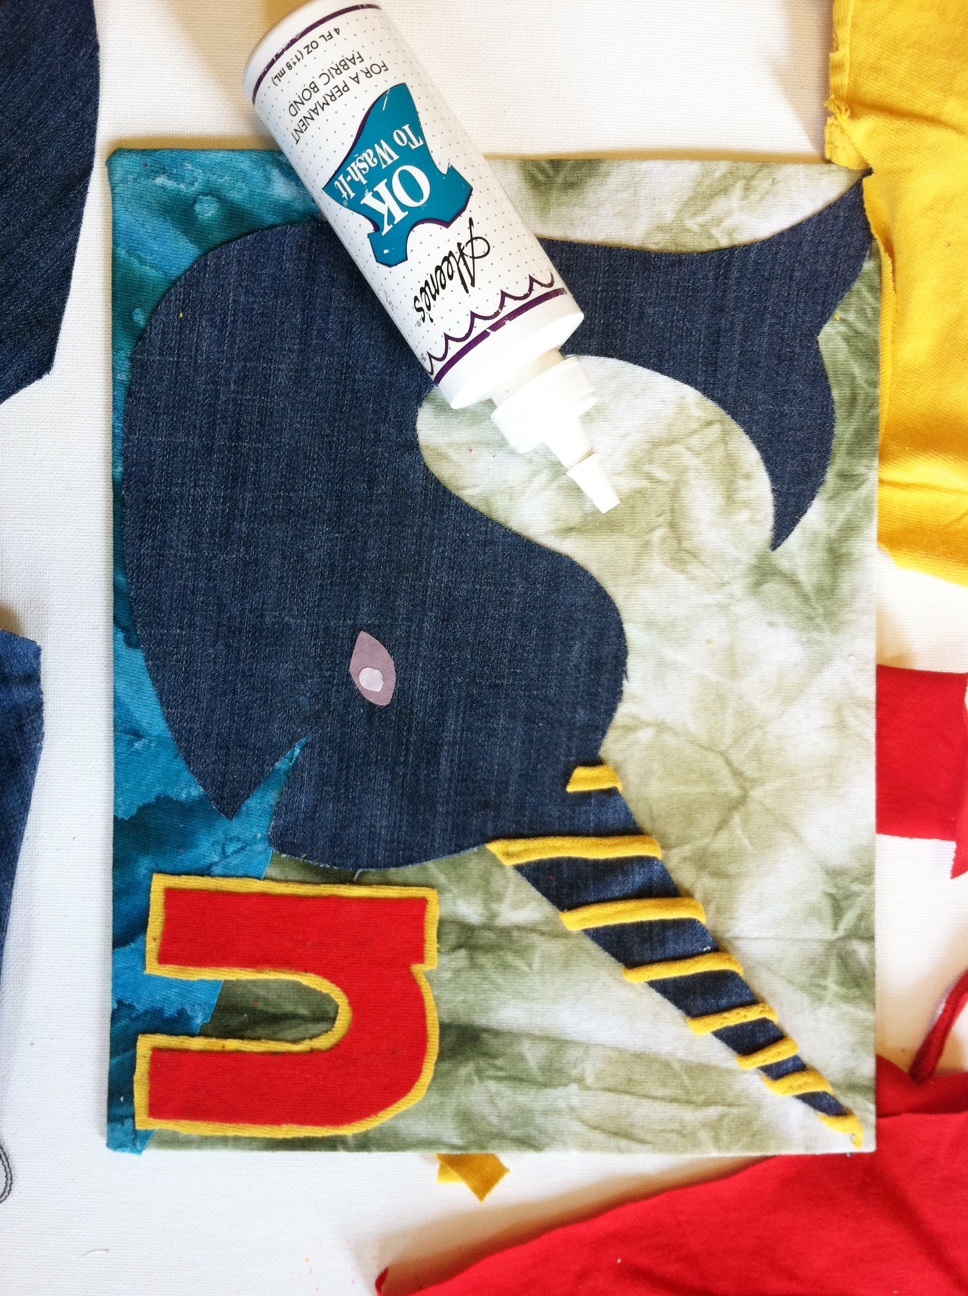

6. Cover the second piece of cardboard by following steps 1 and 2. Arrange and glue on the embellishments by following steps 4 and 5.

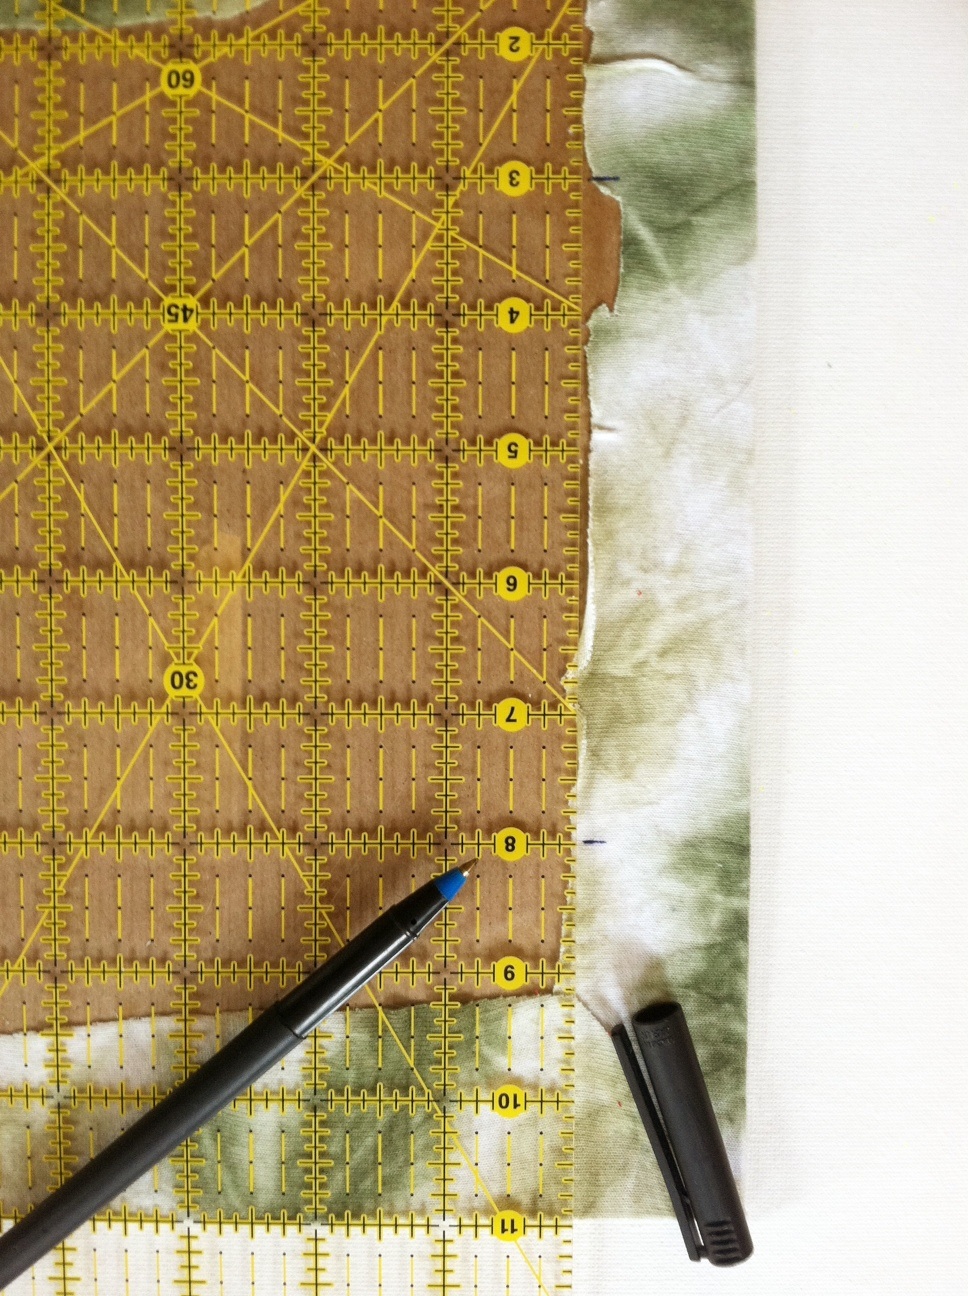
7. Flip one of the panels backside up and measure about 3" in from each side. Mark each point.

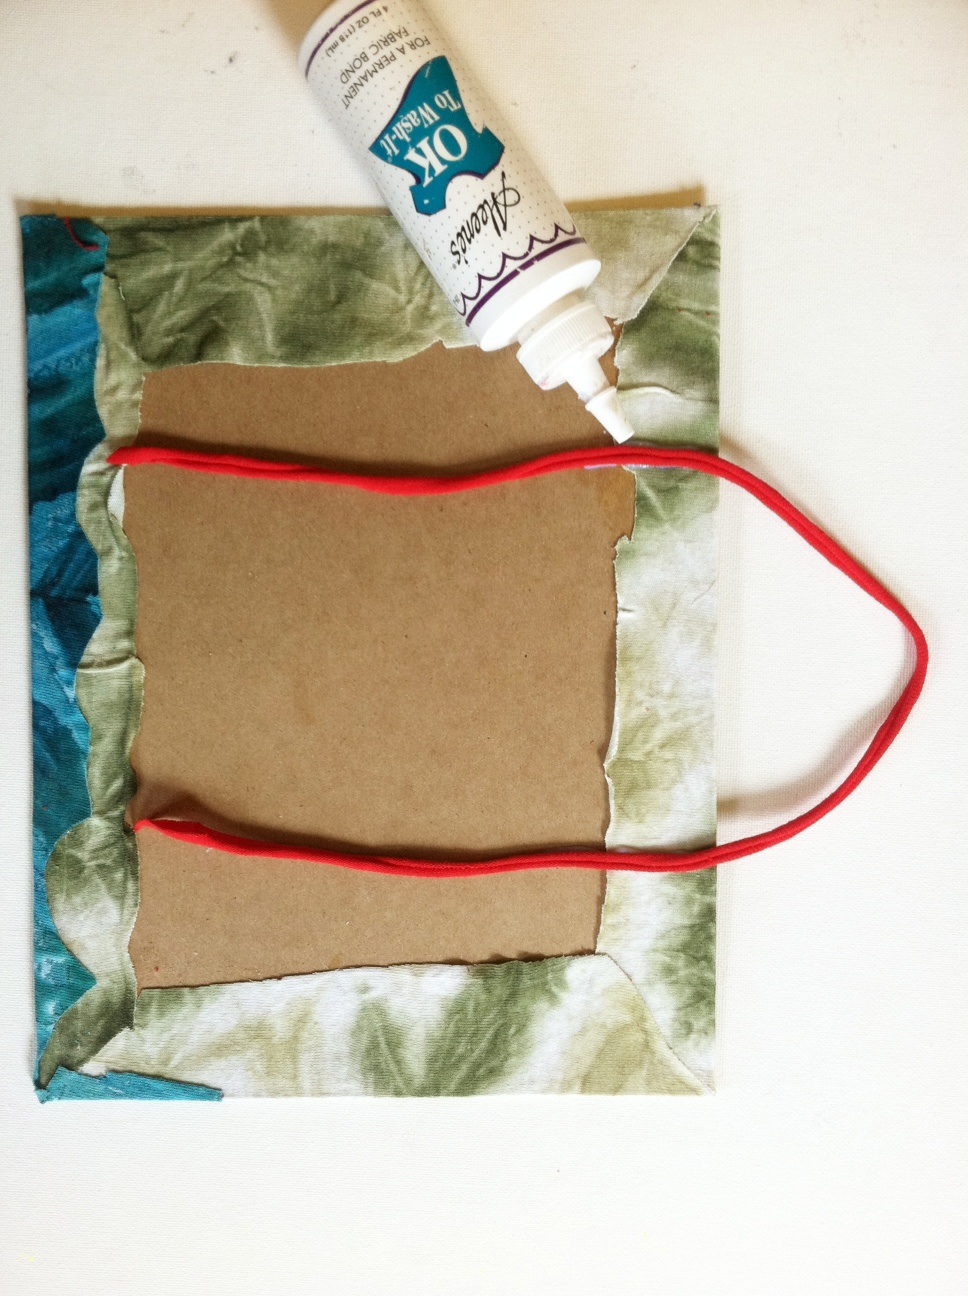
8. Squeeze fabric glue at each mark, and press the length of a T-shirt cord into each line of glue.

9. Then spread glue across the entire backside of one of the panels and press it firmly to the back of the other, sandwiching the hanging strap ends between them. (This tidily covers any messy work and makes the sign reversible, whether you prefer caps or lowercase -- or narwhals or newts.) Let it dry.


10. A, B, C, D, E, F, G...H, I, J, K, L, M, N is for Newt and Narwhal!
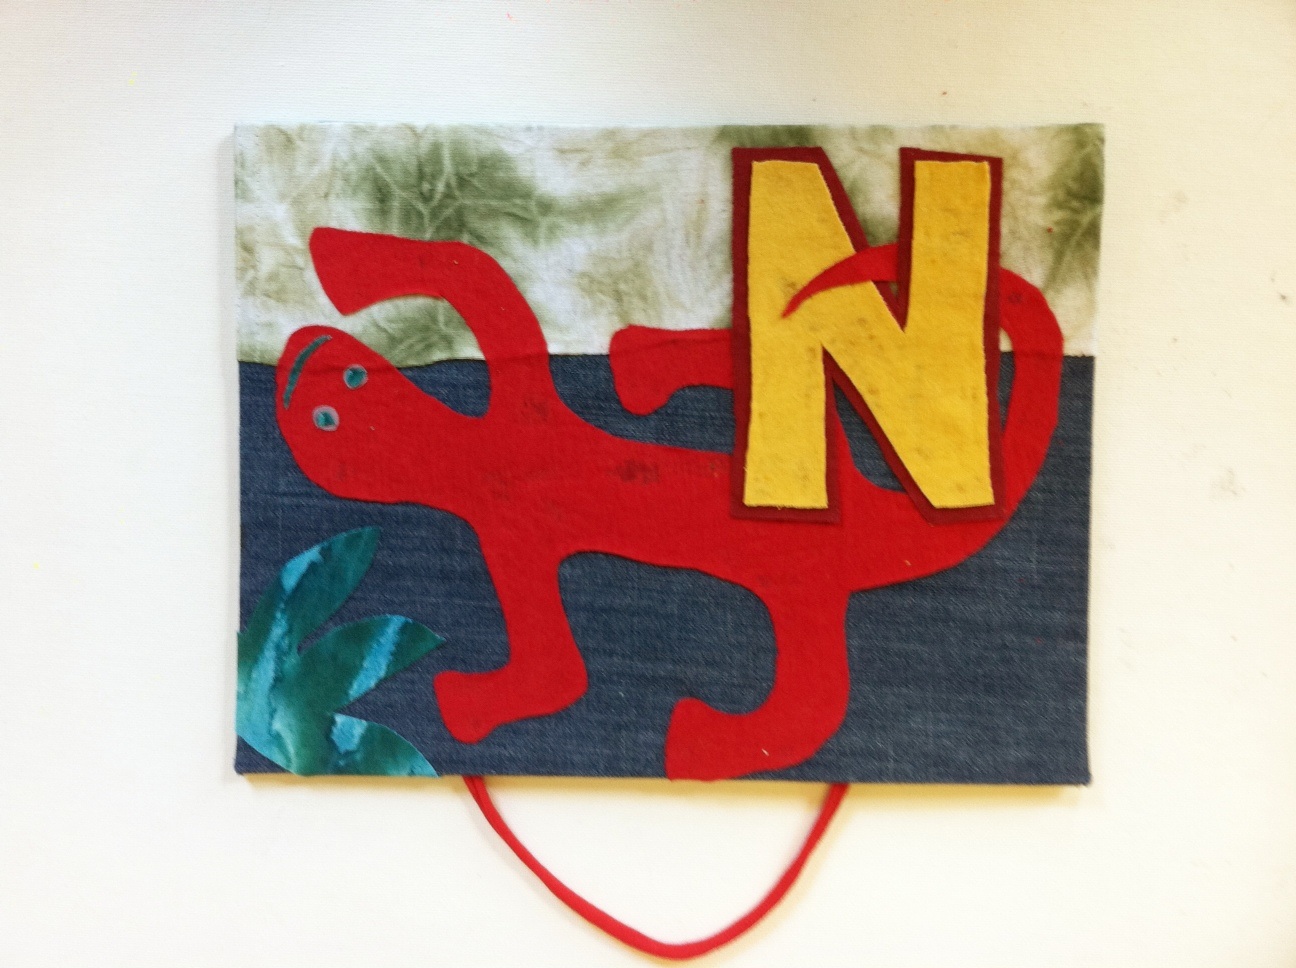
After it's completely dry, choose a side to display and hang it up!

Variations:
-If you're feeling ambitious, make multiple signs to spell out a person's name. Arrange them in a row, a column, or rectangle.
-If you're feeling really ambitious, make the whole alphabet, and line the edges of the room with A through Z animals!

Stenciled Snowflake T-shirts!

Tuesday, November 27, 2012

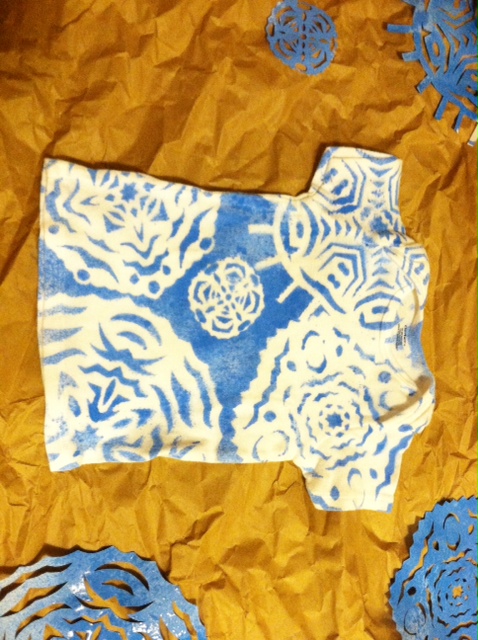
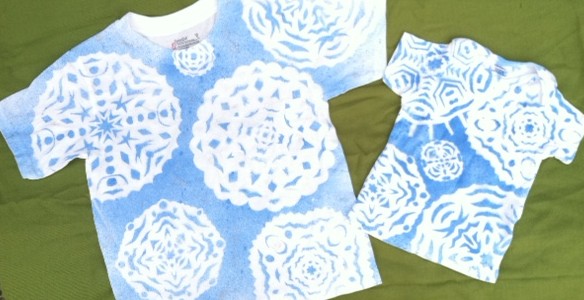
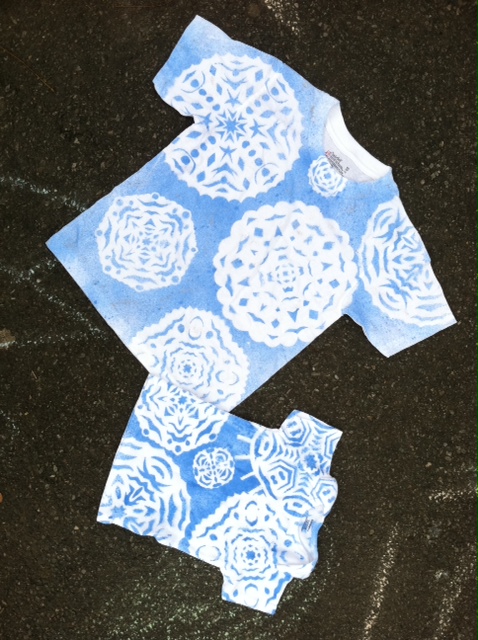
We had a wicked nor'easter blow through the East Coast last week, and though the snow pile-up lasted less than twenty-four hours, it sure put me in the mood for winter. So with the holidays upon us, I decided to make some wintery-themed T-shirts for the two young cousins (note: these tees can be made in adult sizes, too)--a little something to wear inside when it's too cold outside! And a nice alternative to the ubiquitous holiday sweater, don't you think?

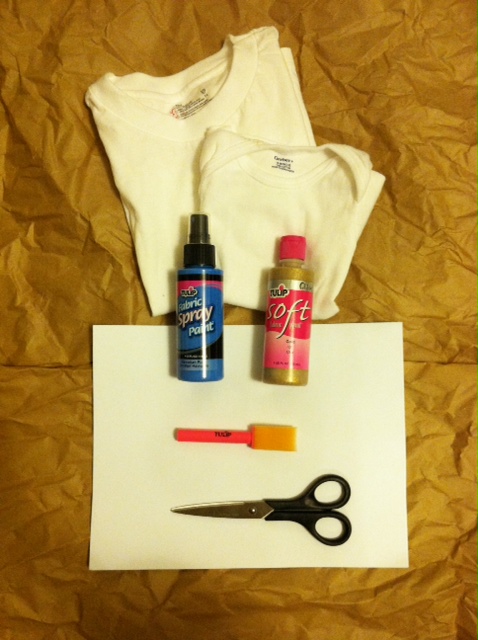
Materials:
-White T-shirt(s) in appropriate size(s)
-Tulip fabric spray paint (Light Blue)
-White printer paper
-Paper scissors
-Warm iron and press cloth
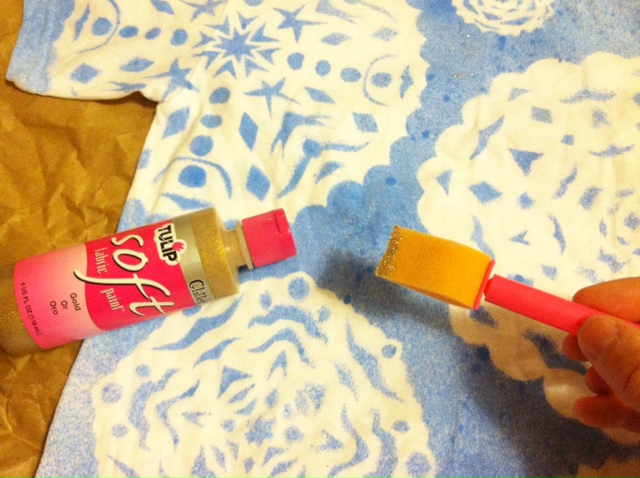
-Tulip Soft Fabric Paint (Gold Glitter, optional)
-Tulip Sponge Brush (optional)


Make it:
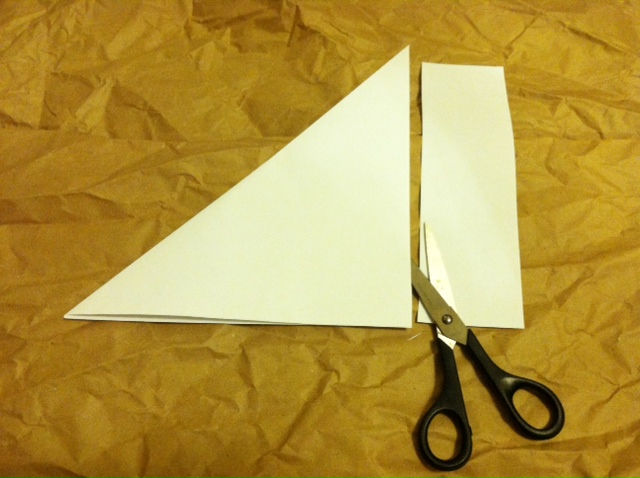
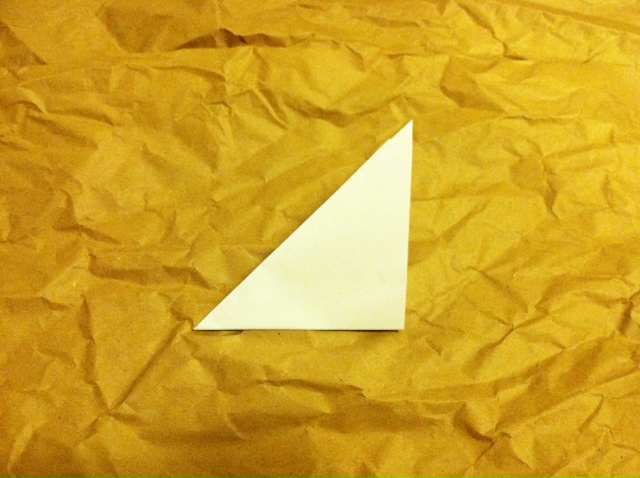
1. Fold one of the sheets of paper on a diagonal to "square" it. Use scissors to cut off the excess strip of paper.

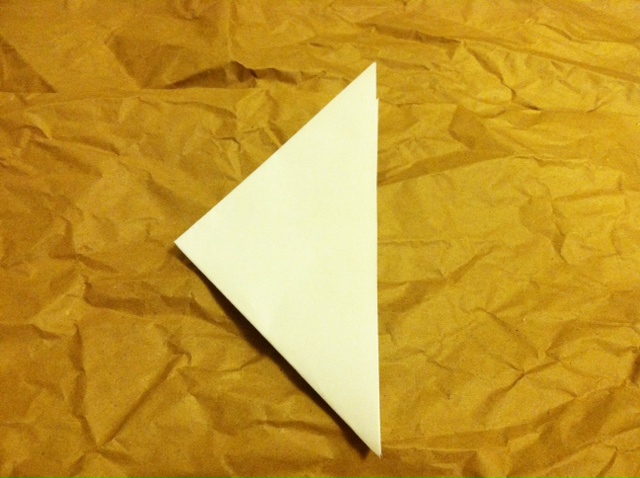
2. Bring the lower left corner up to fold the triangle in half again.

3. And again!

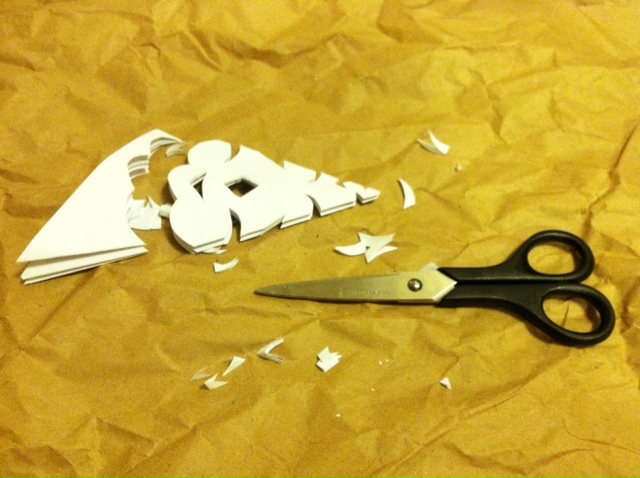
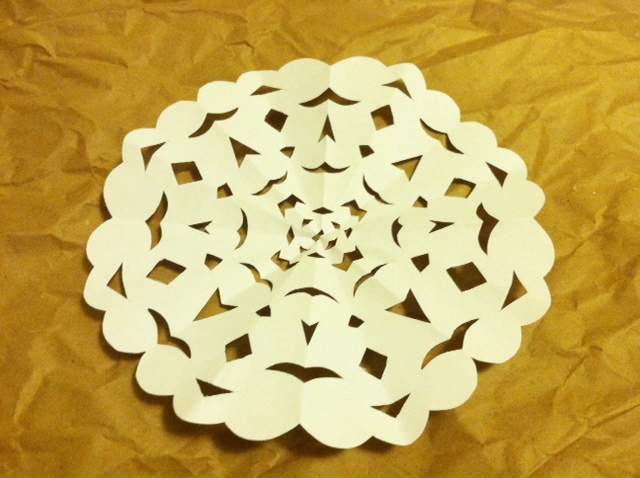
4. Use your scissors to start cutting notches along the folded edges: zigzags, circles, crescents, curls, diamonds, and so on! Don't forget to cut the open edges in an arc, so that the snowflake will be somewhat round in appearance when you unfold.

5. Unfold!

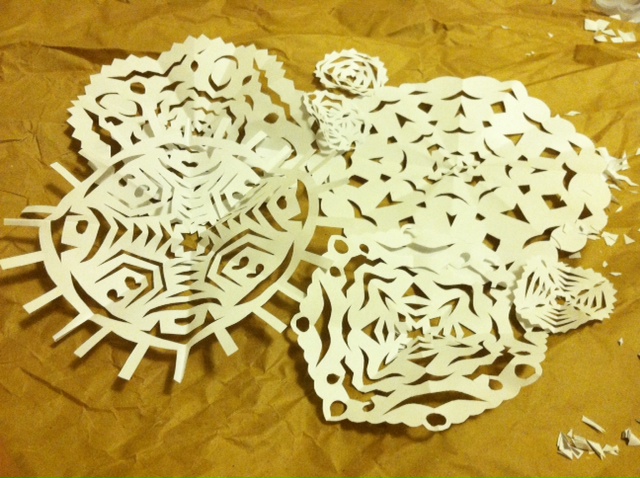
6. Repeat to make many snowflakes (no two will be alike)!


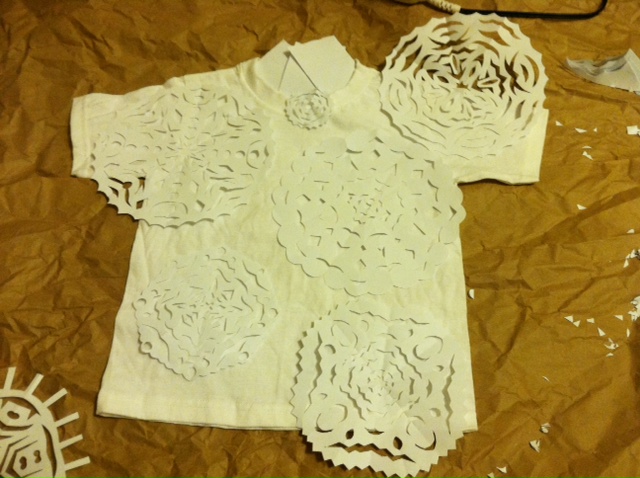
7. Lay the T-shirt flat on your work surface. Arrange the snowflakes onto the front, and press them with a warm iron to keep them relatively flat. (Note: The weight of the spray paint will actually help them stay flat, too.)


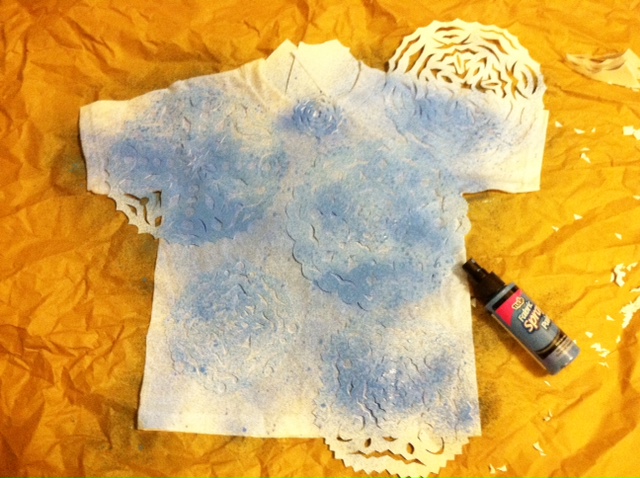
8. Lightly spray blue paint over the entire T-shirt (I masked the inside back neckband with paper scraps).


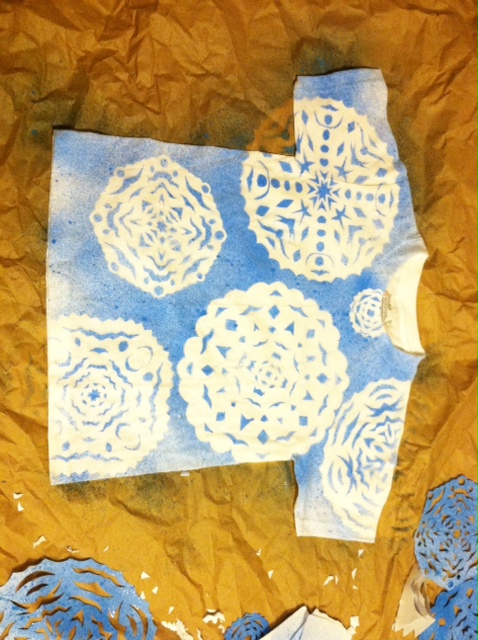
9. Carefully peel off the snowflakes and set them aside. Let the T-shirt dry.


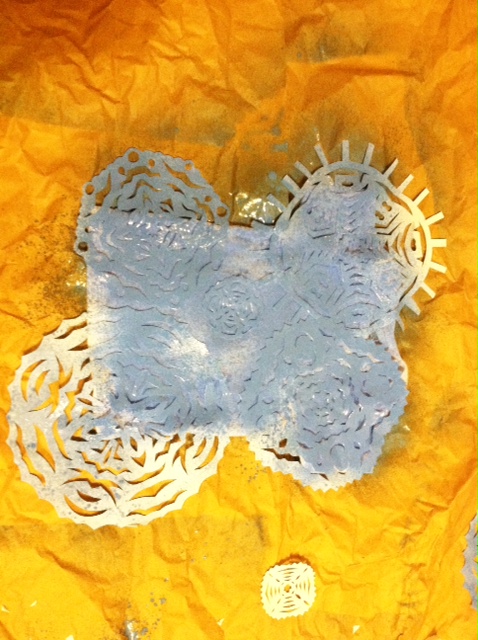
10. Reuse the snowflakes to make T-shirt number two!


Optional: Use the foam brush and glitter paint to add sparkly highlights to the snowflakes.

Let dry, then try on the shirt (or gift it to its recipient!), and curl up by the fire, knowing these snowflakes will never melt.

Chic Shoe Travel Bag from an Old T-shirt!

Tuesday, March 1, 2011

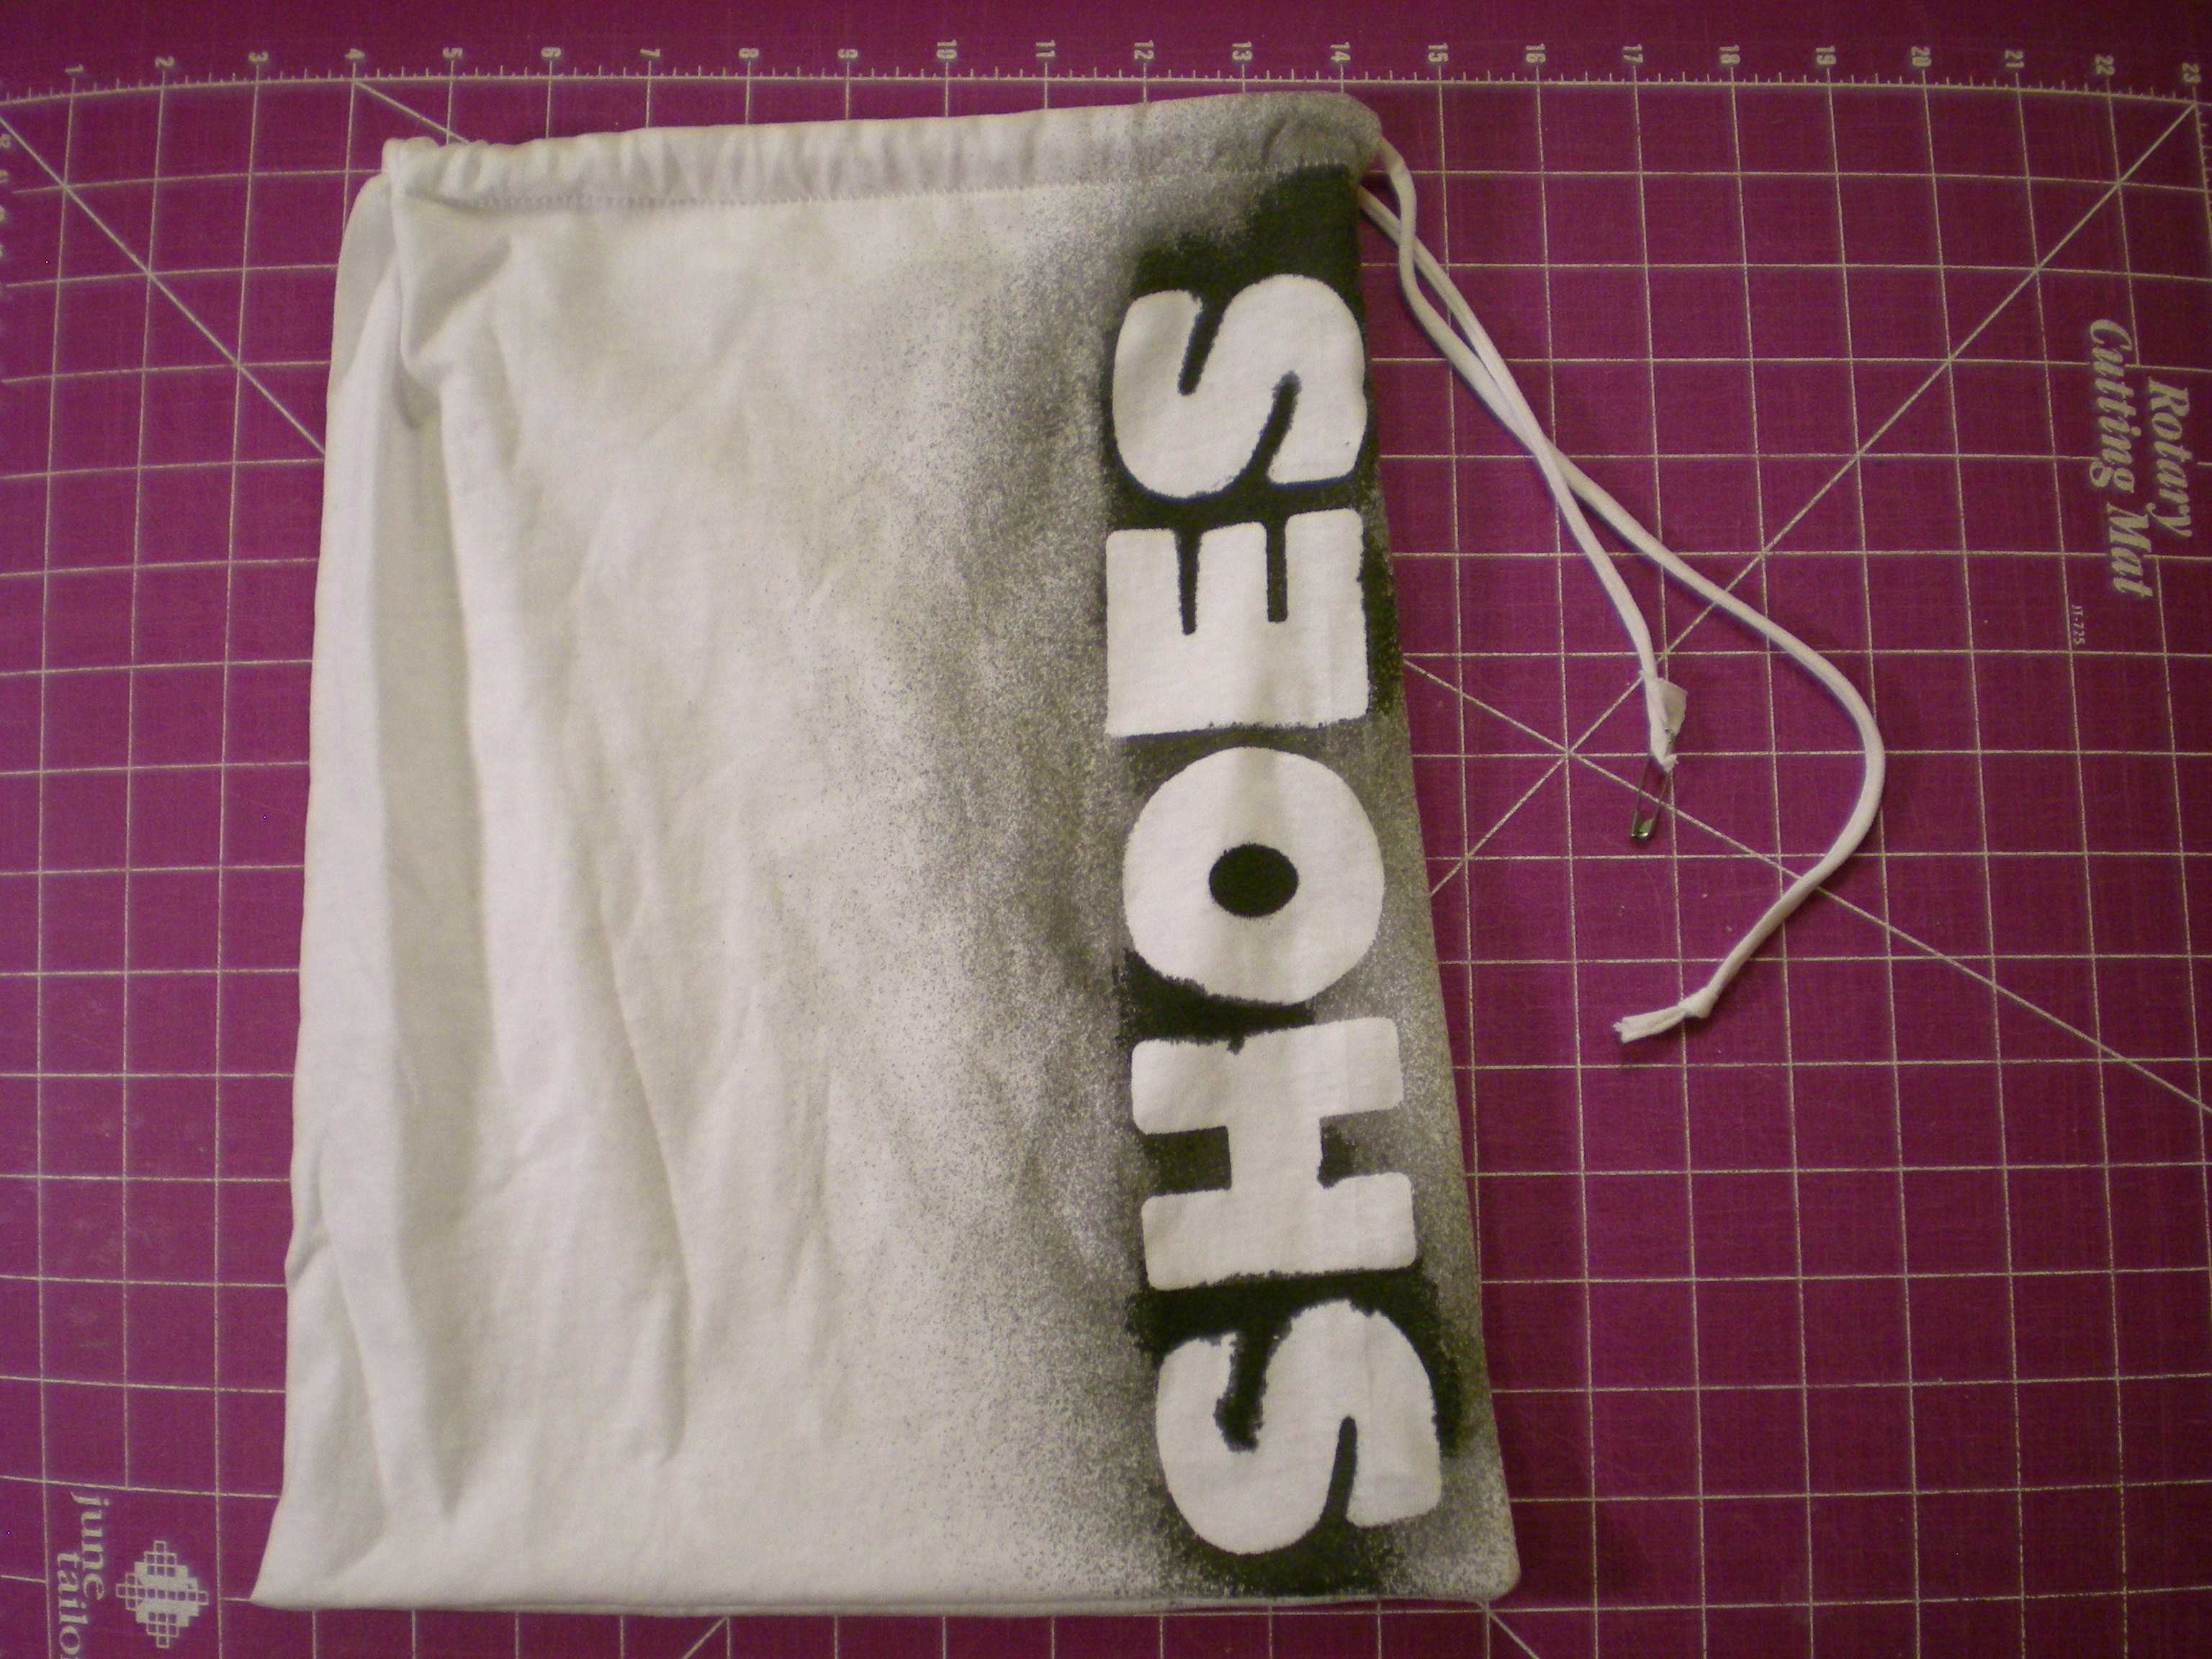
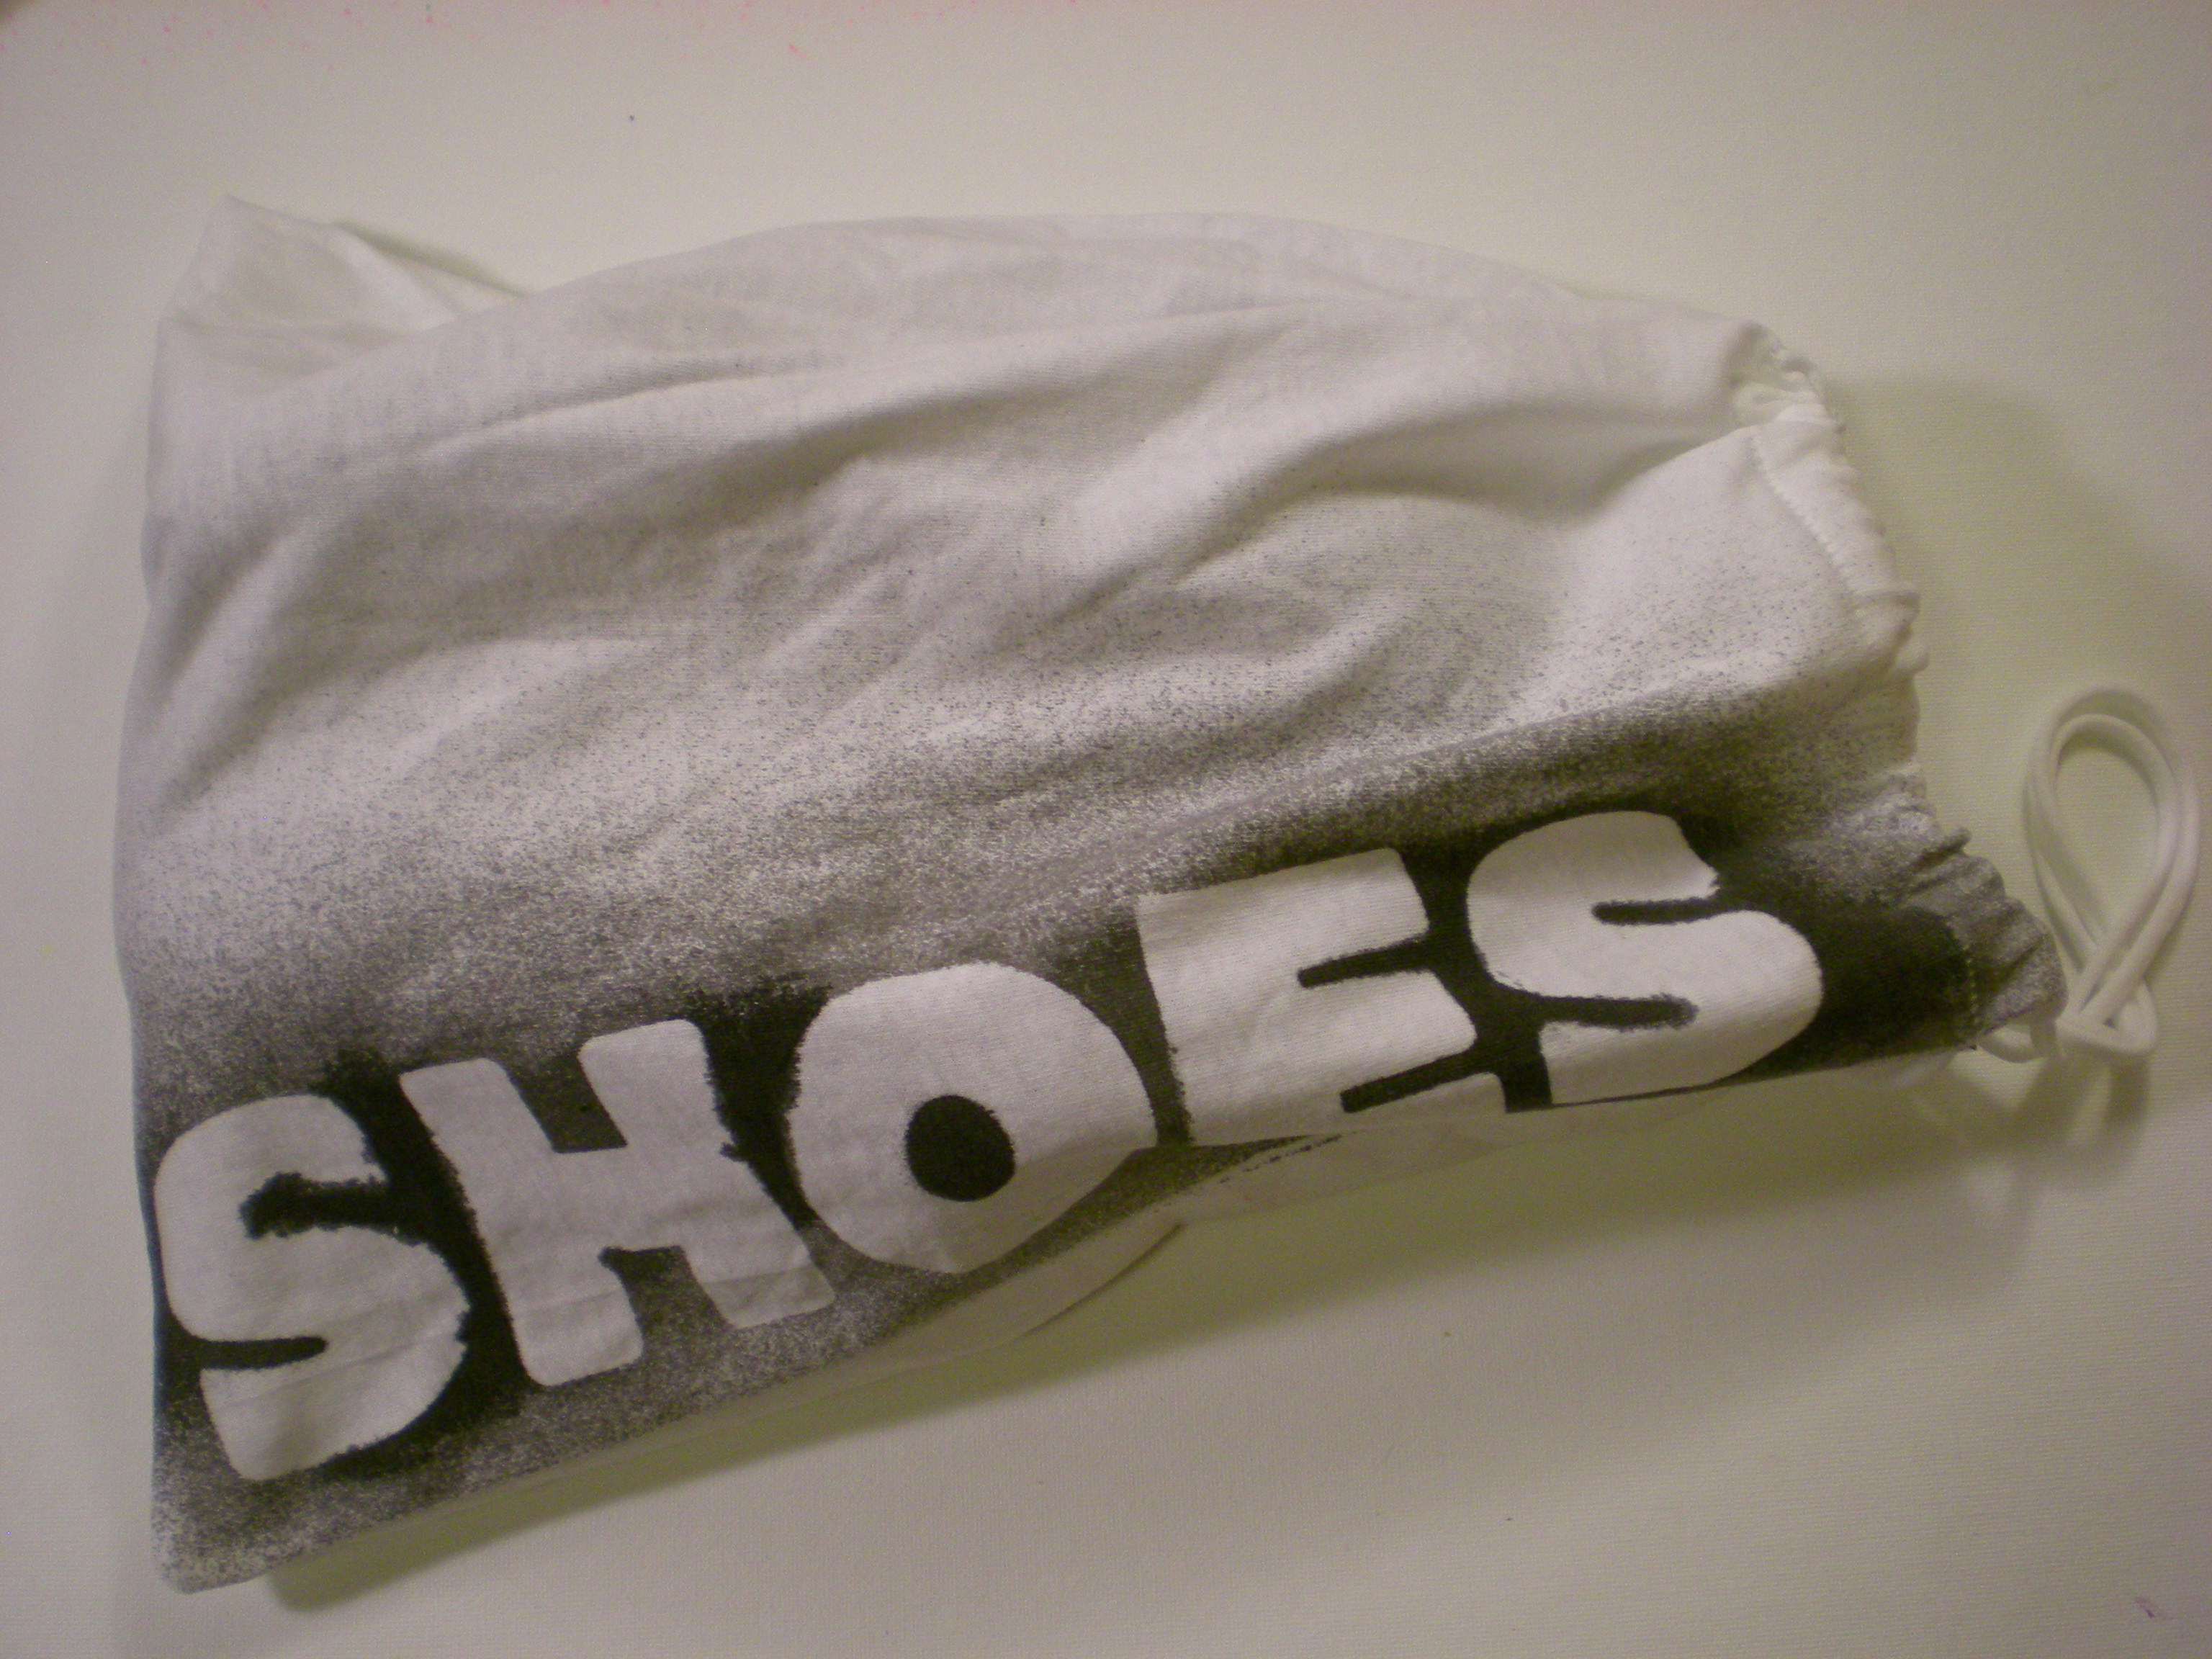
Let's face it: Shoes get dirty. Really dirty (okay, maybe I'm only speaking for New York sidewalks and streets, but my shoes pick up a lot of filth!). So it's not a particularly charming prospect when I have to pack a suitcase full of nice clean clothes and those dirty shoes. Solution: Here's a simple project that makes use of an old T-shirt, requires very little sewing (you can use the T-shirt hem as the drawstring casing!), and keeps the rest of your wardrobe fresh and clean. And, because the bag is made from an old T-shirt, it's easy enough to toss in the wash when you get home and unpack.


Materials:

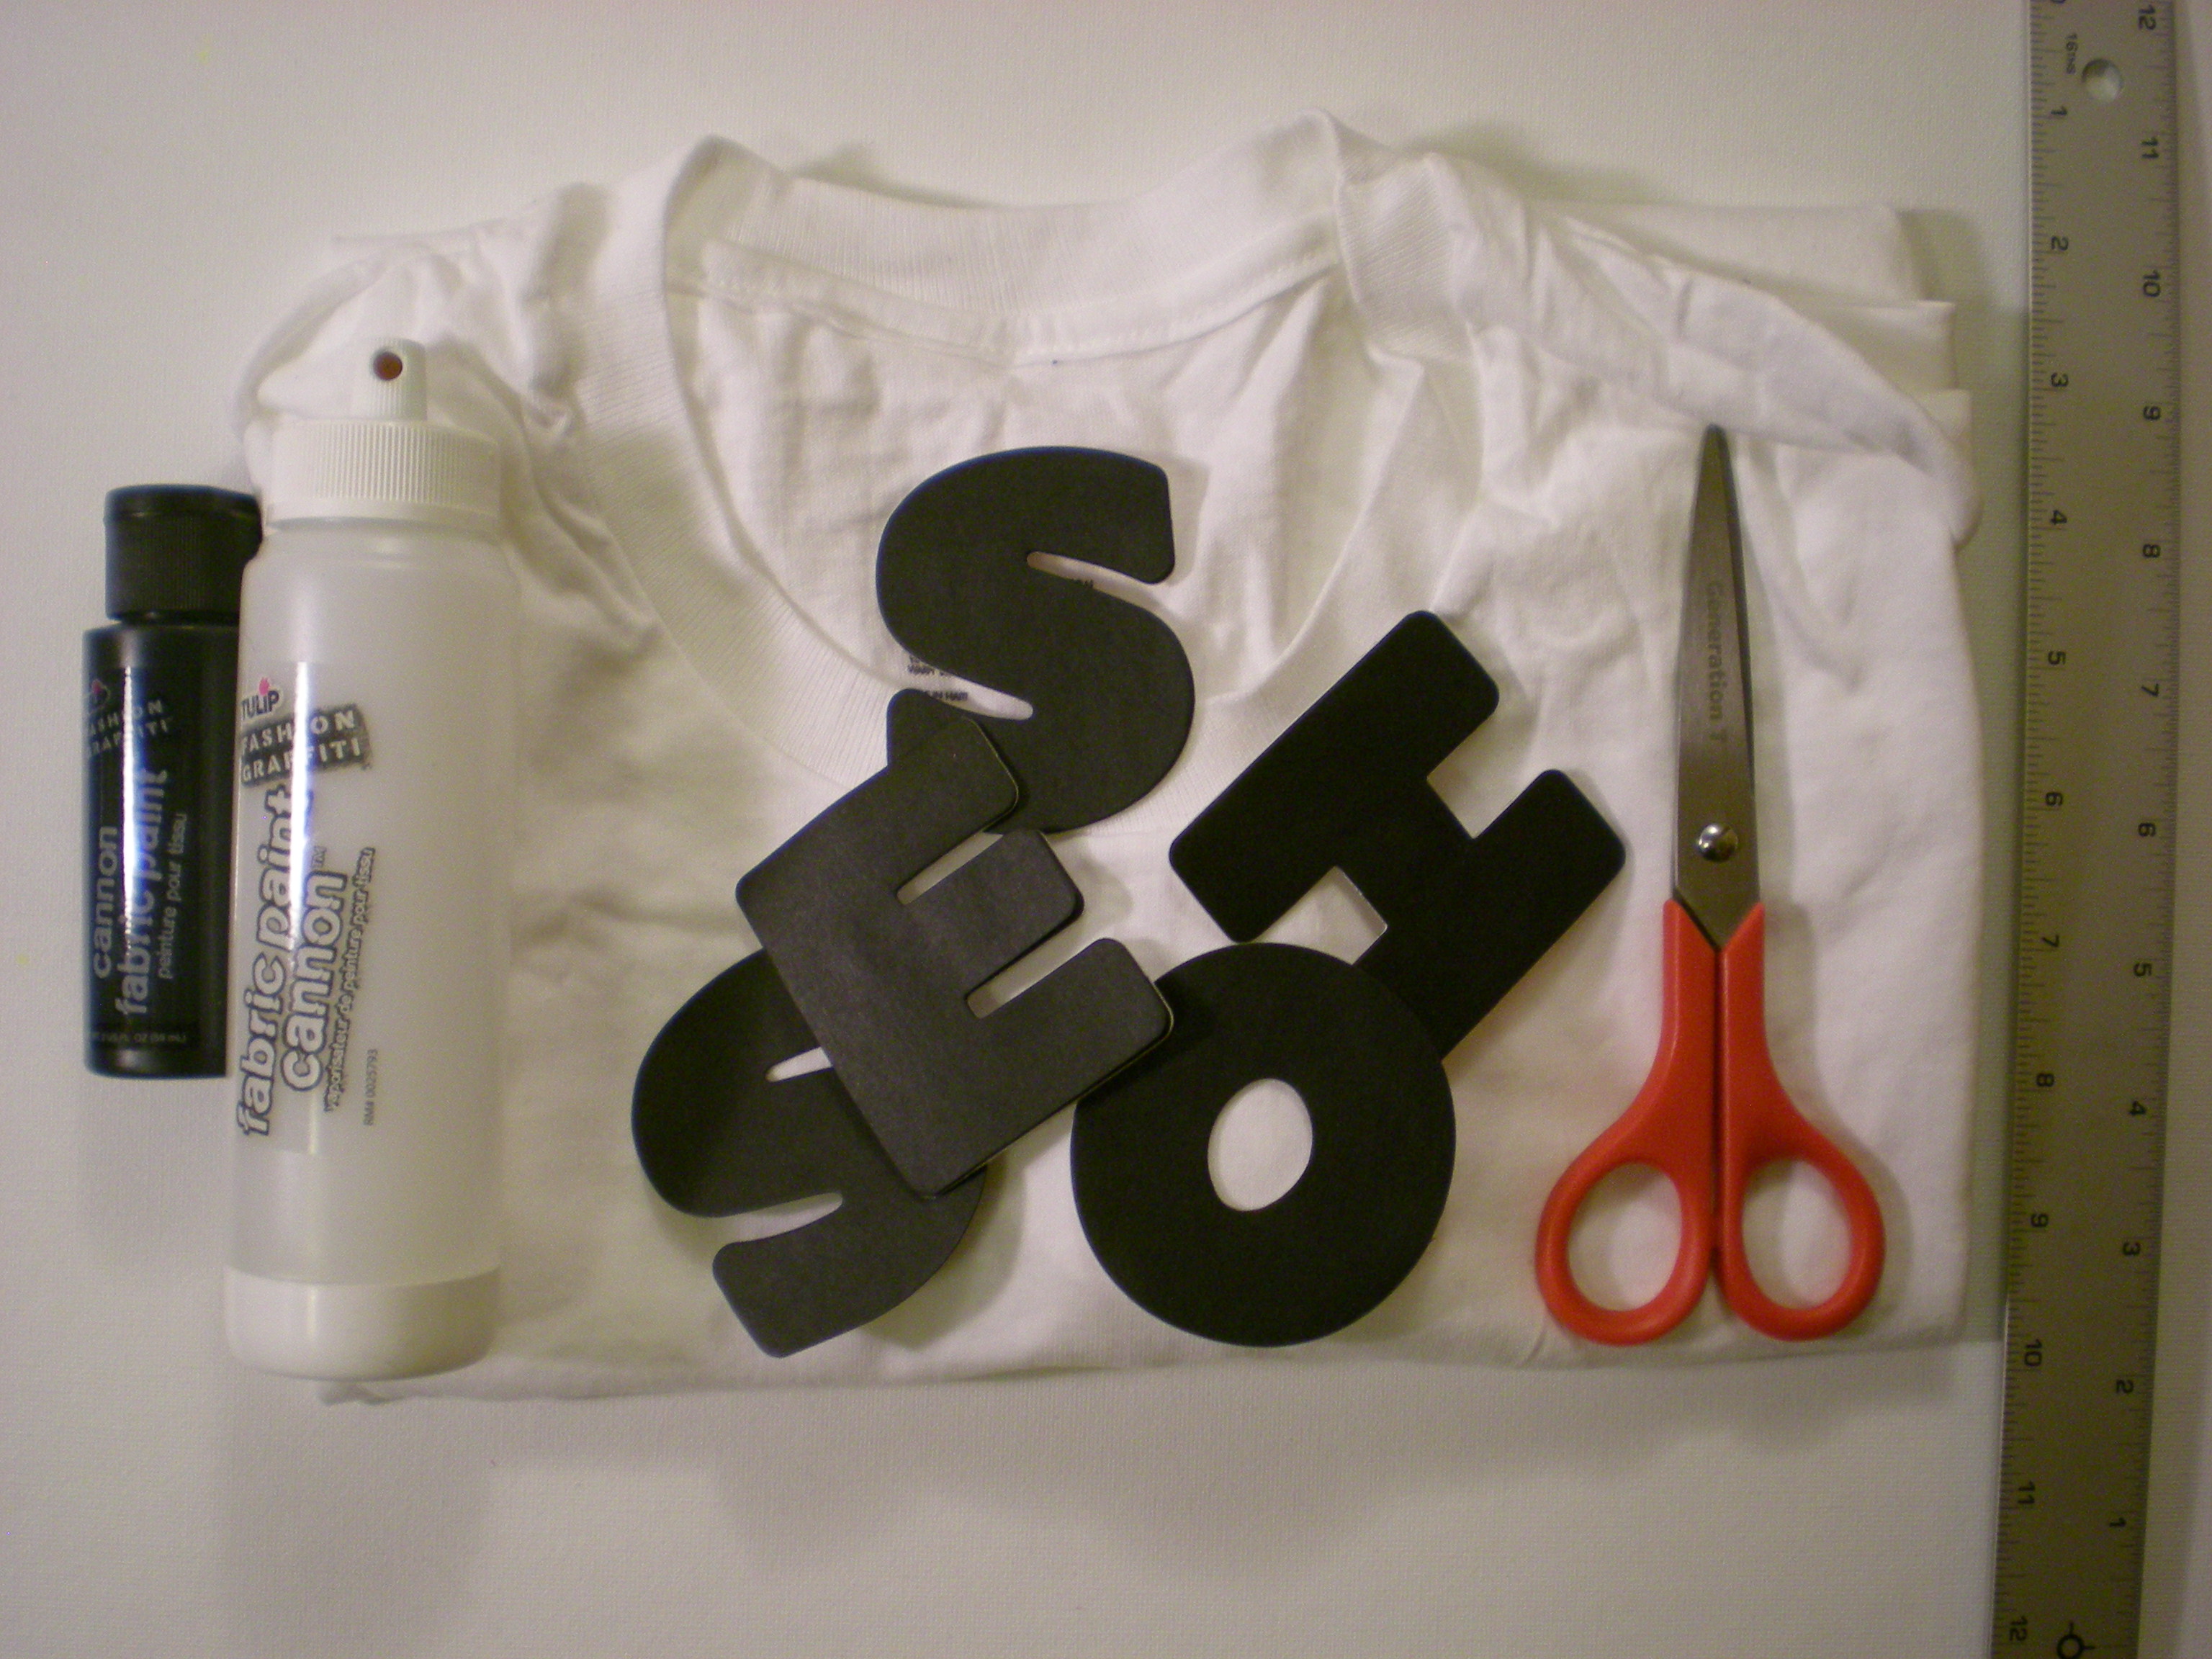
-T-shirt (M or larger)

-Ruler

-Scissors

-Sewing machine (with a ballpoint needle and thread), or Needle and thread

-Alphabet stickers (or make your own; I used alphabet sticky notes!)

-Fabric paint and paint cannon (black)

-Safety pin


Make it:

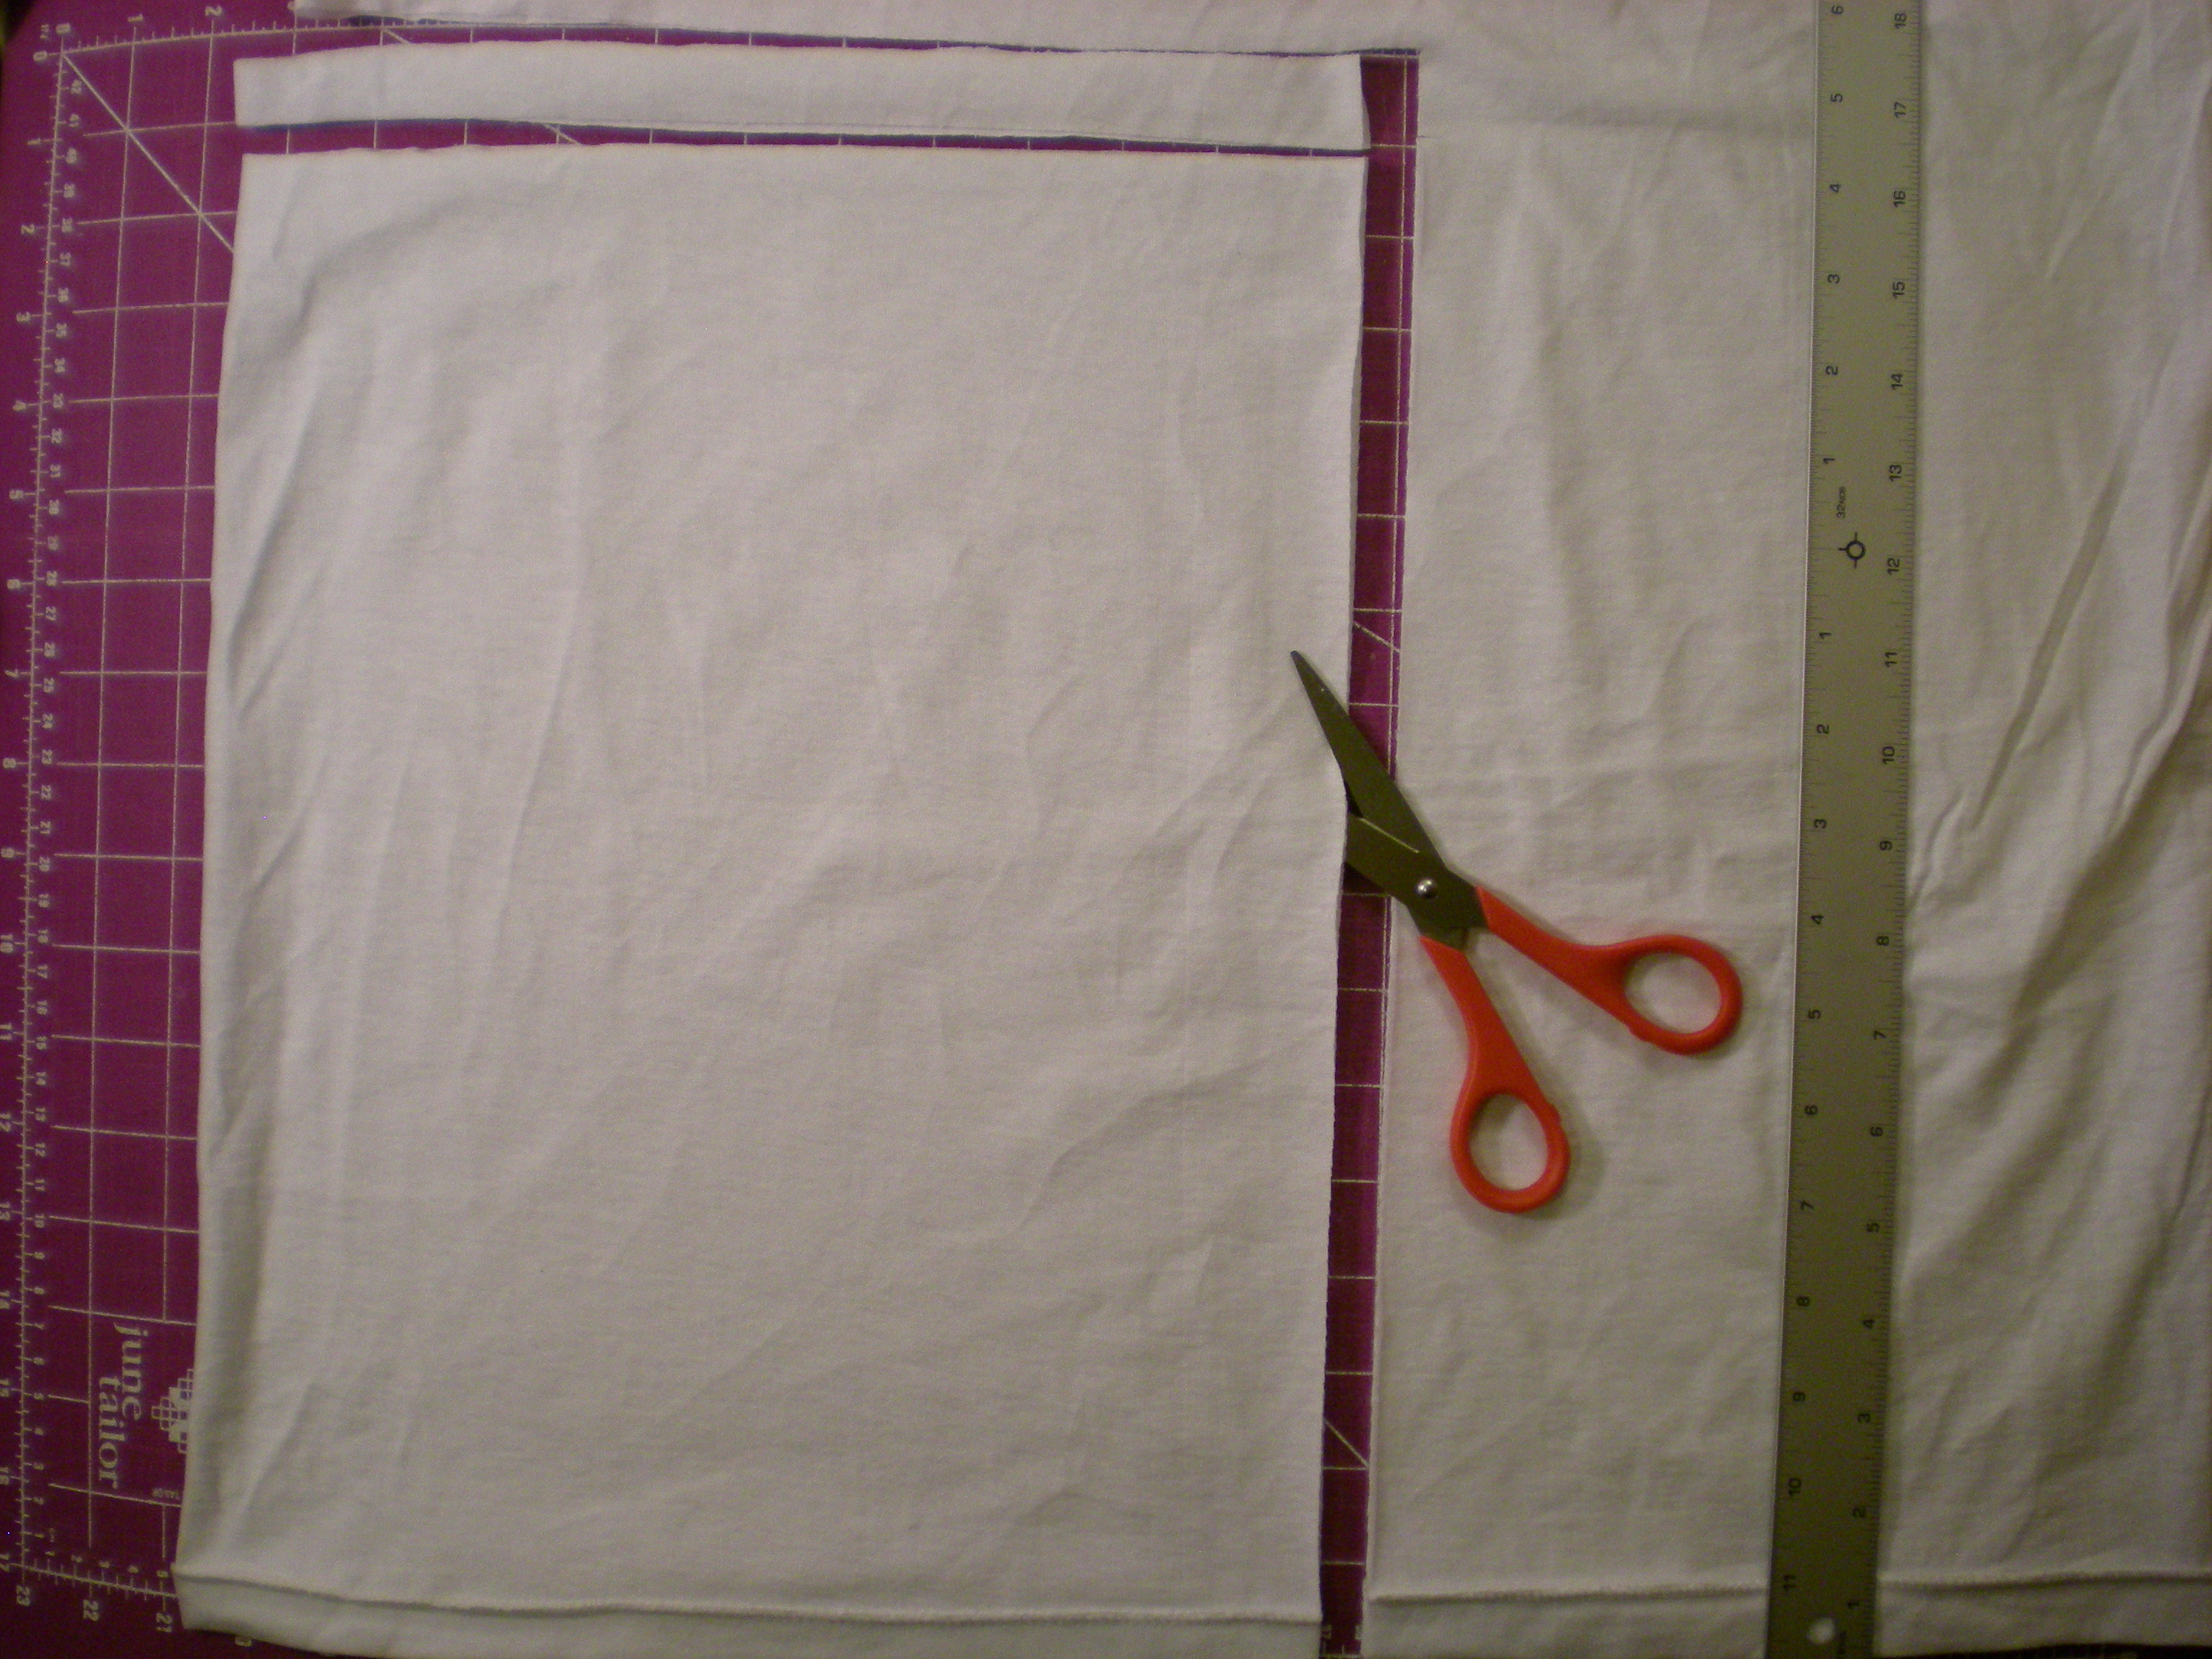
1. Turn the T-shirt inside out and lay it flat. Measure and cut a 12" x 16" rectangle extending in from one side and up from the bottom hem. Cut a 1" strip from the top of the rectangle, through both layers. Set aside the strip.


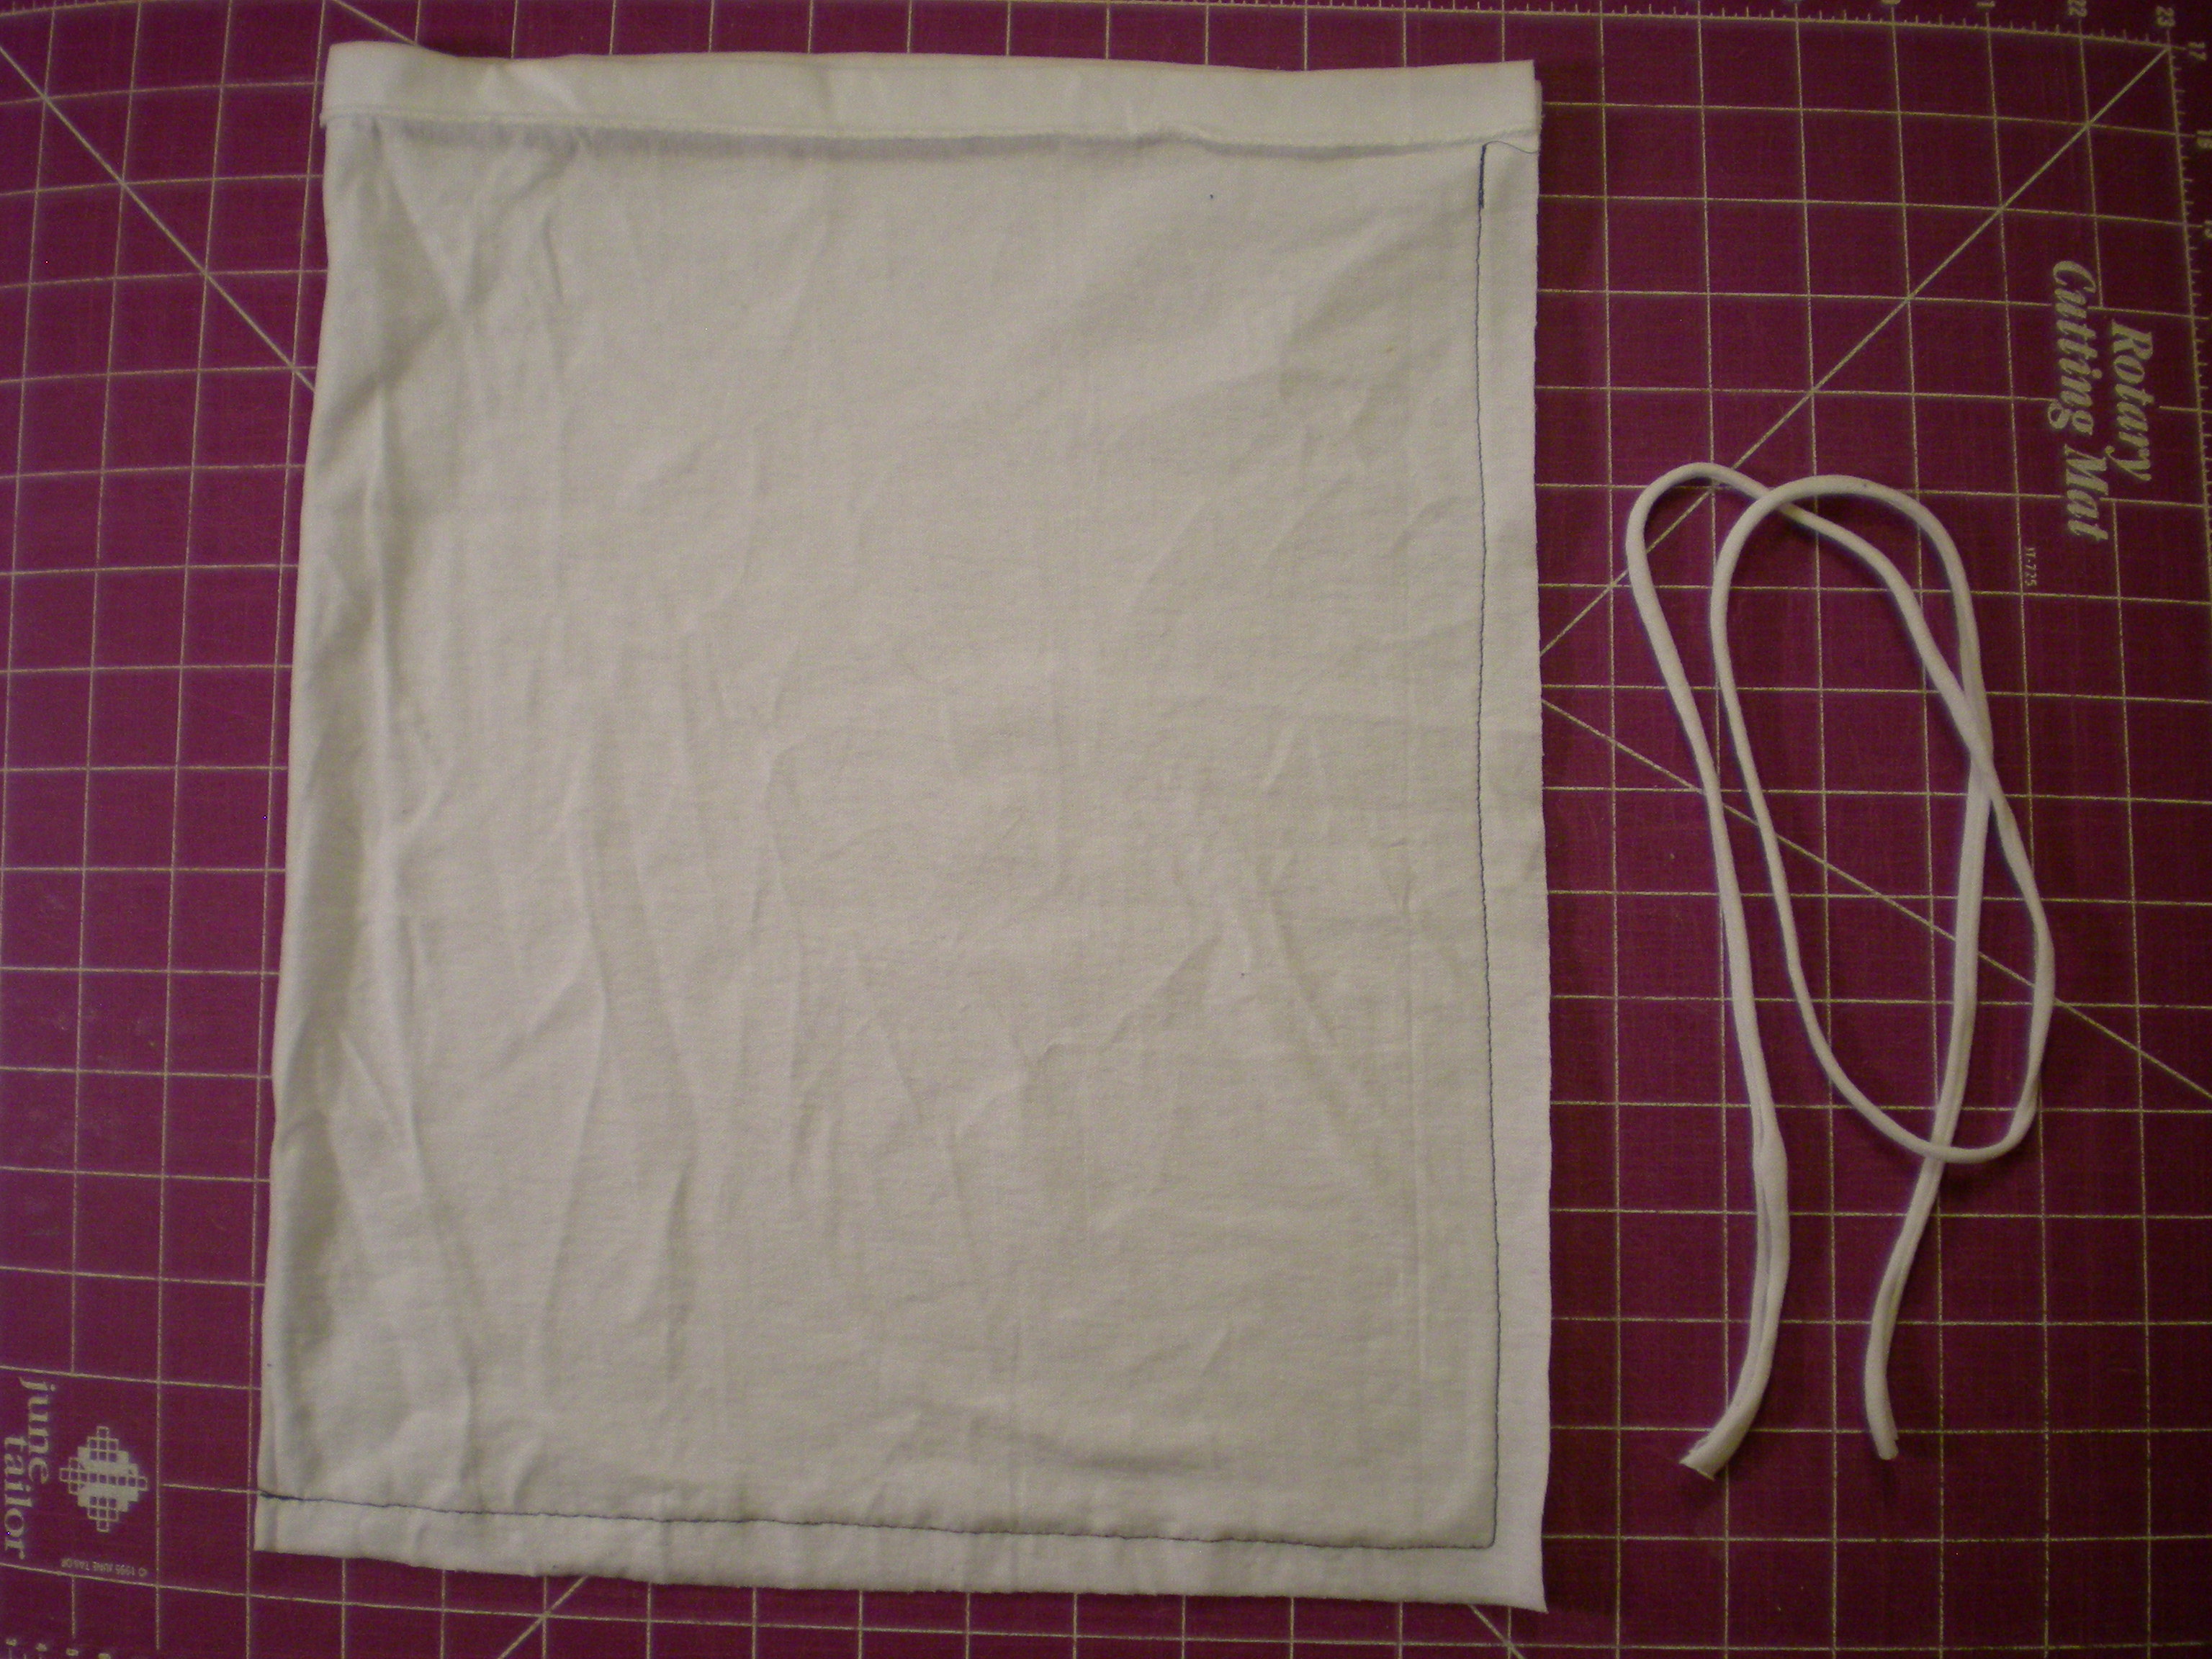
2. Sew a straight stitch along the two cut edges of the rectangle, leaving a 1/2" seam allowance, and stopping at the hem (this becomes the drawstring casing. (I used contrasting thread for visibility, but matching your thread to the fabric color is recommended.)


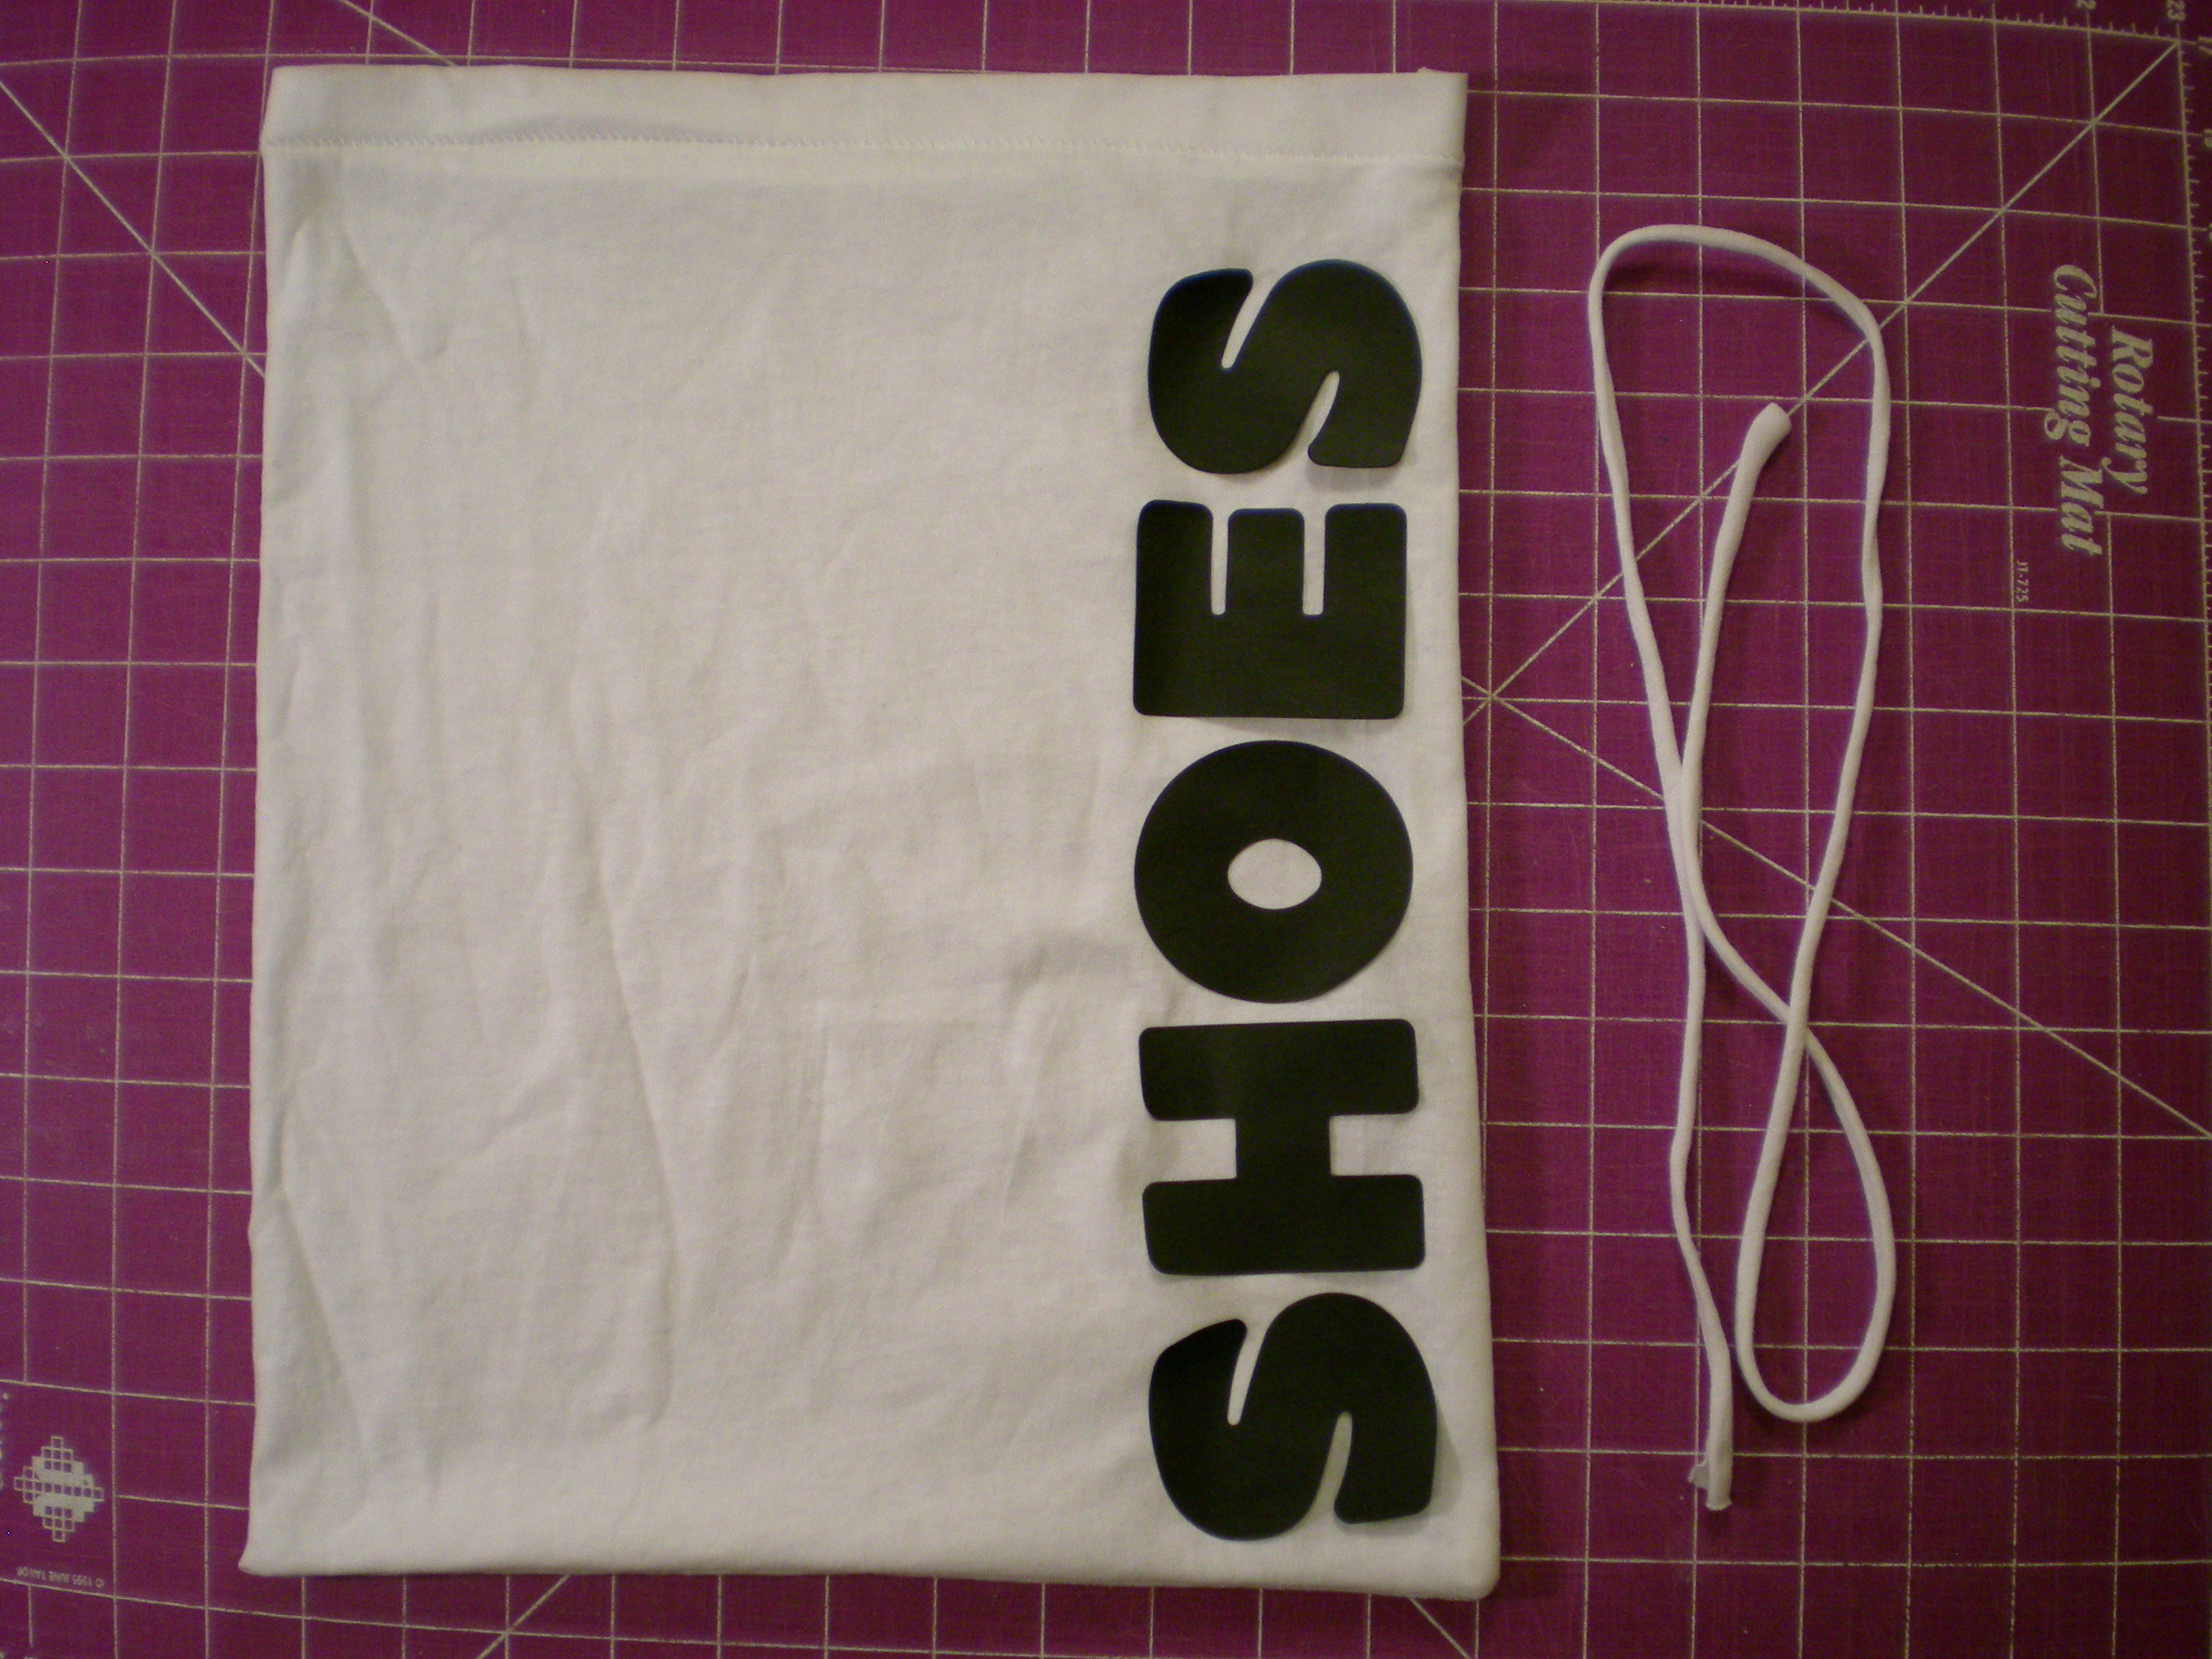
3. Turn the bag right side out and lay it flat, oriented with the hem (the opening of the bag) at the top. Stretch out the fabric strip to make a drawstring cord and set it aside again. Arrange the letters across the side of the bag.


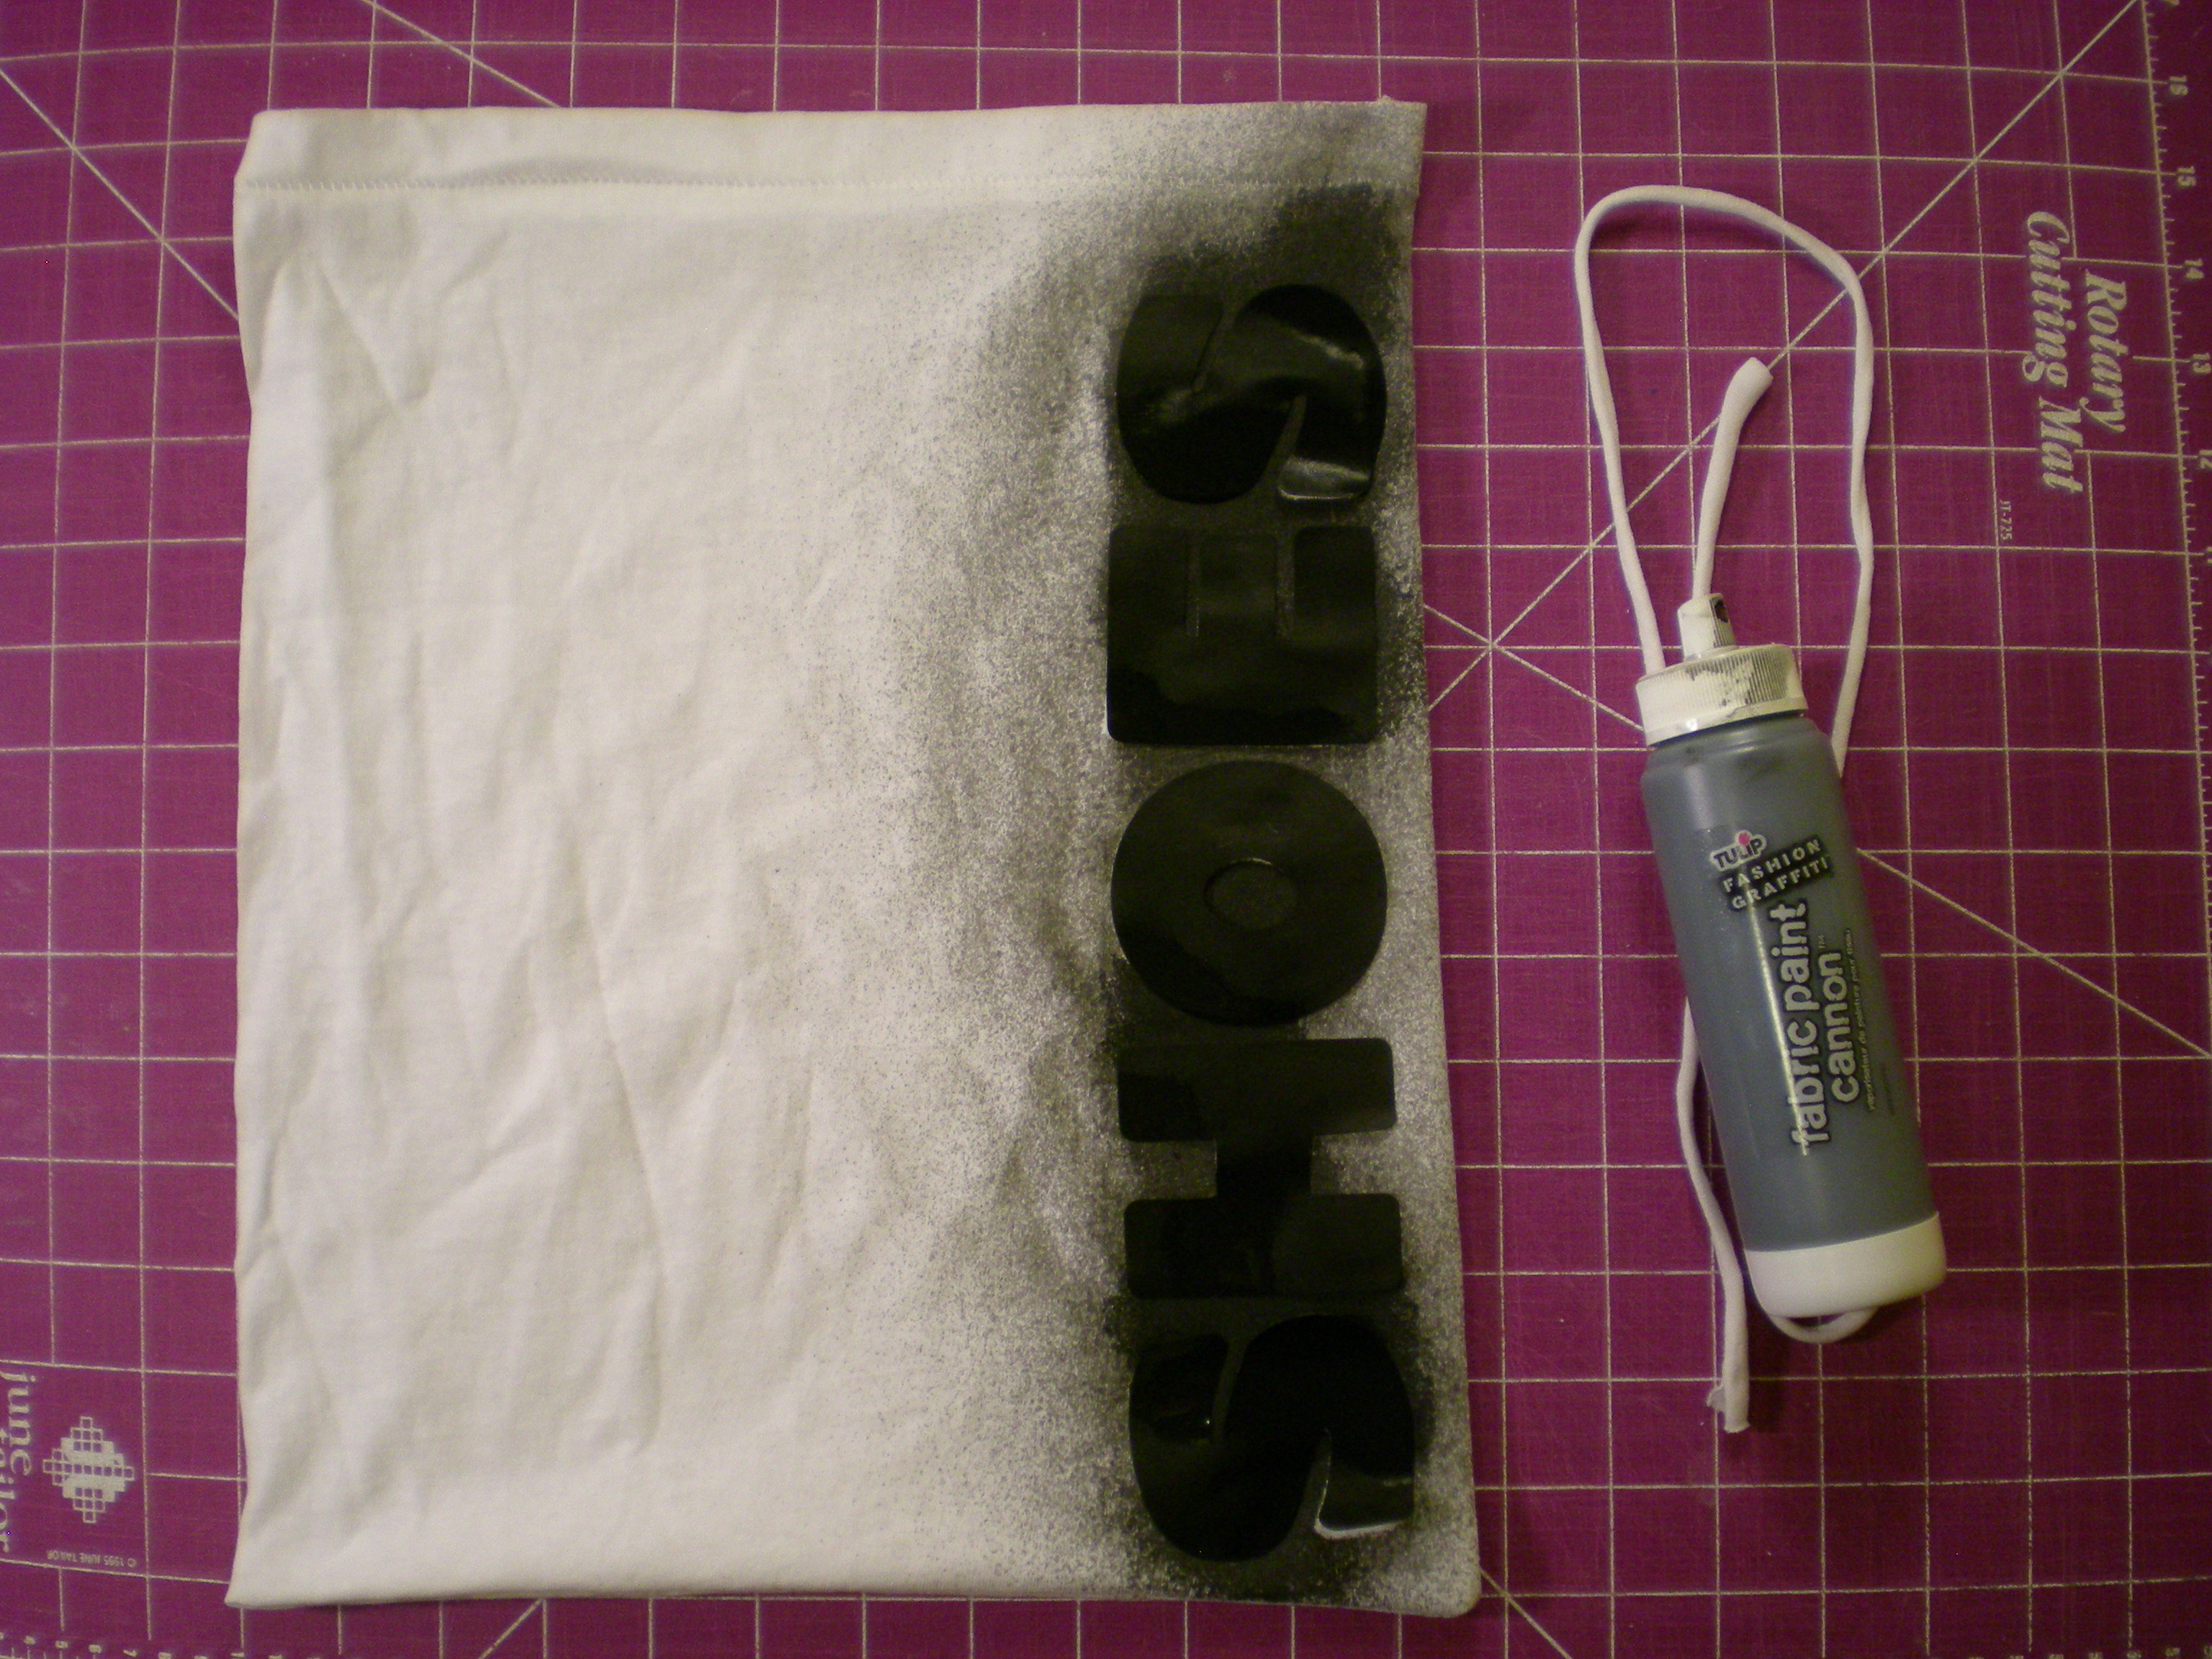
5. With the fabric paint, spray lightly over the letters and let dry completely. (Paint will seep around the sides of the letters that are not sealed flat, creating a rough-edged look to the lettering.)


6. Carefully peel off the letters to reveal the reverse silhouettes. Attach a safety pin to one end of the cord and draw it through the entire drawstring casing. Remove the safety pin and tie the ends together in a knot.


7. Now spin the globe and buy a ticket! If your shoes are made for walking, this T-shirt shoe bag is made for packing. Bon voyage!


Variations:

-Differentiate your various shoe stashes by making multiple bags--do away with the generic "shoes" label and instead indicate heels, flats, sneakers, and so on.

-Scrap the shoes altogether and use the bag to pack pajamas for a slumber party!


Visit us on Facebook!
Craft on! Click here for today's daily giveaway!

Glow-in-the-Dark Ghoulish Tee

Tuesday, October 26, 2010


Here's a last-minute Halloween costume that easily transitions from day to night! Wear the T-shirt casually by day in all the sunny places, then skulk in the shadows at night and you'll take on an eerie glow. (A dark-colored tee ensures that the glow will be all the more dramatic.)

Materials:

-A plain T-shirt

-Scrap paper

-Sponge brush

-Tulip Neon Glow-in-the-Dark Paint in "Natural Glow"

-Black permanent marker (optional, for the stencil)

-Freezer or parchment paper (optional, for the stencil)

-Scissors (optional, for the stencil)


Make it:

1. Draw the outline of a skull (teeth, nasal cavities, eye sockets) on the stencil paper, then cut out the pieces. Insert a piece of scrap paper (like a paper grocery bag) between the layers of the T-shirt and lay it flat. Lay the stencil over the front of the shirt. (Note: If you're feeling brave, skip the stencil and freehand the design on the shirt.)


2. Squeeze out some glow-in-the-dark paint and generously sponge it onto the front of the T-shirt.


3. Cover the whole design evenly!


4. Peel off the stencil and let the paint dry completely.


5. Then slide out the scrap paper from between the layers and wriggle yourself in there instead. In other words, try on you shirt and find the light! (And pack a flashlight in order to recharge as needed throughout the witching hours.) I tried to take a cool picture of the glowing shirt in the dark, but alas, it proved too challenging for my weakling camera. But it looks SO ghoulishly good.


Craft on! Click here for today's daily giveaway!

T-shirt Covered Notebooks

Tuesday, September 21, 2010


Back-to-school means fall fashion and outerwear in some circles, but here, we're talking about the style inside your backpack. Take those old worn-out T-shirts languishing in the bottom of your dresser drawers and put them to work!


Materials:
-Old T-shirt
-Scissors
-Composition notebook or sketchbook
-Aleene's Super Thick Tacky Glue
-Squeegee-like hand applicator


Make it:

1. Lay the notebook open on the T-shirt (preferably over the logo or design you'd like to feature). Cut through one layer of the T-shirt, about 2" outside the edge of the notebook.


2. Lay the T-shirt panel face down on your work surface. Apply glue liberally to the cover of the composition notebook.


3. Spread the glue evenly across the cover. Be sure to reach the edges, but avoid getting any glue on the pages!


4. Fold the T-shirt fabric over the front cover and press it evenly into the glue.


5. Flip the notebook over and spread glue over the spine and the back cover. Then pull the remaining T-shirt fabric over the back cover, smoothing any wrinkles. Let it dry flat.


6.
Trim the excess fabric to the edges of the notebook cover. With glue, touch up any edges that are pulling away from the fabric.


7. Repeat with tie-dye T-shirts, old concert shirts, your favorite (but threadbare) sports jerseys, and so on...until your notebooks and sketchbooks are as stylin' as the person who carries them!


Variation: If you don't have that perfect T-shirt with the perfect text on it (like the Dancil-McGriff Family Reunion "Fun in the Sun" from August 31, 1999 that I found at a thrift store in Florida), make your own! Use iron-on letters to express whatever sentiment you're feeling. Announce your alliance to a particular sports team, school subject, or just claim it as your own by spelling your name across the front.

Craft on! Click here for today's daily giveaway!