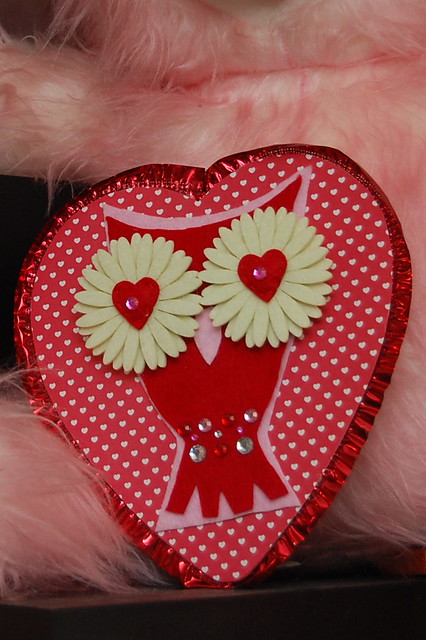
Make a Valentine's Cupcake Wrapper Flower Bouquet
Margot Potter for iLoveTo Create
You will need red and white polka dot cupcake wrappers (72 large, 72 small, each flower is made of two stacks of six in alternating colors and coordinating prints. I scored mine at Michaels) Cut petals from matching cupcake wrappers, four for each flower. Red cardstock makes the center of each flower, two for each. Green bamboo or painted wooden sticks for stems. Print "i love you" in Sweetie Pie font size 12 in various languages, four phrases per flower.

The small flowers are stapled into two stacks of six. The larger are two six stacks back to back for a total of 12 wrappers, you need to staple the larger wrappers twice, leaving just enough room for the stem to slide inside.

Each flower has a punched red tag in the center, on both sides! 

Cut 4 leaf shapes per flower.

Write 'i love you' in Sweetie Pie font in several languages. I used English, French, German, Japanese, Spanish and Italian.Cut out words leaving a small border.

Cut fringe around edge of wrappers, make sure it isn't so thin it's fragile or so thick it's clunky.

Use Aleene's Tacky Dot Runner to attach two leaves at top left on both sides of each flower.

Use Aleene's Tacky Dot Runner again to adhere the smaller cupcake layer on both sides.

Now attach your punched center and printed "i love you's"with the Tacky Dot Runner.

Insert your sticks in between staples in flower centers, fluff fringe using fingers to bend it. Take your time so you don't rip the fringe!
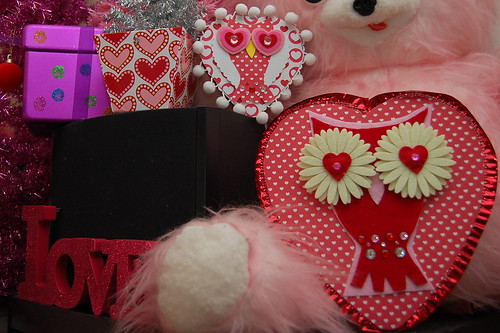
Now make a half dozen, tie with a ribbon and...
SHAZAM!

Now make a half dozen, tie with a ribbon and...
SHAZAM!