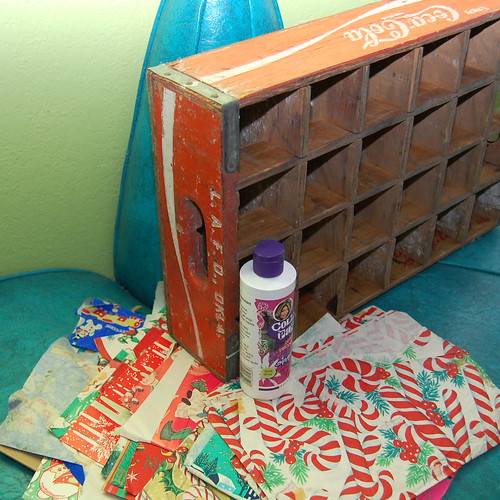
Today over on BlogHer I spotlighted a post from Life as a Thrifter about an advent calendar in a Cocoa-Cola crate. The idea was so stinkin' cute I decided to make my own version. My soda crate has taken many forms from magazine holder to craft paint storage, but I think perhaps this new holiday spin is my favorite.
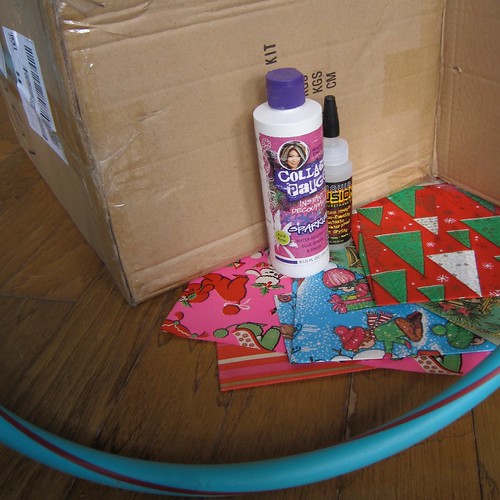
SUPPLIES
24 Small Nails
Hammer
Tape
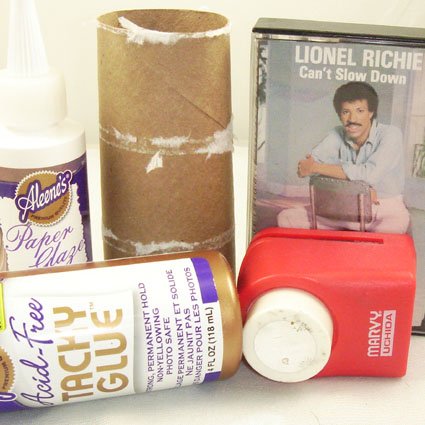
Aleene's Tacky Glue
Wrapping Paper
Tim Holtz Hinge Clips
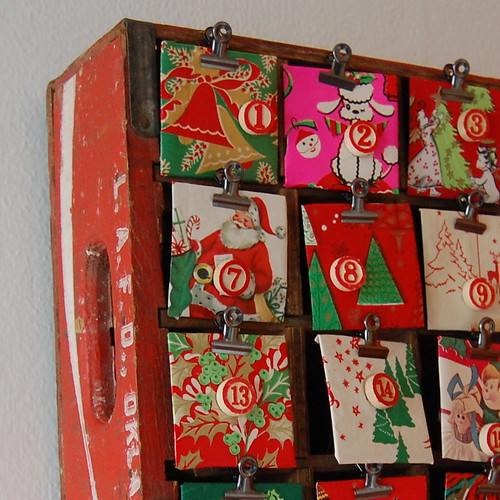
Coca-Cola Crate
Cardboard or chipboard
Scissors
Small Gift Tags
Pen
24 Small Gifts
Tim Holtz Bingo Game Pieces
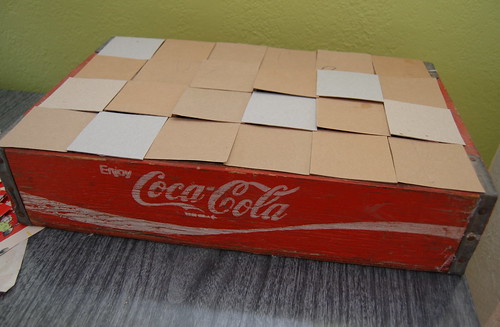
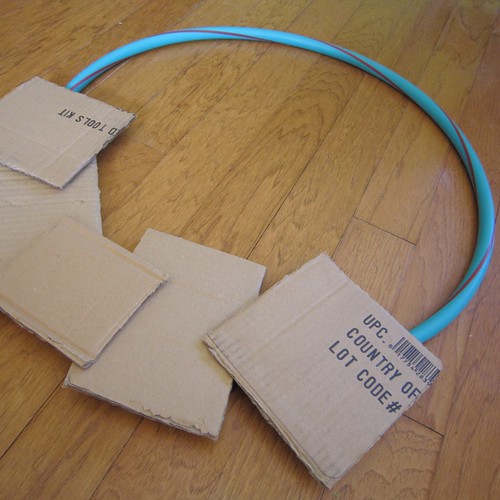
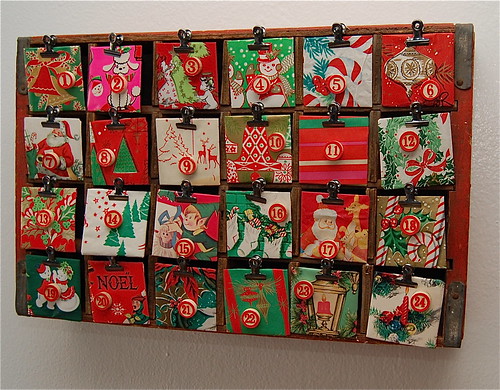
First of all I measured the size of the 24 squares in my crate. Well ok, this is me we are talking about. I didn't really measure anything I just eyeballed it. Once I had a template I cut out 24 pieces of chipboard and cardboard.

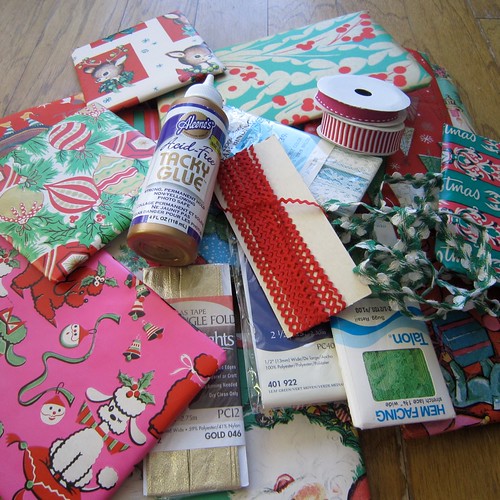
I'll take any excuse to craft with my stash of vintage wrapping paper. In years past I have made wreaths and lamp shades, I even have some framed. I selected 24 styles and cut them into squares slightly larger than my cardboard pieces. The next step was to wrap my squares like gifts. I used tape on the backside. You could also use Collage Pauge and decoupage the paper down.

Using Tacky Glue I adhered small polka dotted gift cards to the backsides to give them a finished look. I realize I have Liquid Fusion in the picture, but trust me I used Tacky Glue.

Oddly I have oodles of these small wooden bingo numbers that are vintage. Alas, I did not have 1-24 so luckily I picked up a new batch at the craft store. You could also use the foam sticker numbers. I used Tacky Glue to attach the chips and set aside to dry.
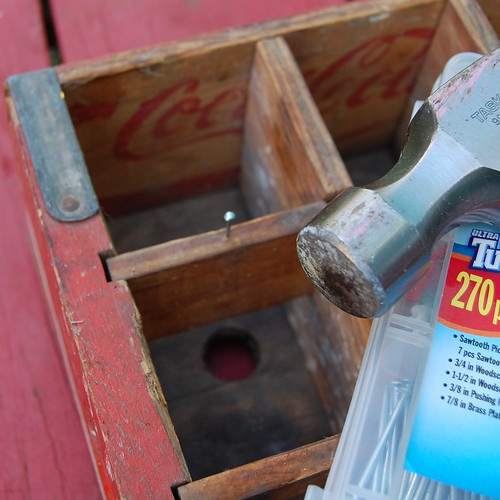
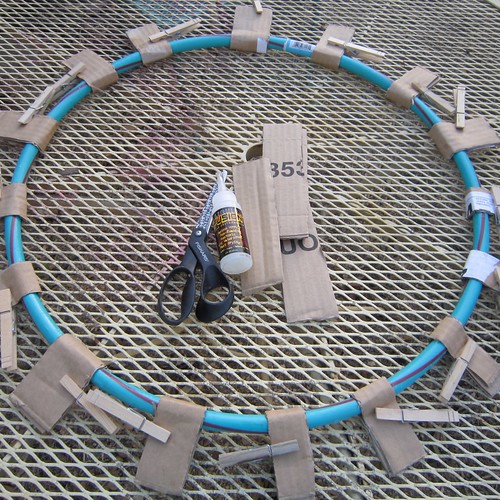
While my paint dried I took my crate outside and hammered in 24 small nails in the top center of each compartment.
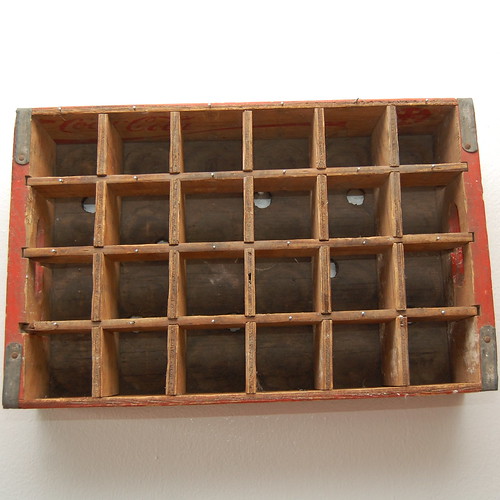
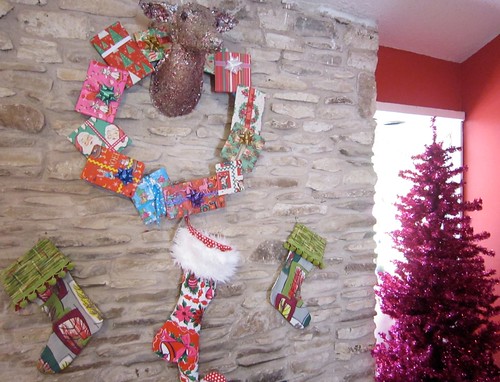
Hung my crate with nails in my dining room up high so there could be no peeking once I filled the little cubbies with small toys, candy and treats.

After my bingo numbers were dry I hung each card by a small clip. Mine are from the scrapbooking aisle, but the office supply store has plenty of cute colorful options as well. You just want to make sure there is a small hole in them to hang from your nail.

Once each compartment is filled with treasure, bible verses, pieces of paper that say "hooray today we are going to make a gingerbread house" or what have you hang your cards in numerical order.
Each day (starting today on the 1st) you and your child remove the appropriate hanging card and see what present or adventure awaits. This fun activity not only helps build anticipation for Christmas (like you need help with that) it also helps to teach numbers and for the older child dates.
I need to make a trip to the Target dollar spot and load up with holes with loot!
Visit us on Facebook!
Craft on!