It's the month of love! So I decided to create a necklace expressing one of my loves, music!
I started out gluing the three hearts together using Aleene's All Purpose Wood Glue. Next, I painted them one solid color.
Once the paint was still wet, I then covered my pendant in Crafty Chica glitter. I made sure to have a paper underneath, to capture the excess glitter.
I found some really cool sheet music in my parent's art room. I tore it up (which was extremely hard for me!!) into small pieces, and used Glossy Collage Pauge to seal it.
Here is my finished necklace!!
Visit us on Facebook!
Craft on! Click here for today's daily giveaway!
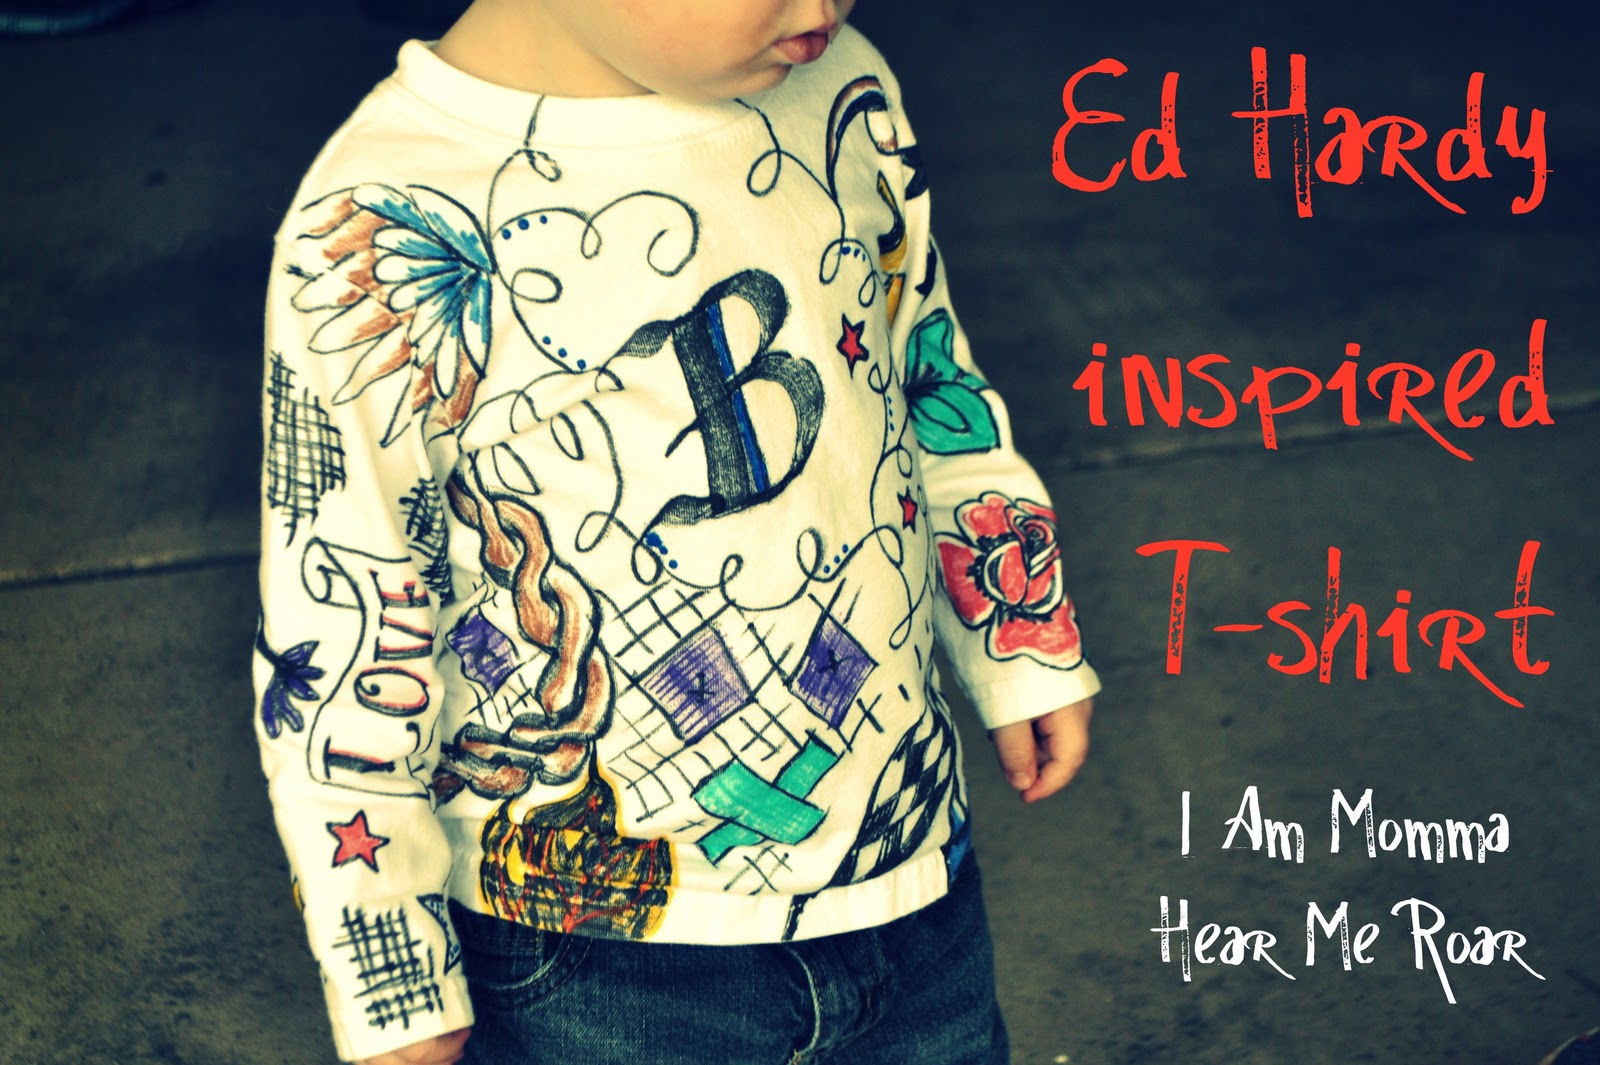
Ed Hardy-inspired T-shirt
at 5:30 AMHello everyone! It's Cheri from I Am Momma - Hear Me Roar and I have a fun, wild project for you today. I was really anxious to do more with my Tulip fabric markers, so I took some inspiration from Ed Hardy to make this t-shirt for my little guy.
I got out a plain white t-shirt, my Tulip fabric markers, and the Fashion Graffiti Big Phat Markers. Then I started to play.
I drew all over, looking at the Ed Hardy t-shirts for ideas.
Lastly, I filled in the designs with some color. Then I kept adding more details until I was happy. The markers are so fun and easy to use.
Then I tried the shirt out on my little man. It's wild and fun, but it can also be tamed by pairing it with a sweatshirt or a short sleeve shirt over the top of it.
Visit us on Facebook!
Craft on! Click here for today's daily giveaway!
Beach Blanket Lingo Frame
at 12:00 AMMaterials List
- Aleene’s® Acid-Free Tacky Glue™ Glue Sticks
25525 Acid Free Glue Sticks 2PK 8g - Aleene's® Paper Glaze
-
Miscellaneous
- Scrapbook paper
- Sea beads
- X-Acto® knife
- Cardstock (multiple colors)
- Scissors
- Design punches
- Shadowbox frame
- Paper towels
Instructions
- Using desired design punches to create beach theme, punch out from colored cardstock paper.
- Cut pieces of other cardstock paper large enough to mount on photos.
- Use Acid-Free Tacky Glue® Glue Stick to mount photos onto cutout cardstock.
- Position mounted photos onto selected background scrapbook page.
- Once pictures are positioned in desired areas on background page, use X-Acto® knife and small slits in background page underneath the mounted pictures. Place corners of mounted photos in the slits in the background page.
- Tear off a long edge of another piece of cardstock paper (keep jagged).
- Glue torn piece onto one side of the border of scrapbook page.
- Apply Paper Glaze to selected punched out designs. Immediately add sea beads. Let set. When dry, glue designs to background page in desired locations.
- Insert scrapbook page into shadow box frame.
Visit us on Facebook!
Craft on! Click here for today's daily giveaway!
Subscribe to:
Posts (Atom)