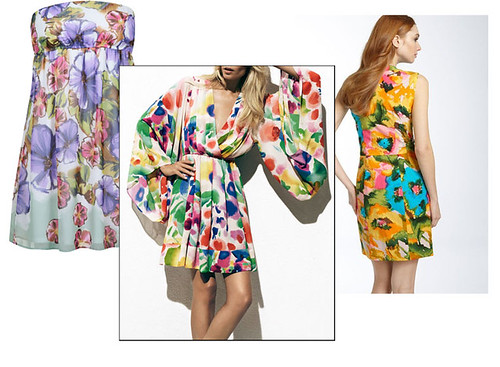
I see watercolor inspired dresses everywhere and I decided it was time to put my twist on this trend!

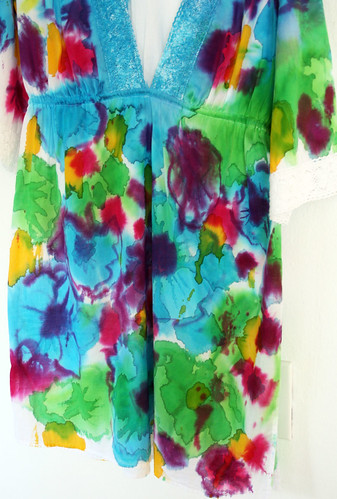
Because I love of tunics I had to transform a white tunic.
(this tunic is from the clearance rack at Target- yes, I love Target!)
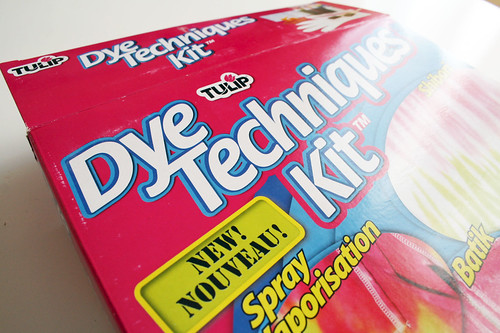
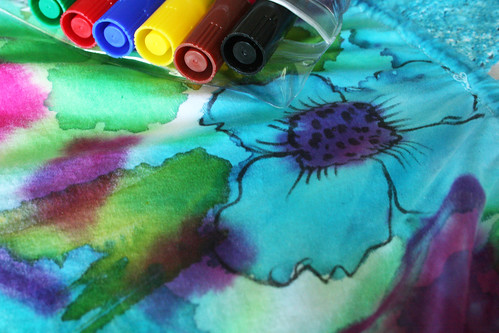
I used the Tulip dye from a Dye Technique Kit.
The Tulip dyes are one step dyes and are SOOO easy to use- just add water to the applicator bottles, shake up and use!
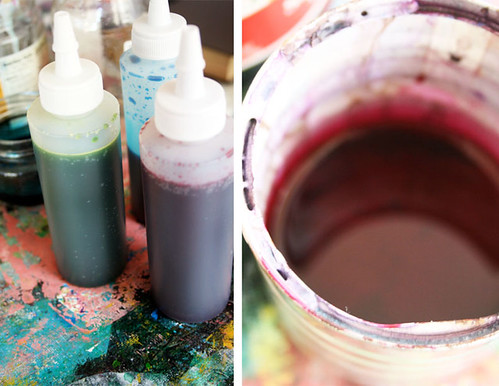
I took it a step further and mixed up different shades of dye in spare jars.
(For example I mixed turquoise and lime dye to make a new shade of green, fuschia and turquoise for a dark shade of purple.)
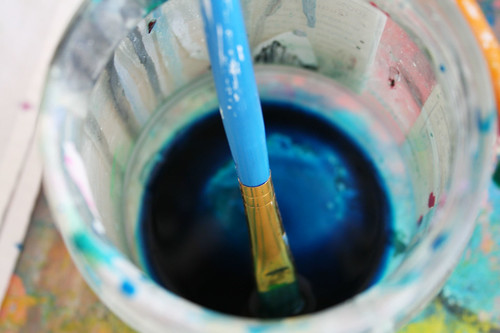
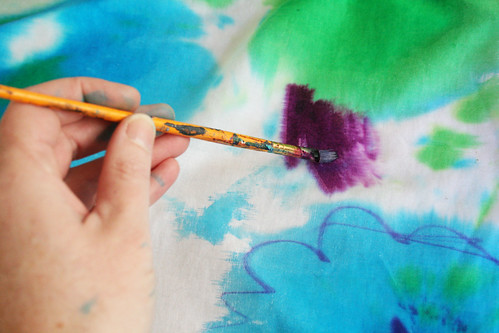
I prefer to use dye like I use paint- with a brush.
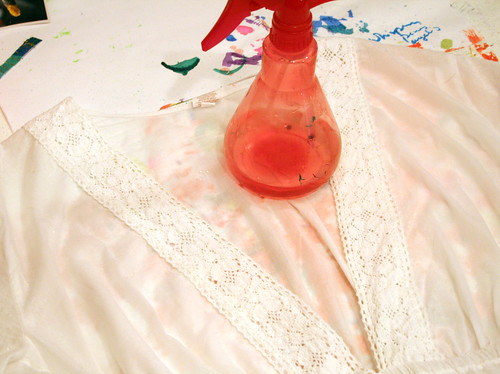
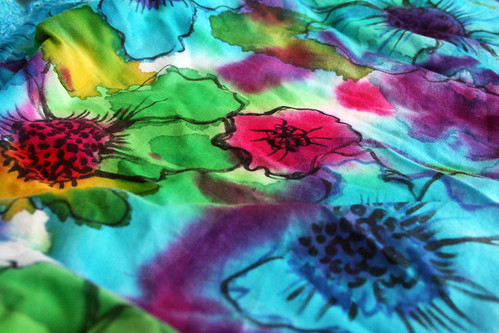
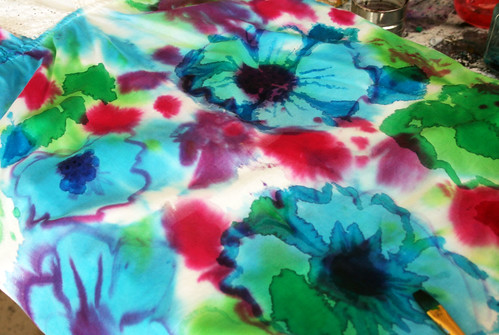
I started by wetting down areas of the surface- this causes some of the dye to bleed and you get that nice watery look.
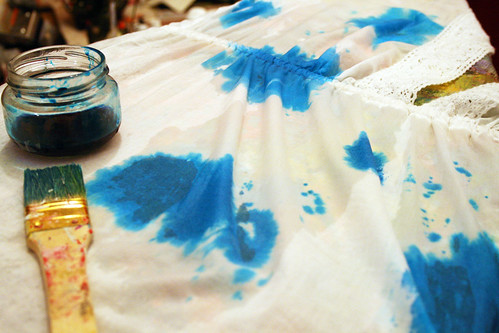
I began to paint splotches of color all over the tunic.
I varied the size, shape and color of the splotches.
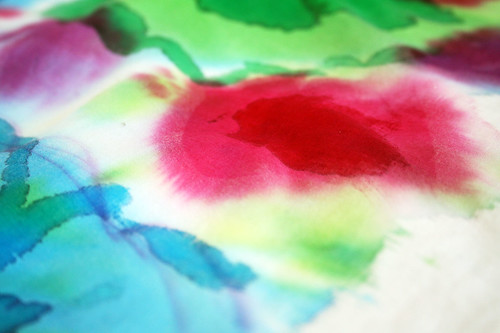
I let them bleed into each other.
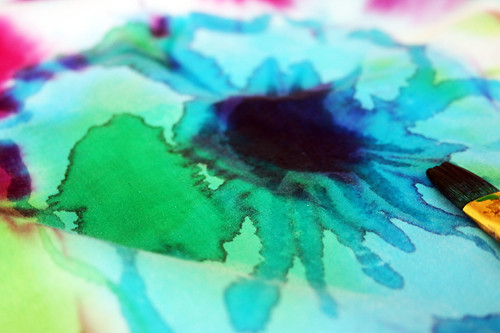
I went back and added details with a darker shade of dye.
I covered the entire surface but held on to some areas of the white tunic for variation and contrast.
At this point the tunic could have been finished but I wanted to add a little more detail so I let everything dry overnight- yep that is all you have to do- just let the fabric dry 4-6 hrs and then wash...SO EASY!!
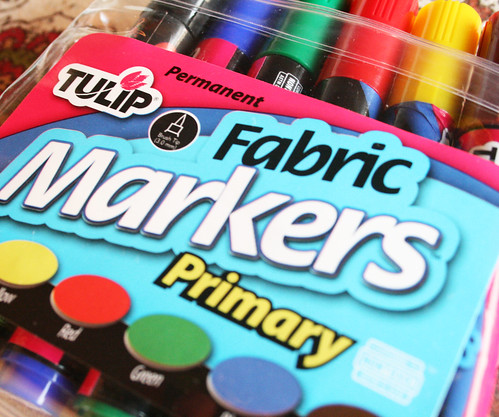
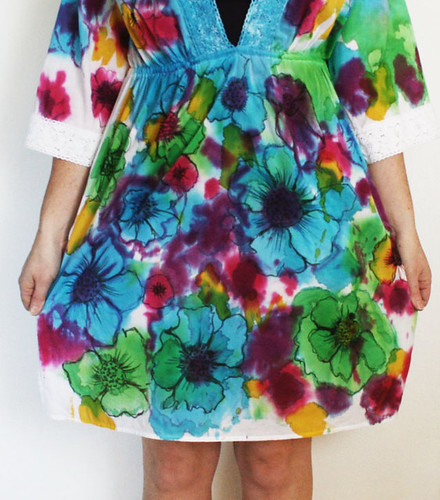
Once it was washed and dried I use fabric markers to go back into the dress to add details.
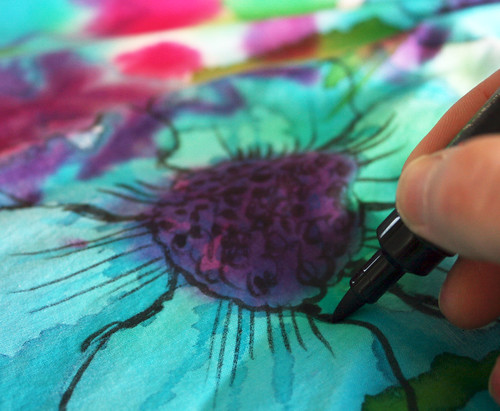
I outlined the flowers with different colors and added small details.
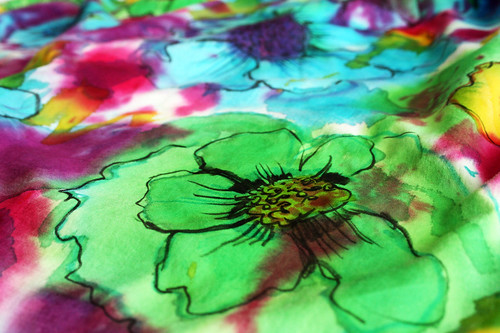
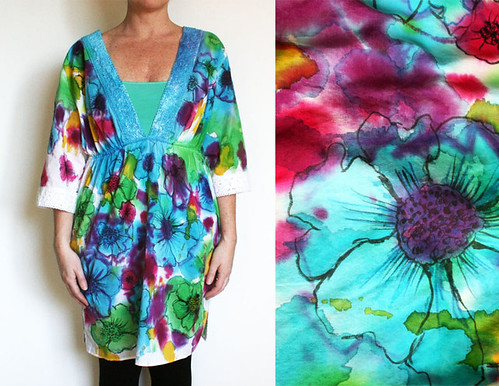
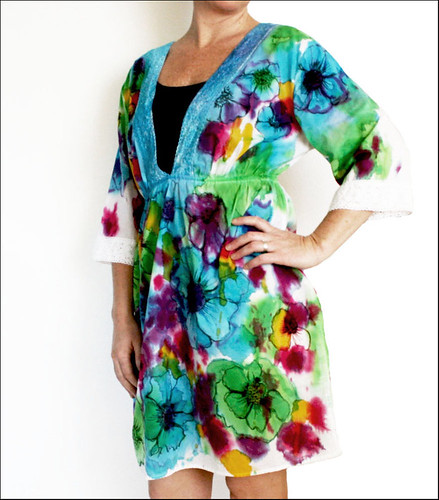
The end result is a SUPER colorful, watercolor inspired tunic perfect for the last few days of summer!