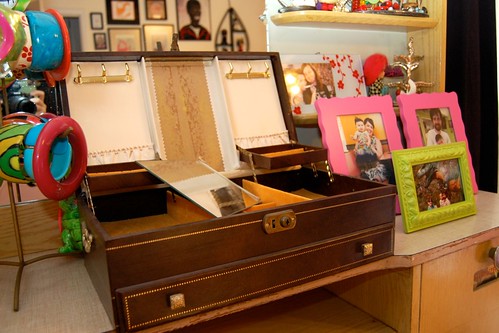
This is not my first time at the jewelry box re-vamping rodeo. Once upon a time I even sold them on my website. Lately, I have spotted several cute recycled jewelry boxes on Pintrest and Etsy that have my creative juices flowing. Flowing so much in fact I decided to revisit my stash of vintage jewelry boxes and see if I couldn't come up with something new and improved. My jewelry collection is always overflowing and I can never have too much cute storage for it.
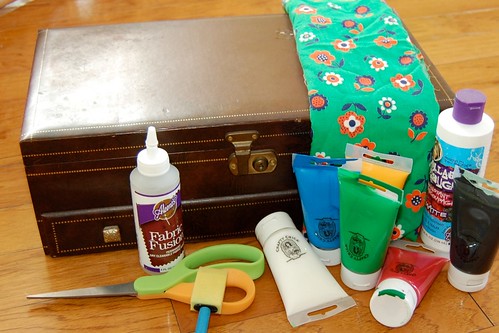
SUPPLIES
Jewelry Box
Crafty Chica Paint
Scissors
Paint Brush
Aleene's Tacky Glue
Fabric
Collage Pauge
Rick Rack
Pliers
At least every other trip to the thrift store I spot an old jewelry box begging for a face lift. I happen to have a small stockpile in my studio of a few that have called my name through the years. I opted for a large dark brown dude from the 1960's to re-do.
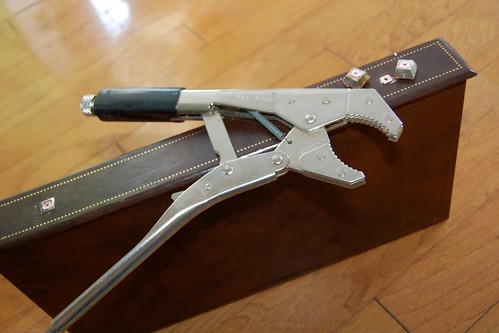
The only priming I did was to remove the drawer pulls. I needed a pair of pliers for this.
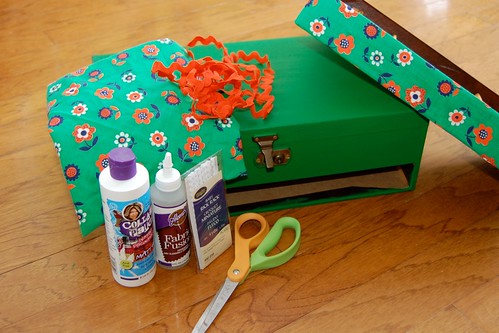
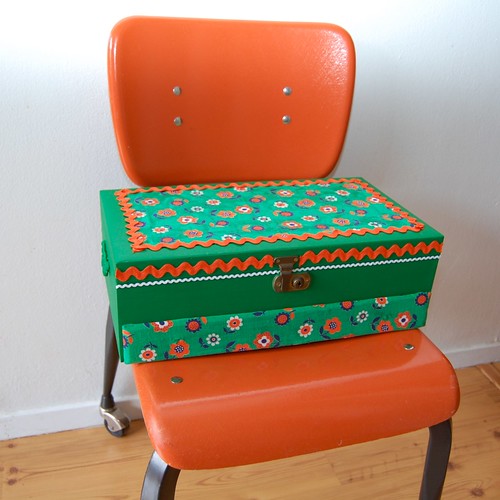
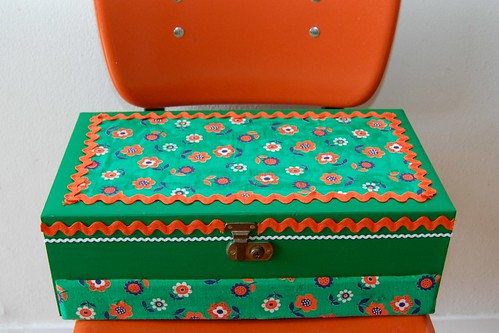
The first thing I did was using Crafty Chica Paint and a sponge brush applied several coats of green paint. Allow your paint to dry completely between coats.
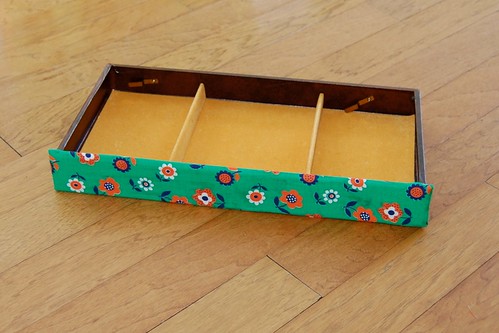
Once my paint was dry I used Collage Pauge to apply my fabric. I re-covered the drawer in my vintage fabric and added a large rectangle of fabric on the lid.
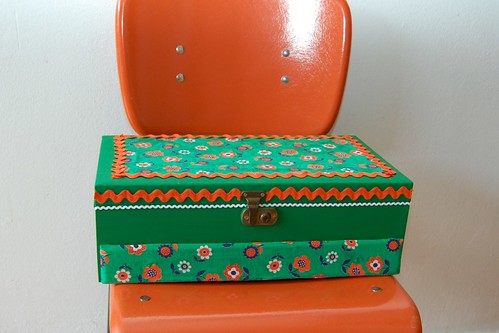
Paula Deen thinks everything is better with butter and I happen to think everything is better with rick rack. I applied the rick rick with a combo of Fabric Fusion and Quick Dry Tacky Glue depending on what surface the rick rack was touching.
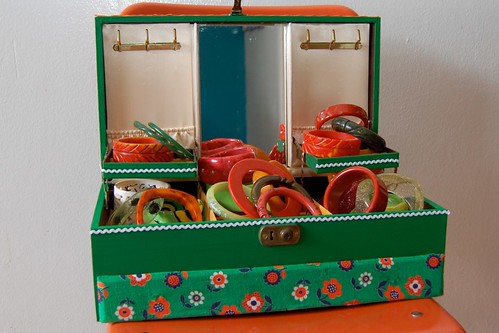
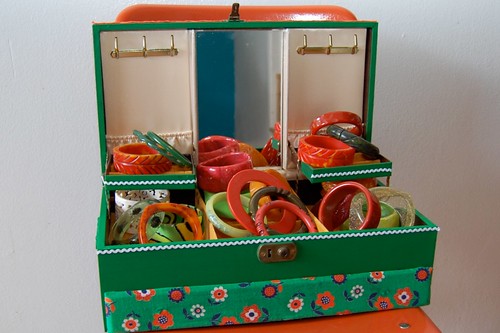
My new and improved jewelry box houses my Bakelite collection perfectly. I like the idea of being able to color coordinate my jewelry with my jewelry box. Ya, I've been accused of being too matchy matchy in my day - so what.
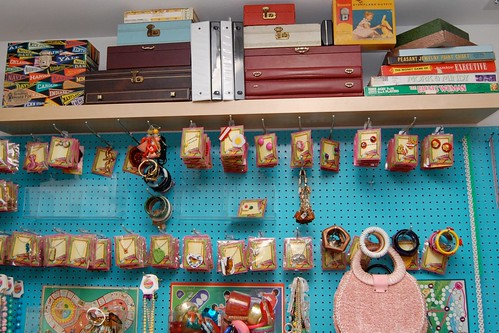
Check out more I Love to Create posts here. Be sure to check out my series on jewelry displays and boxes - Journey Through a Jewelry Box Flickr Faves, How Ya Hanging - Jewelry Displays of Crafty Ladies, Jewelry Displays in Books and Making Your own Jewelry Display.

Visit us on Facebook!
Craft on! Click here for today's daily giveaway!


