Showing posts with label Easter. Show all posts

Make Your Own Easter Themed Window Clings

Friday, March 8, 2013

Each holiday involves window clings around these parts, Easter is no exception. I usually buy a set from Target or Walmart, but this year I decided to make my own.

I have seen this project done before using Tulip Slick Paint, but I opted for Scribbles.


SUPPLIES
Vintage Embroidery Pattern
Scribbles Paint
Wax Paper

If you wanted to get really technical you could add internet, printer, paper and ink to that supply list. I love Doe-c-Doe she always has cute things and vintage embroidery patterns. You might recall that I have a thing for using embroidery supplies for projects that do not involve embroidery. This blog post is no exception. My daughter recently received a kit to make your own window clings that inspired me. Her's involved some thick paint, a waxy see through sheet of paper and patterns to trace. Hmmm, my creative wheels started turning.

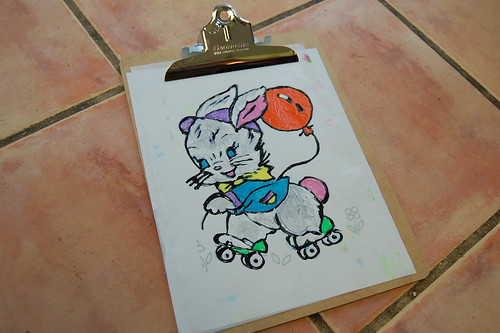
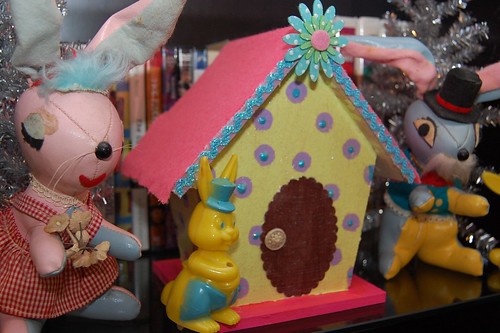
I printed out a pattern from Doe-C-Doe that was a rabbit on roller skates. Perfect for Easter and it also matched my roller skate bookends. I put a sheet of wax paper on top of the image and stuck it in a clip board. Next I outlined the image in black paint and waited for it to dry.

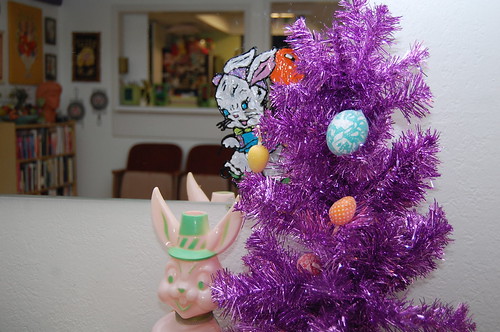
Once the black paint was dry it was time to fill in with color. Let me warn your that the paint takes 24 hours(ish) to dry. In other words this project takes 48 hours. I filled in the black outline with various colors of Scribbles paint. Make sure the paint is thick enough to color the entire picture.

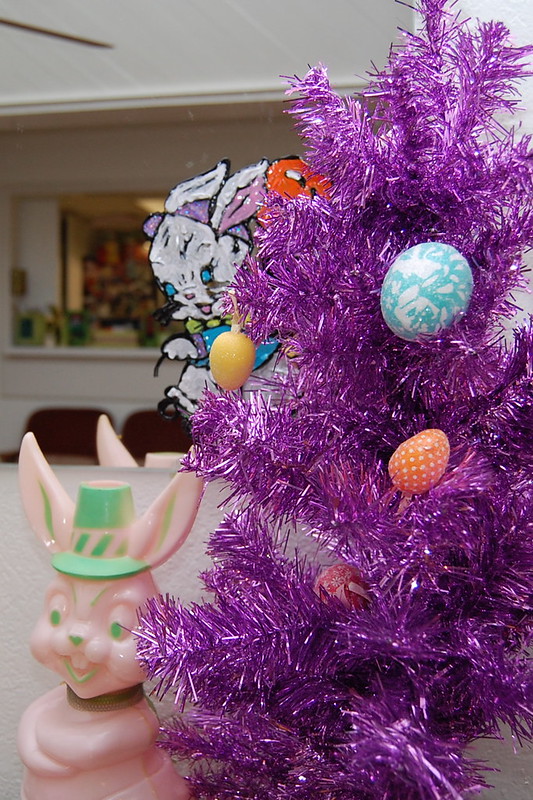
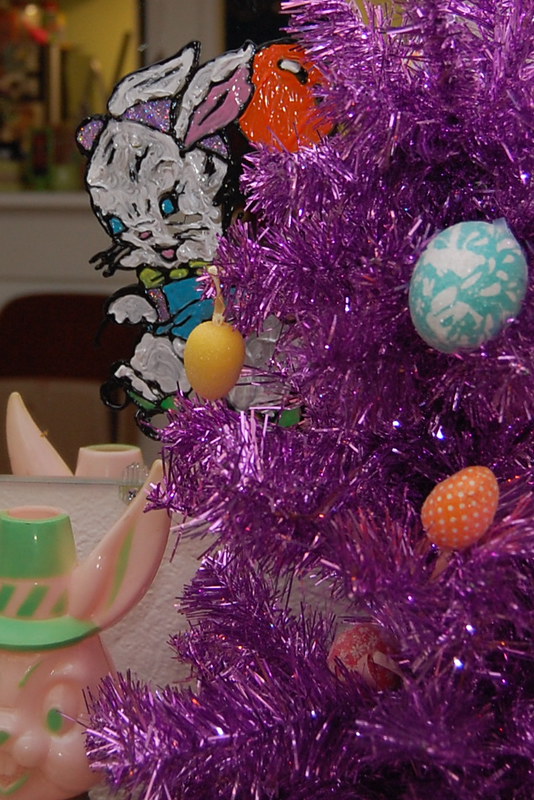
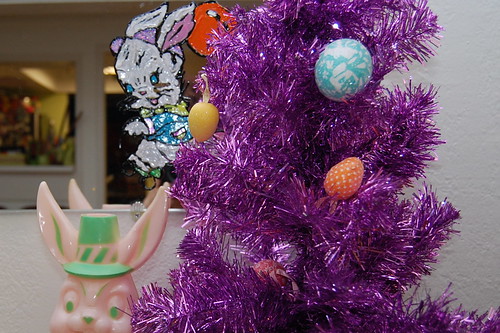
I put my window cling on a mirror, but he would also look spiffy on a window with the sun shining through. I put the cling on the wax paper in the freezer for a bit first. Once the cling was cold it peeled right off the paper and onto my mirror.

Easter Bunny House

Thursday, February 28, 2013

Easter is right around the corner. Are you ready? Sure St. Patrick's Day comes first, but they are only separated by a few weeks so I'm going straight to bunny town.

One of my favorite designers that regularly contributes to Kids Crafts 1-2-3 is Karen Sierre of Midwest Maude. For Issue #2 she converted a little wooden bird house into a gingerbread house. I decided to take her idea and tweak it into an Easter Bunny house.


SUPPLIES
Aleene's Tacky Glue
Paint Brush
Paint
Sparkle Collage Pauge
Easter bunny figurine
Felt
Rik Rack
Sheet of card paper
Small button

Using Easter hues paint your bird house. I wanted the back of my birdhouse to the be the front. In other words the hole and wooden bird perch will be on the backside.

I made a small scalloped edge door out of card stock and painted it brown. Once all the paint is dry use Collage Pauge to adhere your door. I opted for sparkle and gave the entire thing a coat.

Once your Collage Pauge has dried you can start adding all the fun embellishments. I went with rick rack, pink felt, polka dotted flowers and a vintage button door knob. I used Aleene's Tacky Glue to attach everything.

I think Mr. Bunny looks pretty smitten with his new digs. I know I'd love a sparkly polka dotted house.

Happy Easter! Cool2Craft TV

Friday, February 22, 2013

Join us for a new episode of Cool2Craft TV February 25, 2013 - the Cool2Craft team is sharing some fun new Easter crafts! Tiffany is creating Embellished Eggs featuring Aleene's Fast Grab Tacky Spray and Heidi is crafting Sock Egg Chicks with Aleene's Flexible Stretchable Glue.


Learn new techniques, chat with us while watching the show and ask questions about all your favorite Aleene's products!

Airing Monday February 25, 2013 9 am Pacific/10 am Mountain/11 am Central/Noon Eastern.

How do you join us? Go to Cool2Craft.com and you'll see the link to the Livestream player and chat box where you can join right in. See you in the chatroom on Monday or drop by anytime this week to watch these cool video tutorials!

Visit us on Facebook! Watch our video tutorial archives on YouTube! Get creative! Get inspired! Be cool!