Showing posts with label spring crafts. Show all posts

Decorate an Umbrella with Fabric Paint!

Tuesday, April 23, 2013

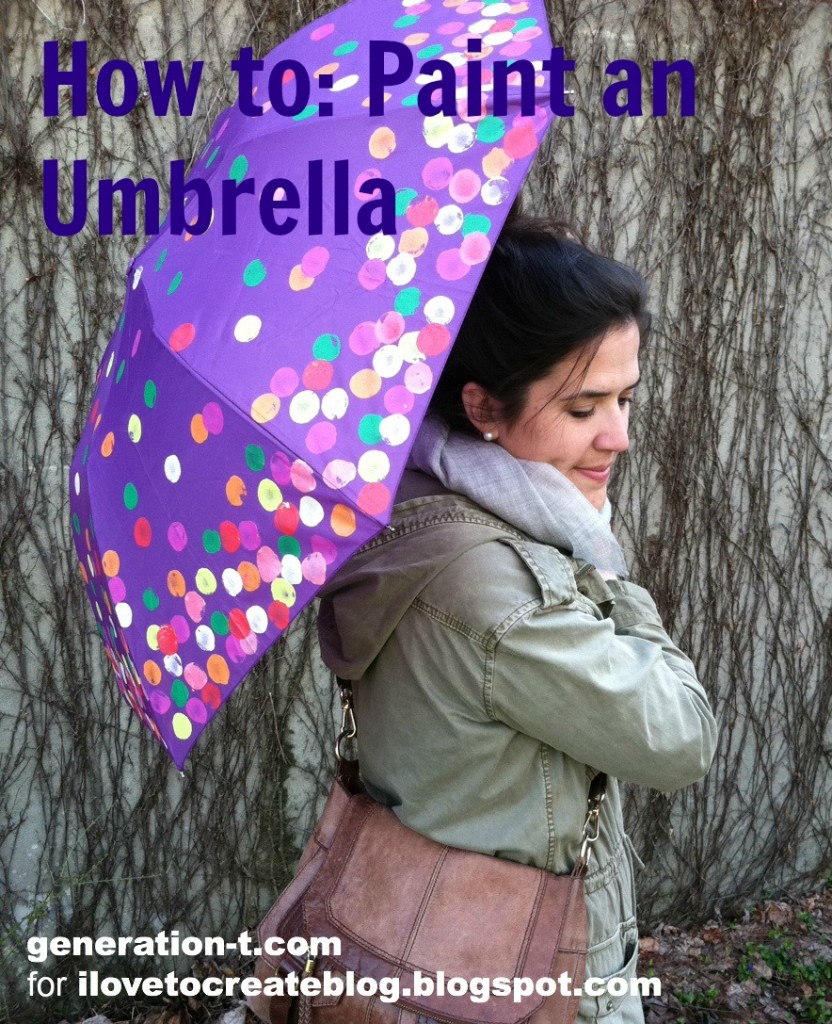
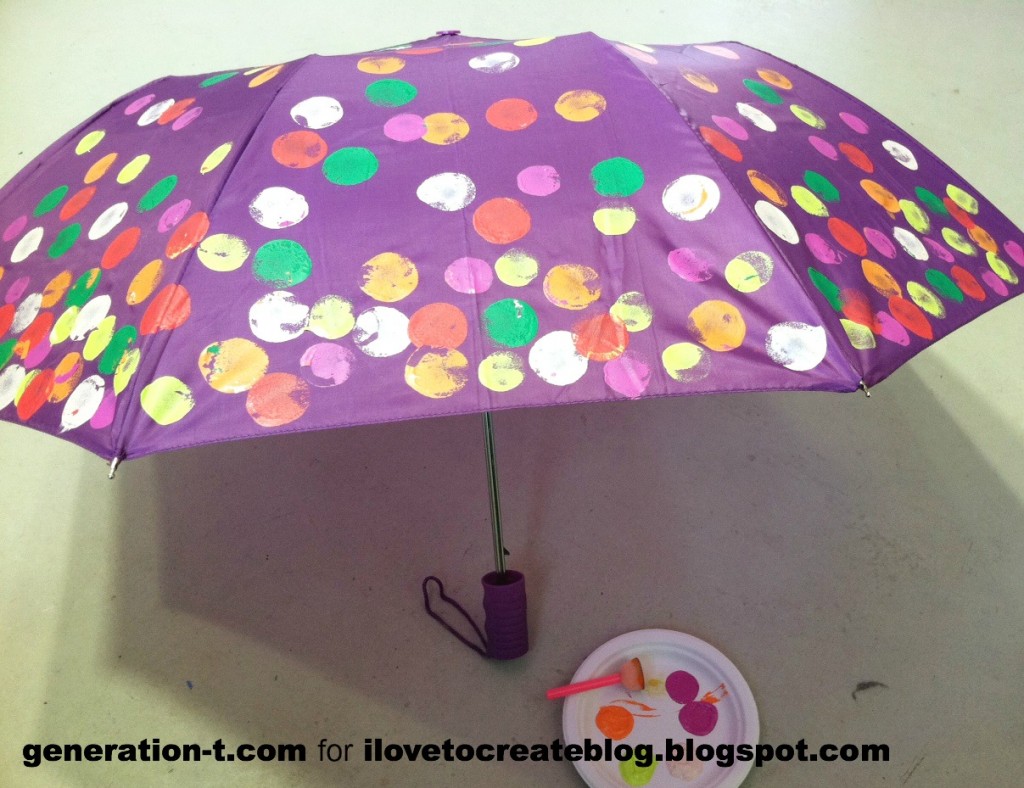
They say that April showers bring May flowers. And in some parts of the country this year there've even been April flurries to herald in the blooms! While Mother Nature keeps us on our toes, here's a colorful springtime project that really brings the flowers when it rains. It's just one of a slew of ways to decorate an umbrella with paint (because let's face it, sometimes a purple umbrella isn't quite bright enough). It's part pop art (a gumball machine!), part impressionism (Monet's gardens at Giverny) -- and a whole lot of color to brighten any dreary day! We often think of fabric paints in the context of T-shirts and other wearables, but it's fun to experiment with paint on other fabric-based surfaces: embellished pillows, couches, canvas director chairs, curtains, and...umbrellas!
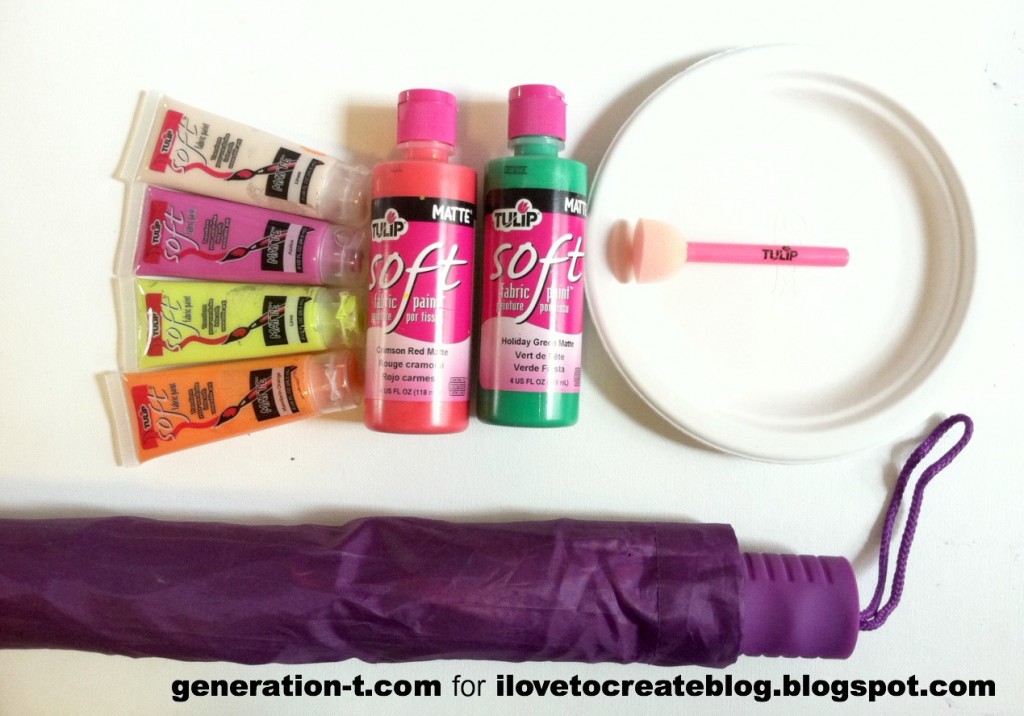
What you need:
-a plain umbrella
-Tulip Soft Fabric Paint in a variety of colors 
(I used Azalea, Lime, Mandarin Orange, Linen, Crimson Red Matte, and Holiday Green Matte)
-Tulip Sponge Pouncers (foam paintbrushes)
-paper plate (to use as a paint palette)

Check out the how-to video I did for About.com, or scroll down to follow the step-by-step photos.

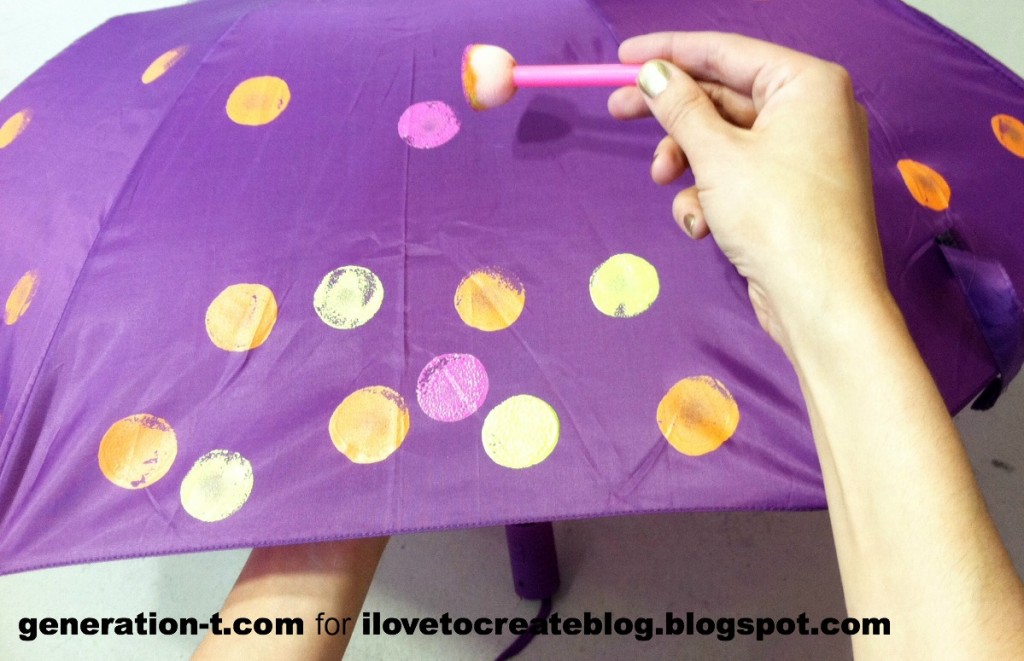
Open the umbrella (I know it's considered bad luck, but you'll have to get over it -- or take the project outside if the weather's nice!). Squeeze one paint color onto your palette and use the pouncer to start making dots around the perimeter of the umbrella. Make them close together at the bottom of the umbrella and space them farther apart toward the top.
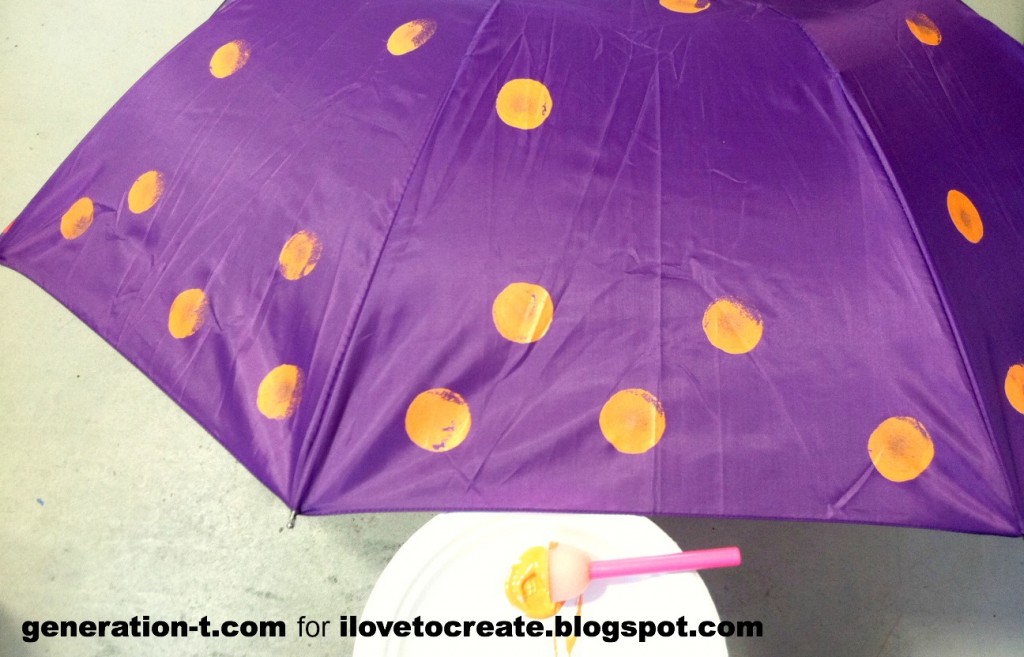
Wash and dry the pouncer before changing colors, or start with a fresh brush. Squeeze out a new dollop of paint and press dots around the base of the umbrella, interspersed with the first color. Reinforce the fabric surface on the inside of the umbrella with your other hand (just slide it under, palm up).
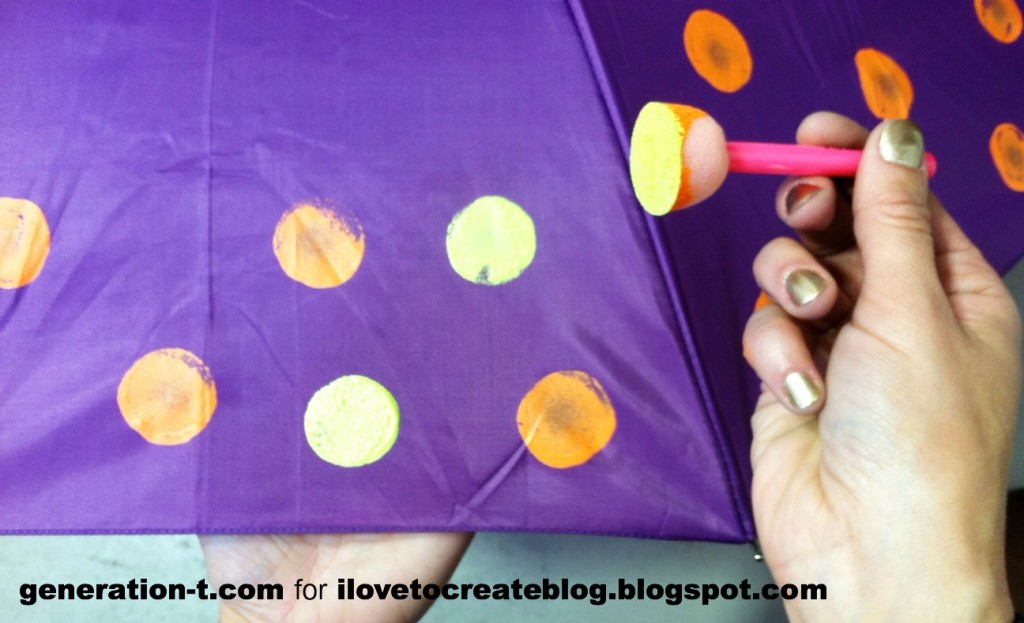
Continue to add colors the same way, and your "garden" will grow more and more lush. It's repetitive, but incredibly meditative, too!
When you've added all of your colors, let the umbrella fabric dry completely. Now that you've completed this "rainy day activity," you can take part in a new one: go outside with your umbrella and jump in the puddles!
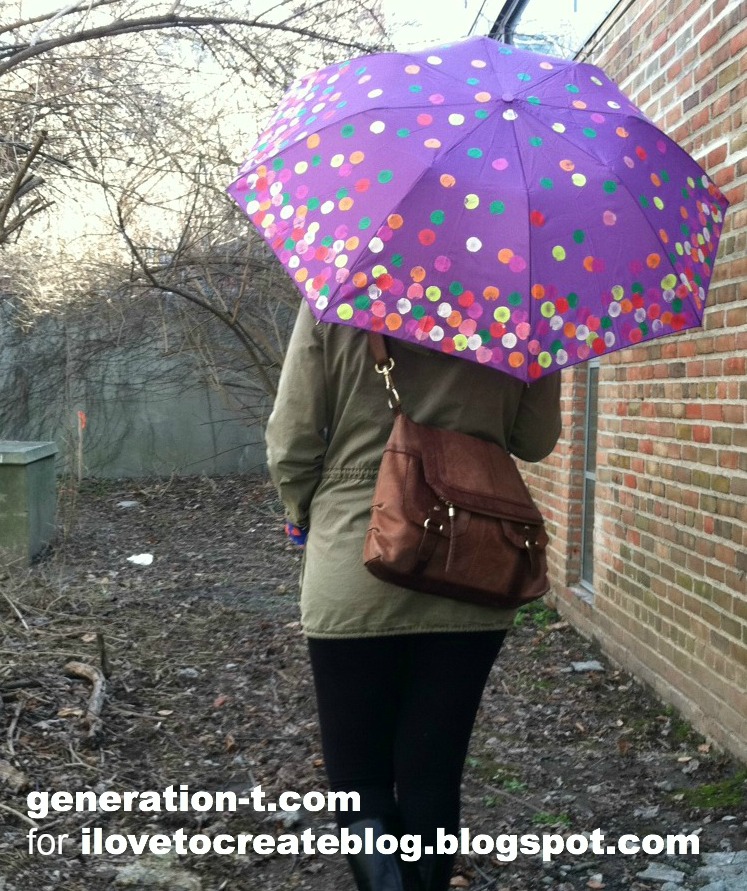
It's a nice vibrant splash of color while we wait for the flowers to poke through.


Happy Easter! Cool2Craft TV

Friday, February 22, 2013

Join us for a new episode of Cool2Craft TV February 25, 2013 - the Cool2Craft team is sharing some fun new Easter crafts! Tiffany is creating Embellished Eggs featuring Aleene's Fast Grab Tacky Spray and Heidi is crafting Sock Egg Chicks with Aleene's Flexible Stretchable Glue.


Learn new techniques, chat with us while watching the show and ask questions about all your favorite Aleene's products!

Airing Monday February 25, 2013 9 am Pacific/10 am Mountain/11 am Central/Noon Eastern.

How do you join us? Go to Cool2Craft.com and you'll see the link to the Livestream player and chat box where you can join right in. See you in the chatroom on Monday or drop by anytime this week to watch these cool video tutorials!

Visit us on Facebook! Watch our video tutorial archives on YouTube! Get creative! Get inspired! Be cool!

iLoveToCreate Retrofabulous Crafts: Spring Fever Necklace and Magnet Card

Monday, March 5, 2012
Visit us on Facebook!
Craft on!

Retrofabulous Crafts
Spring Fever Magnet Card with Butterfly Necklace Set
Margot Potter for iLoveToCreate
“These are your grandmother’s crafts, ya gotta problem with that?”


In my stacks of vintage craft magazines there are lots of ads for ‘liquid embroidery’ which have intrigued me endlessly. I thought perhaps you could get the same effect with Tulip and Scribbles paints, and you can! Talk about a time saver! The first project is a super easy to make necklace using pre-cut  felt shapes embellished with metallic Glam-it-Up studs and connected with jump rings and the second project is a card with a fridge magnet attached. I thought these would make a perfect spring cheer gift for a friend. Yes, this necklace is big and bold, which is totally my style, you can use smaller shapes to make something a little less over the top! Nothing says vintage to me more than felt and these cut felt shapes had my name all over them. You could easily use a die cutting machine to achieve the same effect.

Spring Fever Necklace Set

Materials

6 Genevieve Gail Boho Collection for Michaels felt butterflies (4 for necklace and two matching colors for earrings)
54 Tulip Glam-it-Up Iron-On Studs
Aleene’s Turbo Tacky Glue
5 14mm silver tone jump rings
2 10mm silver tone jump rings
Silver tone swivel lobster clasp
2 silver tone ear wires

Tools
2 pairs chain nose pliers
Plastic or cardboard for glue

1. Place a blob of glue on plastic or cardboard.


2. Use chain nose pliers to pick up studs, dip into glue and place on butterfly. Gently press down on the crystal to ensure it is adhered. I placed 12 on each butterfly in a coordinating color. See photo for placement.

3. Allow studs to dry completely.

4. Use two pairs of chain nose pliers to open and close your jump rings with tension. Here is a quick video tutorial on how to do this properly.

5. Add the smaller jump rings to the outer wings on the two end butterflies. Add the clasp to the jump ring on one end. Hang your earrings so you have a left and right earring, using larger jump rings connected to ear wires.


Card:
Materials
White pre-made card
Anna Griffen for K and Company Carmen Collection paper
Felt shapes in vibrant colors (Genevieve Gall Boho Collection) OR die cut your own out of felt sheets (2 butterflies, one cut out flower and one solid flower)
Tulip Slick 3-D Fashion Paint in deep turquoise
Tulip Beads in a Bottle in soft yellow
Scribbles 3-D Paint Pen in kelly green
Aleene’s Turbo Tacky Glue
Aleene’s Tacky Dot Runner
Aleene's Magnetic Tacky Dots

Tools
Fiskars paper cutter
Fiskars edge punch daisy

1. Cut patterned paper to fit front of card. Use paper edge punch to create daisy cut outs.

2. Adhere paper to front of card with glue dot runner.


3. Use paints to create dots and faux stitches on edges of felt shapes. Allow to dry!

4. Stack felt shapes and glue together. I glued the edges of the flowers back to back and glued the center of the butterflies together and to the card. The butterflies are slightly askew to show the color beneath. Place something heavy on top and allow to dry overnight.

5. Attach Tacky Glue magnet to back of felt.

6. Attach felt to front of card using glue dots.

Too Cute Easter Crafts

Saturday, February 27, 2010
Looking for a fab and fun new project to whip up for an easter basket or perfect Easter centerpiece? This month on our home site iLoveToCreate.com, we have three springtime projects that will get you in the perfect mood for Easter crafting!


Fuzzy Easter Friends
A tisket, a tasket, create these adorable friends for your Easter basket! Glue felt and fuzzy yarn to foam balls with Aleene’s® Fast Grab Tacky Glue™ for a project that’ll make you want to put all of your eggs in someone else’s basket.


Easter Celebration Paper Cones & Blown Eggs
Celebrate Easter with colorful décor! Turn scrapbook paper into a festive egg holder with Aleene’s® Original Tacky Glue® and add shiny embellishments with Aleene’s® Paper Glaze™.


Fluffy Fun Easter Bouquet
Create an Easter bouquet of fluffy fun! All you need is Aleene’s® Crystal Clear Tacky Spray™ and yarn in your favorite springtime colors to transform Styrofoam eggs into a charming centerpiece for Easter brunch or dinner!