Showing posts with label hawaiian. Show all posts

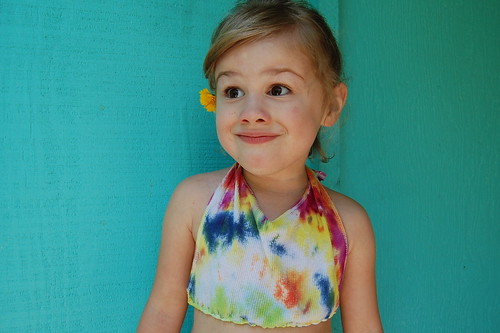
Tie-Dye Hawaiian Halter Top

Thursday, May 30, 2013


Today concludes my 3 part series on tie-dye hula gear for summer. We made a hula skirt, onesie with lei and today I’ll show you on to transform an old tank top into a tye-die halter.
SUPPLIES

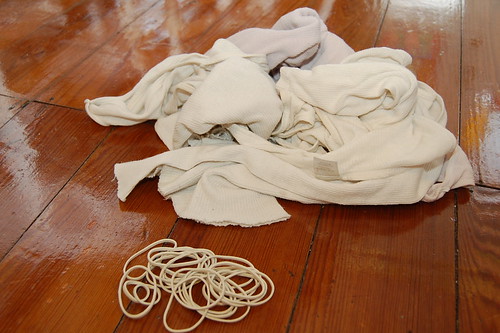
Tank Top

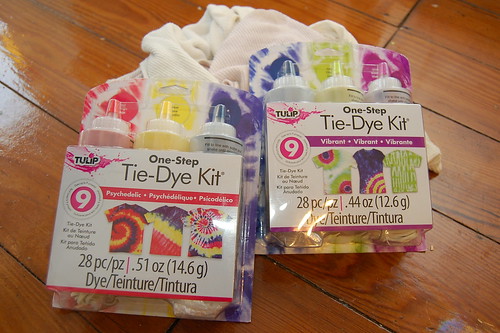
Tulip One-Step Tie-Dye Kit

Sewing Machine

Elastic

Scissors


This whole look was inspired by a post on Make It and Love It where the blogger made a fringed ombre skirt out of 3 different colored red shirts. This skirt inspired me to make a hula skirt for my daughter. Putting her in a plain T-shirt seemed like a shame so I tie-dyed another tank top and my sewing Goddess of a mother transformed it into a tank top.
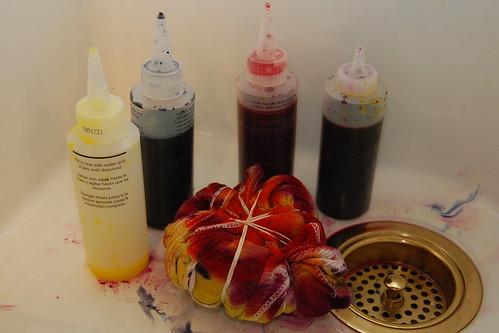
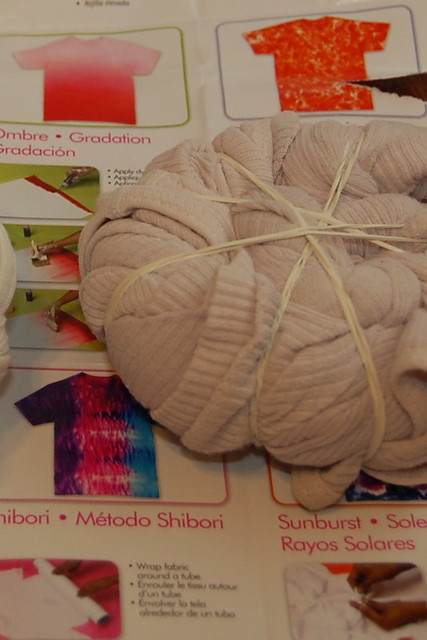
The Tulip One-Step Tie-Dye kit is super easy to use. The package comes with dye, rubber bands, gloves and a handy dandy guide to how to bind your shirt to achieve different patterns. I used old (adult sized) tank tops to create the halter and skirt. I went with a twisty multi-colored look. Once the tank had been dyed, washed and dried I set my mother to work on making a halter top.
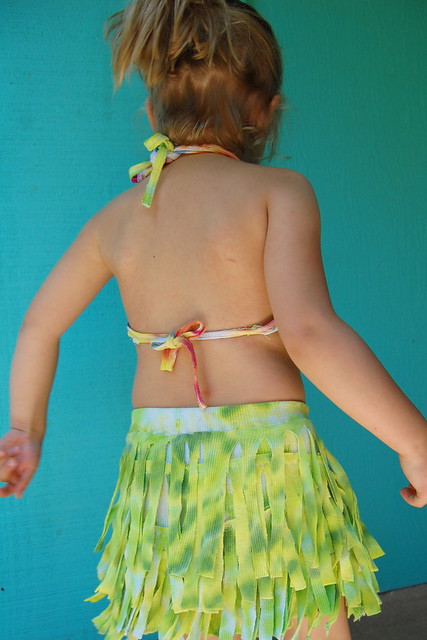
Cut a your tie-dyed tank top apart just under the arm holes.

Next, cut the back from the front where they are joined at the shoulders.

Finally, cut the back away where it is joined to the front under the arm holes.
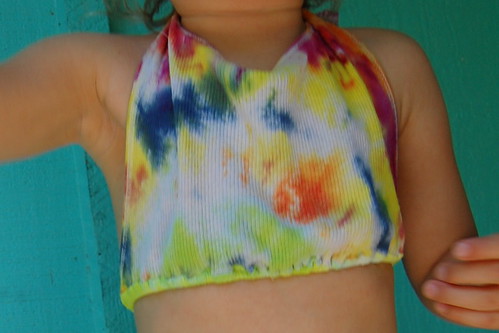
This will be the halter top. Use left over arm and neck binding for the neck and back ties. Trim them close to the finished edge. Fold what is left of the shoulder around a length of the salvaged binding. Do this for each side. Do the same for the back straps.

Finish the bottom of the halter with a binding made from long, two inch strips of the left over tank top. For a better fit, run thin elastic inside the binding. Tie straps around back and neck.

I suddenly feel compelled to make the cupcake liner leis on the cover of the latest issue of Kids Crafts 1-2-3 to finish off the complete outfit.

Tie-Dye Hawaiian Onesie

Tuesday, May 28, 2013


Summer is here and it is time to start sporting your hula skirts and/or Hawaiian shirts. Last week I showed you how I tie-dyed Tallulah's hula skirt, this week I wanna show you what I whipped up for Baxter. Boys can get into the spirit of the luau too, just you wait and see.

SUPPLIES

Onesie

Tulip One-Step Tie-Die Kit

Floral fabric

Scissors

Fabric Fusion Peel and Stick Tape

If your onesie is brand new you will need to wash it first.

The Tulip One-Step Tie-Die Kit comes with oodles of rubber bands and an easy to follow diagram about how to bind your onesie to get your desired pattern. I went for the twist into a shell shape.

Once your onesie is bound with rubber bands it is time to apply the dye. I went with a rainbow effect adding a different color to each section of the 'pie'. Allow to sit overnight. The next morning wash according to package directions.

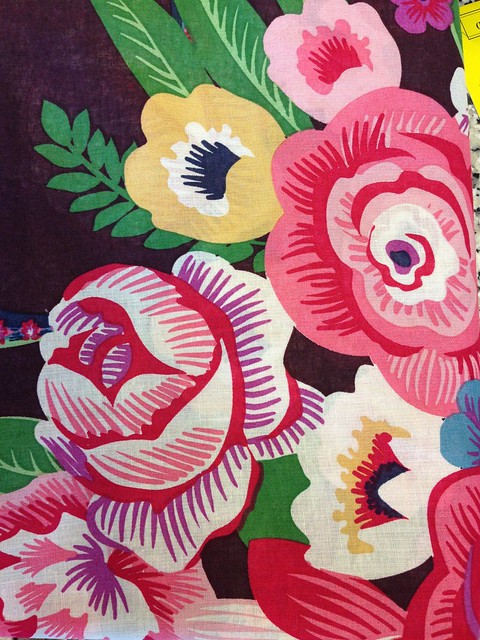
I wanted to add a lei to the onesie to tie my Hawaiian theme together. Like any red blooded mother, I love it when my kids match. I chose a floral cotton fabric.

The next step is to cut out enough flowers to make a lei. Using Fabric Fusion tape attach your flowers to the onesie in the shape of a necklace.

All that was left to do was slap this new outfit on my cutie pie of a son. I think he looks ready for the luau. What about you?

As always thanks to my crafty mama Fredda Perkins for all her help!

Nanakuli Nightlight

Thursday, March 3, 2011


I've always been smitten on soap with doll bodies stuck inside, cakes that look like doll dresses & vintage nightlights where a woman's skirt is the light source.  I actually have a skirtless base of one of these lamps sitting in my studio that was the inspiration for today's I Love to Create project.


SUPPLIES
Night Light Kit
Small Wooden Disc
Wooden Disc
Small Lamp Shade
Fabric Scrap
Doll
Scissors
Felt
Ribbons & Trim


First things first I had to get my naked doll dressed.  My mother and I fastened her frock out of a vintage piece of Hawaiian Muumuu and Fabric Fusion Glue.  You want to make sure the dress is long enough to cover not only the doll, but when you stand her on top of the small lamp shade the dress should also cover that.


Her dress needed a little something extra so we made her a felt bustier which was attached also using Fabric Fusion Glue.


We could have stopped there, but why playing dress up is so much fun.  With a few more last minute touches like a sun hat, gold belt and purple flowers we were ready to light our lady up.


After we were done playing Project Runway with our doll it was time to start constructing the base of the lamp.  Using Liquid Fusion Glue I attached a small wooden disc to the top of my lamp shade.


Once my wooden disc had tried atop my lamp shade I used Liquid Fusion Glue to attach my doll to the wooden disc.


My mother the queen of power tools drilled a large hole in the wooden base to stick the nightlight kit through.  She also bore out a small path for the wire to run so the lamp would still sit flat on a table.


All that was left to do was plug in my new nightlight in all her Hawaiian/Antebellum glory.


Love you some lamps?  Check out these other posts - Peppermint Poodle Lamp ShadeString Lamps and Doilie Shades.


Visit us on Facebook!
Craft on! Click here for today's daily giveaway!