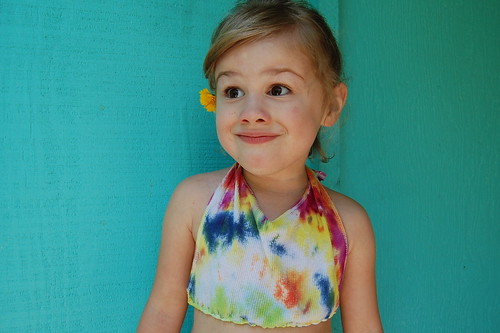

Today concludes my 3 part series on tie-dye hula gear for summer. We made a hula skirt, onesie with lei and today I’ll show you on to transform an old tank top into a tye-die halter.
SUPPLIES
Tank Top
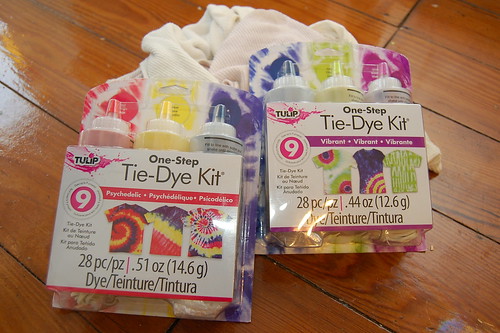
Tulip One-Step Tie-Dye Kit
Sewing Machine
Elastic
Scissors

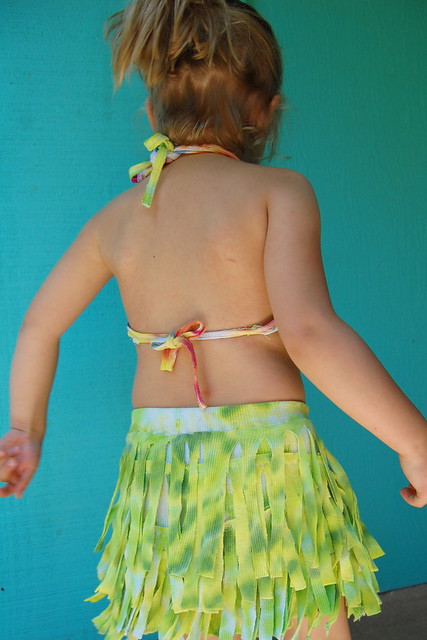
This whole look was inspired by a post on Make It and Love It where the blogger made a fringed ombre skirt out of 3 different colored red shirts. This skirt inspired me to make a hula skirt for my daughter. Putting her in a plain T-shirt seemed like a shame so I tie-dyed another tank top and my sewing Goddess of a mother transformed it into a tank top.
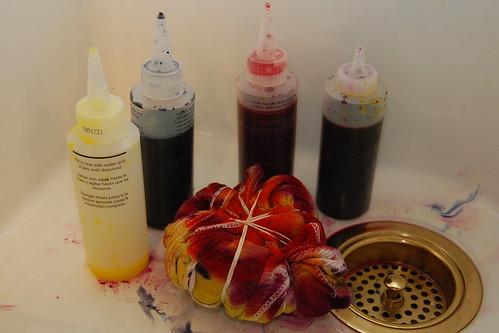
The Tulip One-Step Tie-Dye kit is super easy to use. The package comes with dye, rubber bands, gloves and a handy dandy guide to how to bind your shirt to achieve different patterns. I used old (adult sized) tank tops to create the halter and skirt. I went with a twisty multi-colored look. Once the tank had been dyed, washed and dried I set my mother to work on making a halter top.
Cut a your tie-dyed tank top apart just under the arm holes.
Next, cut the back from the front where they are joined at the shoulders.
Finally, cut the back away where it is joined to the front under the arm holes.
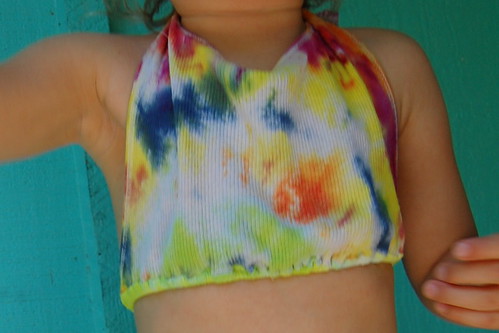
This will be the halter top. Use left over arm and neck binding for the neck and back ties. Trim them close to the finished edge. Fold what is left of the shoulder around a length of the salvaged binding. Do this for each side. Do the same for the back straps.

Finish the bottom of the halter with a binding made from long, two inch strips of the left over tank top. For a better fit, run thin elastic inside the binding. Tie straps around back and neck.

I suddenly feel compelled to make the cupcake liner leis on the cover of the latest issue of Kids Crafts 1-2-3 to finish off the complete outfit.


