

My friend Jennifer clued me in to the fact that you can often order replacement parts from toy store manufacturer's website for super cheap (I got all new accessories for the toy house above for under $7!), and my friend Noelle turned me on to the wonder that is the Magic Eraser which easily rids plastic of scuff marks. Now, the only solution I needed was for fixing the icky, torn stickers that most, thrift-y toys seem to have. So, I came up with these quick-fix, vinyl decals!
Is all of this effort worth it, you're asking? Well, the bigger toy in this post retails for around $80--and when all was said and done, my refurbished version cost less than $20. You be the judge. :)

Materials
Oil Cloth or Vinyl
Pencil
Craft Knife
Scissors
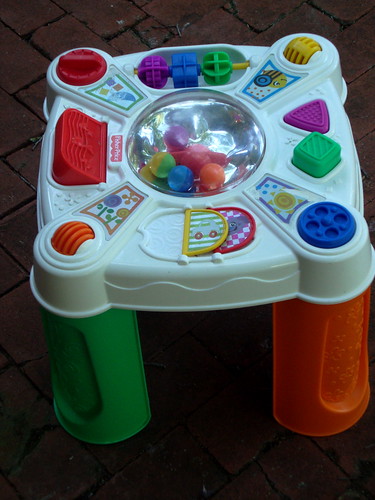
Thrifted Toy Before (With Torn Stickers)
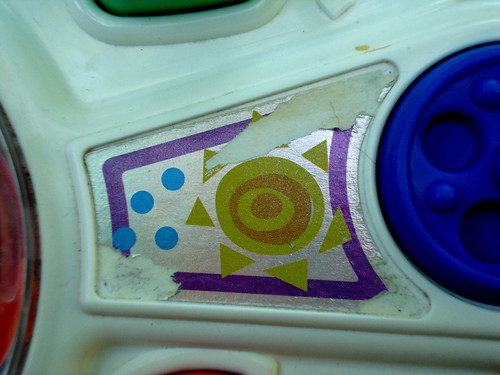
Close-Up of Before
How-to Toy Refresh Decals

- Create a decal pattern by laying a piece of paper over area of toy where torn sticker is; use a pencil trace the needed shape. Cut out paper pattern.
- Trace around pattern onto oil cloth or vinyl; cut out to create decal.
- In a well-ventilated area, spray back of decal with Fast-Grab Tacky Spray; press piece in place on toy.
- Since most stickers on toys go in indented areas, it's likely that the decal will not fit perfectly in its new home. To fix this, take a craft knife and trim off excess.
- Repeat process for as many decals as desired.
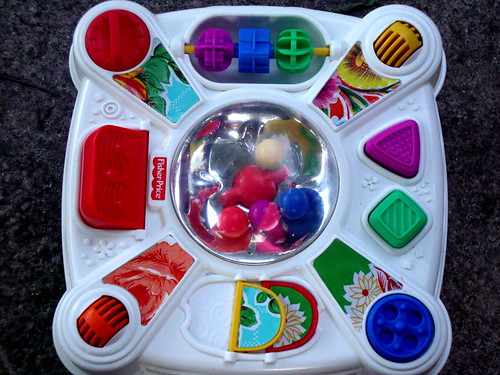
Thrifted Toy After (With Oil Cloth Decal Replacements)
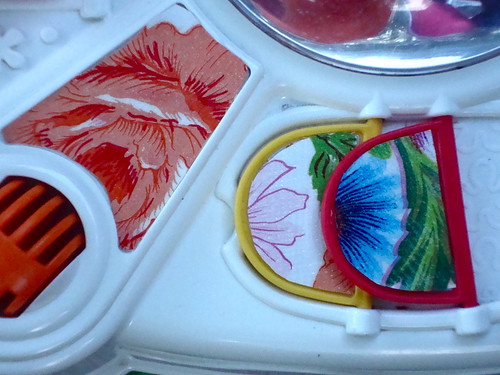
Close-Up After
Another Toy After Decals
Ok, now I'm off to the thrift store again!
Craft.Rock.Love,
Vickie


