Diane Gilleland has her finger on the pulse of all things crafty, and I mean
ALL things. She is the Editor in Chief of
Craft Zine, She has authored several
E-books, runs the successful blog and podcast
Crafty Pod (check out mine on
marketing online), is known to some as Sister Diane from her days running the Portland Church of Craft and anytime you see the hash tag
#craftsocial on Twitter she is behind the scenes running the show.
Needless to say I was pretty excited to get a chance to chat with her about crafty matters like Kanzashi flowers and plastic canvas. She is also a wealth of knowledge about social networking and running a successful blog. All this and she is cute as a button and a heck of a nice person, what's not to love!
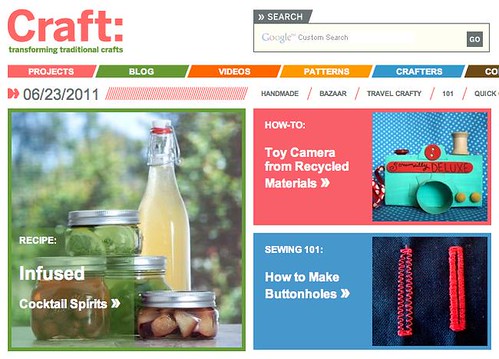 So how are you liking your new gig as head honcho over at Craftzine? Are you going to continue to write your fabulous business column for CRAFT? How did your new gig as Editor in Chief come about?
It was a big surprise!
Natalie Zee Drieu, who many of us know and love, made the difficult decision in April to step down from her position at CRAFT and focus on her family. She suggested me as her replacement. Within about 14 days, I was Editor in Chief! I'm still working to get my feet fully under me, but thoroughly enjoying the process. It feels in many ways like what I've always done with my personal blog, but about 500% larger.
 Explain Craft Social. I keep hearing about it and seeing the hashtags on Twitter, but to be honest I am not sure how it works.
Craft Social is a monthly Twitter chat that I've co-organized with
Barbara Forbes Lyons for a little over a year now. It's open to the public. Each month, we have a different crafty discussion topic, and we have a big, freewheeling conversation about it. It's really fun to hear all the different points of view, and it's a great way to meet interesting new people to follow. Anyone who wants to join us needs only to follow the #craftsocial hashtag on Twitter, and add that hashtag to any tweets they want to contribute to the discussion. A really good place to join in is
TweetChat.
We'll be on hiatus for July and August, but you can keep up on the dates of our future Socials at
CraftSocial.net.
 You recently had a book come out called Kanzashi in Bloom: 20 Simple Fold-and-Sew Projects to Wear and Give
 . How did you get started making Kanzashi flowers?
I stumbled onto
this iconic post on Craftster, and that whet my appetite. I then did a ton of searches and trial and error to figure out how to do a simplifed version of the traditional Japanese method. And then I taught a few Kanzashi classes here in Portland. There's nothing like teaching to help you learn a whole bunch! My students helped me see all the places my process needed refining.
Interestingly, Clover took the process in my book and refined it even more. They just came out with these cool
Kanzashi Maker templates, which make the process unbelievably simple.
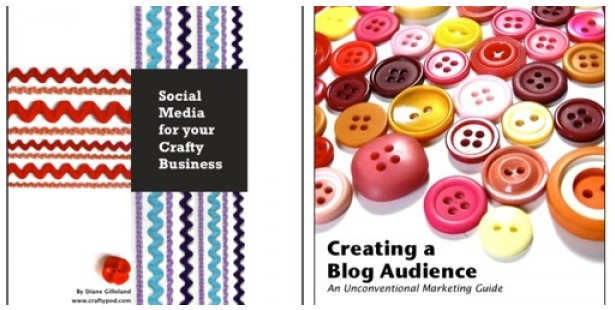 You have written several Ebooks on your website Crafty Pod. Why the decision to write an Ebook rather than talk to a publisher about a physical book? Which one is your best seller?
Well, as much as I love my Kanzashi book, there are some downsides to traditional print publishing. For one thing, it takes about 18 months to get a book from contract to bookstores. And I wanted to write about blogging and social media, and let's face it, in those 18 months, everything can change!
I also wanted to experiment with self-publishing because I wanted to be able to write about subjects that might be too niche for a print publisher. Because print books cost so much to produce, a mainstream publisher very understandably needs to make books that will appeal to the widest possible audience. But I don't easily think mainstream. I think in niches.
My ebook
Making a Great Blog: a Guide for Creative People is my best-seller. It's written from a crafter's perspective, and it covers the aspects of blogging I don't see covered in other blogging guides – namely, exactly how you go about creating interesting, valuable blog content. Good posts and beautiful images are really the foundation of any successful blog.
 How did you get started podcasting? What kind of set up would an aspiring podcaster need? You collection of interviews is vast, who are few of you and your listeners faves?
My partner Katin first introduced me to podcasts, way back in 2005 when they were first coming on the scene. I immediately started a little show called SpinsterSpin, which was about being a woman who's chosen not to marry or have children. And within a couple months, I had the idea to start up a crafty podcast. And that one quickly took over a big chunk of my life!
To start a podcast, for the most part you just need these things: a microphone that plugs into your computer (or, is built into your computer). Some kind of audio recording and editing software (like
Audacity. A place to host your finished podcast files. (
Libsyn or
Podbean are good.) The real magic is in how you adjust the settings of all these things to get the best sound quality. So, make a lot of test recordings, try various setting combinations, and keep good notes.
I have way too many favorite interviews to list here! Really, every show taught me something new, and gave me new things to think about. I really miss making podcasts!
 Do people refer to you more as Sister Diane rather than just Diane? I find in certain situations I get referred to as “the Naughty Secretary” more than I do Jennifer. What ever happened to that branch of the Church of Craft? Have you ever preformed a wedding ceremony since you are ordained and all?
HAHAHA! It actually sounds pretty cool to be referred to as The Naughty Secretary! And yes, I'm referred to as Sister Diane all over the place. I always joke (perhaps mobidly) that it'll be on my tombstone.
The Portland Church of Craft closed down in 2007. I think two things happened: first, Portland is blessed with an amazing bounty of crafty-event resources. This is great, but then any event that happens regularly, like Church of Craft, seems to sooner or later fall victim. People start thinking, "Oh, I can go to that any month, but this weekend, I should go to this new event instead." Our Church of Craft just dwindled in attendance over time. And frankly, after 5 1/2 years of organizing it, I got pretty burned out.
I did perform one wedding, which was lovely! I officiated the ceremony for my dear friend
Susan Beal and her husband Andrew Dickson.
 What do you think it is about Portland and Austin being such crafty hot beds of activity? I have heard them called sister cities and in the craft department this especially seems to be true.
I've heard that, too! I've visited Austin, and loved everything about it except the heat. (Should've come out in October instead of July!) I think both cities have a wonderful creative vibe - not just for crafting but for all kinds of making, including food and technology and robotics. I think they're places where a creative person can go and live fairly inexpensively while they persue their dream projects. And since there are so many other creative folks around, all kinds of interesting cross-pollination happens.
Both cities also seem to embrace their "weirdness." There don't seem to be a lot of constricting social conventions – if you're original, then rock on!
 How do you think Etsy has changed the Indie craft scene?
Well, on the one hand, Etsy has made it very easy to start a small craft business. This is a good thing, because I think a taste of entrepreneurship can be very beneficial for most of us.
I do see a certain downside, and it's not really Etsy's fault. Since so many crafters have turned to starting small businesses, I've seen the general conversation in the online craft community turn from excited sharing to marketing. I see so many crafters trying to market handmade things to other crafters – instead of reaching into the vast markets of non-crafters (who might actually be much better customers). I just see a lot of us smearing the communities we reach out to for support with the markets we reach out to for income. It's all a tricky balance, but I do feel like, when I wander in the crafty community anymore, I'm hit with so many more marketing messages than genuine attempts at conversation. I suppose all that will balance out over time.
 You write a lot about Social Networking. If someone only had the time to focus on one social networking outlet to promote their craft business or blog would you tell them to pick Facebook, Flickr, Twitter or Pinterest?
I would tell anyone to try them all out, and pick the one they enjoy using the most. Any social marketing tool will work well if you're taking the time to actually talk with people instead of endlessly telling them to check out your online store. Twitter and Facebook are engagement marketing tools, not broadcasting tools. It's really about the conversations you have with individuals.
So, the magic ingredient here is time. Make sure whatever tool you use, you're able to enjoy the time you're putting into it.
All that said, I don't necessarily see Pinterest as a marketing tool so much as a very good organizing and archiving tool. Look at how your profile page is constructed there - your website is a very tiny presence. And I think Pinterest users are there for the eye candy more than the conversation.
 I have heard through the crafty grapevine that you have a real soft spot for plastic canvas. Are the rumors true? I too see the brightly colored plastic sheets at the craft store and rack my brain for crafty possibilities.
 Plastic canvas is the Rodney Dangerfield of craft supplies. And by that I mean, it doesn't get respect, AND it's capable of wearing loud plaid pants and starring in Caddyshack.
But it's a medium with amazing structural possibilities, and you don't have to do needlepoint on it! You can put it inside fabric or felt. You can adhere thick paper to both sides. You can wire buttons and beads to it. And you can construct so many interesting shapes! Just look at the work of
Nicole Gastonguay. She's my total plastic canvas hero.
Thanks for taking the time to chat with us Diane! I can't wait to play along with the next Craft Social, I need to read one of those E-books on blogging and maybe just maybe I'll pick up some plastic canvas next time I am at the craft store.
Check out more interviews
here.
Visit us on Facebook!Craft on!
Click here for today's daily giveaway!
