Hooty Owl Hallowe'en CardsMargot Potter for iLoveToCreate
Avalon has been busy as a little bee getting straight A's in her honors classes! Can you say proud mama? I can! Go Avalon! So I stepped in to whip up some fun and festive Hooty Owl Halloween cards today.
These are so easy to make and you can layer them however you please with whatever papers and embellishments you have at hand. The lenticular owl came off a panel on a Puff's tissue box, which I simply could not throw away! The other owl is a permission free Art Deco era image from Dover to which I've added text and is here for you to download if you'd like to use it. I can't resist the urge to add googly eyes whenever possible. Teens can use these for party invitations or greeting cards or even frame them for room or locker decor. Fun, fast...and fabulous!
Materials Hooty Owl Upcycled Hallowe'en CardLenticular owl image from Puff's tissue box
Cardstock
Patterned coordinating papers
Jute or hemp twine
Clear acrylic tile
Large orange rick rack or other ribbon trim
Glam-it-Up crystals
Googly eyes
Tulip
fabric marker in black
Aleene's
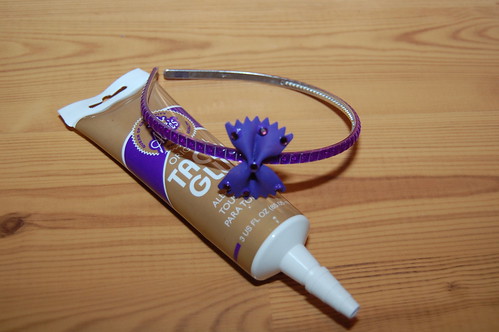
Tacky GlueAleene's
Tacky Dot RunnerAleene's
Jewel It Glue
ToolsPaper trimmer
Scissors
Bone folder
Remove image from tissue box. Create a frame for image out of patterned scrapbook paper using paper trimmer or scissors. Cut cardstock with a small border around edge of framed image, fold and crease with bone folder, marker or scissor handle. Adhere image and frame to front of card using tape runner. Cut rick rack to fit along the bottom edge of framed window. Adhere with tape runner. Cut twine to fit edges of frame, adhere with Tacky Glue. Attach patterned paper behind acrylic tile using tape runner. Cut a small piece of paper to fit center of tile and adhere to front of tile with tape runner. Write Boo! on front of paper with marker. Use Jewel-It glue to attach crystals to right edge of tile. Attach googly eyes to owl's eyes using Jewel-It glue. Use marker to add details to frame.
Materials Hoot Hoot CardHoot, hoot owl printed on white paper
Coordinating scrapbook papers
Orange cardstock
Plastic rhinestone accents
Googly eyes
Aleene's
Tacky Dot Runner
Aleene's
Tacky GlueTulip
fabric marker in neon orange
ToolsPaper trimmer
Scissors
Bone folder
 |
FREE DOWNLOAD!
|
Print owl image. Cut, fold and crease cardstock. Cut coordinating scrapbook papers for background and right edge of image. Use marker to add orange accents to owl image. Adhere paper layers to card with Tacky Dot Runner. Use Tacky Glue to adhere faux rhinestones on bottom and top edge of owl image. Attach googly eyes to center of owl's eyes with Tacky Glue.
This blogger was compensated and provided products for this post. All opinions are 100% my own!