

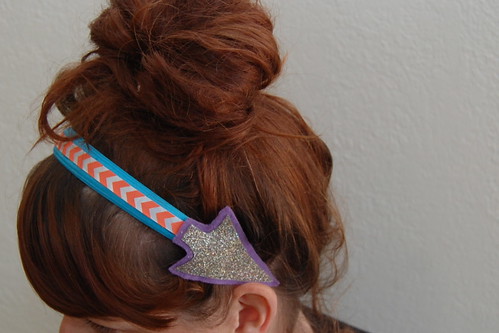
Chevrons, sparkle, arrows, felt, the color teal - what is not to love about this headband? Not to toot my own horn, but I'm pretty smitten on this doozie of an accessory. This is not the first time I have ventured into the world of feathered hair gear, you might recall a post I did for
Craft Zine. Those feathers were made from digital scrapbooking elements. These feathers are made using a paper crafting mask for a spray as a stencil.
SUPPLIES
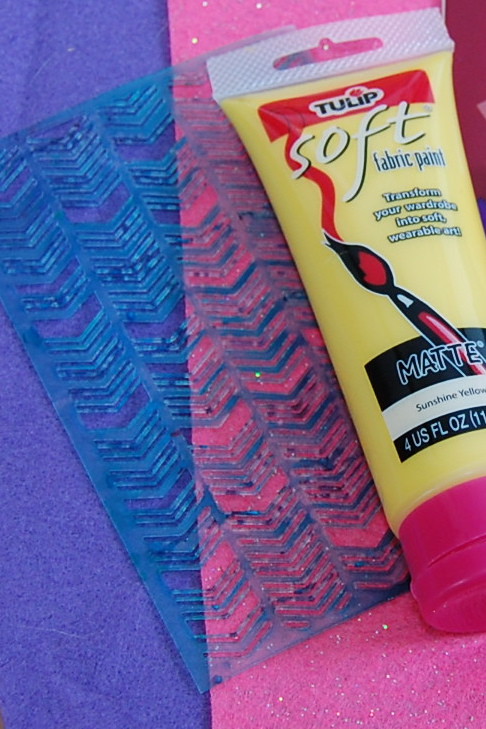
Tulip Soft Fabric PaintColored Felt
Mr. Huey Mask by Studio Calico in Chevron
Aleene's Tacky GlueSponge Brush
Dear Lizzy Ribbon by American Crafts
Scissors
Tulip Fashion Glitter Shimmer Transfer SheetsHeadband
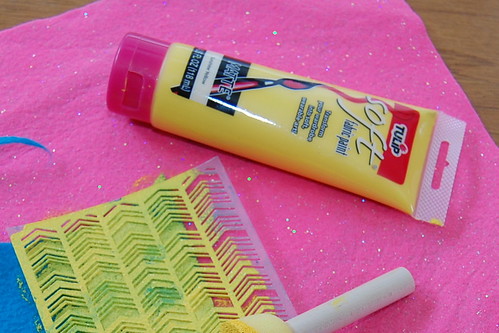
The first thing I did was stencil the chevron image onto my felt. I was inspired by a post on
American Felt and Craft. Use a dry(ish) brush. A friend on Instagram commented that the pattern would work well for making felt feathers and the idea for a William Tell inspired headband was born.
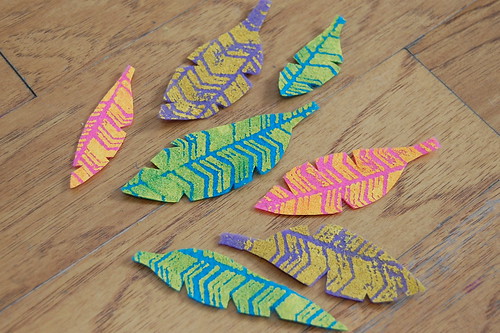
After my paint was dry I cut out 'feathers'. I went back with sharp small scissors and added details.
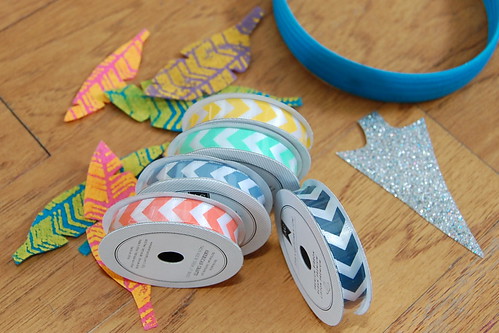
So many pretty ribbons to choose from, so little time. I went with more chevrons, because really can you ever have too many? I also cut out an arrowhead from my Shimmer Transfer Sheets.
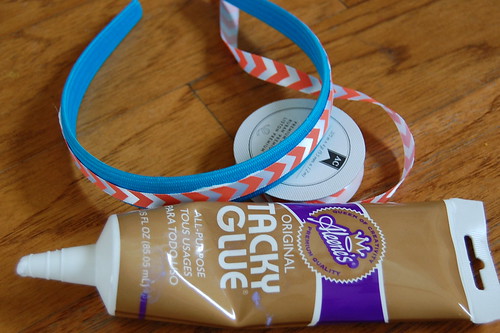
Using Aleene's Tacky Glue I attached a strip of ribbon to my headband.

I decided to add a piece of felt as backing for my arrowhead. I attached both pieces using Aleene's Tacky Glue.

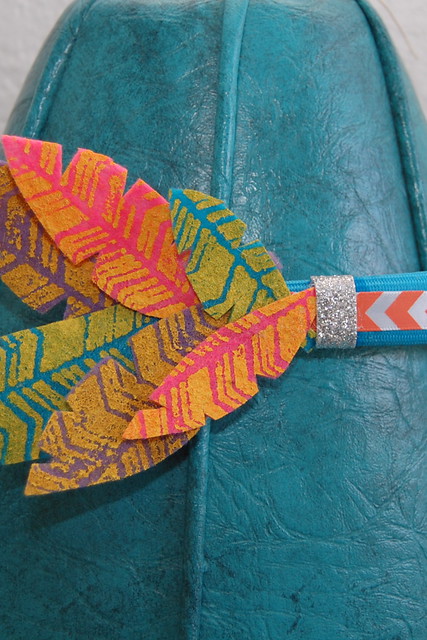
On the opposite side of the headband, again using Tacky Glue, I attached a cluster of felt feathers. I was thinking of William Tell. Ya know, the guy who shot an apple off someone's head with a bow and arrow.
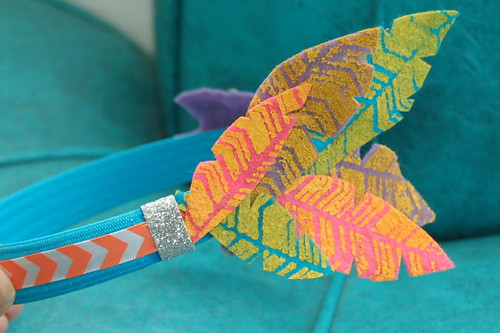
I decided the feathers needed a little strip of silver sparkle.
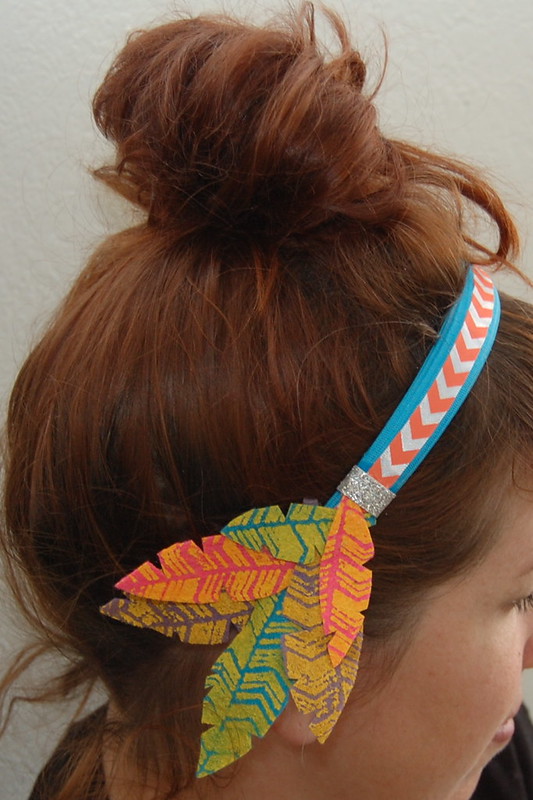
You can wear your new arrow as a headband.

You can also go for the across your forehead look. Perhaps a good look for people a little younger than myself.
So whatcha think? I love using things like scrapbooking tools in new fun wearable ways.


