Showing posts with label kitschy crafts. Show all posts

Vintage Wallpaper Covered Message Center

Thursday, March 14, 2013

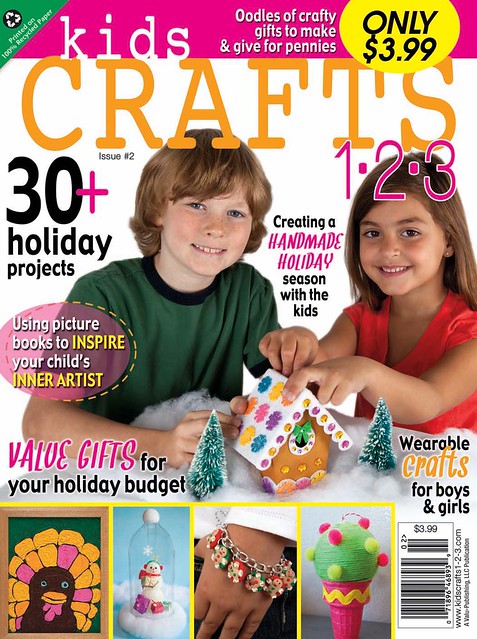
If I forget to grab butter one more time at the grocery store, my kids might kill me. Grilled cheese is just not the same without it. If only I had a message center of some sort in my kitchen where I could keep a running grocery list at all times. Out of honey, put it on the list. About to have a milk-mergency, put it on the list. Then there is that whole stainless (AKA not magnetic) fridge thing. My kids are crafty and proud and want their handiwork on display. Something had to be done. I was flipping through the first issue of Kids Crafts 1-2-3 and remembered a great project from Jaime Favors of Raising Up Rubies. She made a message center out of a cookie sheet. Hmmm, my wheels were turning.

I didn’t have a spare cookie sheet on hand, but I did have a metal board I had picked up from Ikea. I intended to hang it in my son’s room, but I was never able to find a spot for it. Instead of having this magnet board gather dust I decided to give it a face-lift with some vintage wall paper.
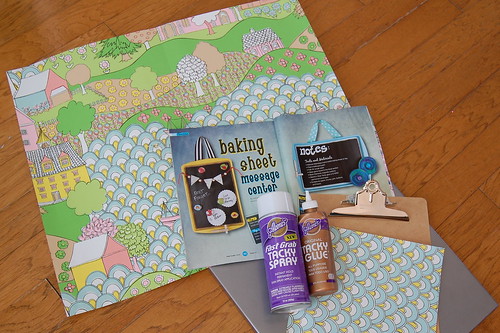
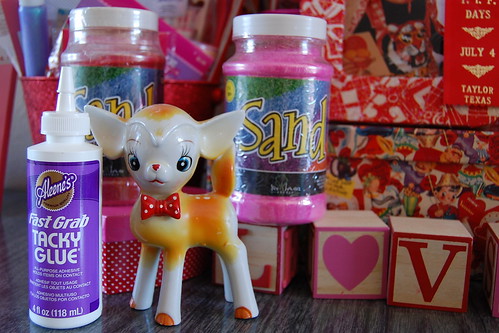

SUPPLIES
Aleene's Tacky Glue
Vintage Wall Paper (you could also use wrapping paper, fabric, scrap booking paper)
Magnets
Scissors
Aleene's Fast Grab Tacky Spray
Ruler
Clip Board
Basic Grey Embellishments
Clothespin

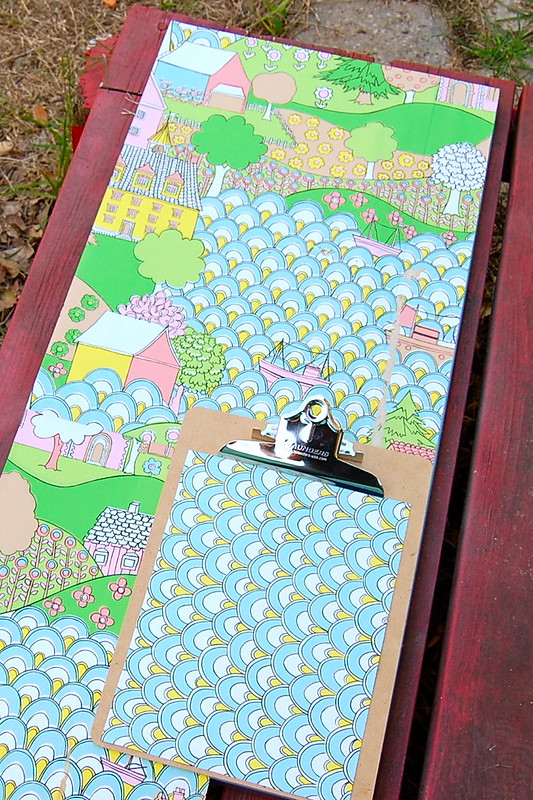
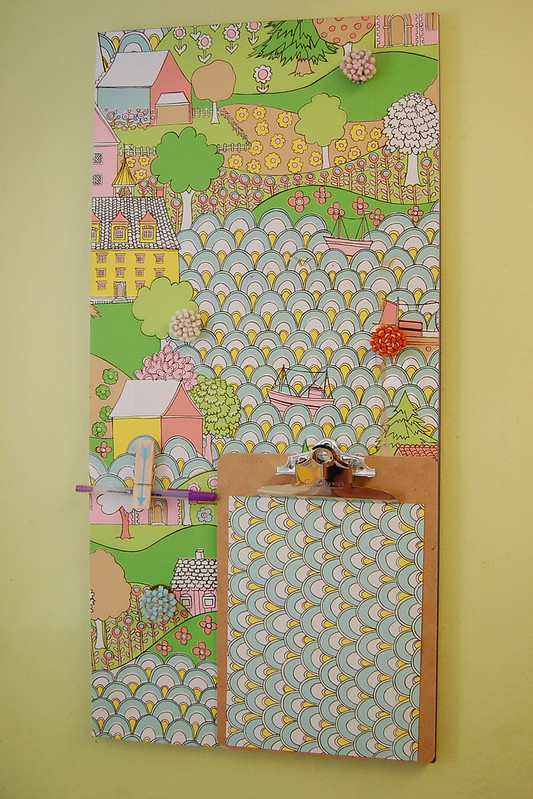
I didn’t have a piece of wall paper quite large enough to fit on my board. No worries I just got creative with a ruler and scissors and made it work. I also cut a piece to fit on my clipboard. Luckily, the pattern is busy enough where it is not really an issue.

Using Aleene’s Tacky Spray Glue (man, I love this stuff) I attached the wall paper to the board and clipboard. Allow to dry 30 minutes (ish).

Once everything is dry trim any rough edges. After that I used plain old Tacky Glue to attach the clipboard and clothespin to the magnet board.

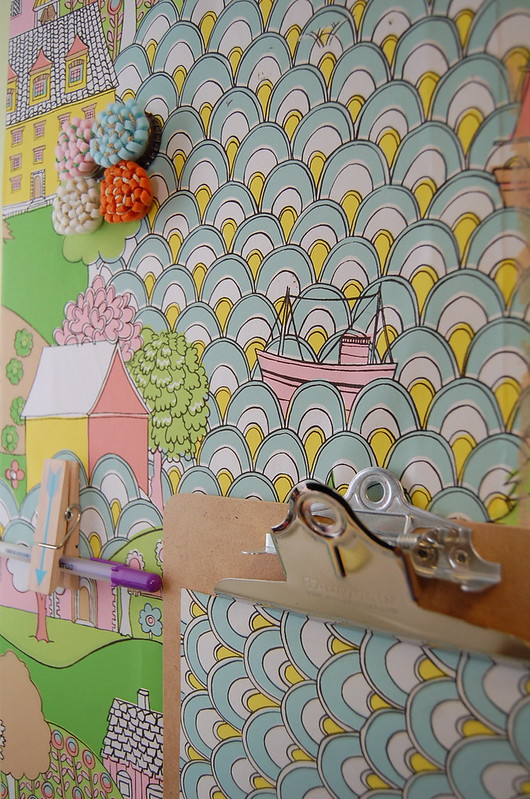
It seemed only fitting to make some custom magnets for my new message center. I'm kinda obsessed with paper crafting lately so I just happen to have some fun embellishments from Basic Grey on hand. I used Tacky Glue to attach the embellishments to the magnets.

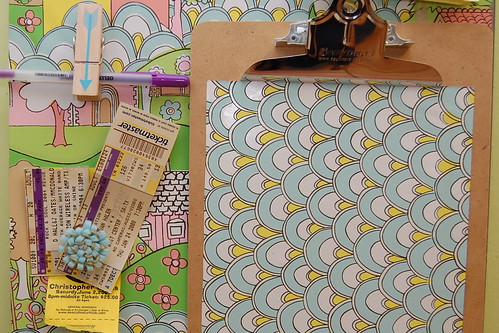
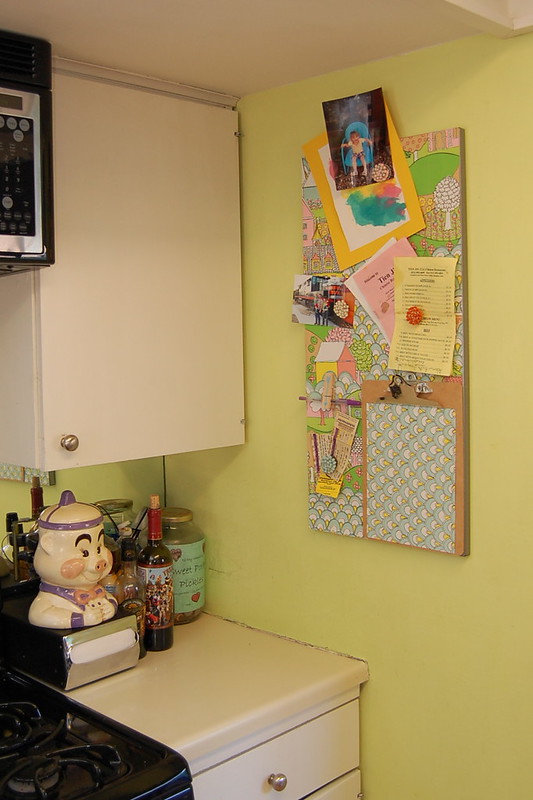
I'm lovin' the way my new message center turned out. So much so it is kinda breaking my heart to cover the groovy wrapping paper with soy sauce stained menus.

How to Flock With Sand

Thursday, January 24, 2013

I love flocking. From fabric with texture to nodding chihuahuas in a rear window - flocking makes my heart flutter. The kids and I have been dabbling in sand art lately and that is when I had the idea to flock with sand. I have Valentine's Day tunnel vision so today for I Love to Create I grabbed a kitschy deer I had on hand and got to flocking.

SUPPLIES

Craft Sand

Figurine

Aleene's Tacky Glue

Paint Brush

This project is super easy. First up paint your figurine with glue. While the glue is still wet sprinkle on your sand.

Once your glue is dry shake off your excess sand. I went in and added glue polka dots that I sprinkled with hot pink sand.

When your glue is dry display with pride! I can't wait to flock more figurines!

Pop over to BlogHer to read all about how to make a terrarium with sand art.

Yarn Wrapped Cupcake Ornament How-To

Thursday, November 29, 2012

Christmas time is here! Finally I can start decorating the house and making crafty Christmas ornaments. Ok, the decorations have been up for a few weeks - but now I can openly talk about it. Today for I Love to Create I want to share a fun ornament I whipped up in about 5 minutes.

By now you have hopefully been to Walmart and gotten your hot little hands on a copy of Kids Crafts 1-2-3 the new magazine I am the editor for. I also happen to do a few of the crafts from time to time. You can see my handiwork on the cover with an ice cream cone Christmas ornament. The ornament is a yarn wrapped version of an ice cream cone ornament I did last year. I decided to roll with the sweet theme and go for a cupcake version!

SUPPLIES

Aleene's Tacky Glue

ornaments

Silicone cupcake liner

Scissors

Yarn

pom pom

The first thing you want to do is find ornaments that fit in your cupcake liners. Once you do that wrap your ornament in yarn. I went for a chocolate cupcake with vanilla icing look.

When your ornament is completely wrapped in yarn glue into your silicone cupcake liner. Feel free to add gem stone sprinkles or a pom pom cherry on top.

All that is left to do is hang from the tree. Now I need to figure out how to make a doughnut version of this ornament.

iLoveToCreate Retrofabulous Crafts: Pulp Fiction Thank You Cards

Monday, January 2, 2012
Visit us on Facebook!
Craft on!


iLoveToCreate Retrofabulous Crafts: Pulp Fiction Thank You Cards
Copyright Margot Potter
"These are your grandmother's crafts, ya gotta problem with that?"


The glitter has faded, the confetti swept away and it's time to start a new year filled with possibility. It's also time to take a moment and thank your friends and family for the lovely gifts they sent. What better way to say, "Thank you" than these Retrofabulous Pulp Fiction cards? The covers are scanned from my collection of ephemera, you can easily find similar books on eBay. I dragged them into Photoshop, color matched the fonts and added some new words to the mix, sized and printed and layered them with coordinating scrapbook papers and cardstock. Tulip Glam-it-up metallic crystals on the corners were the perfect touch of dimension. My first attempt to frame them with glitter was not so fab, so I started over. I've added coordinating sentiments inside. Aleene's AWESOME new glue dot tape runner made quick work of putting it all together.

Materials
Vintage patterned scrapbook papers (I used my fav Carolyn Gavin papers from K&Company)
Coordinating card stock
Tulip metallic Glam-it-up crystals
Aleene's Tacky Glue Dot tape runner
Aleene's Acid Free Tacky Glue

Tools
Paper cutter
Bone folder
Ruler
Scissors
Chain nose pliers or tweezers


1. Use photo editing software to add sentiments.

2. Use Word or similar software to create sentiments for inside of cards.

3. Print. I printed my images at 536x774dpi 150 resolution. It's easy to drag these into publishing software and put them side by side for printing.

4. Cut out images. You are stacking them on a solid cardstock and a patterned paper, each one gets slightly larger. I eyeballed using a paper cutter, you can measure them at 1/4" increasing margins, mark and cut.

5. Fold your card stock, crease with bone folder and cut off 1" from bottom.

6. Layer images starting with patterned paper which is straight, solid card stock on an angle and image straight. Use Aleene's Tacky Glue Dot Runner Tape to attach to card.

7. Cut out a sentiment, add a slightly larger coordinating cardstock paper frame, layer and attach to inside of card on an angle using tape runner.

8. Squeeze out a small amount of Tacky Glue. Use tweezers to careful pick up crystal, dip back in glue (don't over do it here) and attach to corners of image on card. Press gently with finger tips.