DIY Screen Printed Canvas

Thursday, May 30, 2013
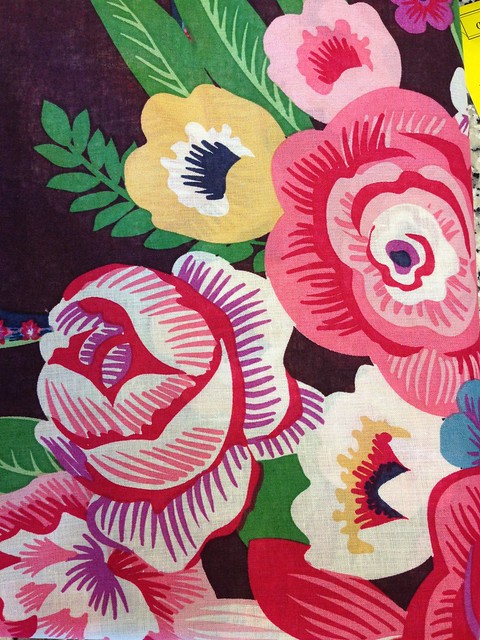
 Small canvases are very inexpensive at the craft stores.  With just a little effort, they can pack a big design punch!  This time around I've used some graphic Ikat style fabric, which we stretched and stapled around the original canvas.  Then I created a pretty permission free graphic (you'll find it below) that I burned on a screen using the Tulip Screen-It.  This was so easy to do and if you follow the video instructions on the ILTC website, you'll have a stunning screen you can use up to 75 more times! Simply fabulous!
You will need:
12"x12" blank canvas
Black Tulip Soft Fabric Paint
Painter's Tape
Staple Gun and Staples
 1.) Print your image in black ink.  Set yourself up in a light free room with the ScreenIt and a small lamp with the yellow bulb provided in the machine.  Turn off over head light and turn on yellow bulb.  You'll need to spray the platform, place the screen on the platform.  Use squeegee to remove any air bubbles.  Spray your image, place image down on screen, use squeegee to remove any air bubbles.  Place cover on top, turn machine on and burn screen for 8 minutes.  8 minutes later, turn top of machine 180 degrees, turn back on and burn screen for an additional 8 minutes.  2.)  Soak screen in a tub of cool water for 10 minutes.  Gently rub the emulsion off of the burned areas with your fingers while screen is submerged.  Remove from water and use a soft sponge to remove remaining emulsion from the burned areas, you can do this on your printing platform.  3.) Set the screen on a towel to dry.  4.) Cut fabric to fit around edges of canvas.
5.) This is a two person job, really, but you can do it alone if you work slowly and methodically.  Stretch fabric tight and staple, start with the center and work out to sides, three staples per side is good.  To get the sides done, you will need to cut a little square off of one side of the folded fabric, then tuck, fold and staple.  6.) Tape the screen flat to the front of your canvas with painter's tape. Make sure there are no bubbles, you don't want the paint to spread outside of the printed areas. 7.) Place canvas on Screen-It platform.  Squirt out a thick line of paint and squeegee it across the screen.  8.) Remove tape and screen and let your canvas dry.

 Here is the image I used, just right click and save to your computer.  Print to fit 8.5x11 in jet black ink.


It's so much fun to screen print, you may find it just a little addicting.  I'm thinking about using my screen on some t-shirts and maybe even some pillows for our outdoor porch.  Have you ever screen printed?  What would you like to create with the Tulip Screen-it?

Get more great DIY tutorials on iLovetoCreate.com and find more DIY Fashion and Style at DIYDoyenne.com!

Cheers,
Madge

20 Creative & Crafty Quotes to Share

Wednesday, May 29, 2013
Having been a graphic designer and super font and illustration nerd for the past few years, I have an affinity for typography and words.  So in my new position as Social Media Specialist at iLoveToCreate, I have a LOT of fun creating catchy quote art to post on our social media sites (I realize I have the best job on earth, since I get to create quote art ON THE JOB).  I thought I would share them here for you to see, pin, and even print out if you want!  Most of these come from my own personal experience and passion for crafting, so they come from the heart. Some are my own quotes and puns, while others are photos or doodles I've created mixed with quotes from great artists.  I hope you like them!


Do you have a favorite?  I think mine is "I was crafty when crafty wasn't cool."

Tie-Dye Hawaiian Onesie

Tuesday, May 28, 2013


Summer is here and it is time to start sporting your hula skirts and/or Hawaiian shirts. Last week I showed you how I tie-dyed Tallulah's hula skirt, this week I wanna show you what I whipped up for Baxter. Boys can get into the spirit of the luau too, just you wait and see.

SUPPLIES

Onesie

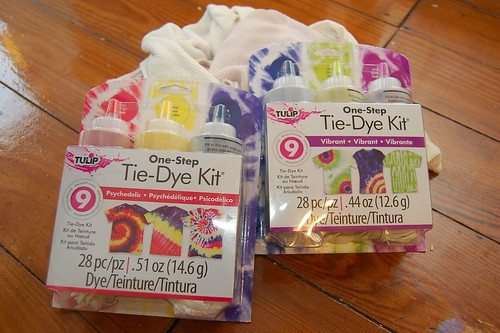
Tulip One-Step Tie-Die Kit

Floral fabric

Scissors

Fabric Fusion Peel and Stick Tape

If your onesie is brand new you will need to wash it first.

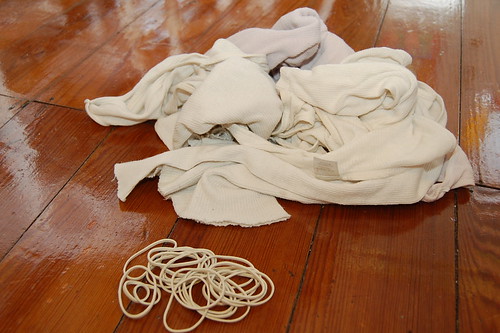
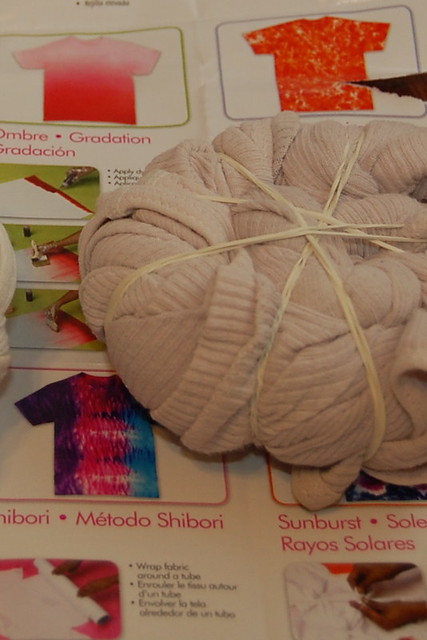
The Tulip One-Step Tie-Die Kit comes with oodles of rubber bands and an easy to follow diagram about how to bind your onesie to get your desired pattern. I went for the twist into a shell shape.

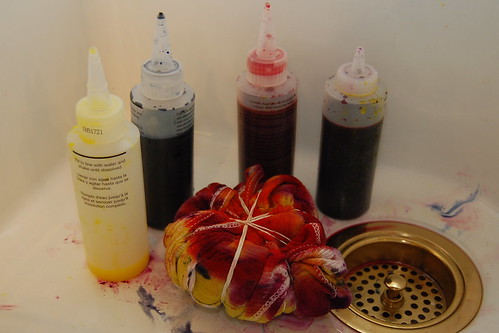
Once your onesie is bound with rubber bands it is time to apply the dye. I went with a rainbow effect adding a different color to each section of the 'pie'. Allow to sit overnight. The next morning wash according to package directions.

I wanted to add a lei to the onesie to tie my Hawaiian theme together. Like any red blooded mother, I love it when my kids match. I chose a floral cotton fabric.

The next step is to cut out enough flowers to make a lei. Using Fabric Fusion tape attach your flowers to the onesie in the shape of a necklace.

All that was left to do was slap this new outfit on my cutie pie of a son. I think he looks ready for the luau. What about you?

As always thanks to my crafty mama Fredda Perkins for all her help!