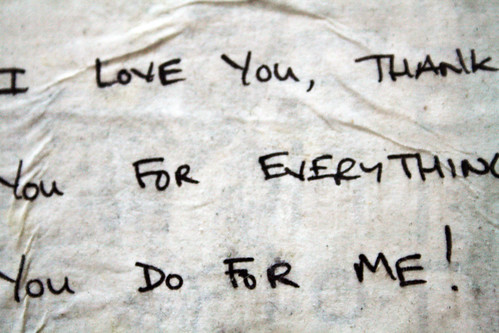
Before I moved from Oregon to San Diego to be near my boyfriend (my now husband) we maintained a long distance relationship. A big part of that relationship was writing letters, email and LOTS of little love notes sent back and forth. We both saved all those letters and notes and once in while we will pull them out, spend time shaking our head and laughing while reading them- so naive and silly we were! These days (insert 10 years) we still write each other notes and letters. There is just something so wonderful about a hand written note.
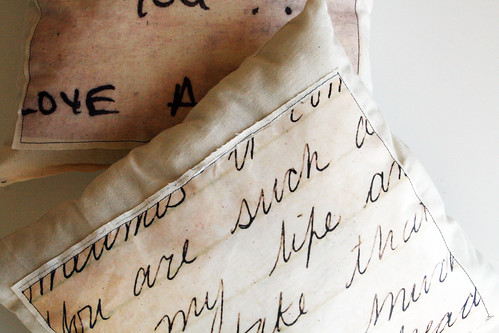
For a while I've wanted to do something creative with some of those notes and came up with the most simple idea to make little love note pillows.
FYI- I am OBSESSED with pillows and believe that you can never have too many around the house (they are EVERYWHERE) so adding a few more to the collection is always a good thing.
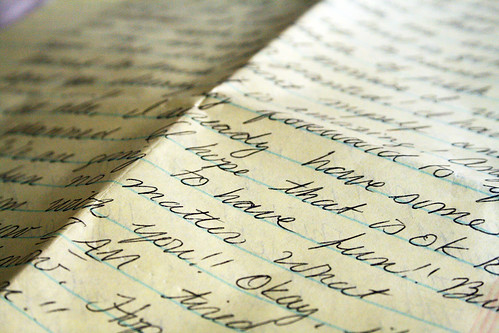
I started by selecting a couple of notes and letters that I scanned.
Or they could be photographed
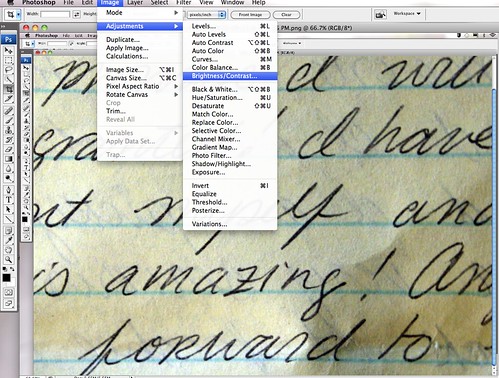
I pulled the documents over to Photoshop and adjusted the brightness and contrast- this could really be done in any photo editing program.
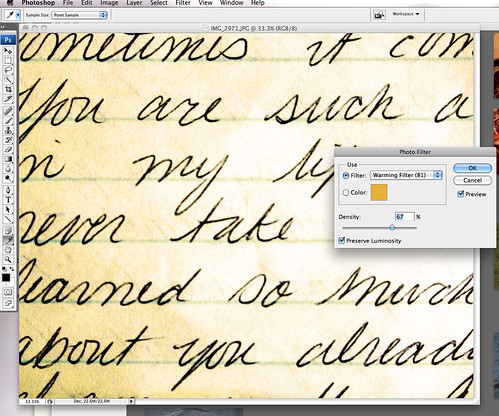
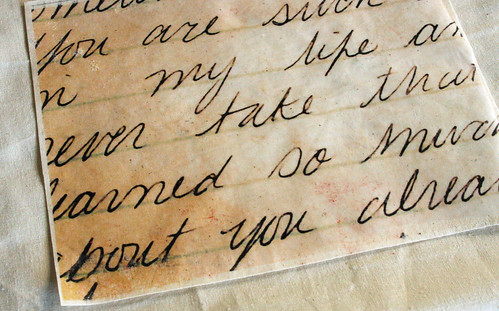
I added a warming filter for a subtle sepia look.
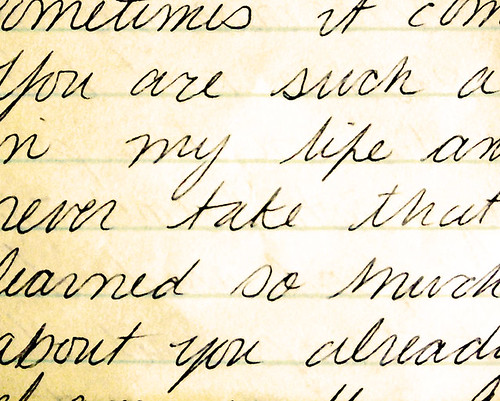
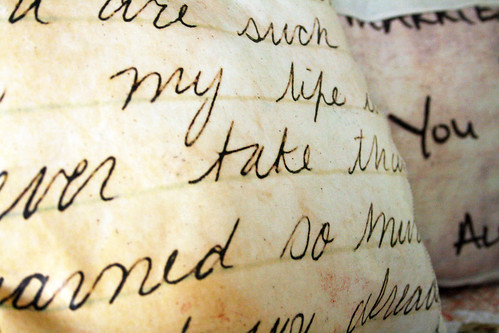
I enlarged the document so that I obscured entire sentences- for a little mystery :)
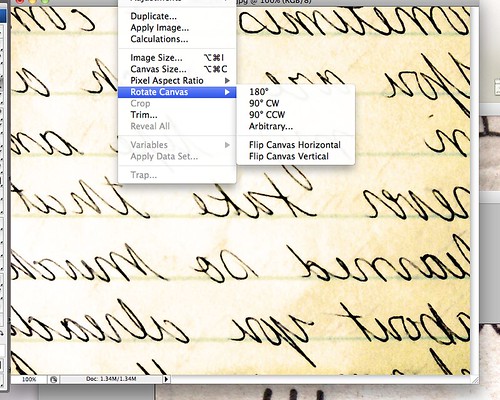
I then flipped it horizontal to prepare to print.
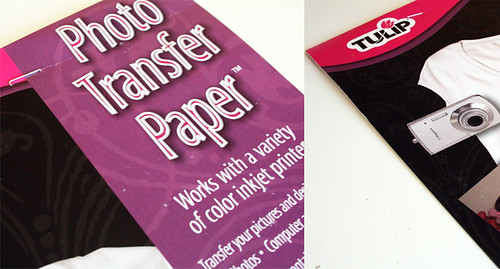
I used Tulip's photo transfer paper and loaded it into my ink jet printer.
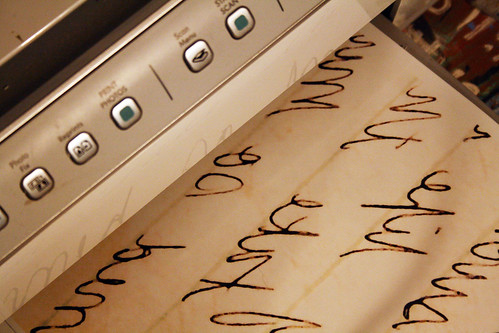
I printed it out.
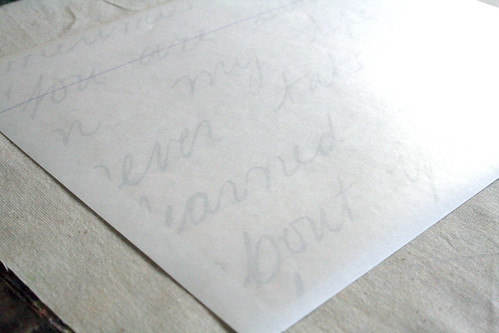
I then placed the transfer face down on unbleached muslin.

I covered it with a piece of scrap fabric and following the directions, ironed it down.
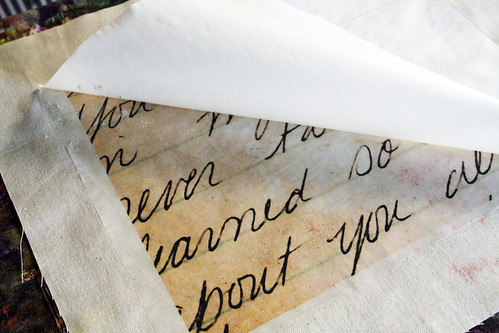
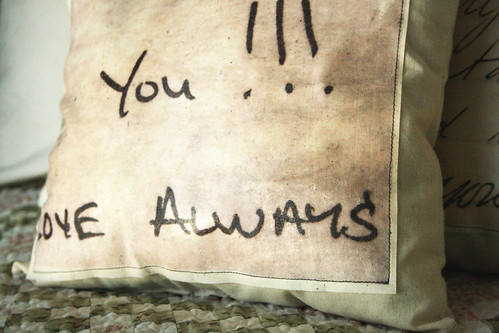
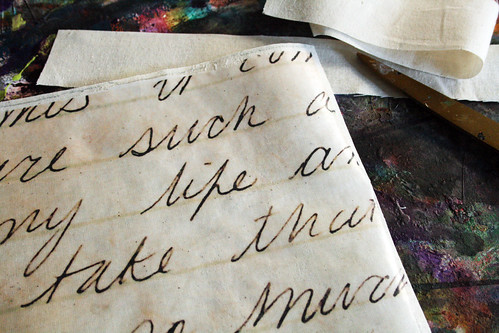
I let the transfer cool and I peeled off the top sheet to reveal my love note.
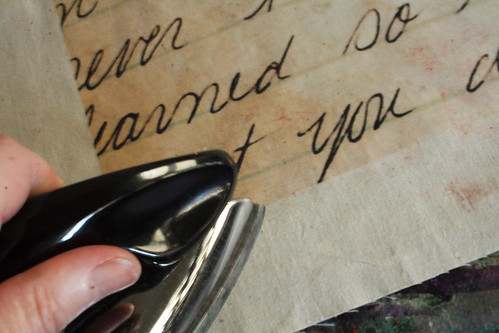
I used my craft iron to melt away any obvious edges that were showing.
Next I cut it out
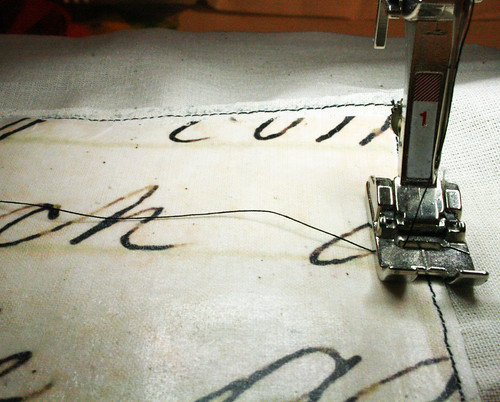
and sewed it onto the surface of another piece of muslin that I had pre cut for my pillow.

I sewed the all of the sides together (with wrong sides facing).
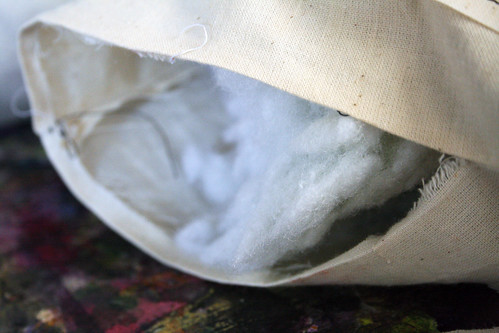
and left a hole open to so I could stuff the pillow and then sew the hole up.