I have a thing for seasonal picture frames. It is kind of an addiction. When Target puts their seasonal picture frames out I am the first in line. I decided to add to my collection this year by making one of my very own.
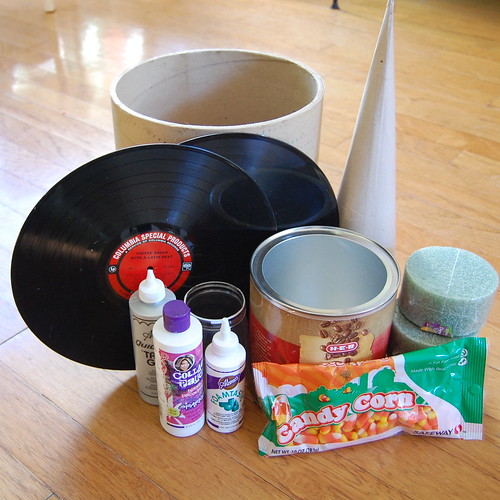
SUPPLIES
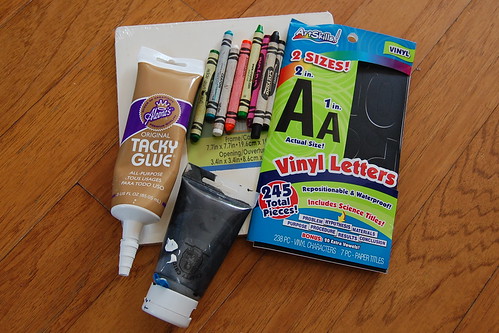
Blank Picture Frame
Black Crafty Chica Paint
Halloween Colored Crayons
Vinyl Letter Stickers
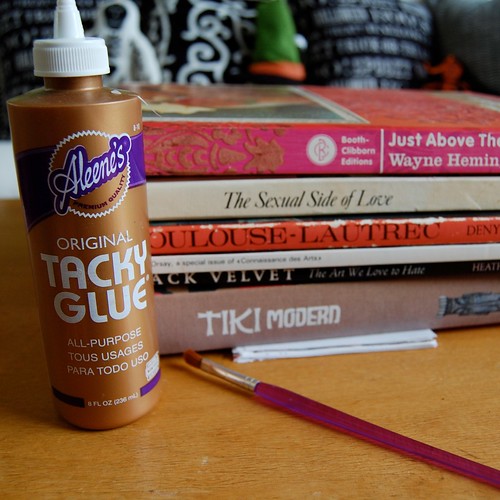
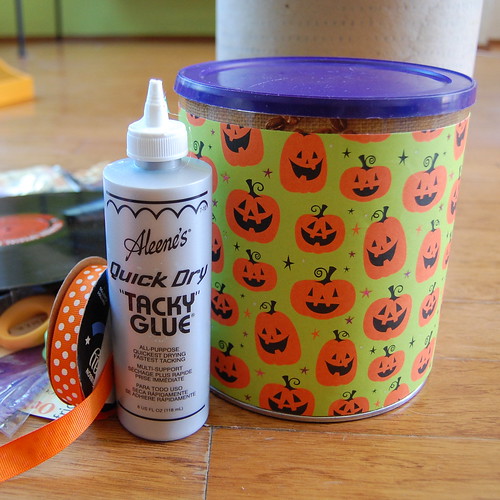
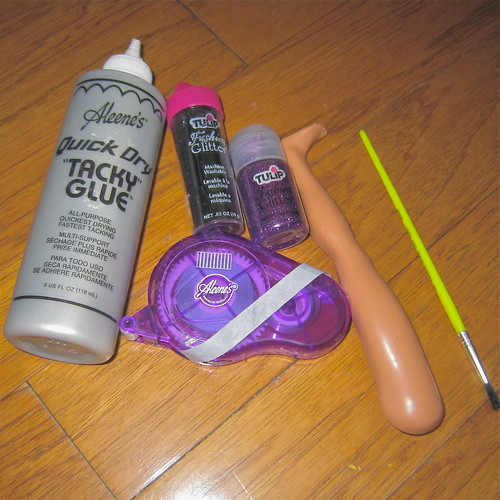
Aleene's Tacky Glue
Hairdryer
Craft Knife
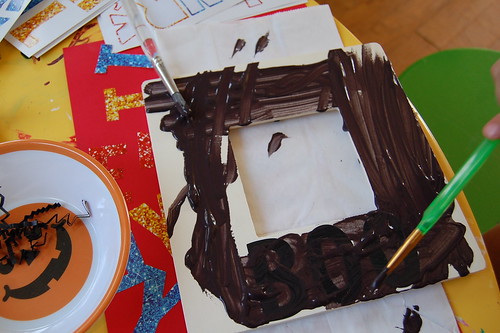
Pardon my lack of step out pictures, I had an anxious toddler as my co-crafter on this project. The first thing I did was spell out the word boo on my blank frame with vinyl letters.

Next I painted the frame black. Tallulah did a base coat with her kid paint and then I followed up with some Crafty Chica Paint. I set my frame in the sun to dry.
Using a craft knife I slit the paper on the Crayons. Tallulah was in charge of unwrapping and breaking. I chose Halloween colors. Yes, in my world teal is a Halloween color.

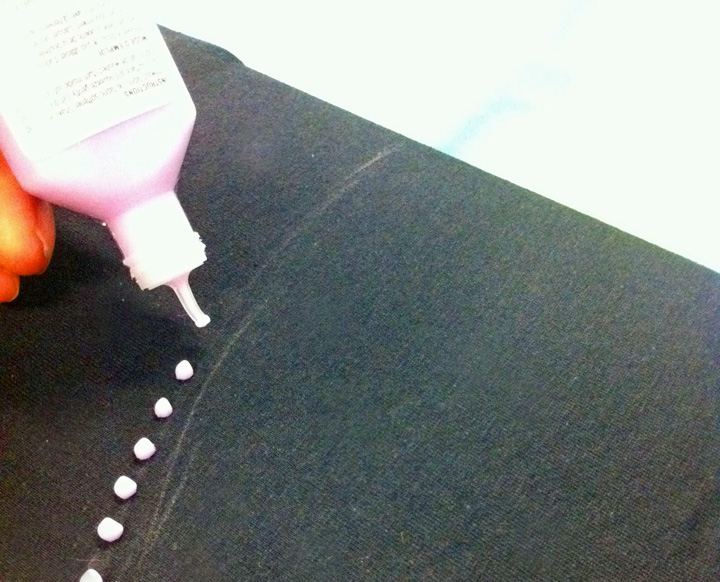
When my frame was dry I used Aleene's Tacky Glue to attach my broken crayons along the top of the frame.

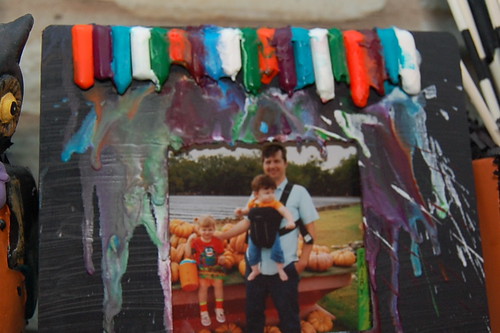
When my glue was dry I headed outside with my hairdryer to melt the crayons. In a perfect world the wax would have made it down over the words Boo, but alas they did not.

The heat from the hairdryer helped my stickers to peel up at the ages. Tallulah helped me peel up the letters to reveal the words BOO! All that was left to do was add a fun photo of the fam at the pumpkin patch last year and display.